My DIY Macro Pad Evolution – From OLED Display to an Integrated Screen Stand
A couple of years ago I built my first DIY macro keypad. It was one of those projects that started with a simple idea—make repetitive tasks easier—and quickly turned into one of the most useful gadgets on my desk.
If you haven't seen the original build, you can read about it here:
That macro pad is still alive and well on my home office desk. It has an OLED display, multiple pages of macros, and has become something I use every single day.
The only problem?
It's a little cumbersome to throw into my laptop bag every time I head into the office.
The Portable Version
When I started spending more time in the office, I wanted something much smaller.
I didn't need dozens of programmable buttons or an OLED display—I just needed quick access to the shortcuts I use constantly throughout the day.
So I built a much simpler version.
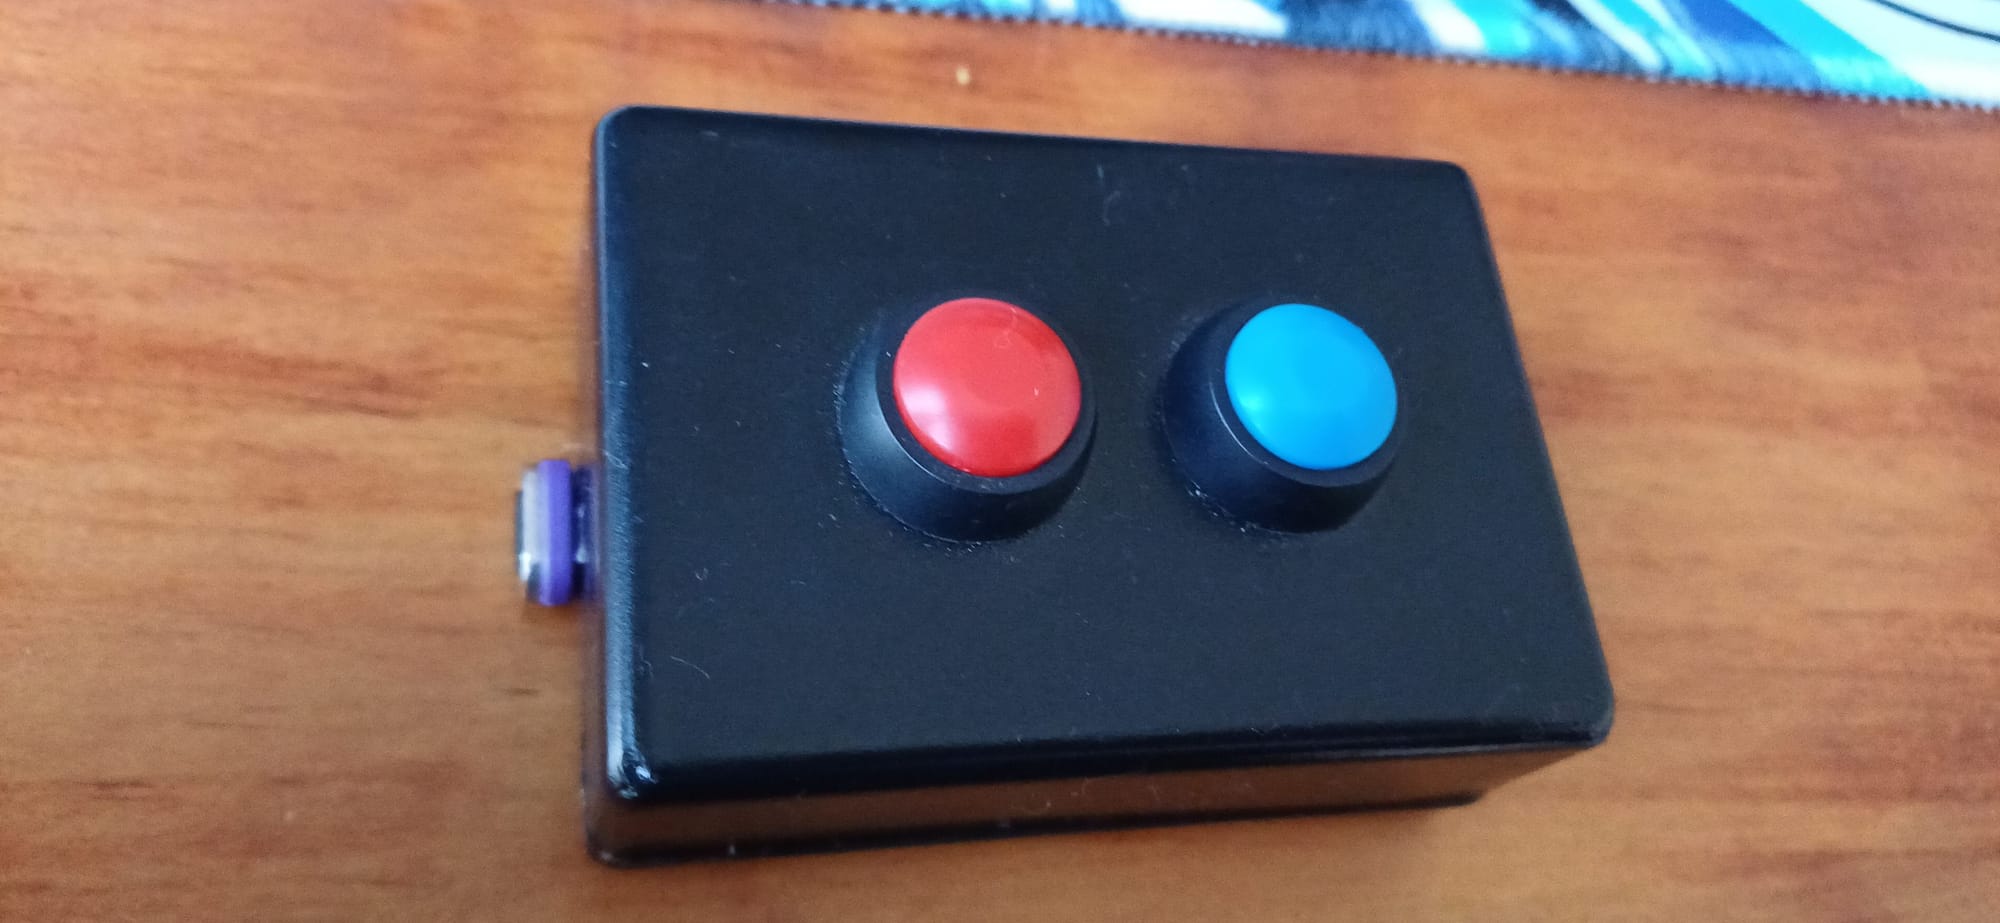
Using an inexpensive off-the-shelf plastic project box, an Arduino Micro and just two push buttons, I created a pocket-sized macro pad that was incredibly easy to carry around.
Despite only having two buttons, each one supported both a short press and a long press, effectively giving me four programmable actions.
Sometimes less really is more.
What Does It Actually Do?
One of the great things about using an Arduino Micro is that it can emulate both a USB keyboard and a mouse.
As far as Windows or macOS is concerned, it's simply another keyboard plugged into the computer.
That means a button press can become almost anything.
Some of my favourite shortcuts include:
- Locking my computer before walking away.
- Launching or connecting to my VPN.
- Starting a mouse jiggler to prevent the screen from locking during long downloads or presentations.
- Automatically typing frequently used information.
- Opening commonly used applications.
- Triggering keyboard shortcuts.
- Performing repetitive mouse clicks.
- Automating multi-step workflows with a single button press.
Once you start thinking of it as a programmable keyboard instead of a few buttons, the possibilities become almost endless.
Version 3 – Building It Into My Portable Screen Stand
The project worked so well that I eventually realised something.
I was already carrying a portable laptop screen stand everywhere I went.
Why carry a separate macro pad as well?
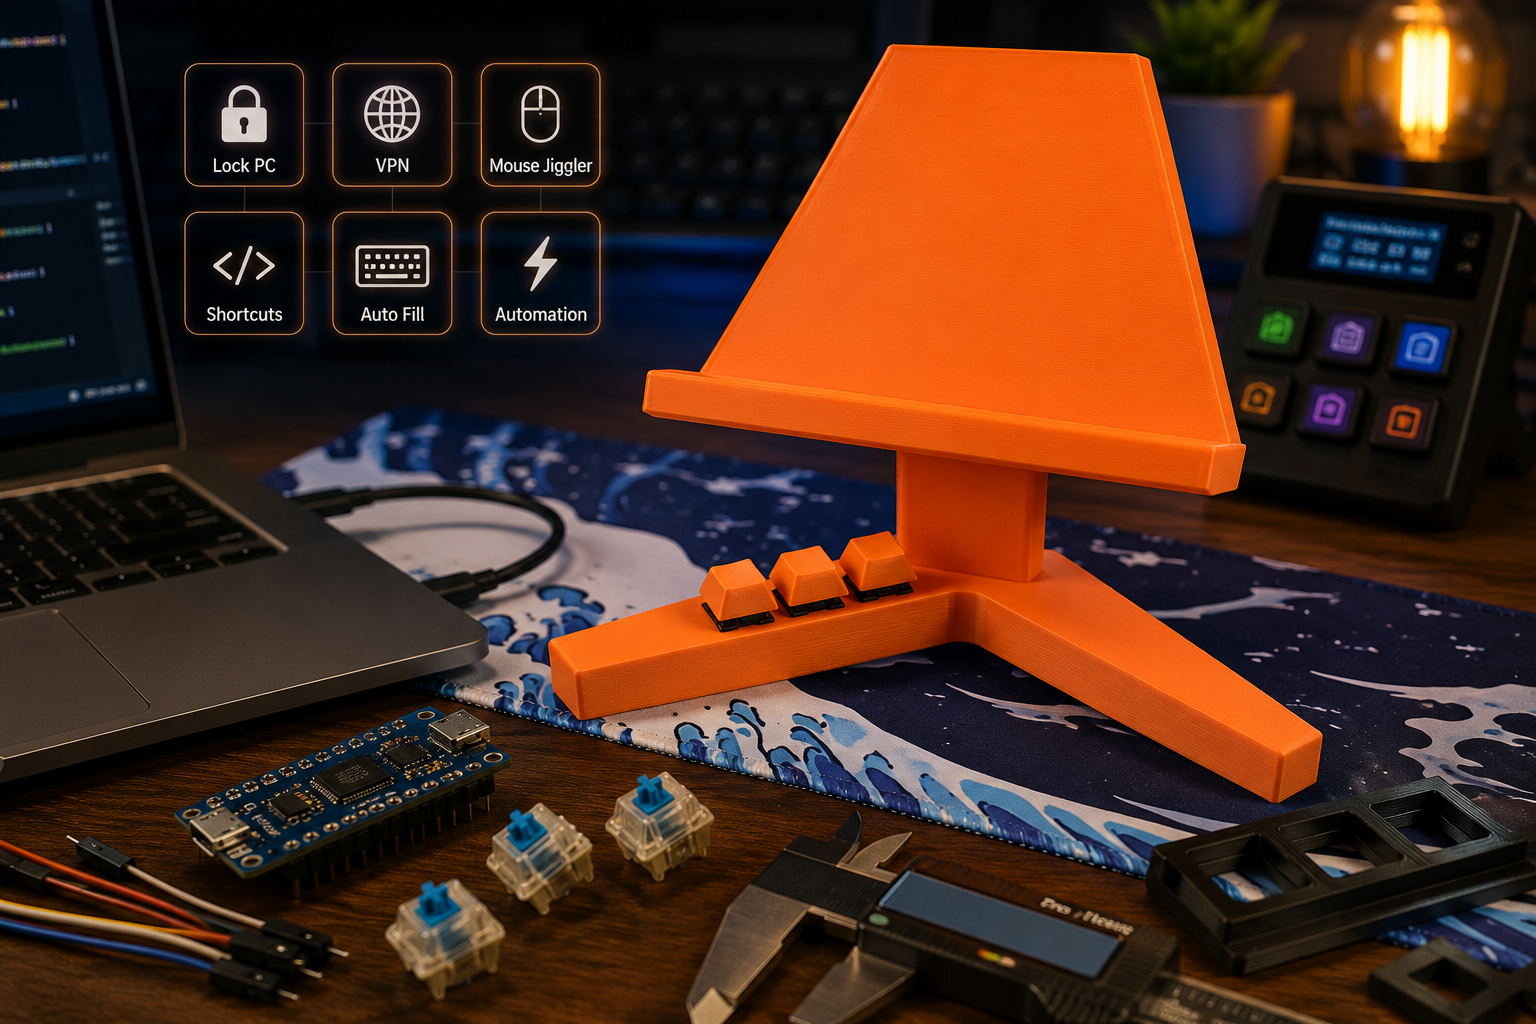
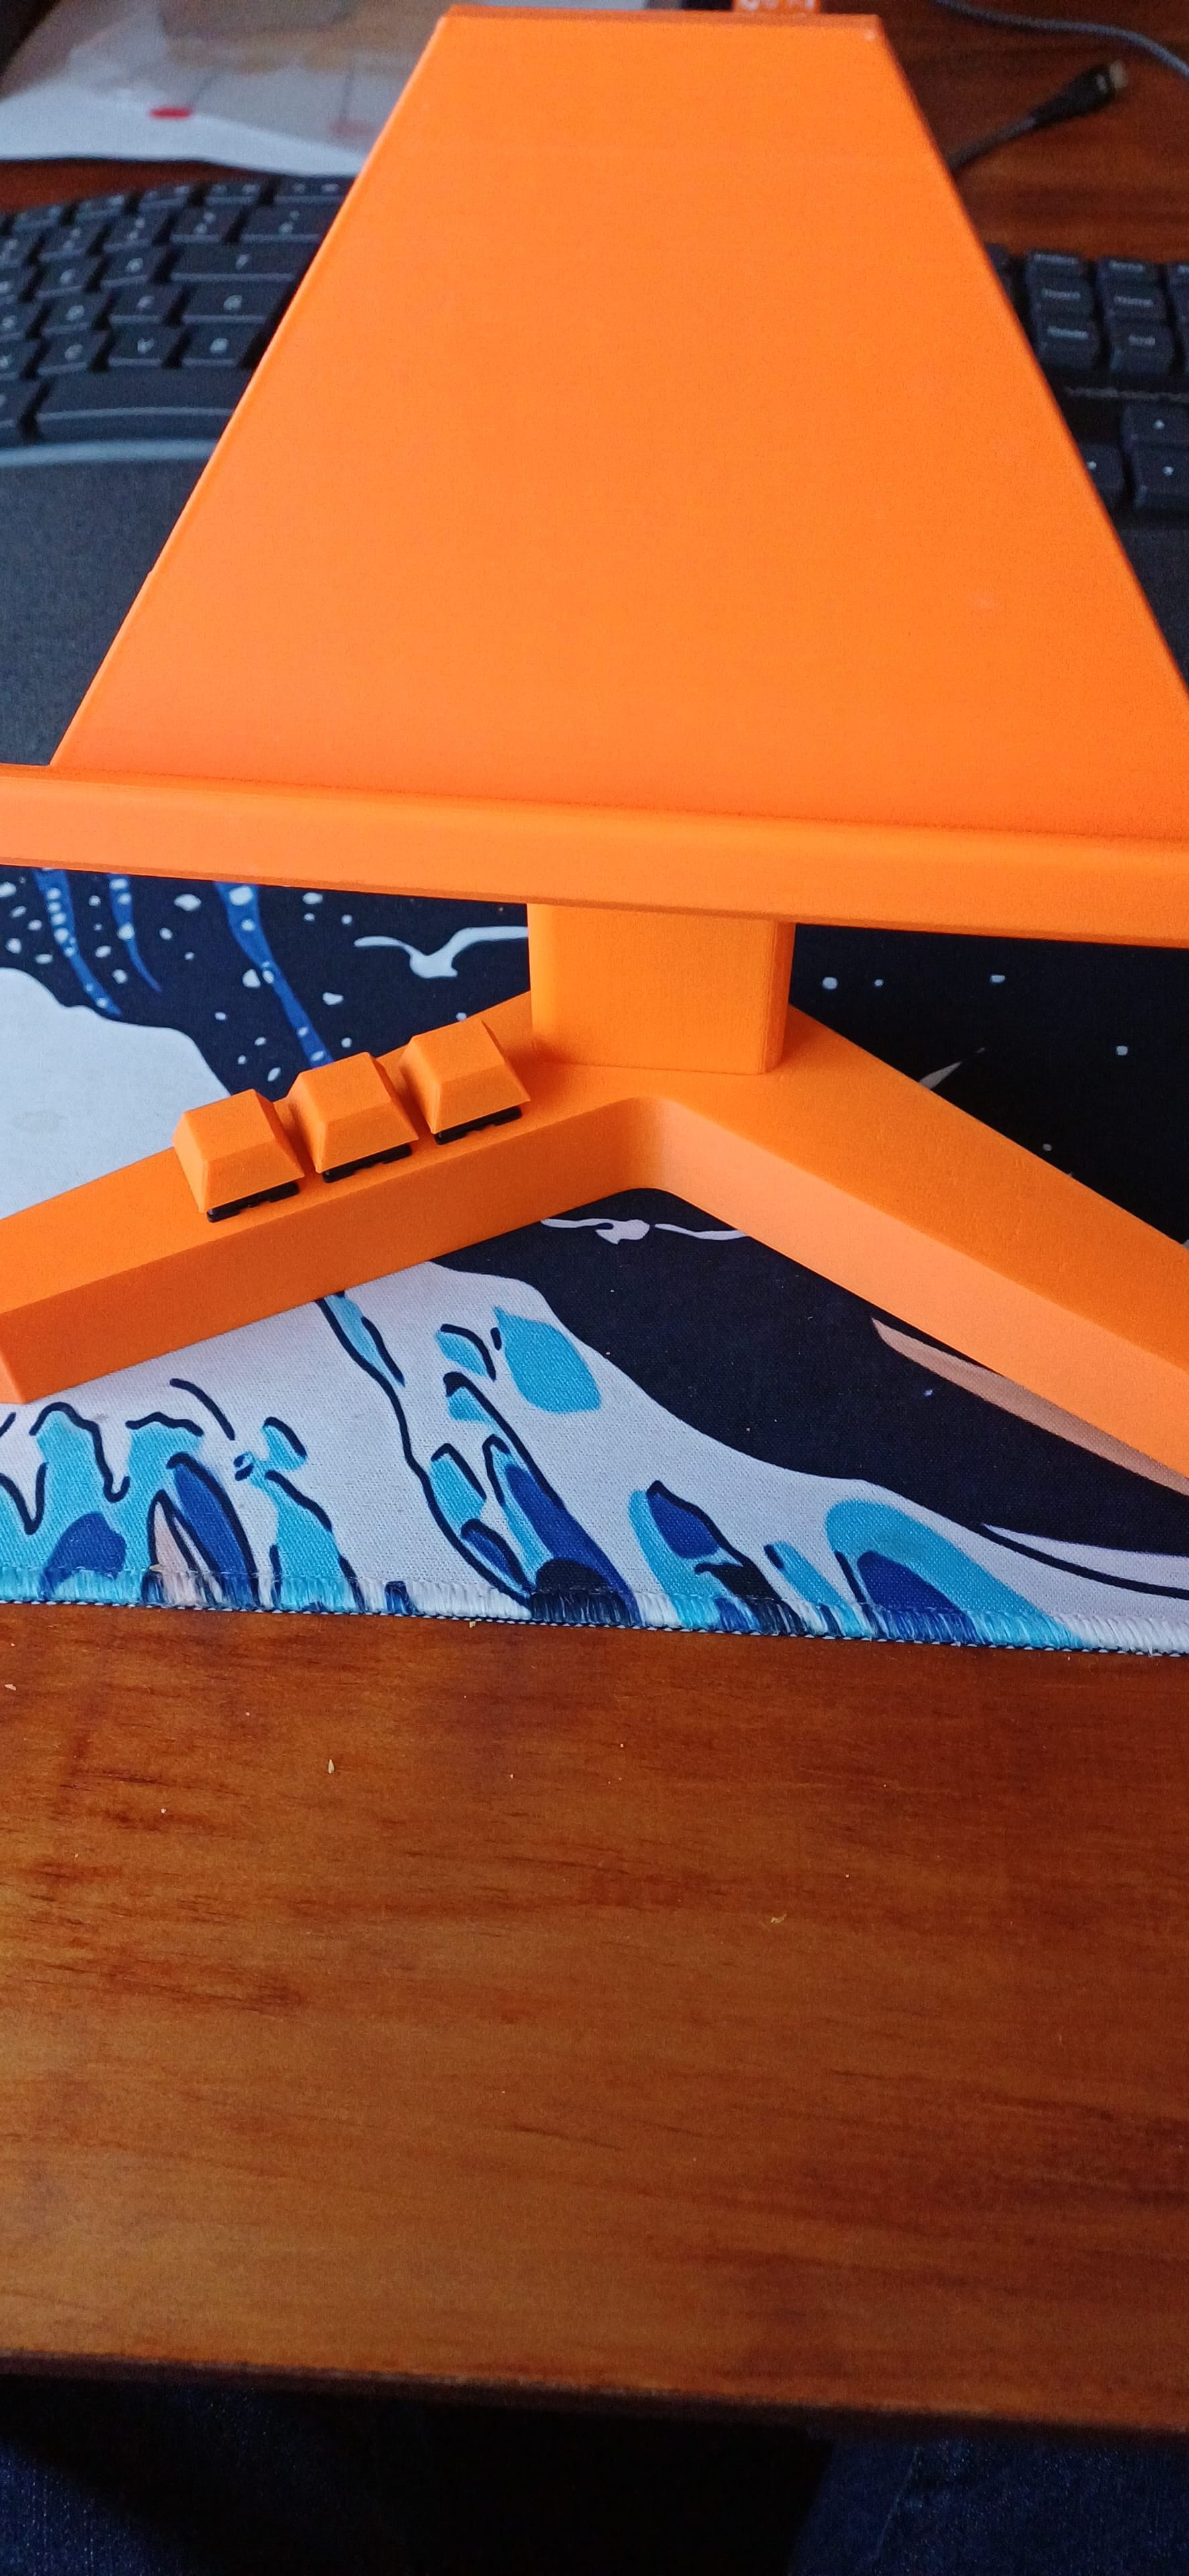
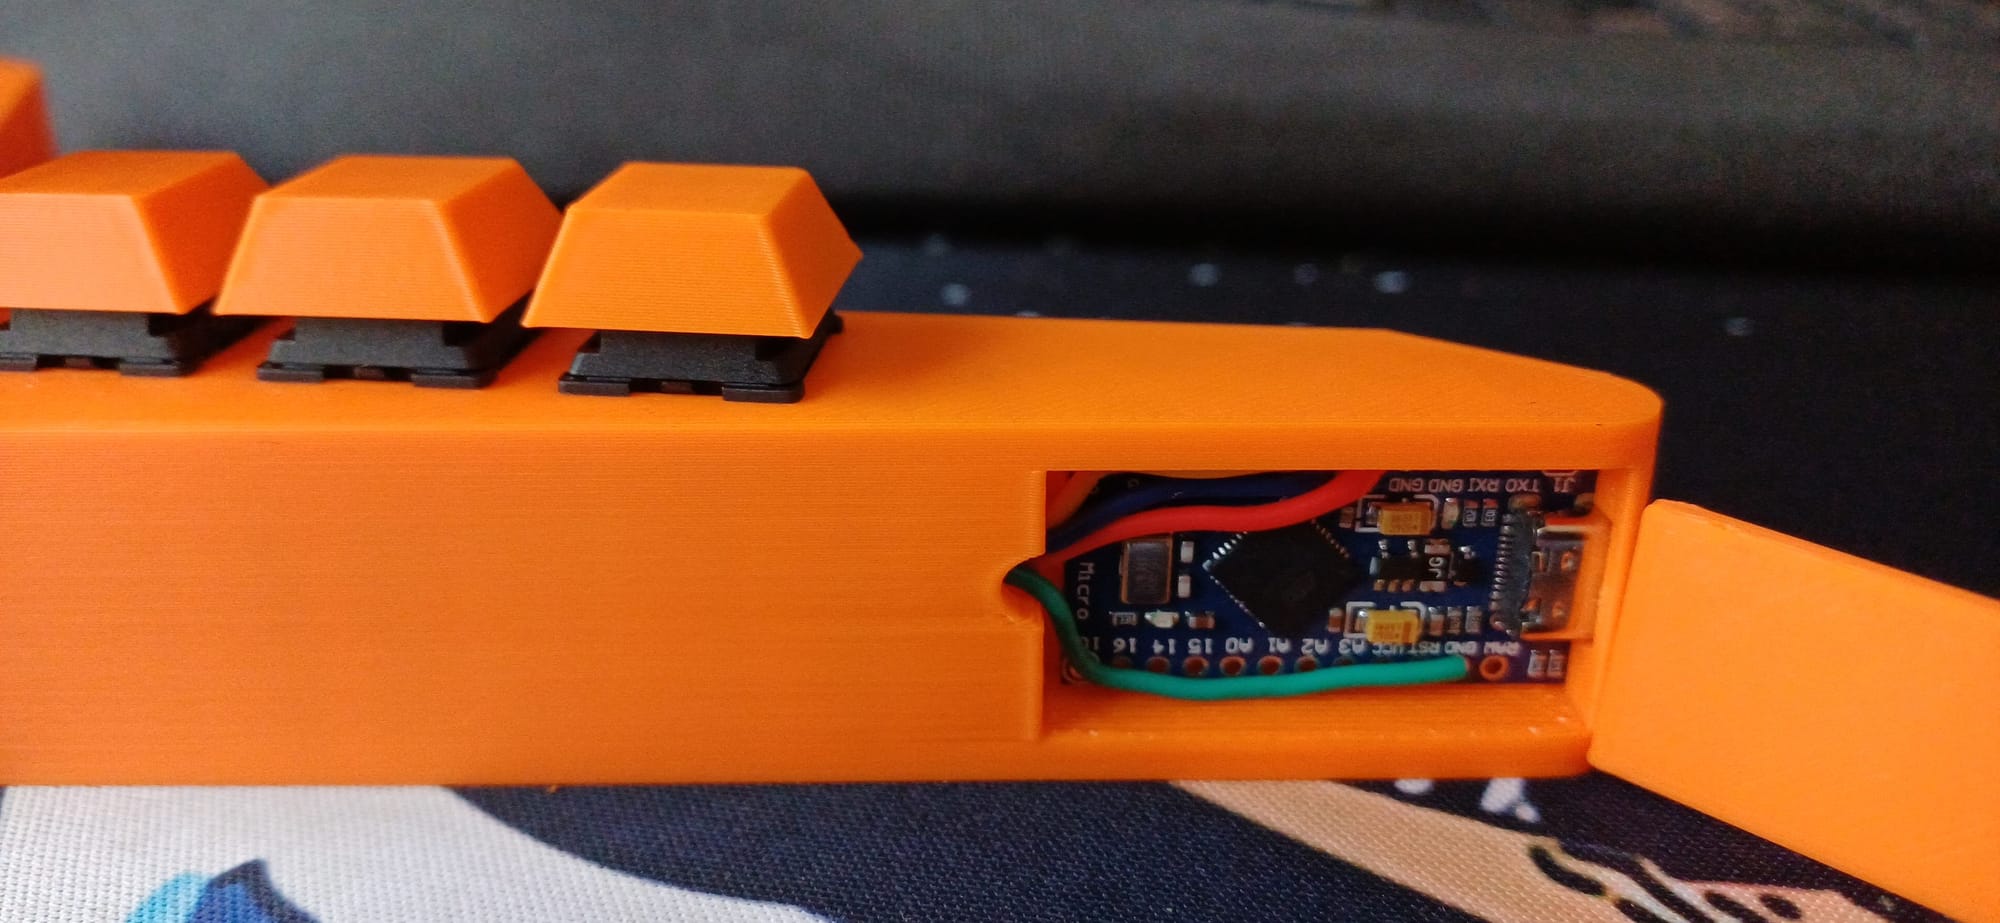
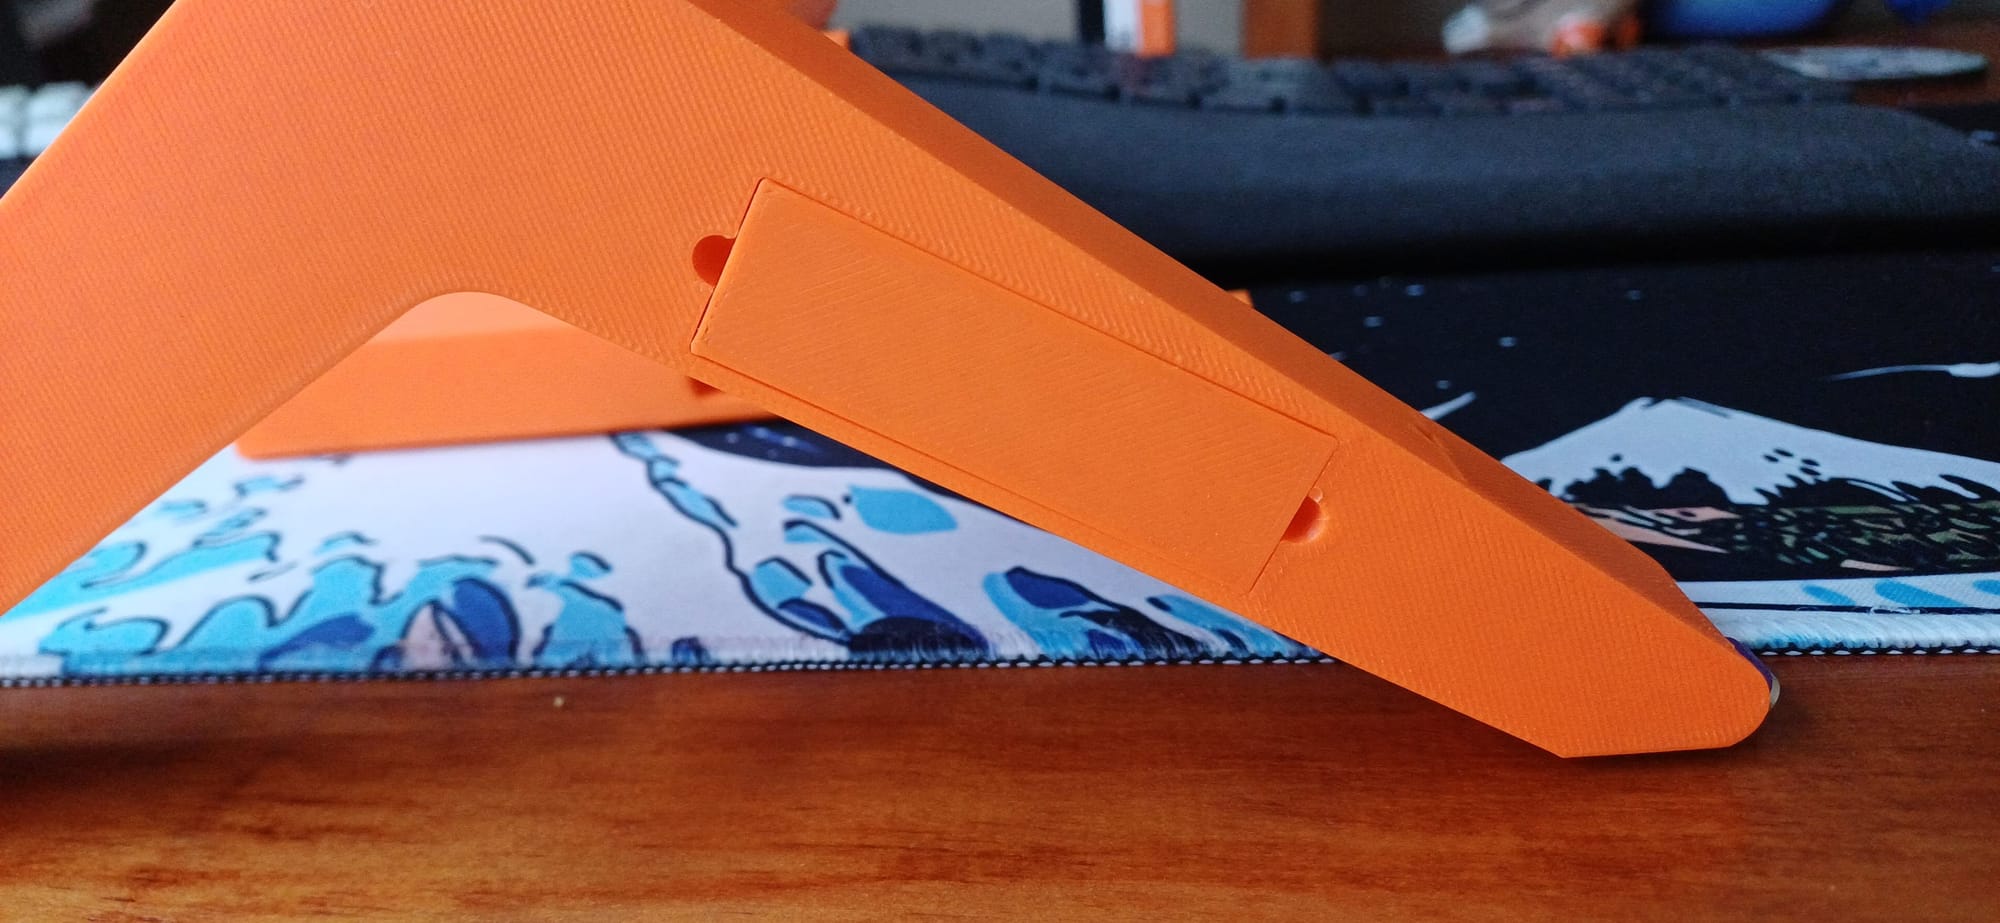
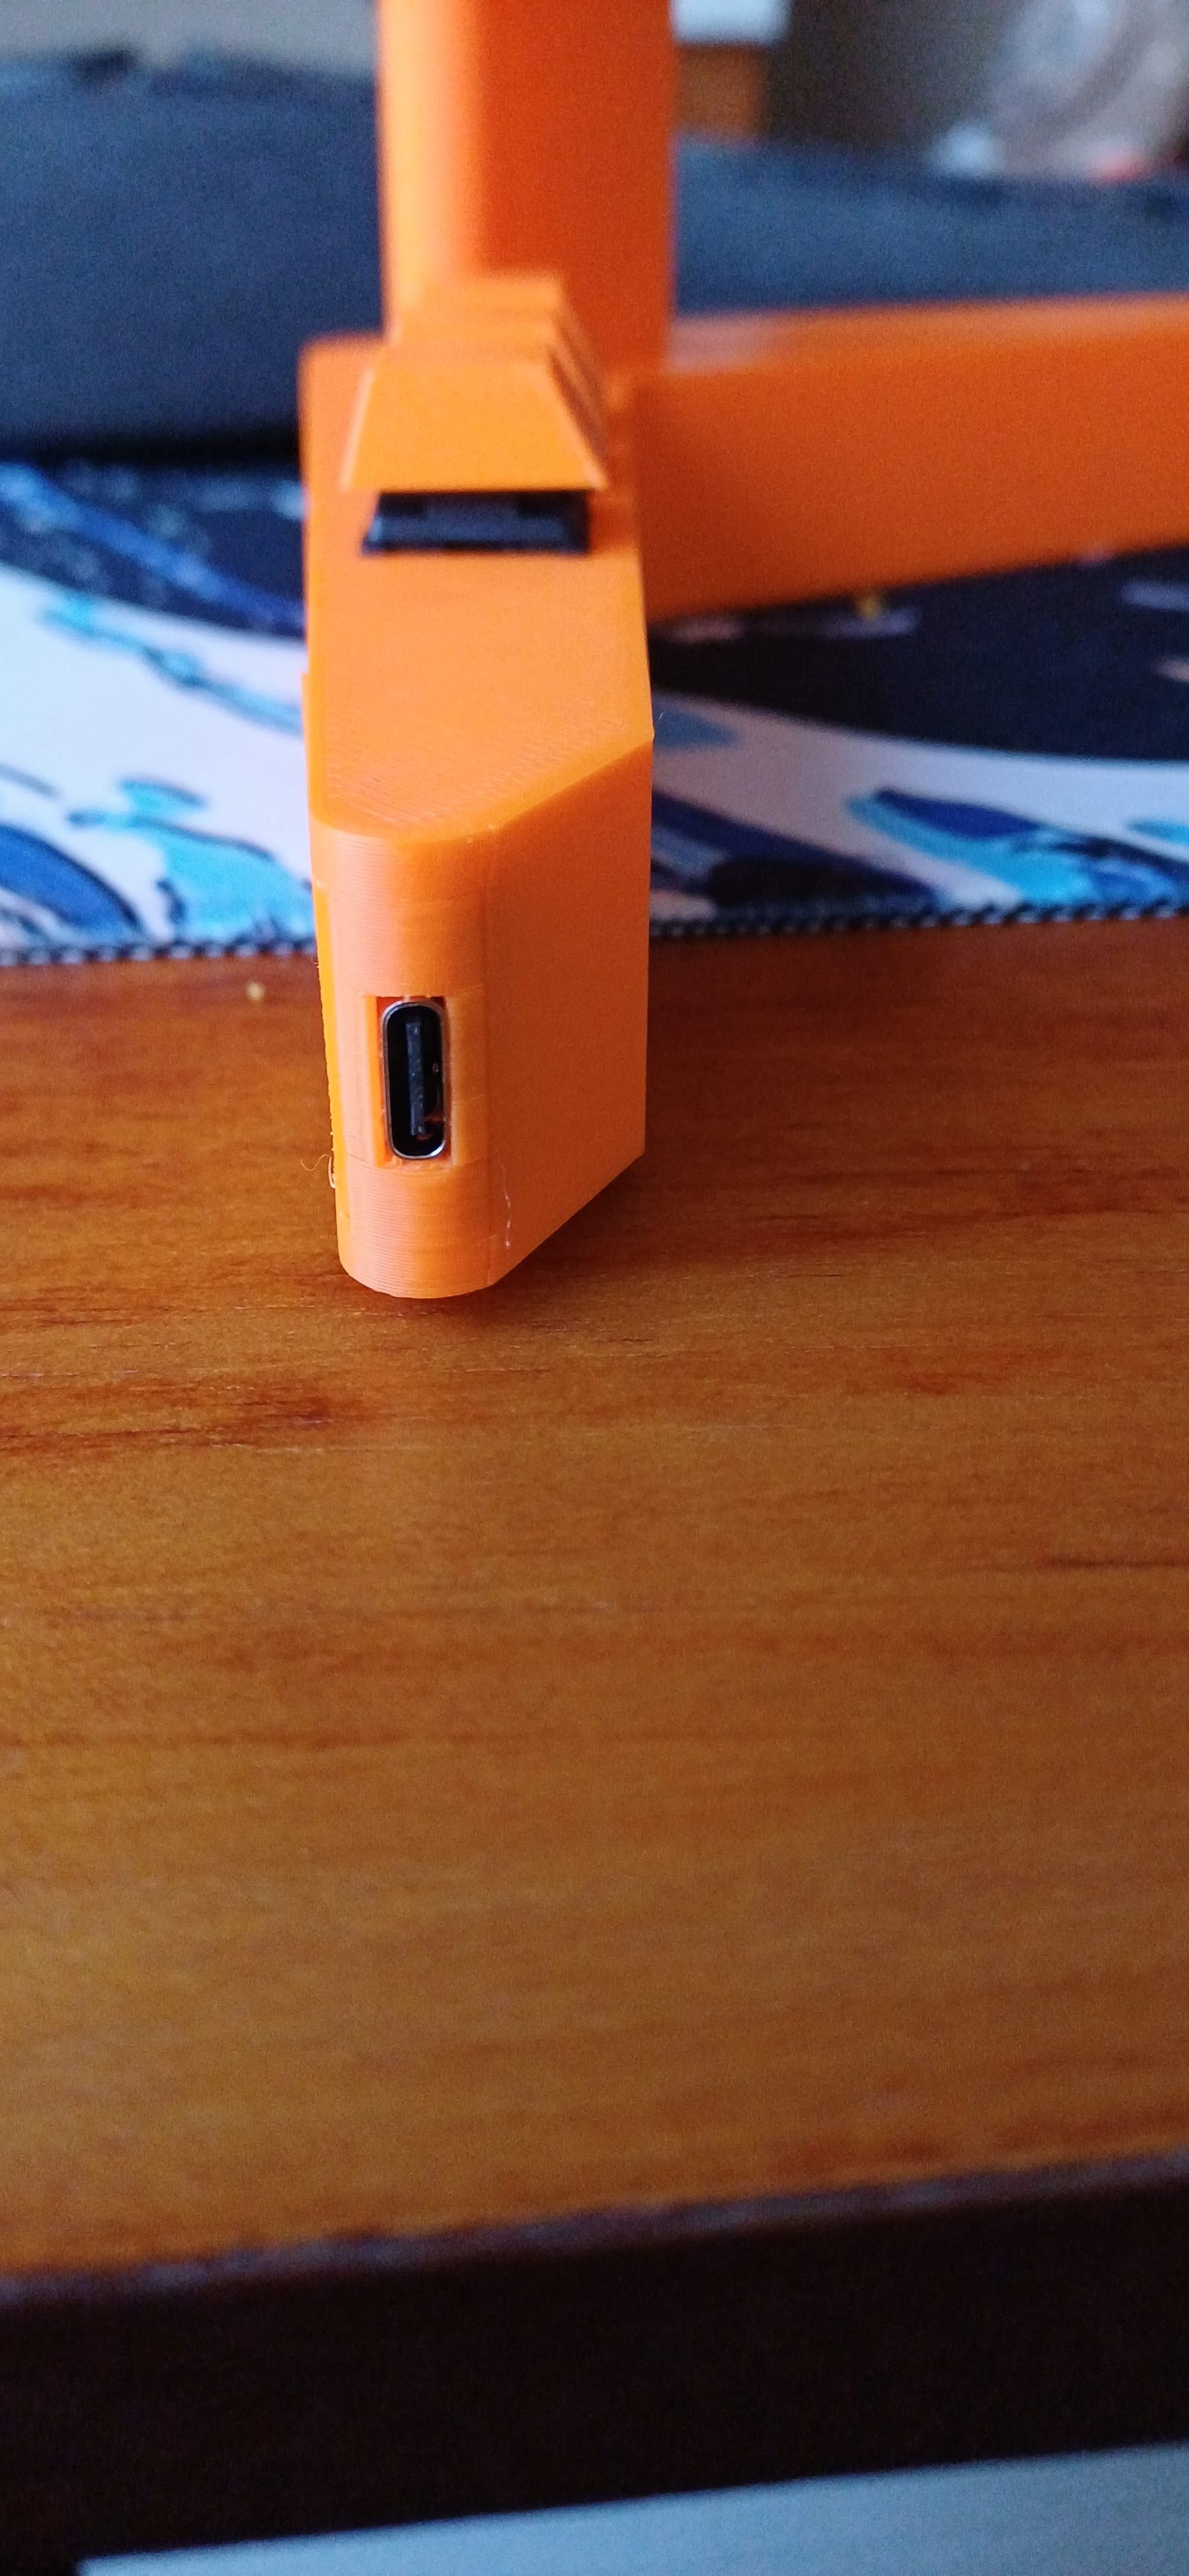
Instead of building another enclosure, I decided to integrate the electronics directly into the screen stand itself.
This turned out to be my favourite version yet.
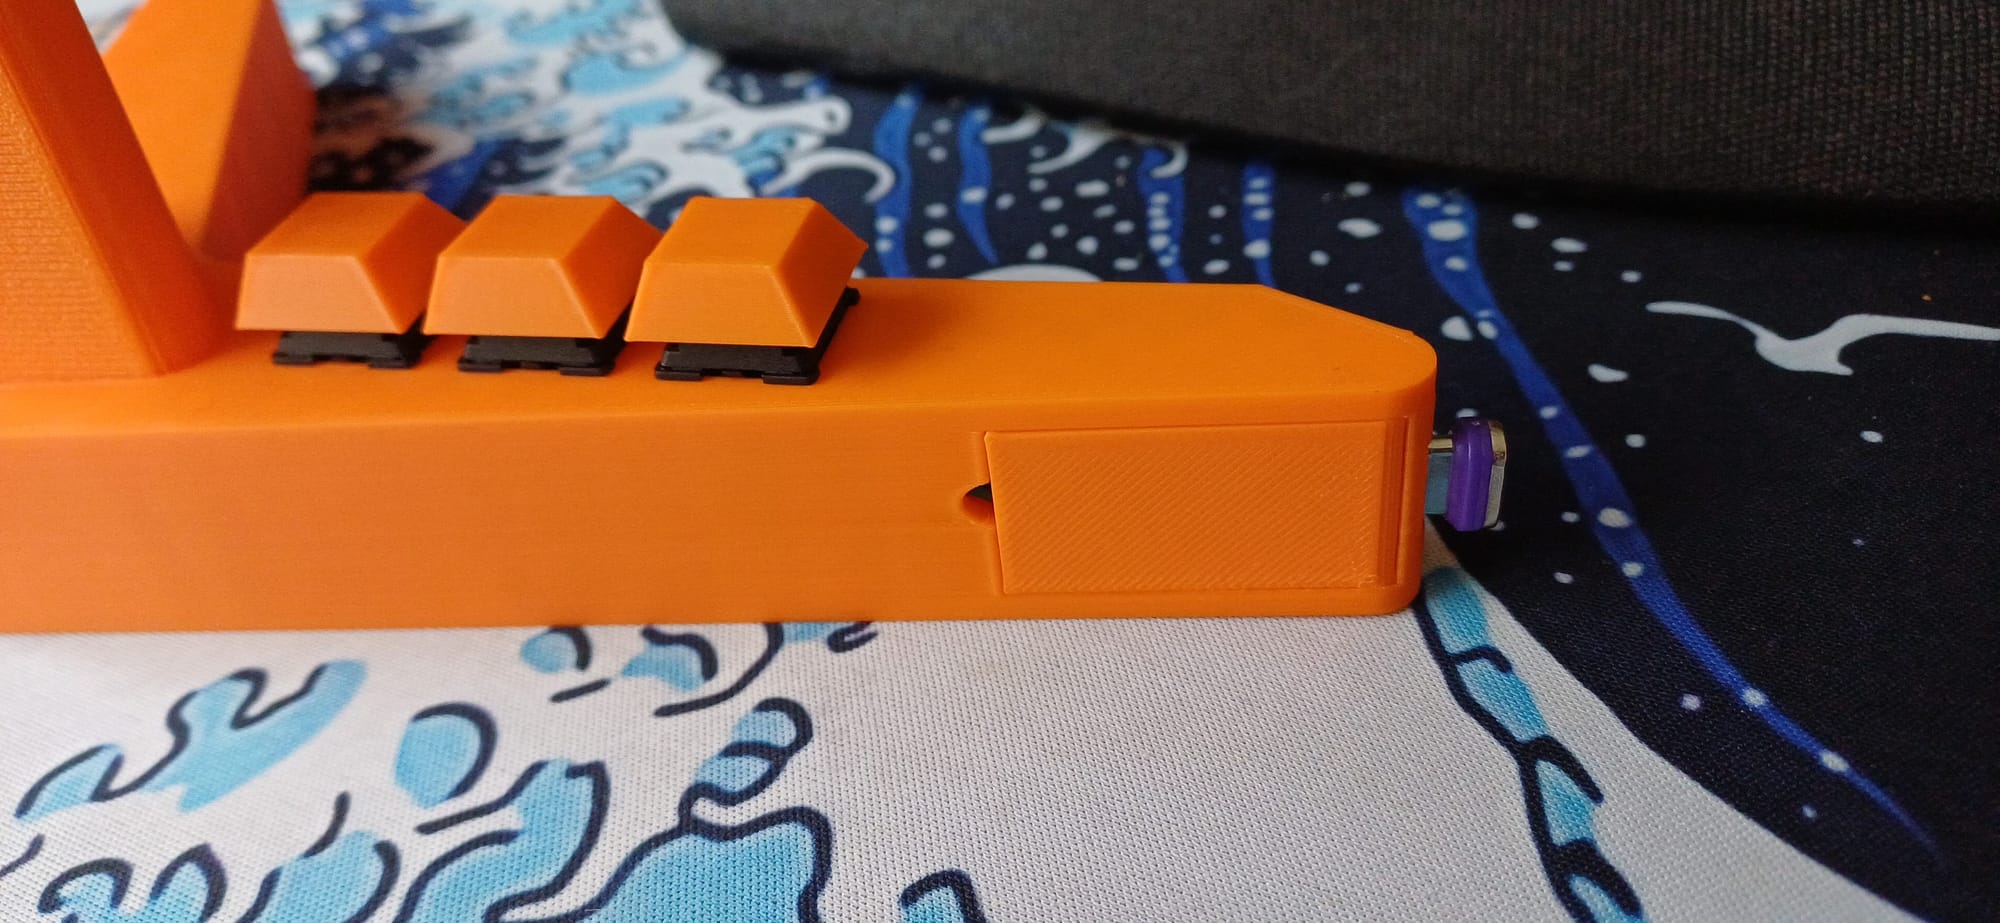
The Arduino Micro is hidden neatly inside the stand alongside three Gateron Blue mechanical keyboard switches.
I also designed and 3D printed custom keycaps to give it a cleaner, more polished appearance.
The result is something that looks like it was always meant to be part of the stand rather than an accessory sitting next to it.
When I unpack my laptop, my macro pad is already there.
No extra cables.
No extra gadgets.
Just three satisfying mechanical keys ready to go.
Modifying the Existing Design
One question I get asked quite often is what CAD software I use.
Normally I'd reach for Onshape for designing parts from scratch.
It's an incredibly capable CAD platform and is what I use for most of my original designs.
For this project though, I took a different approach.
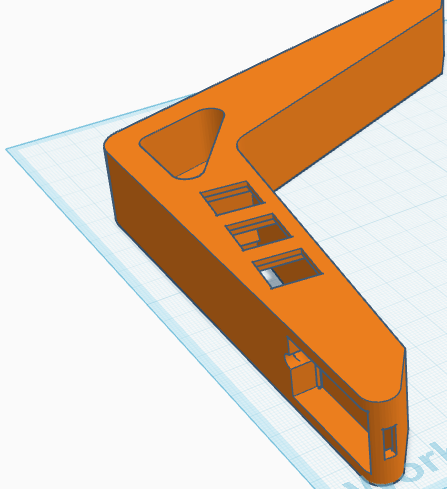
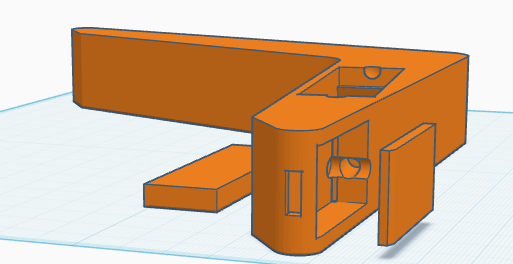
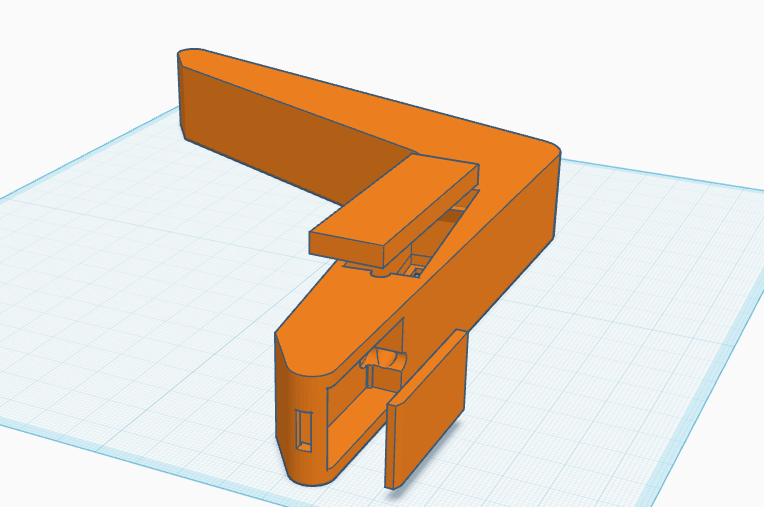
Because I wasn't designing the screen stand myself and only had the original STL files, I found Tinkercad much quicker for making simple modifications.
👉The original design here
👉The remix stand I used here
I used it to:
- Cut openings for the mechanical switches.
- Create mounting points for the Arduino.
- Add covers for the electronics.
- Modify the existing geometry without having to recreate the entire model.
Sometimes using the simplest tool is the right choice.
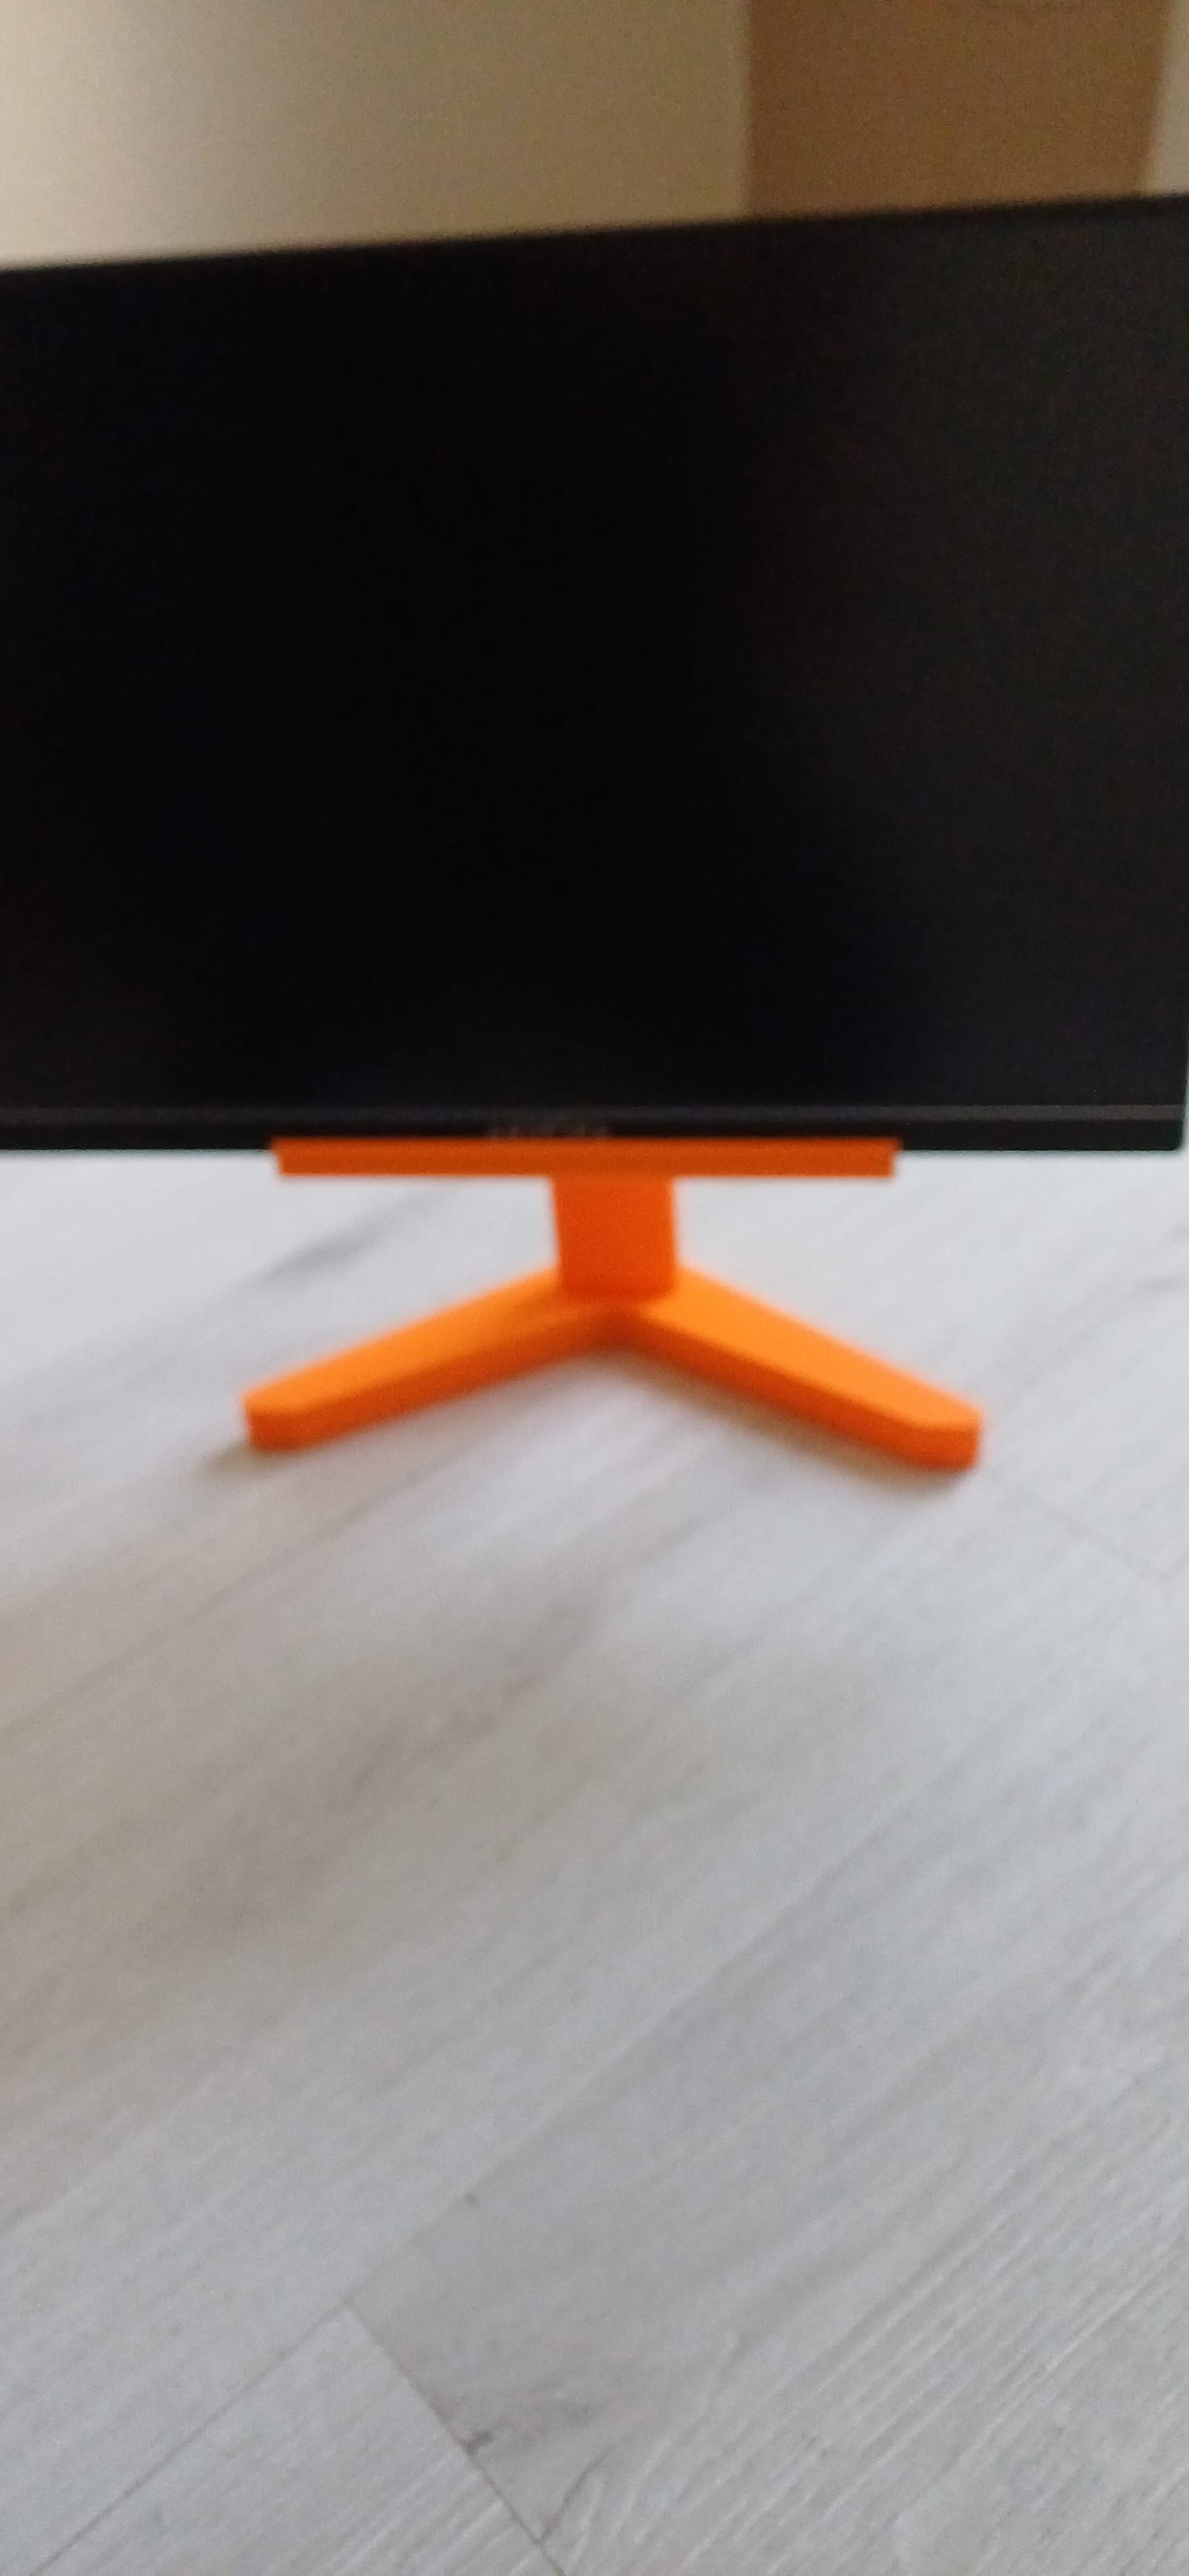
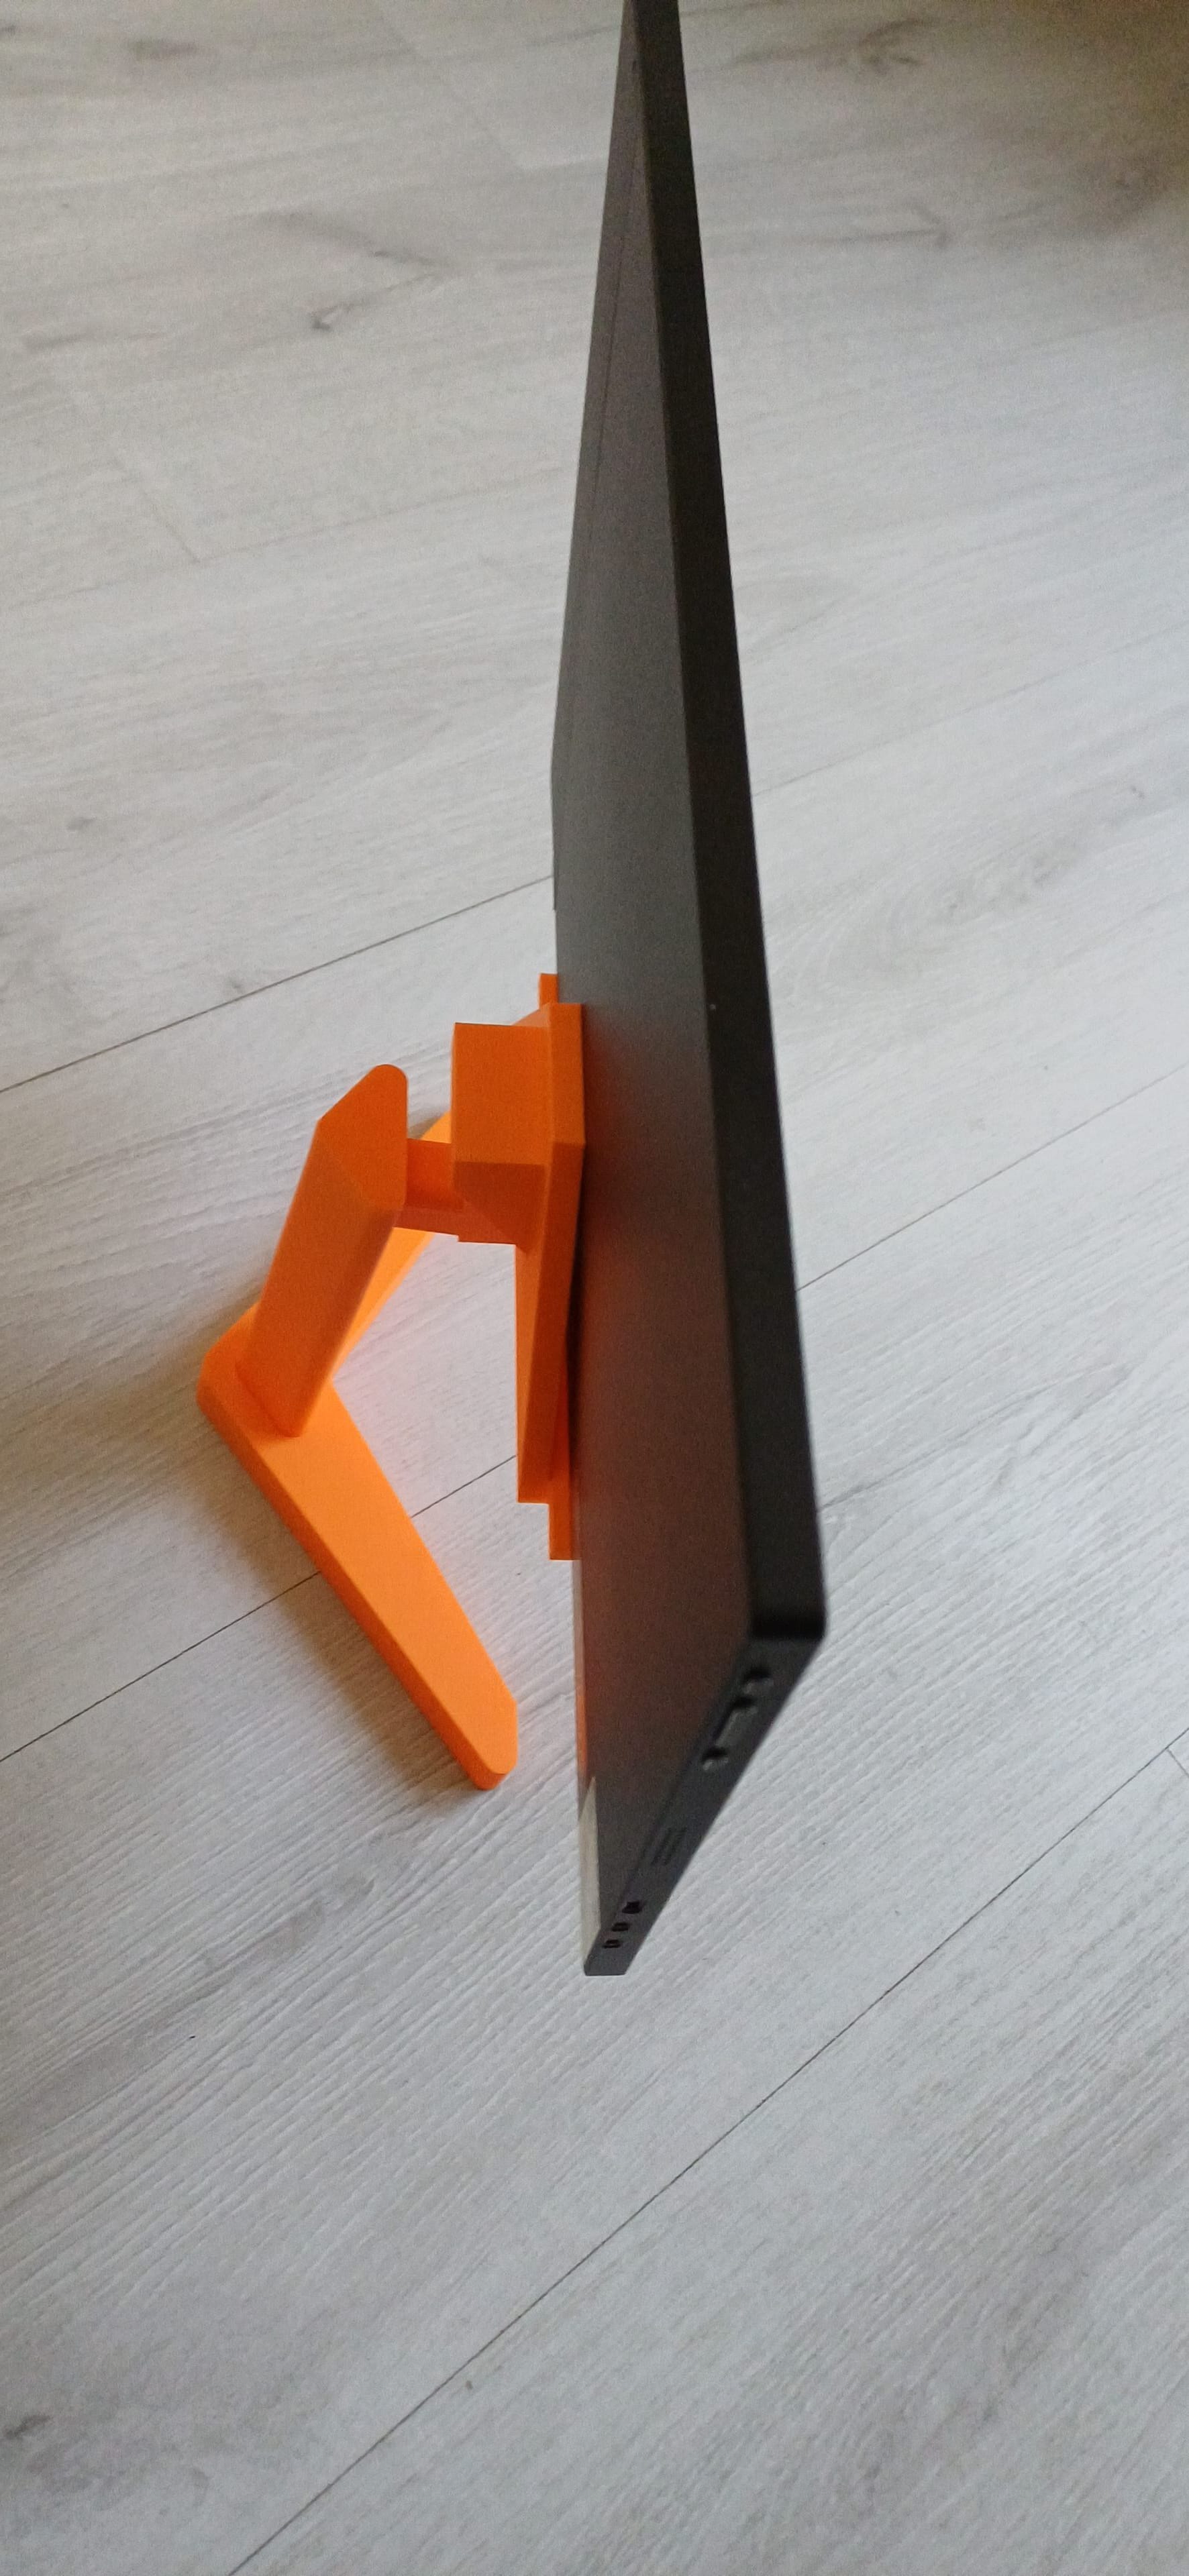
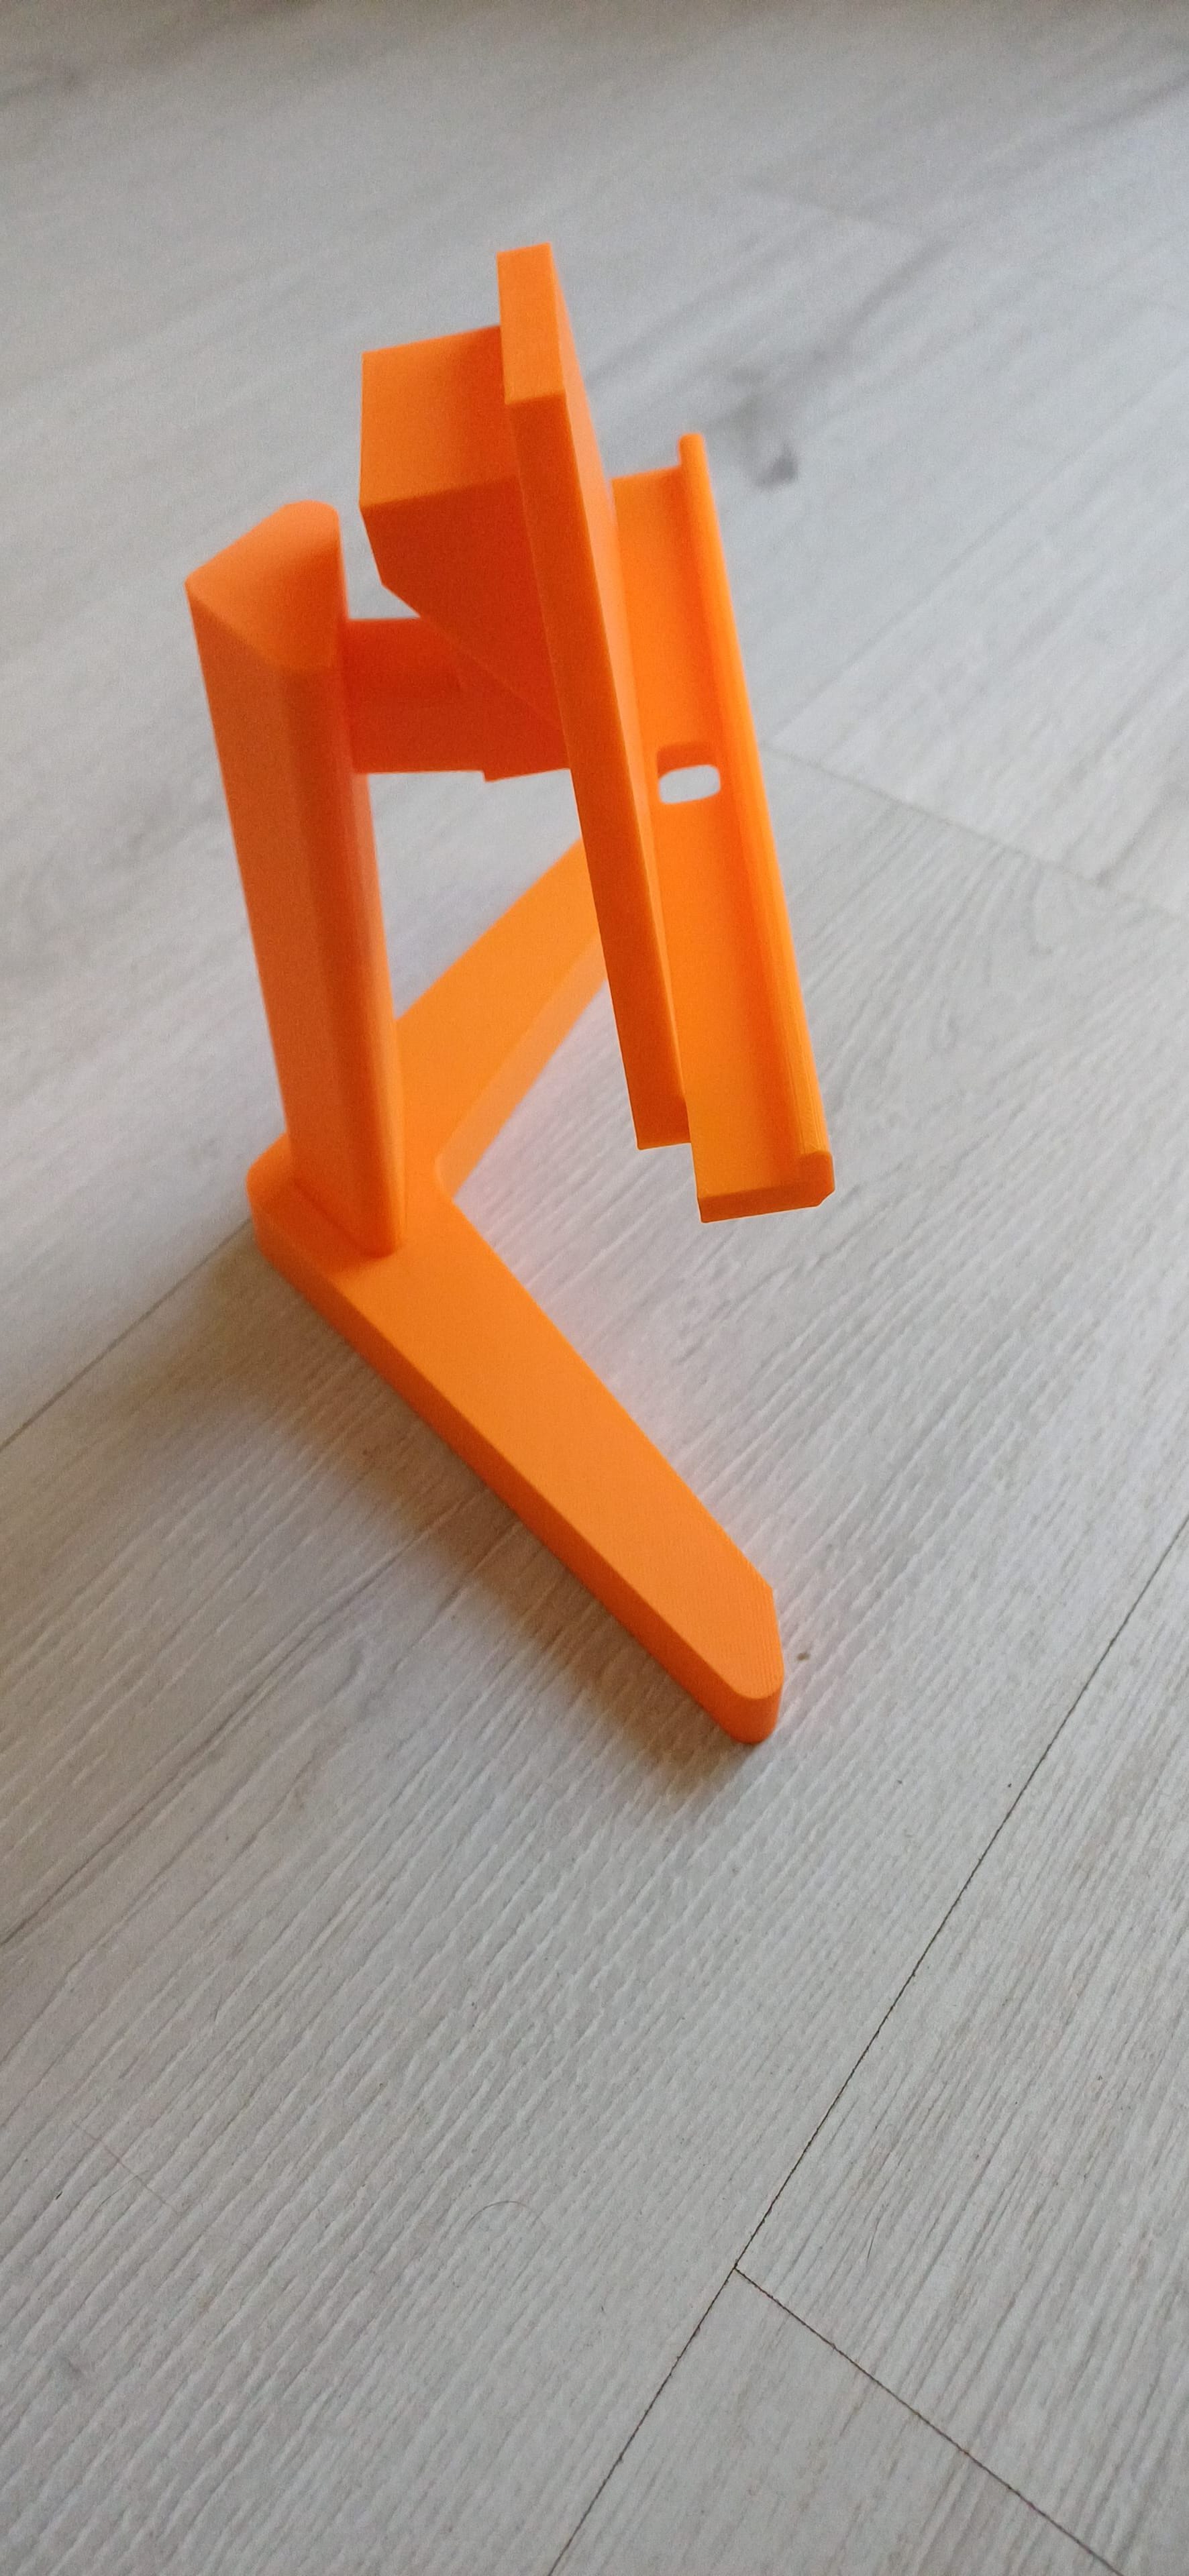
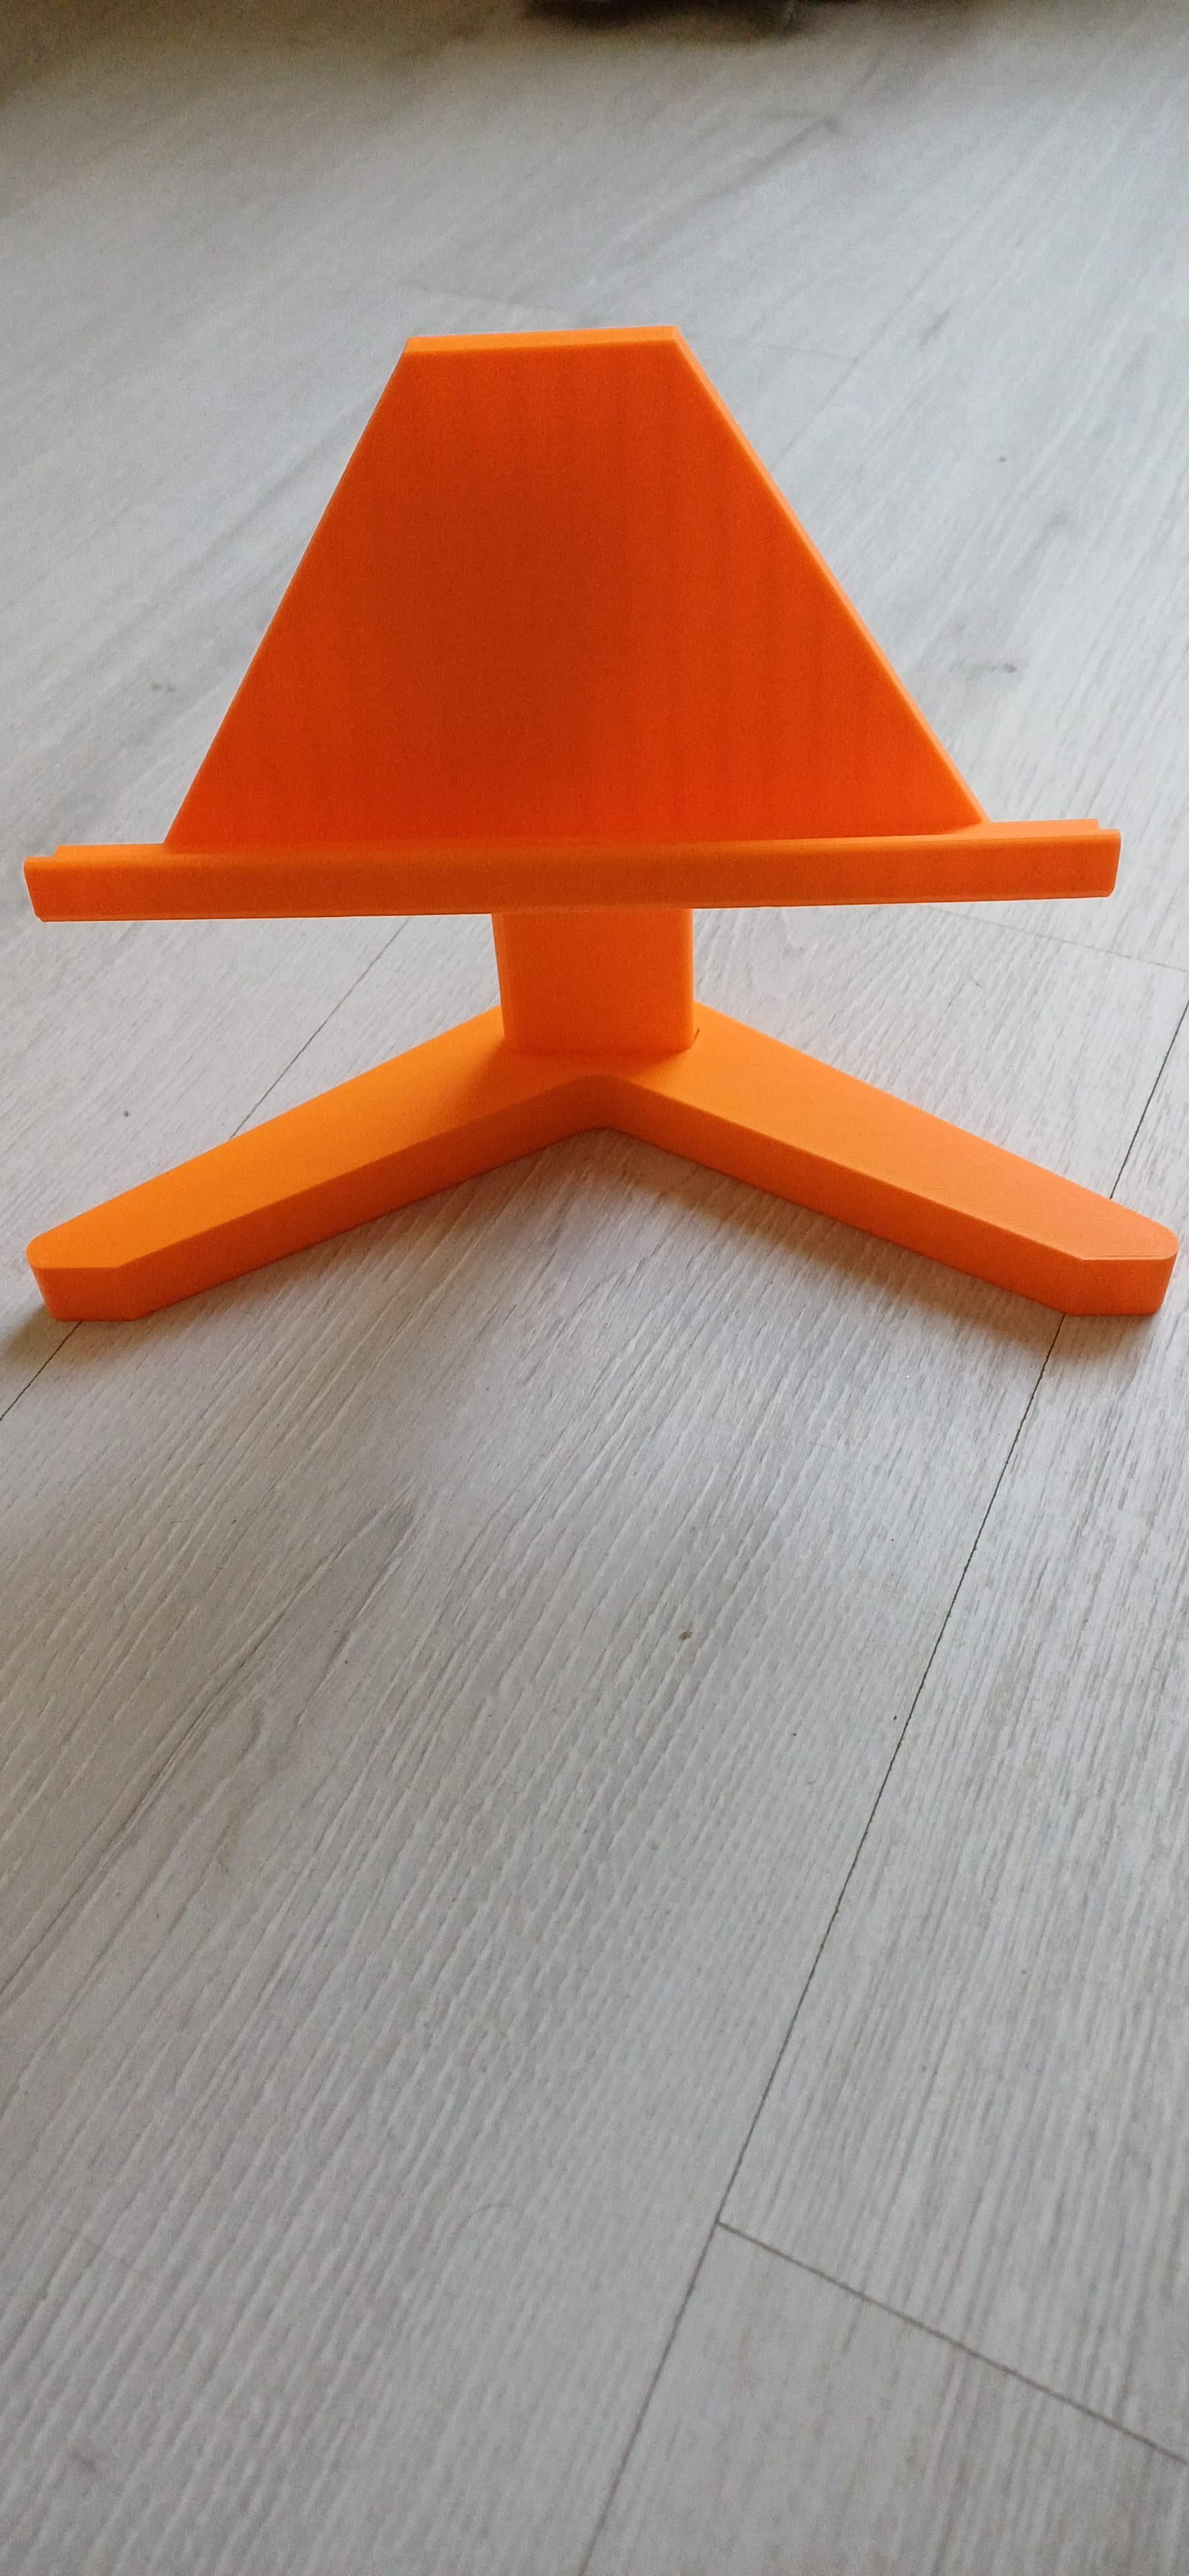
The original stand
Why Mechanical Switches?
The upgrade from standard push buttons to Gateron Blue switches completely changed the feel of the device.
Each key has a crisp tactile click that provides instant feedback.
It makes the macro pad feel much closer to a premium keyboard rather than a DIY electronics project.
Combined with the custom printed keycaps, it feels surprisingly professional.
What's Next?
One thing I love about DIY projects is that they're never really finished.
Every time I build something, I think of another feature I want to add.
I'm already considering ideas such as:
- RGB status lighting.
- Rotary encoder for volume or media controls.
But for now, this version will be my everyday office carry.
It's compact, reliable, and saves me countless clicks every single day.
Sometimes the best projects aren't the most complicated ones—they're the ones you end up using without even thinking about them.
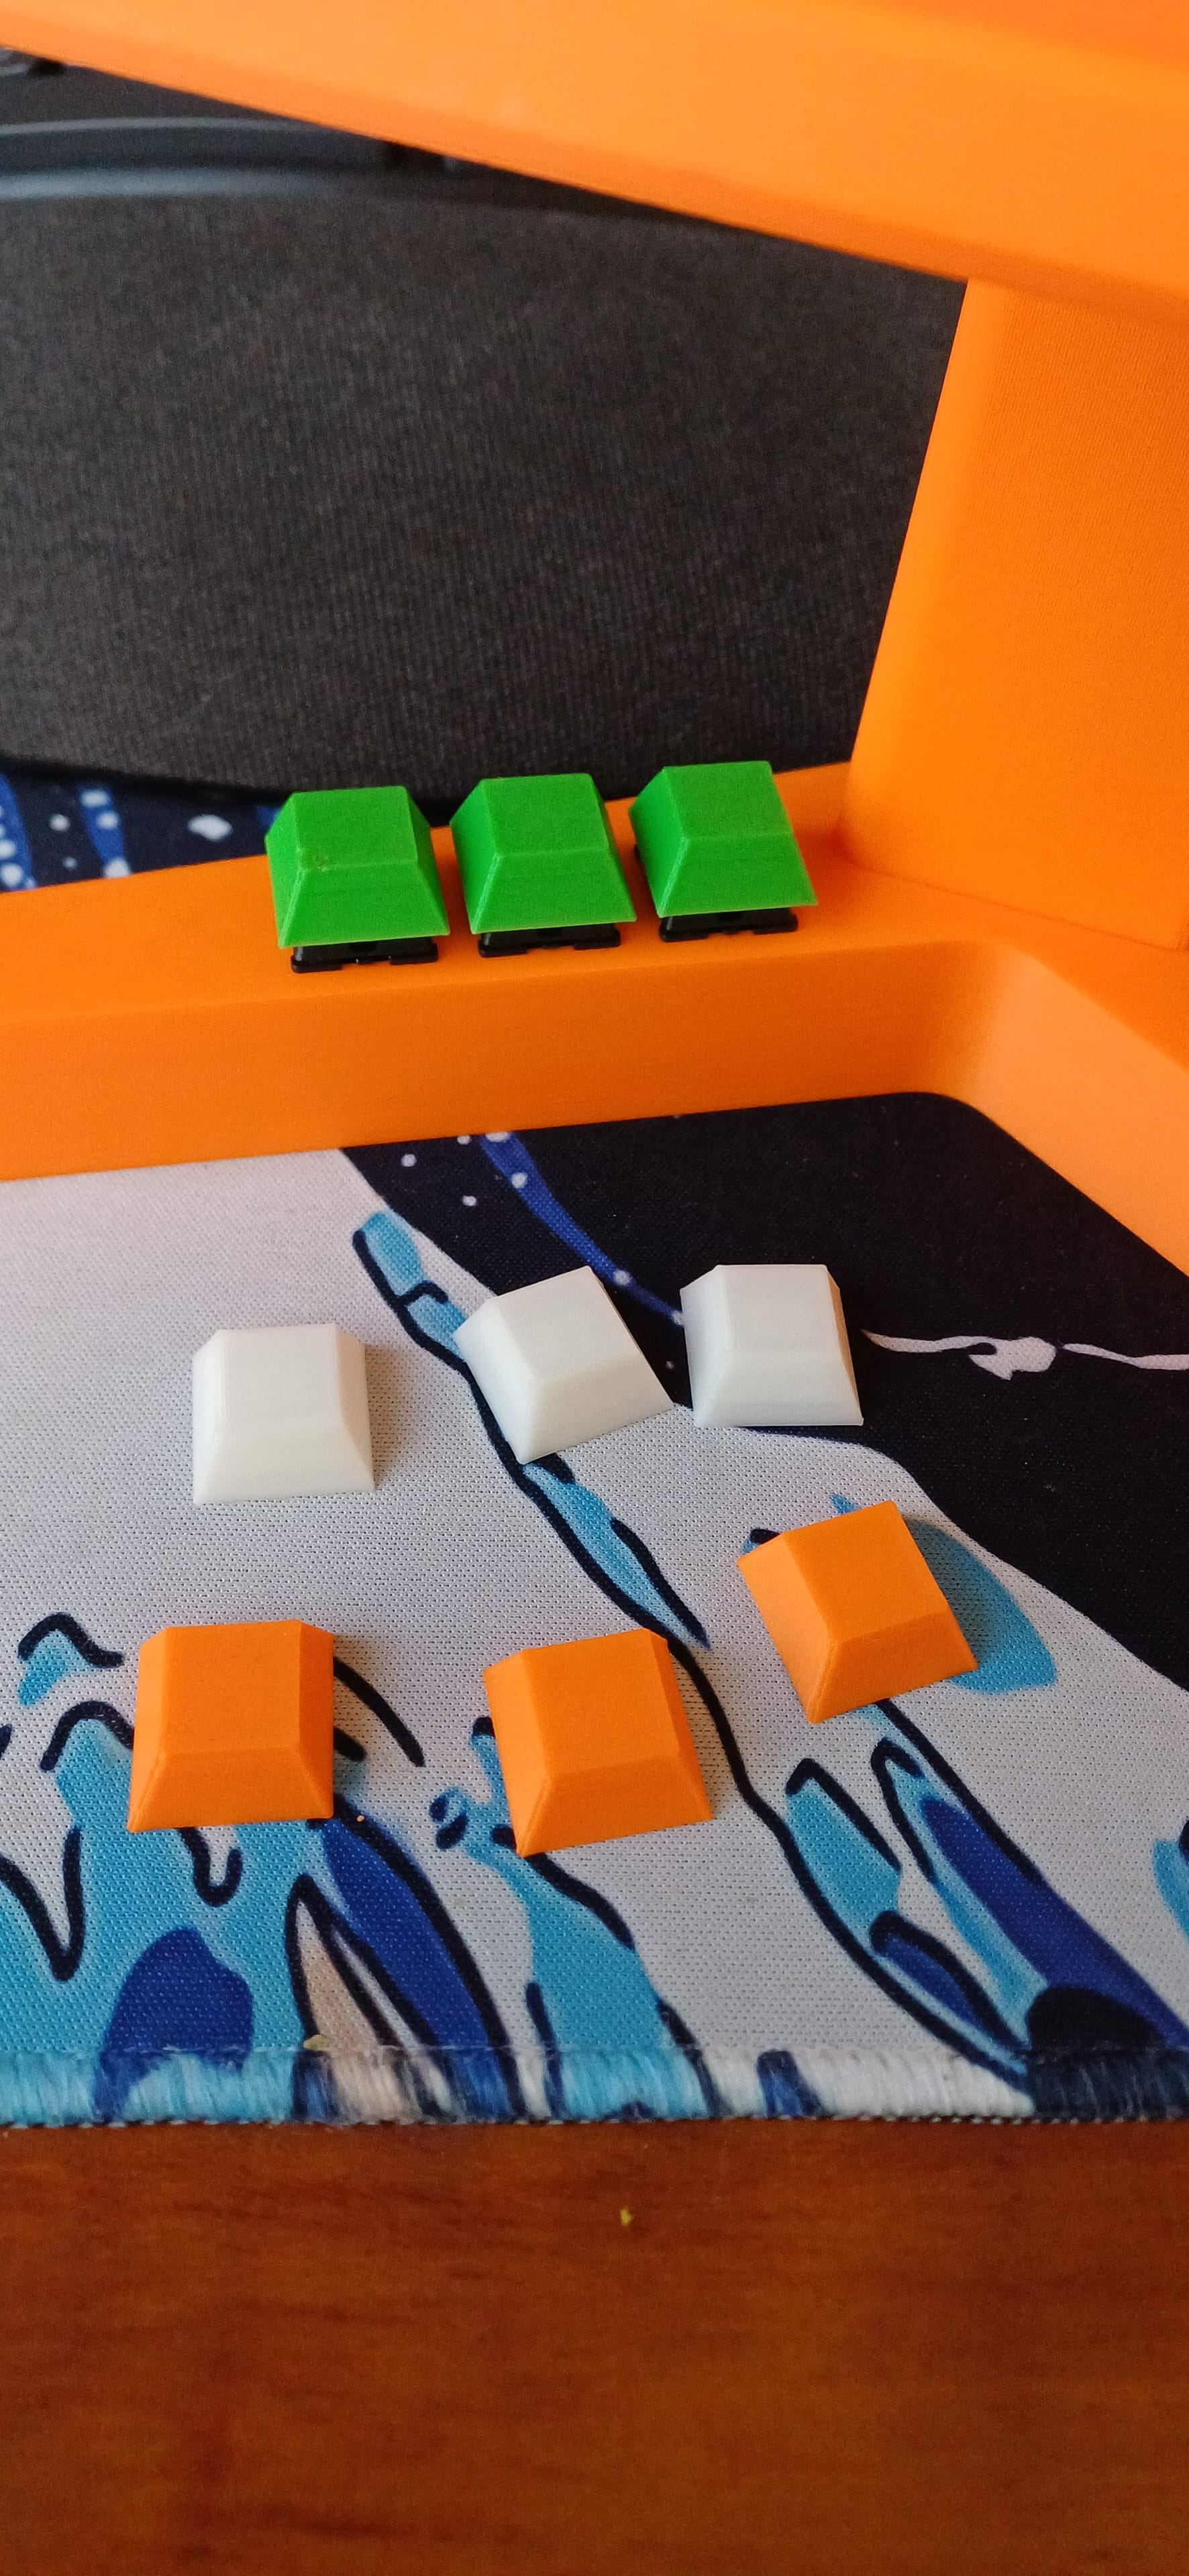
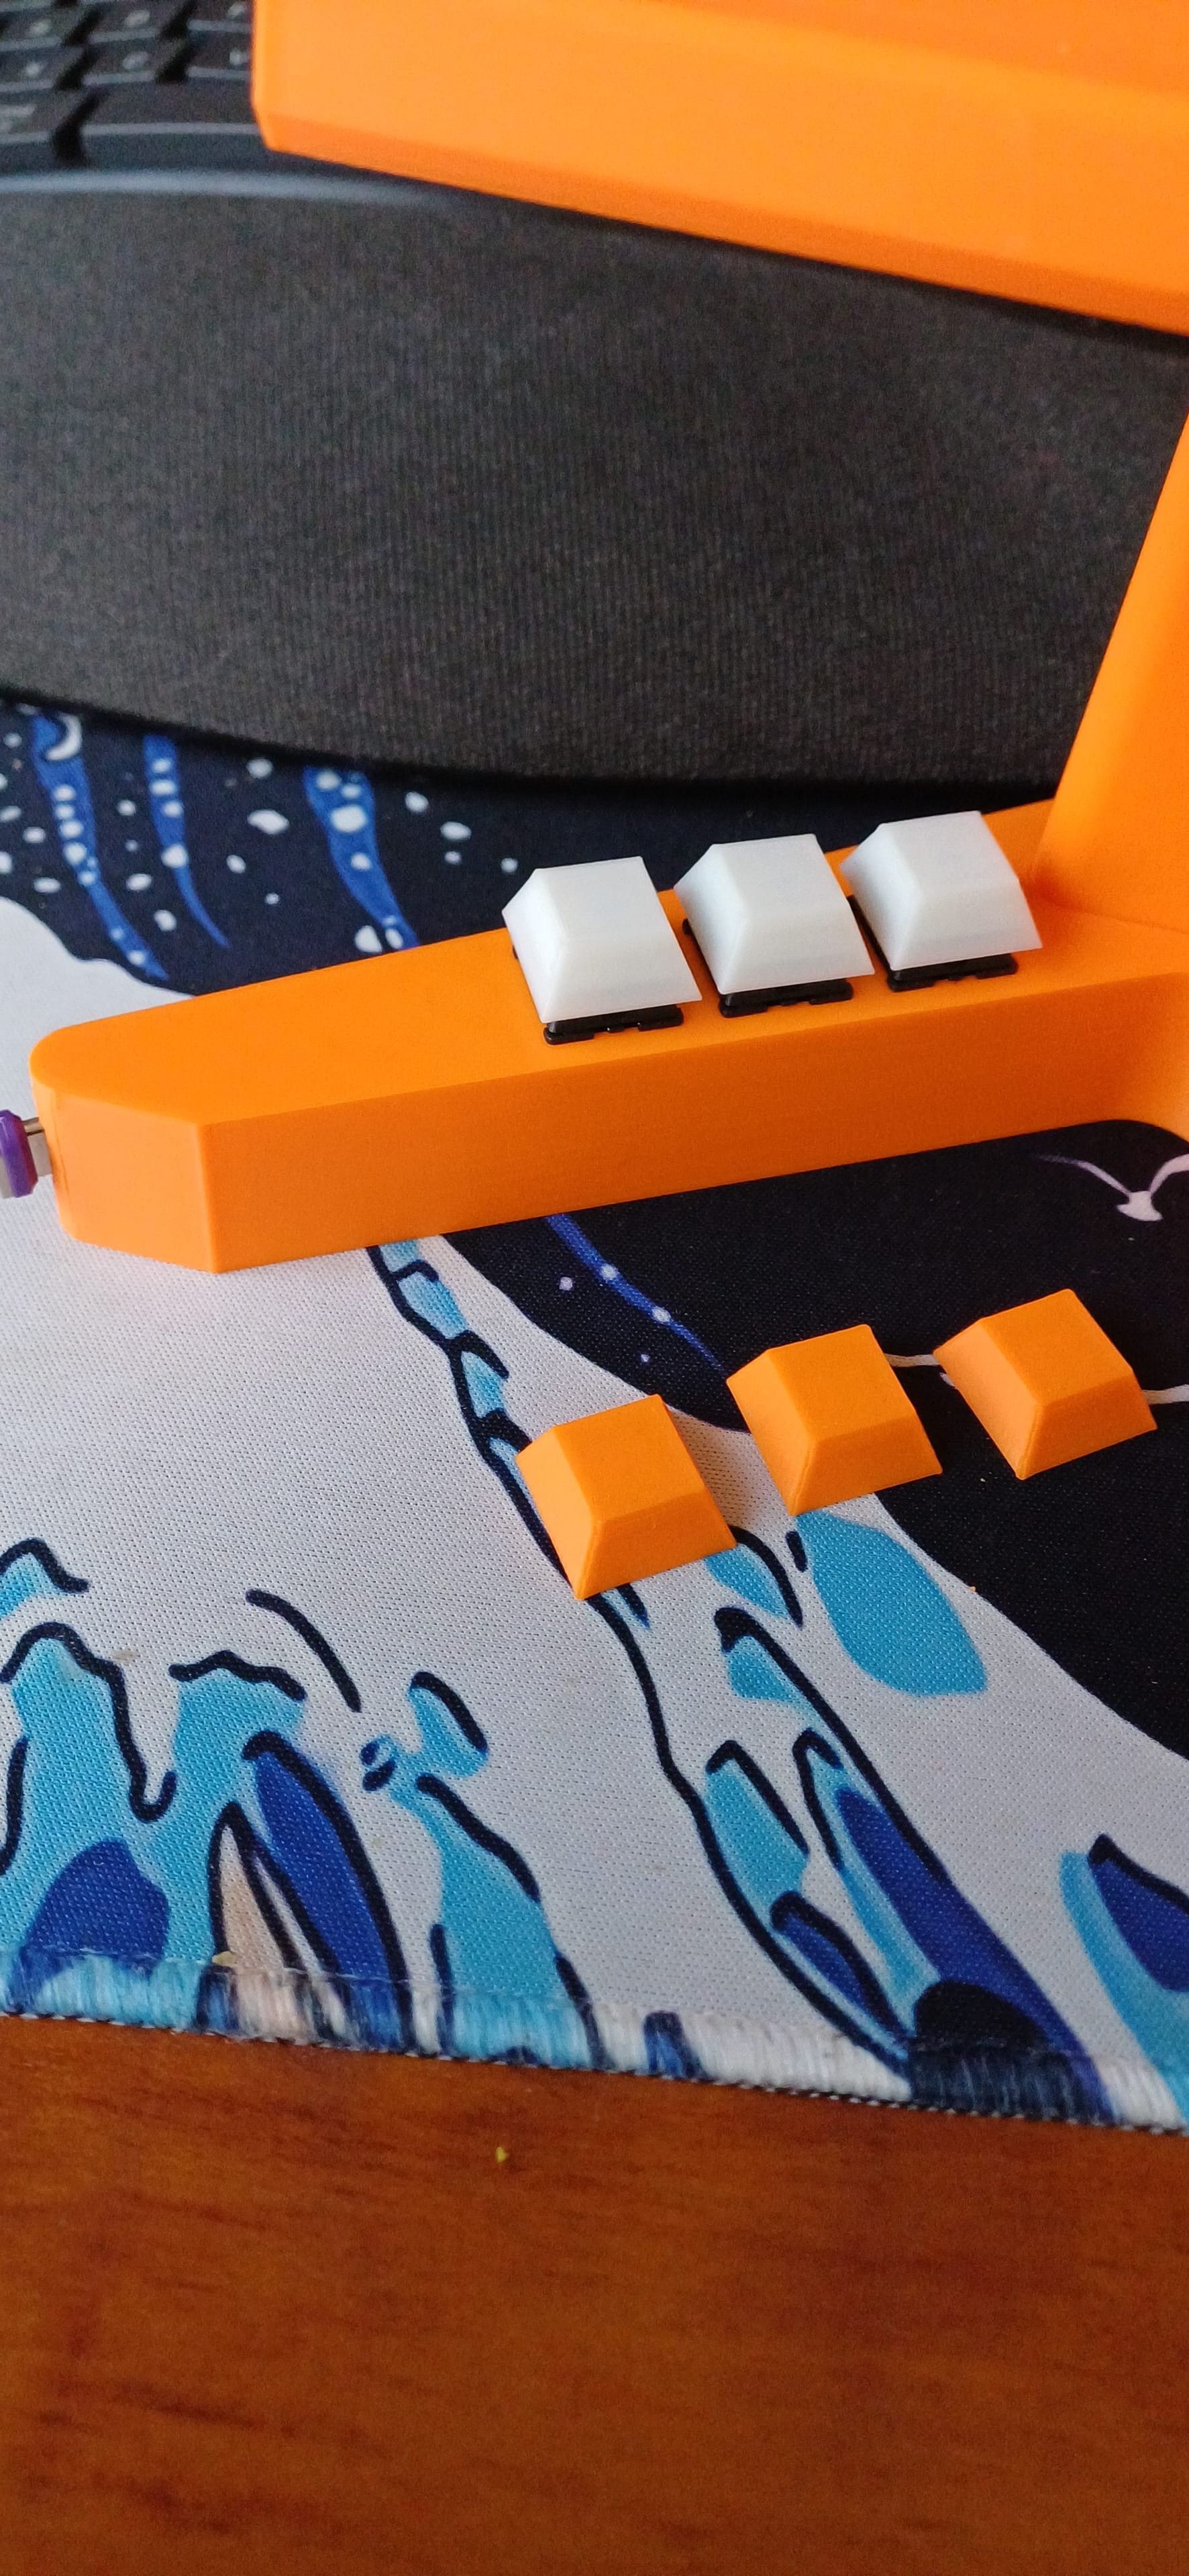
Tinkercad Images