DIY Macro Keypad
Why buy it when you can build it for double the price LOL. Not really.
So firstly what is a Macro Pad. Well in short a macro pad is a series of buttons that allow you to trigger specific actions. Copy/paste is an excellent example of this type of function. If you press CTRL + C on your keyboard, this activates the copy shortcut and copies whatever you’ve highlighted to the clipboard.
This is a simple example, but you could log into services, open a browser with all required sites and tabs. You could store login credentials and auto fill them.
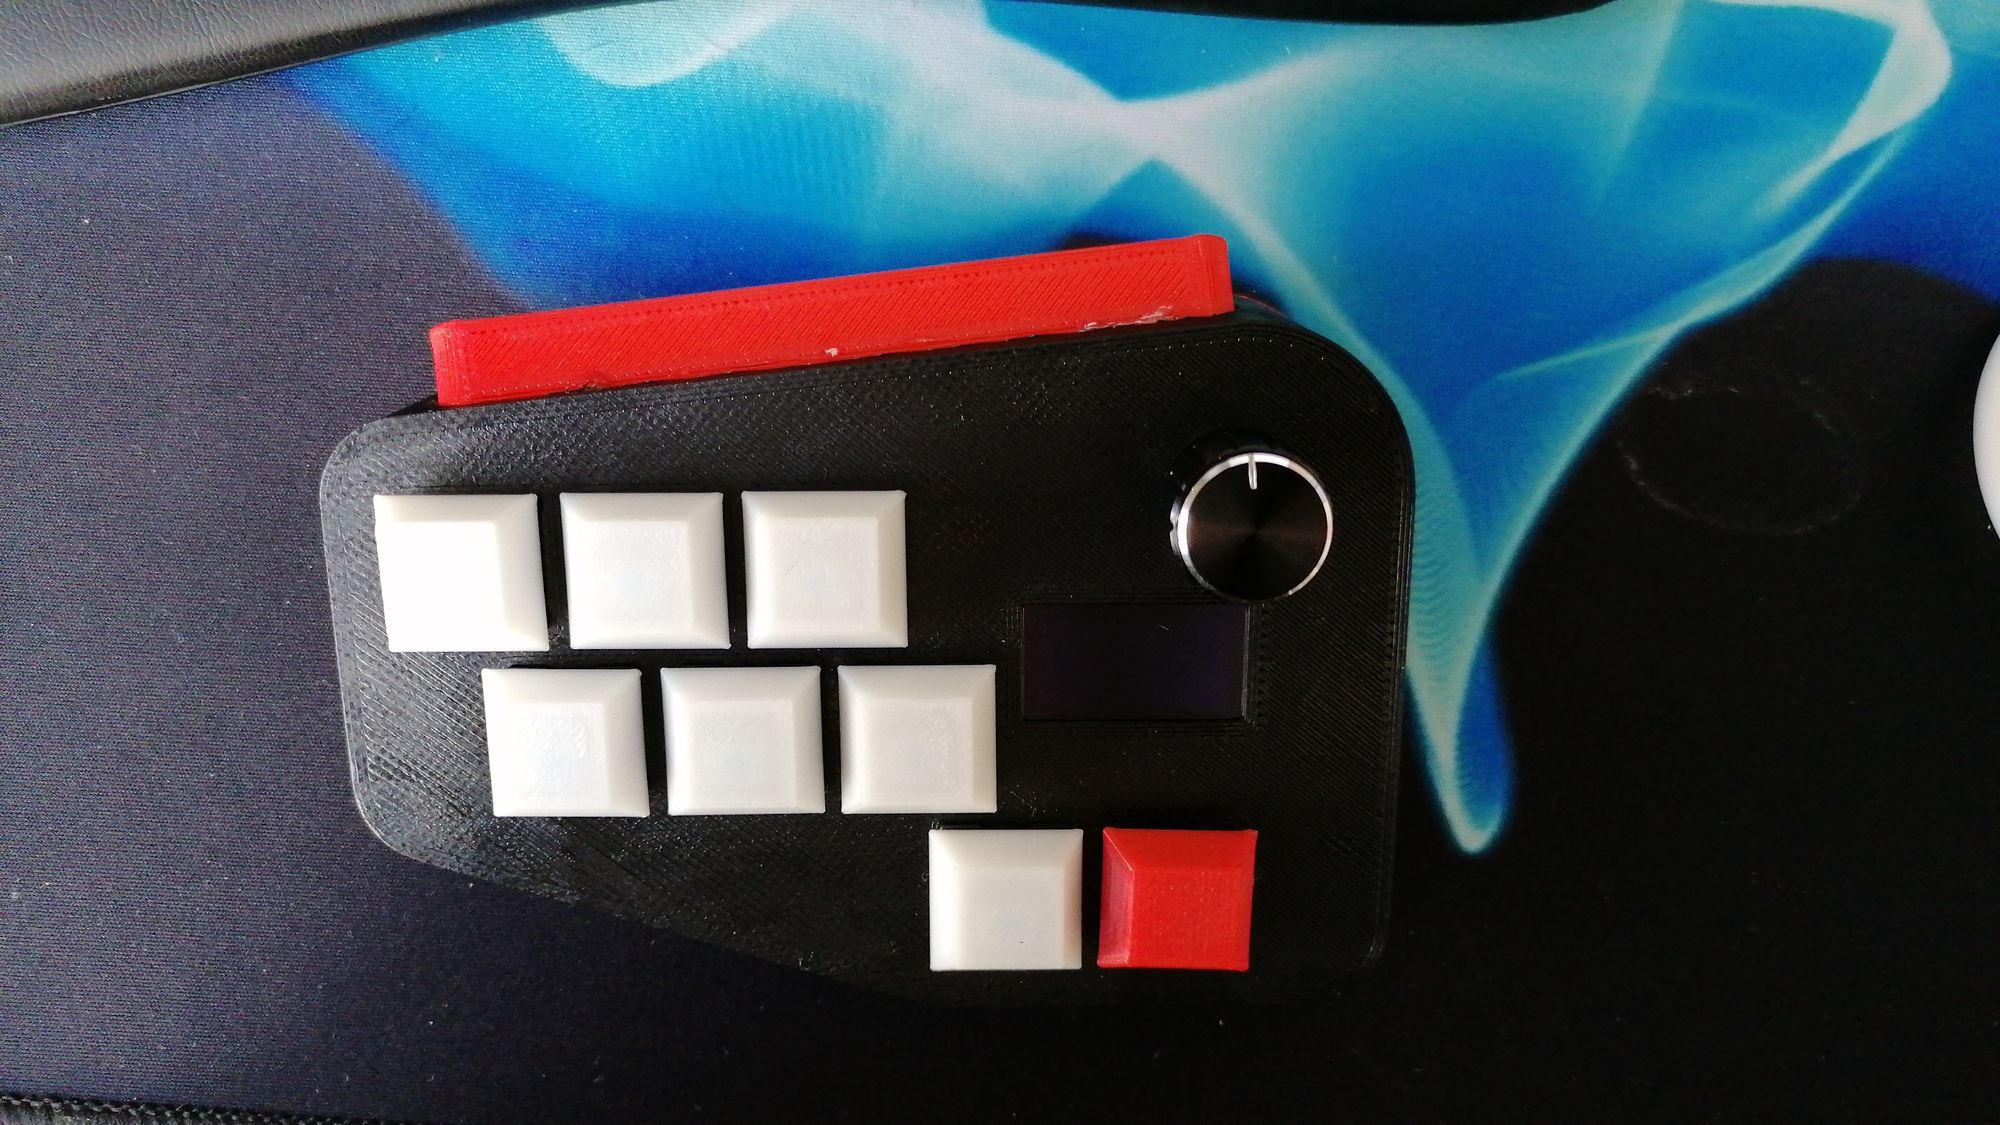
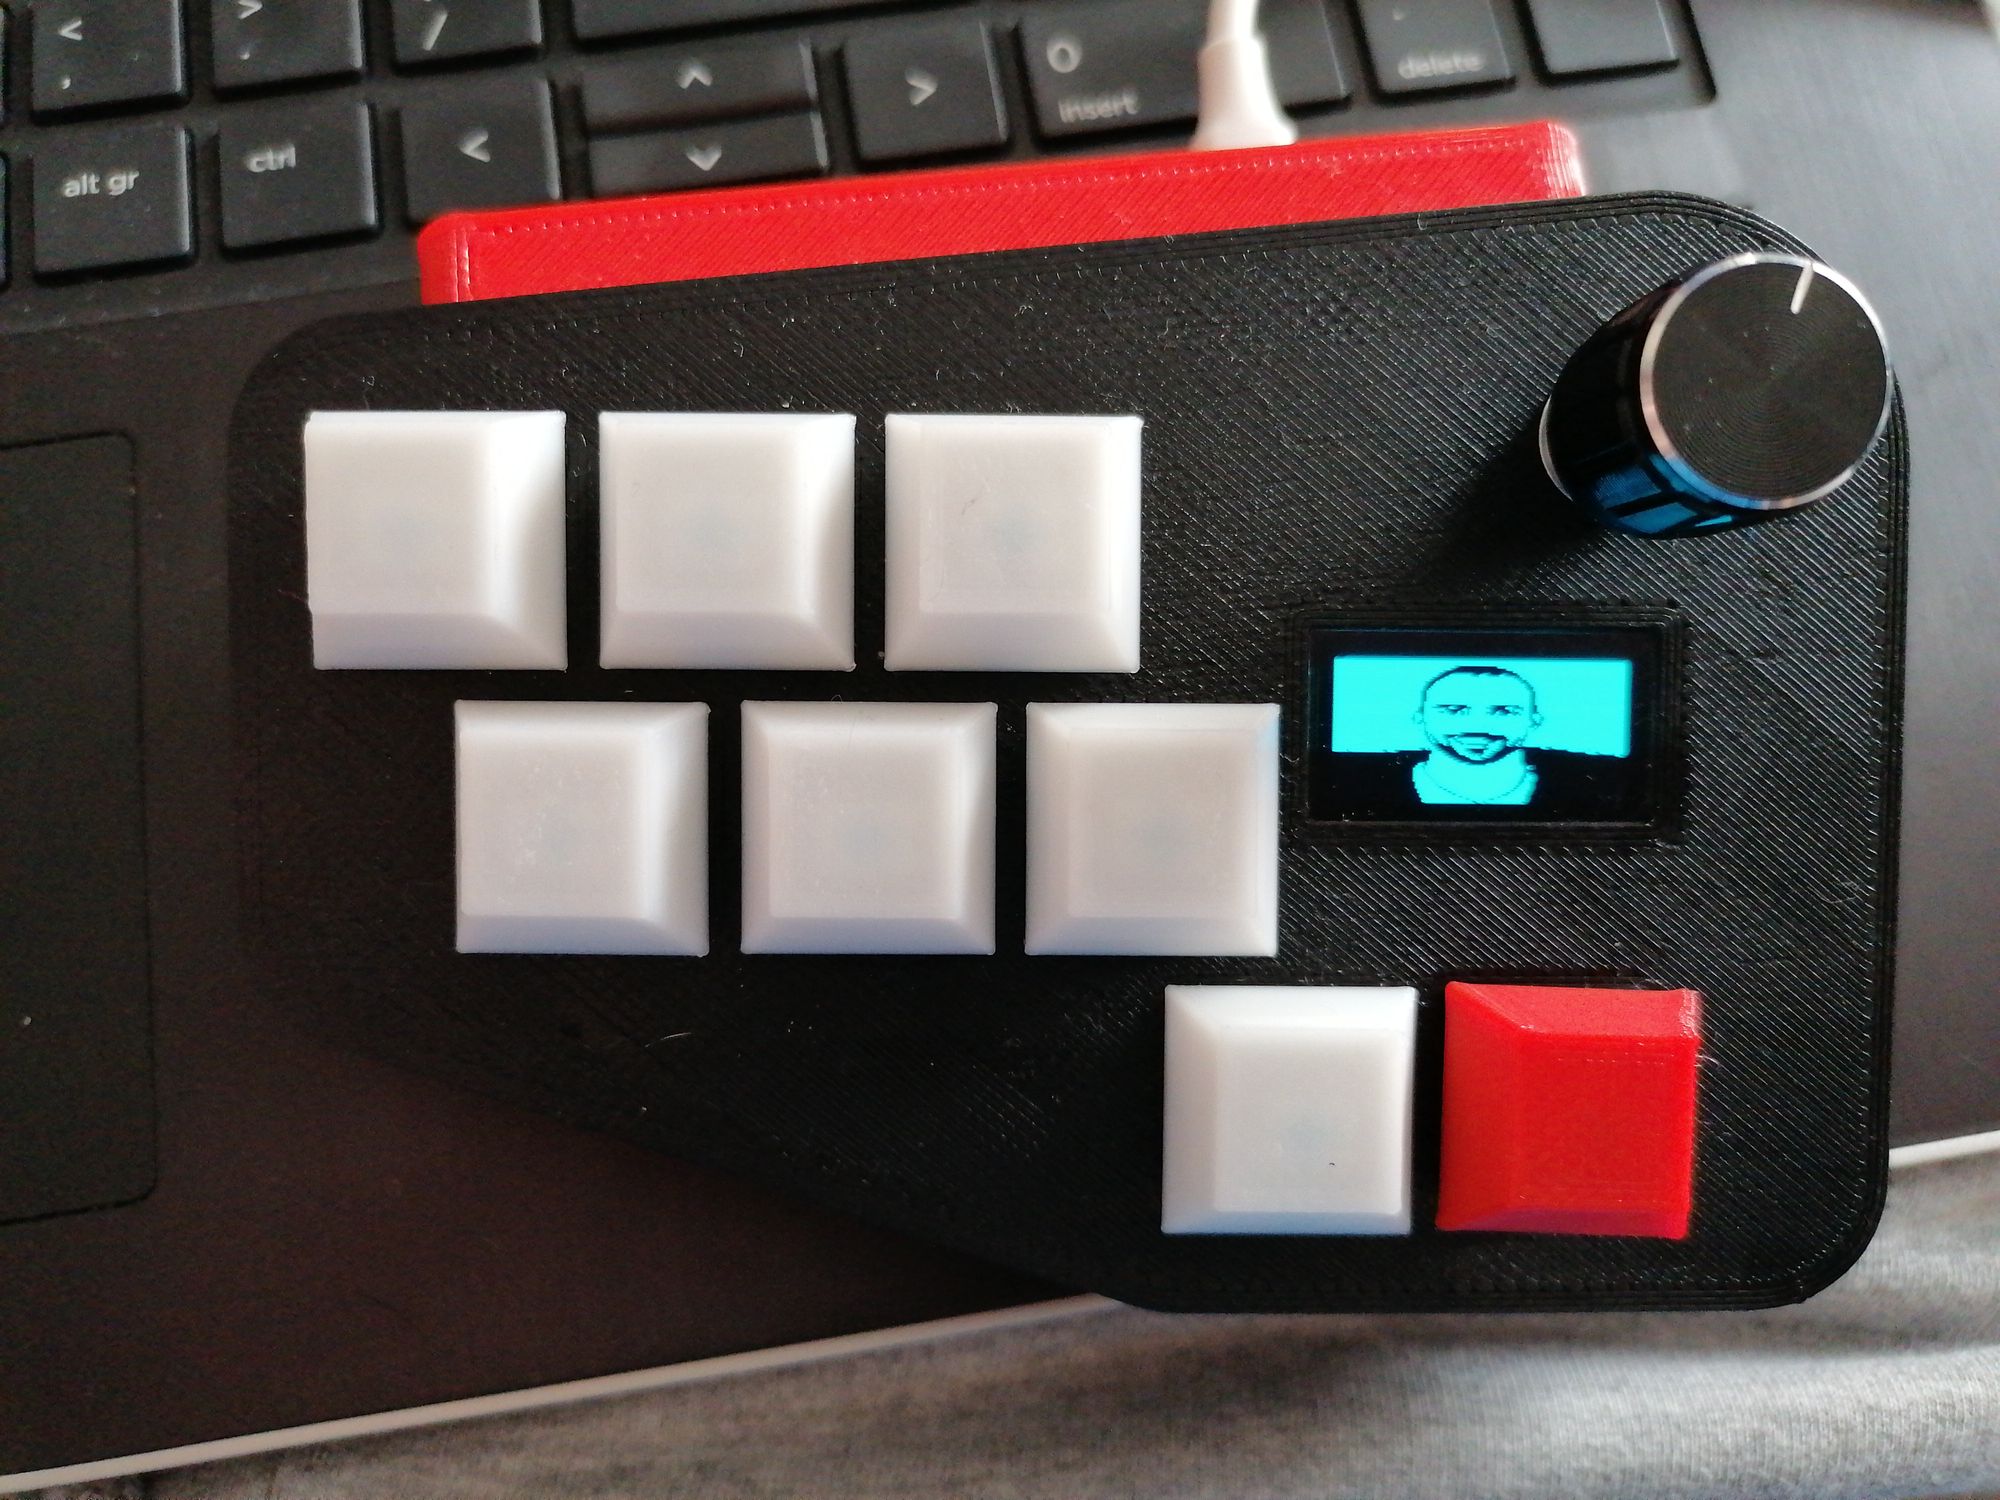
I have gone with a multiple mode approach. Selecting the red button will change the mode. Each "mode" could be assigned to an application, so if you use some shortcut keys in say and IDE for building and compiling code, you could create a mode/profile for that application with all relevant shortcuts or macros, or for example Excel. Press the red button to change mode to Excel and you could have all the Excel macros at your finger tips.
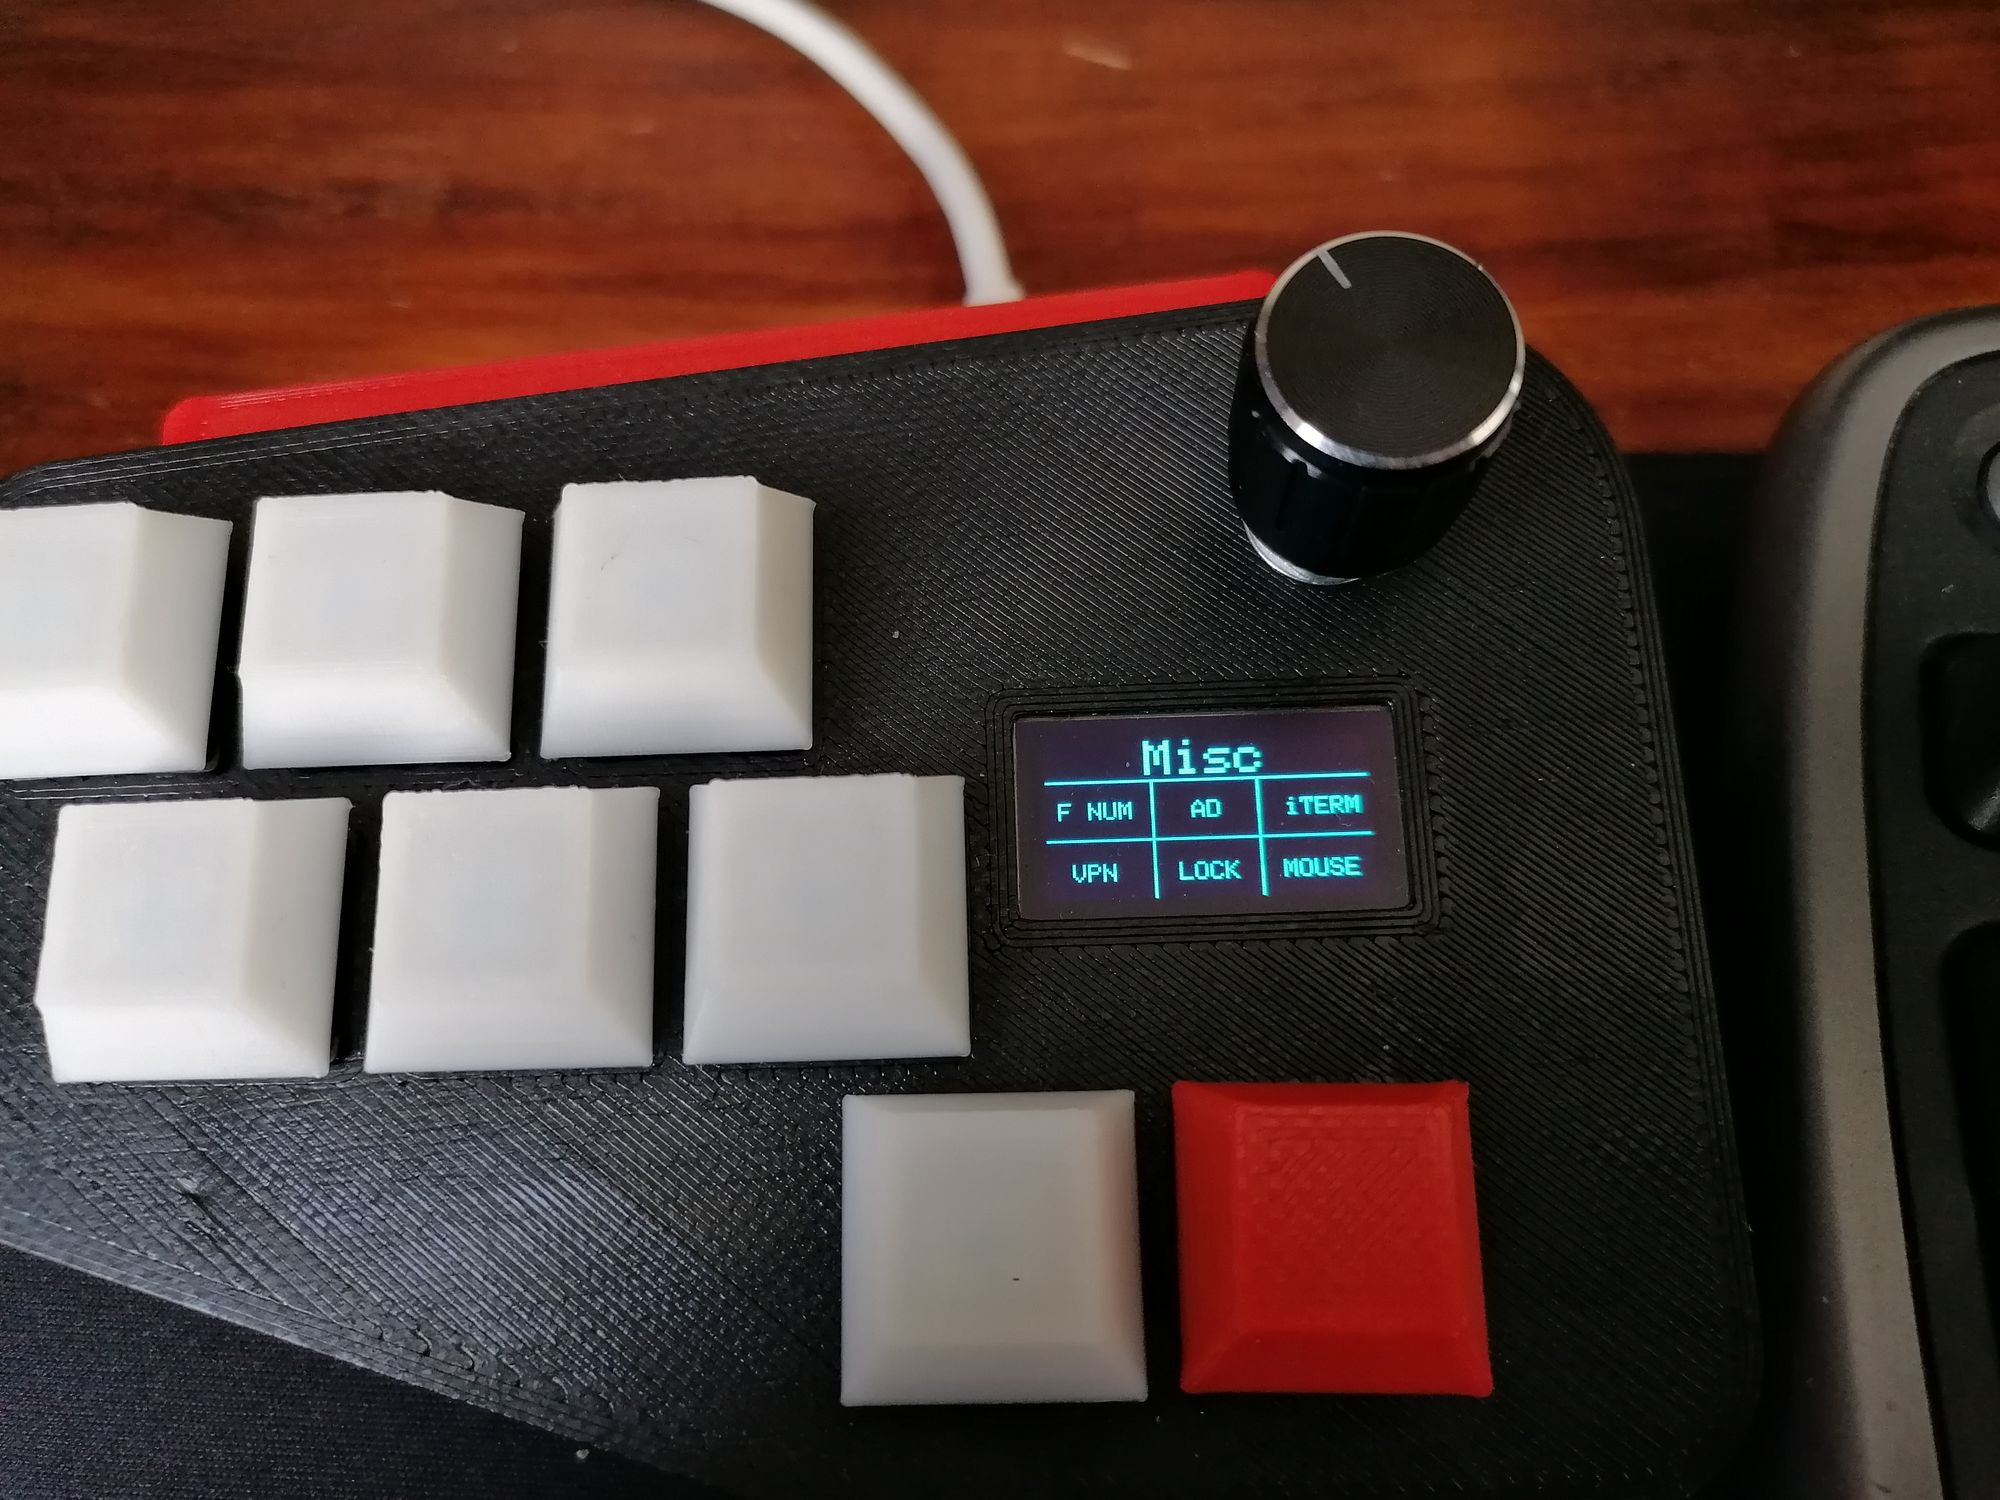
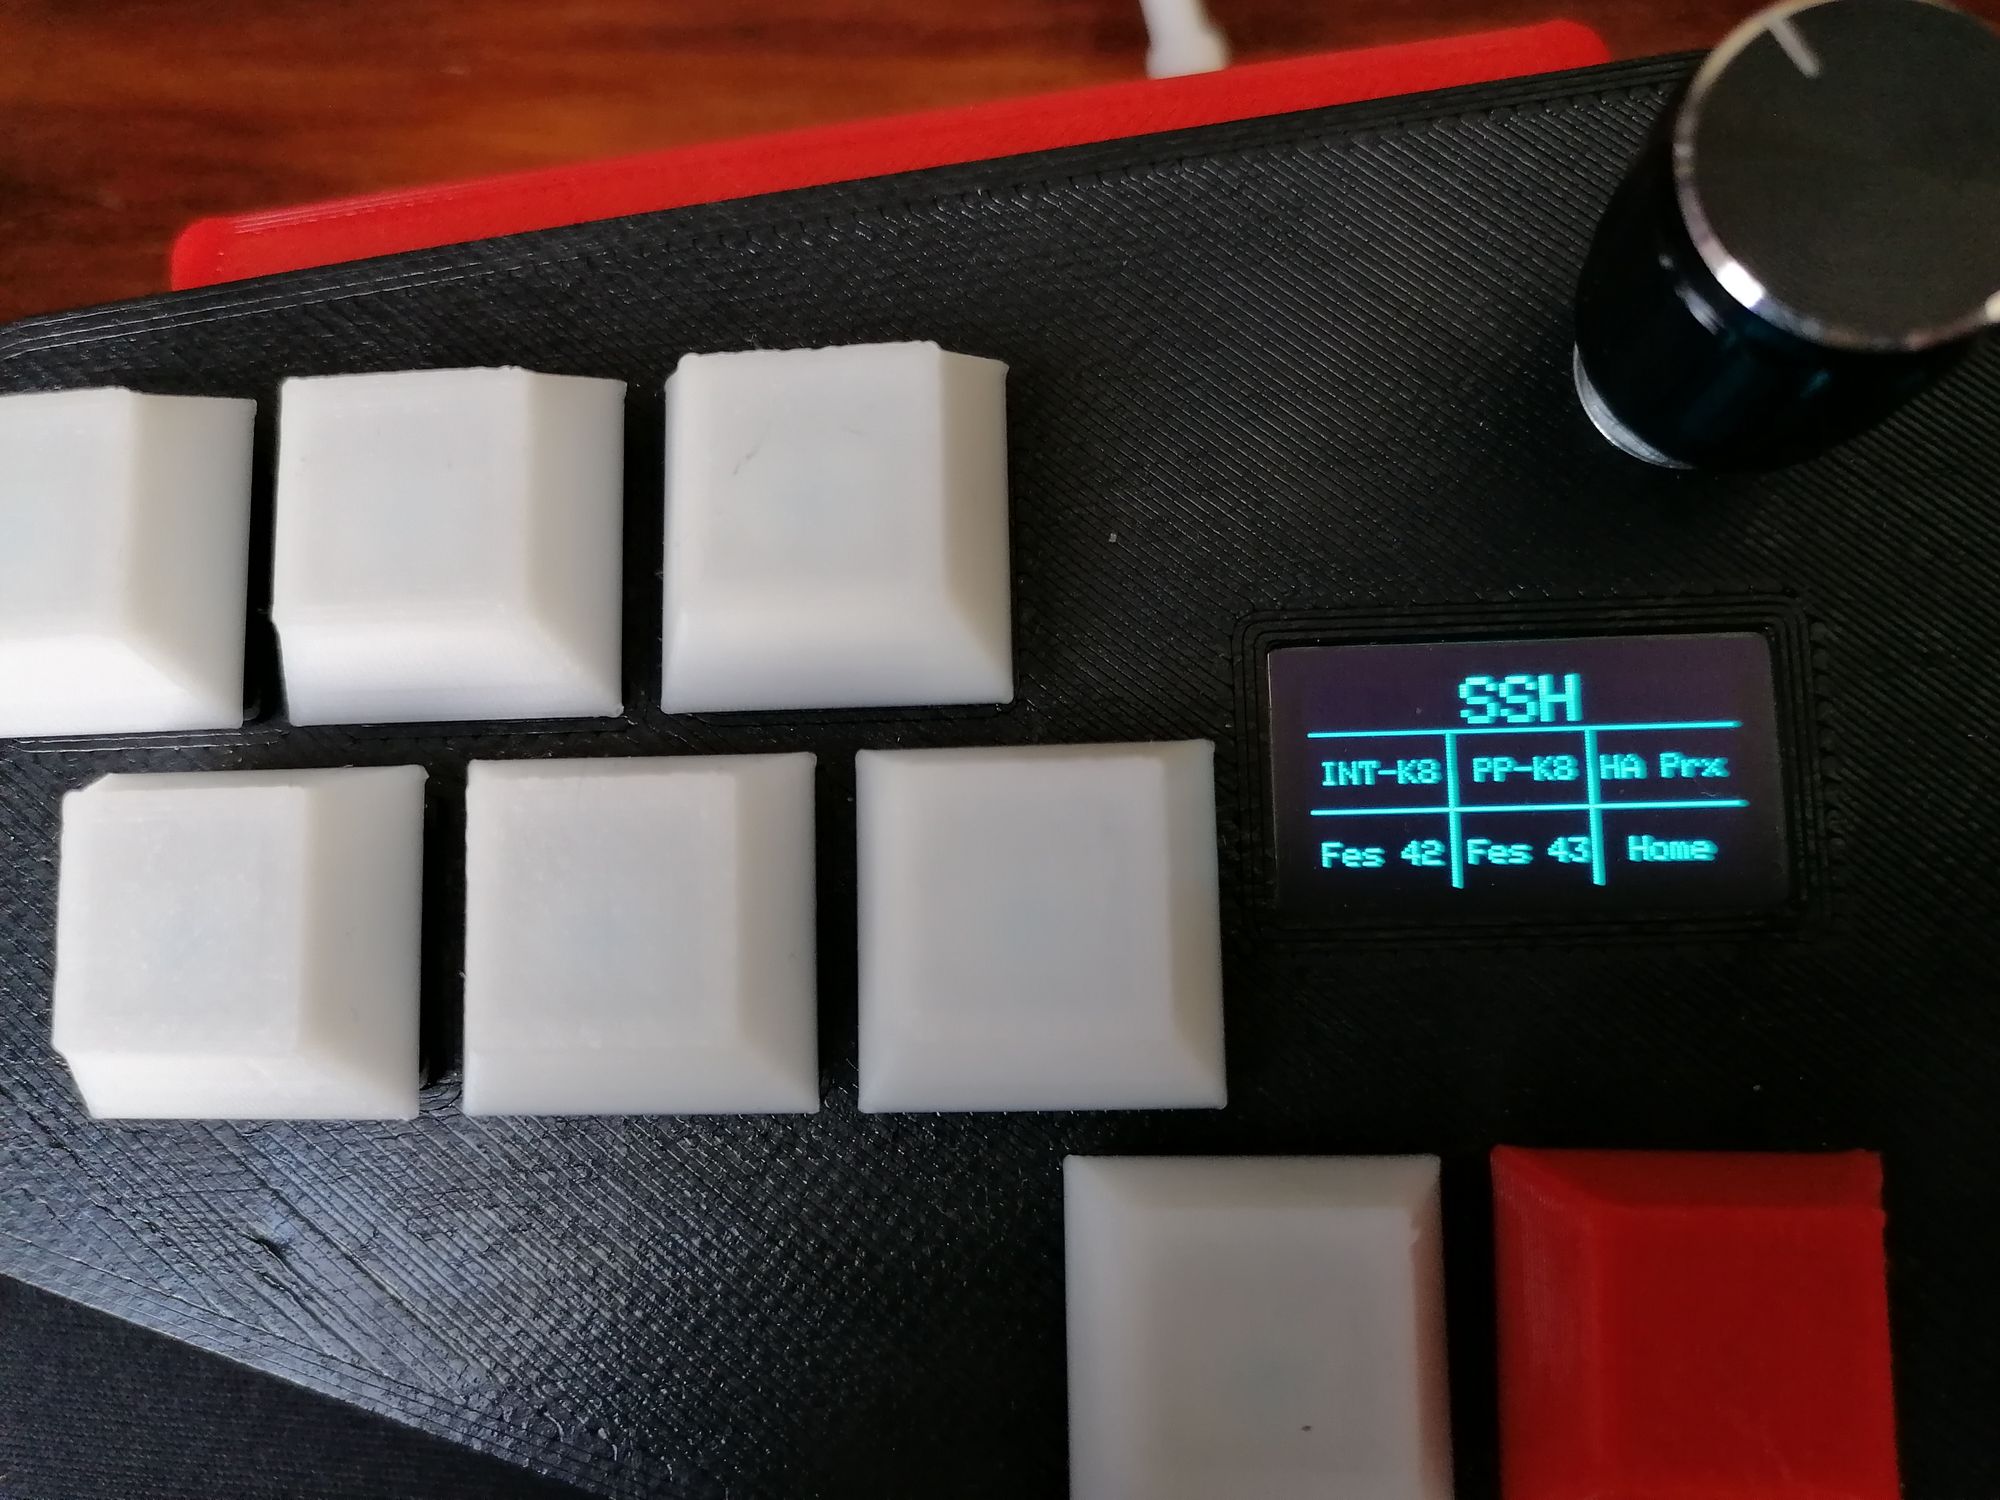
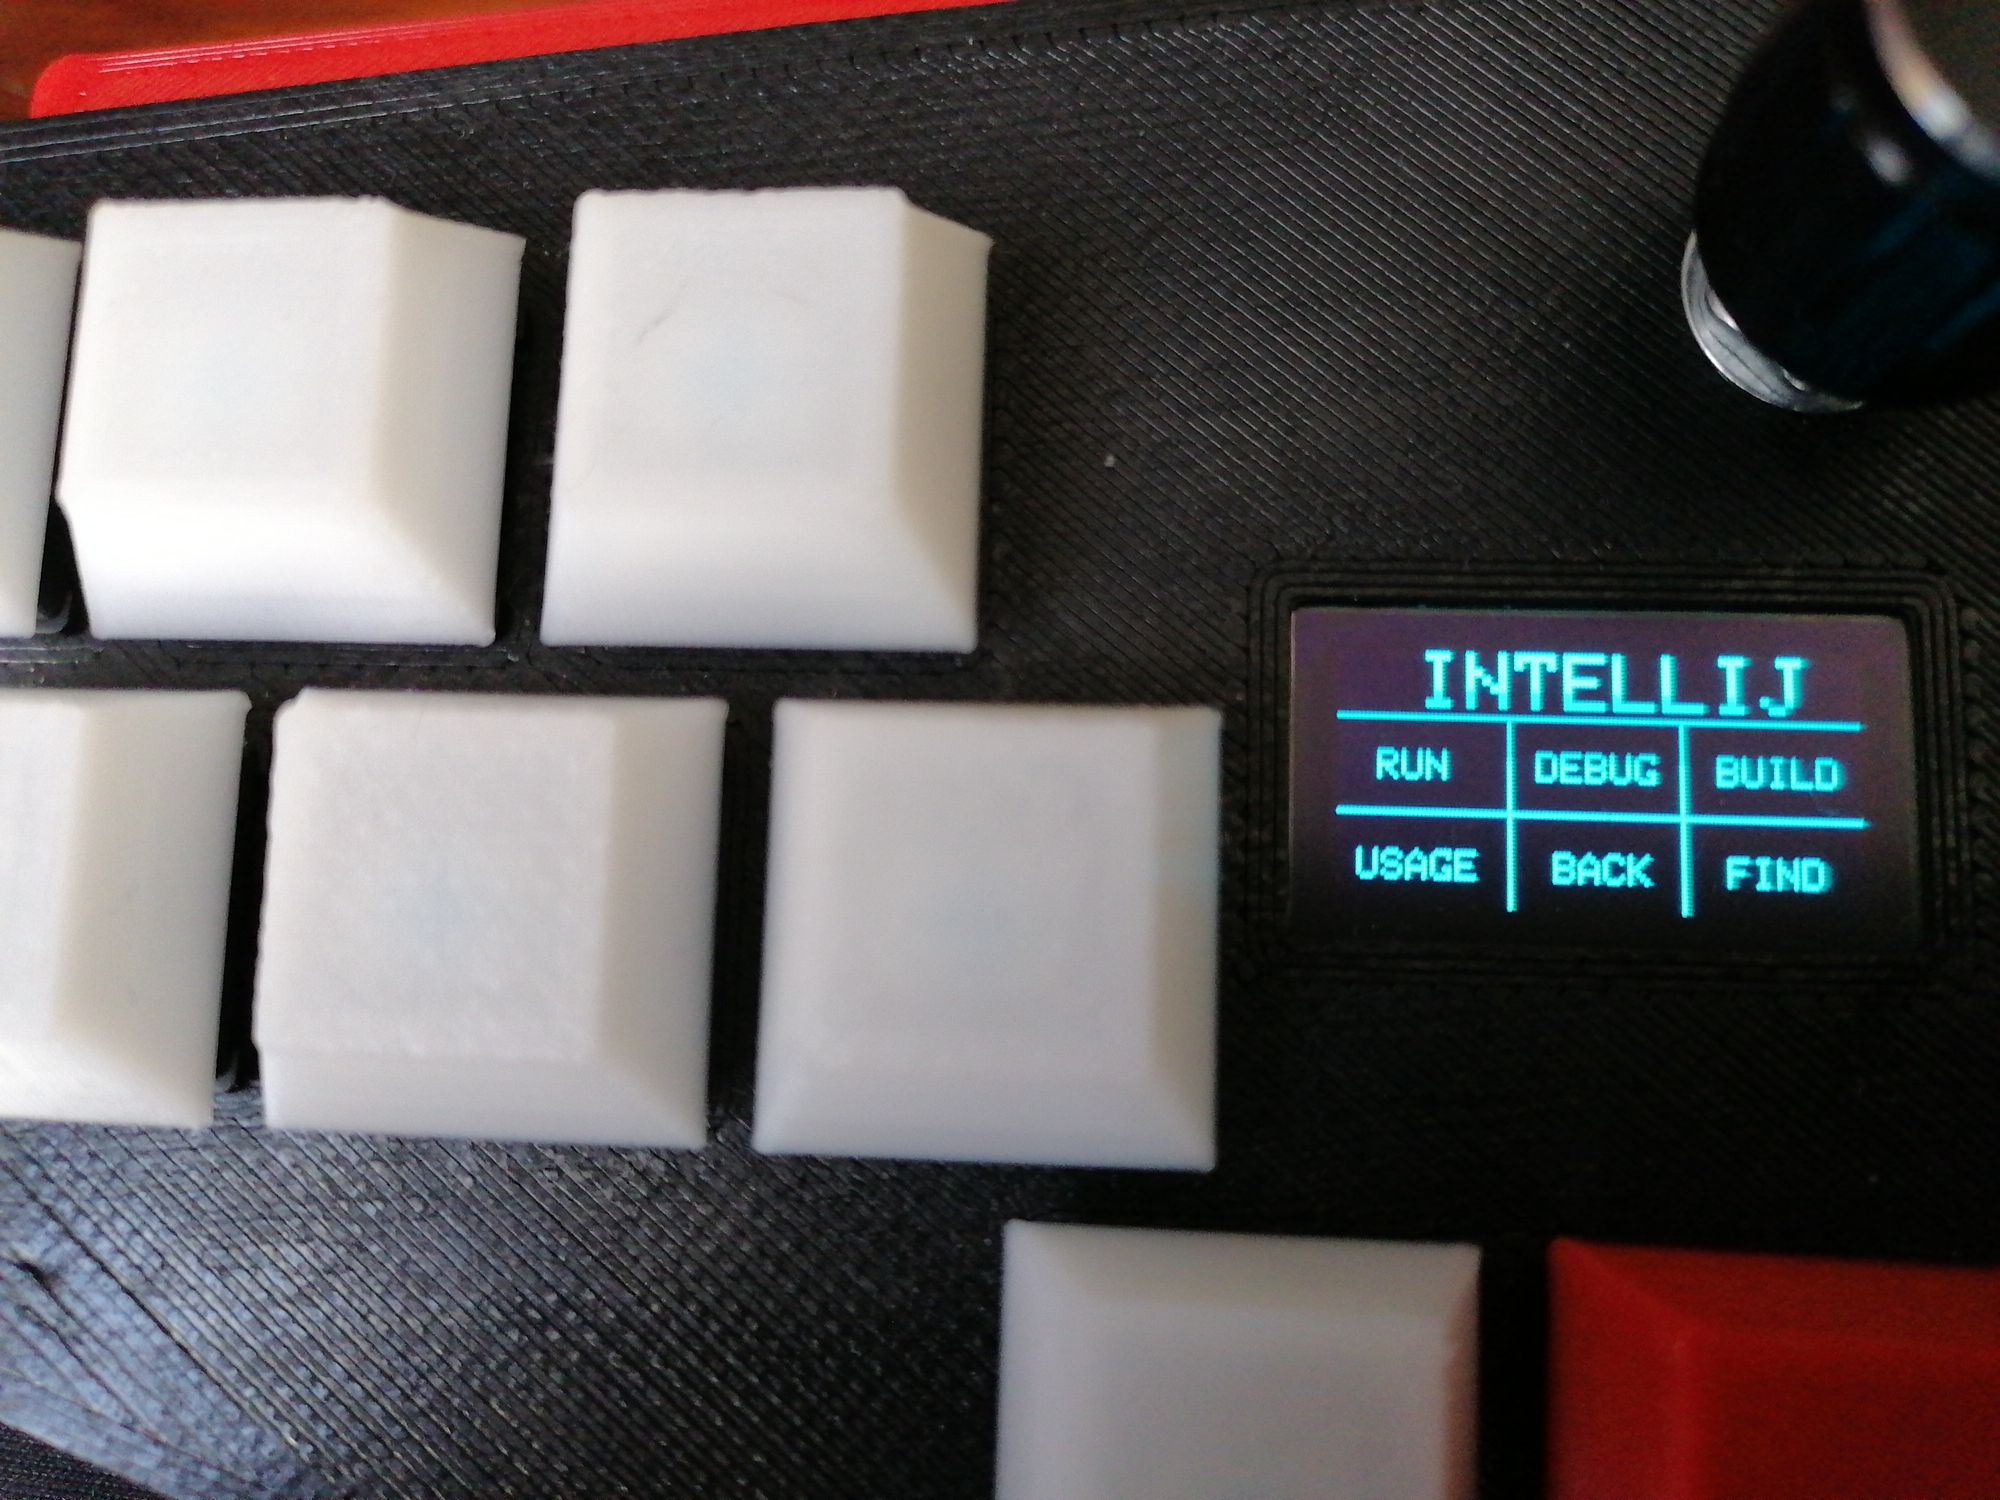
For an added touch I opted for an OLED screen to use as a legend to know what each button does without have to use labels on the buttons or a print out with each profile and key mapping laying around (Of course just till you memorize them) but if you decide to change macros you would need to reprint and re-memorize the keys. So the OLED can be updated to show the keys as you need or change them. Also its just cool.... cause why not have a screen.
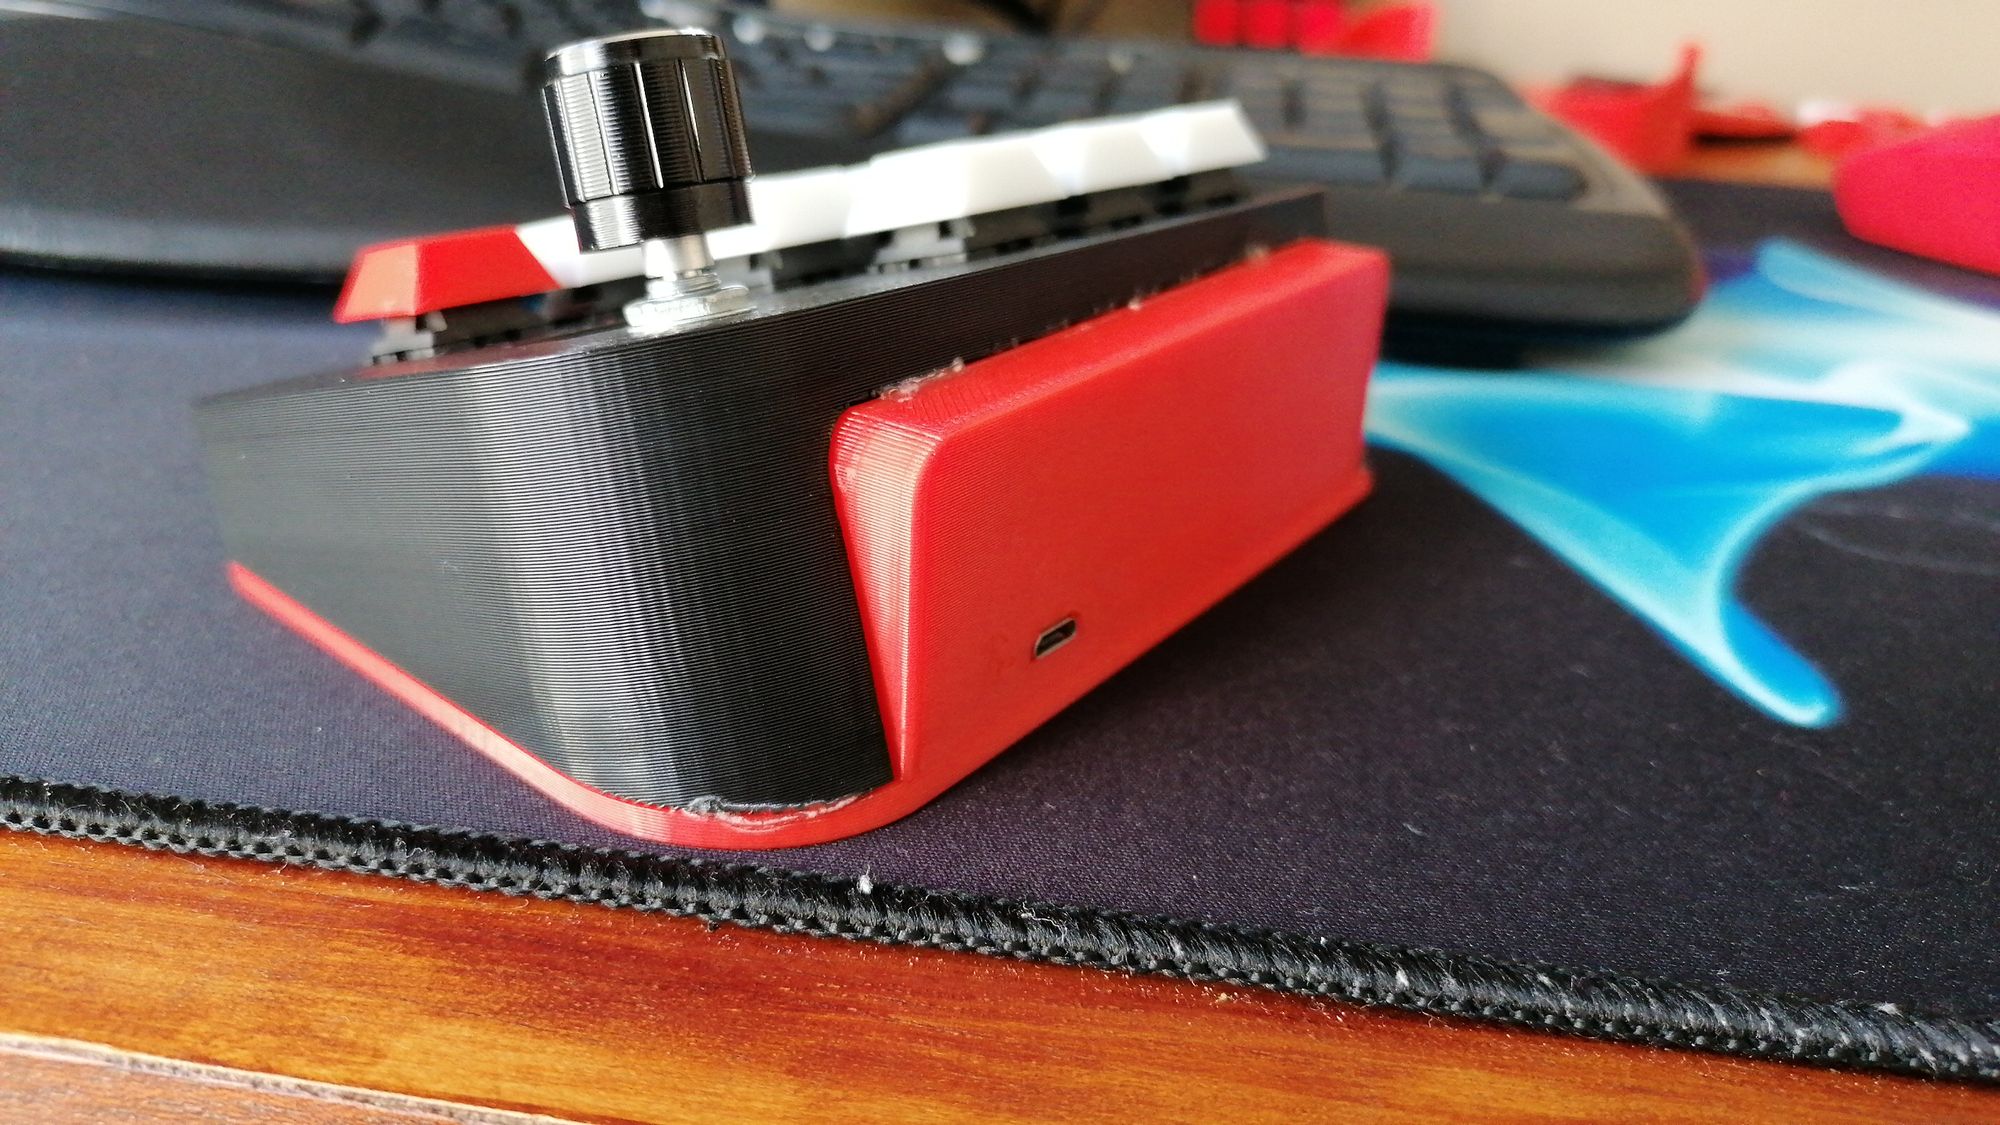
This is mostly 3D printed, the enclosure and the key caps are printed, the rest is basically wires and switches, and the brain of this is an Arduino Pro Micro.
You will have to use a micro controller that has a 32U4 chipset. This allows your PC to see the device as a HID. (Human Input Device) or a keyboard and/or mouse. The pro micro has a nice small form factor, the other Arduino board is a Leonardo, but that is large in size.
For the switches I opted for Blue Gateron Mechanical Keyboard Switches. Wired up with Dupont Wires. The screen is a single colour blue 0.96 OLED screen.
The Pro Micro only has 32Kb of storage for your code. This was an issue for me, as there is a very nice library I like to use for buttons, called EasyButton. Works well, but it was to large for this micro controller. Handling button presses can be a pain as you have to manually handle the debouncing of the button presses. Decent button libraries out there will handle this for you internally. I did find a small library, with no special extra features like handling long presses and so on, but it does handle normal presses very well. The library is - suprise, just called "Button"
The screen libraries and the code to generate graphics and text on the screen is suprisingly small. That is done using the Adafruit libraries.
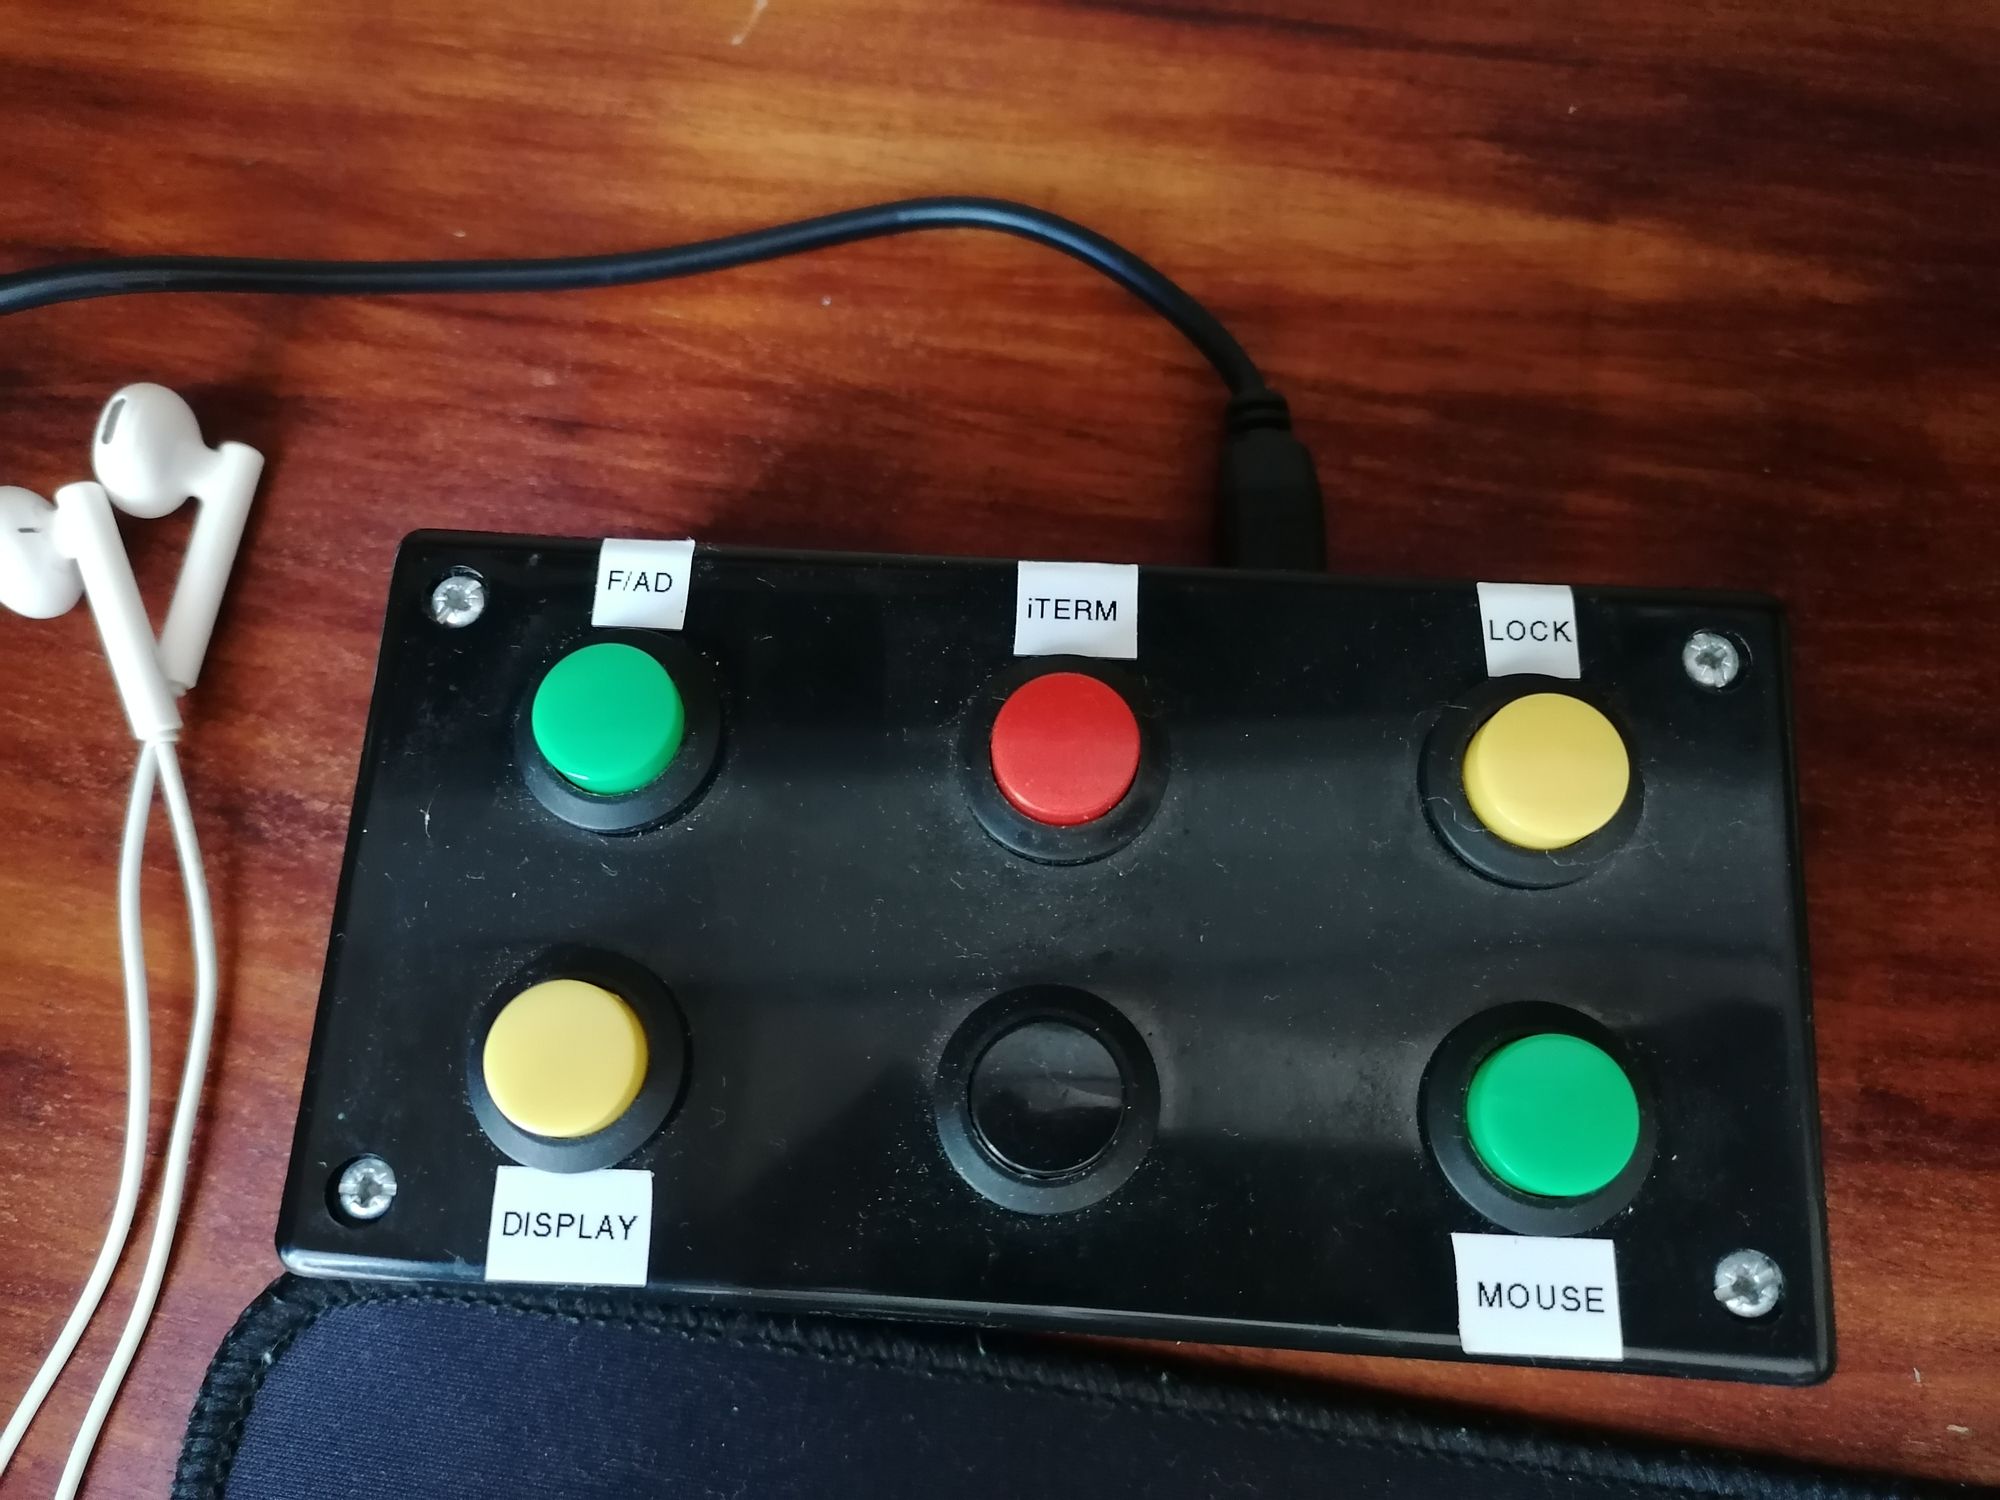
This is my second macro pad project I have built. The first one served me well, and will still be used, but as its functional, its not very nice to look at and a new sleek build was required. The first one was a normal off the shelf project box with multi colour press buttons. This one used the Easy Button Library which was great for features. Things like sequence presses and long presses.