Turning a Glitter Swirl Lamp into a Smart Lamp
A cheap glitter swirl lamp, an ESP32-C3 and one 2N2222 transistor doing the job of an electronic finger - and it now answers to the Zigbee button next to my daughter's bed.
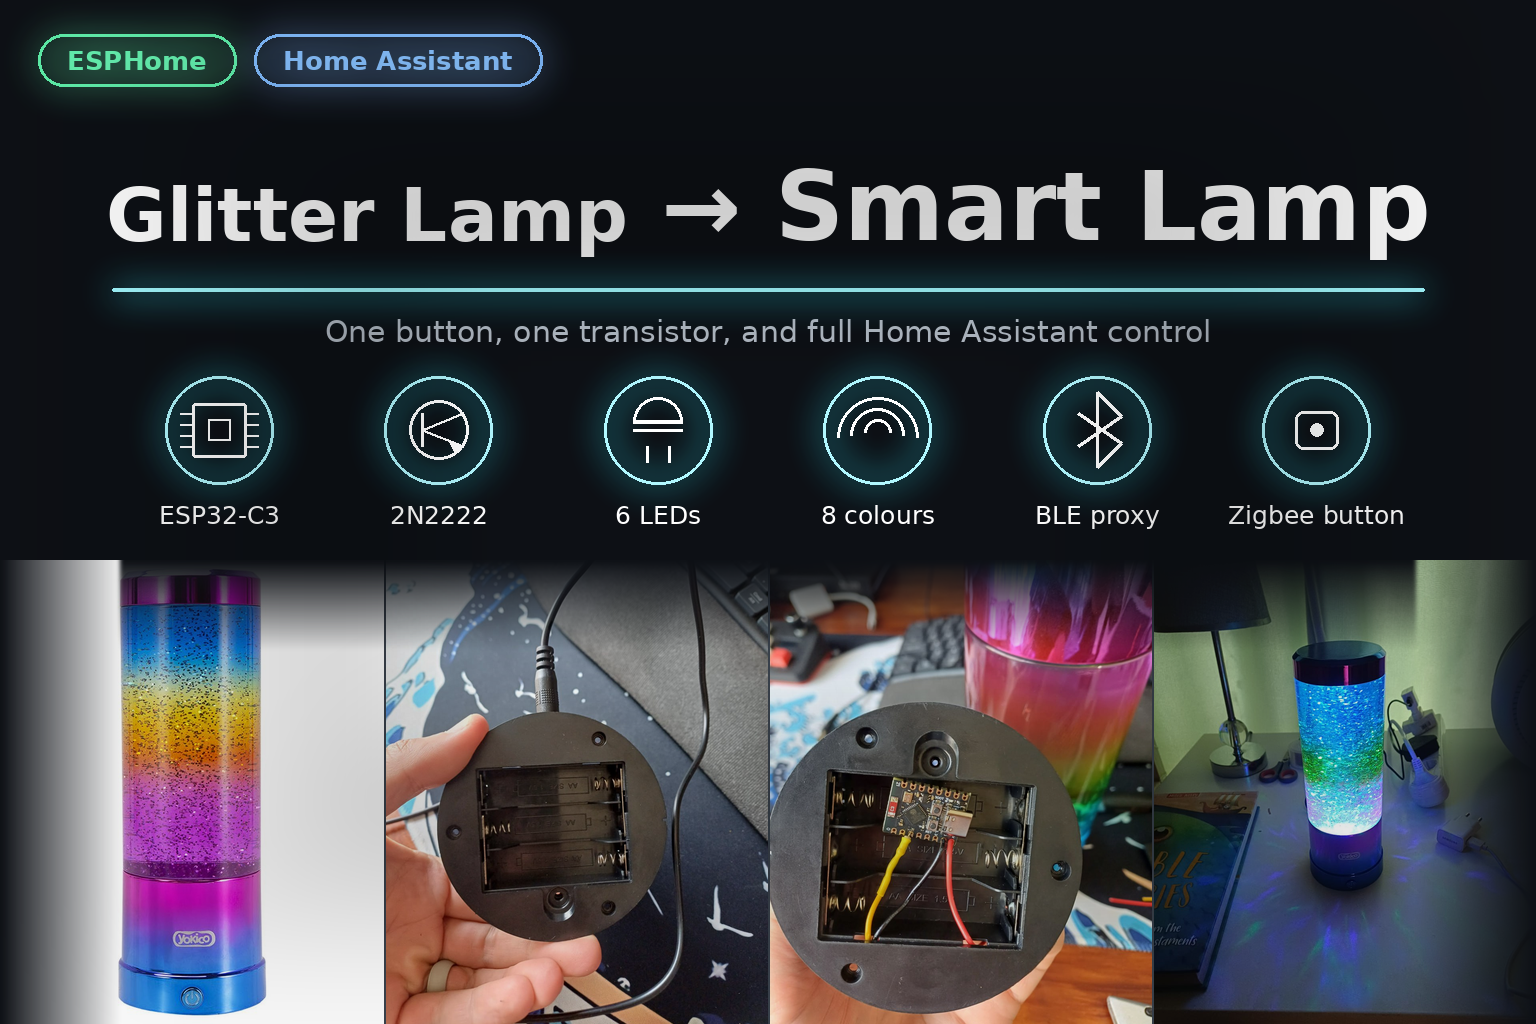
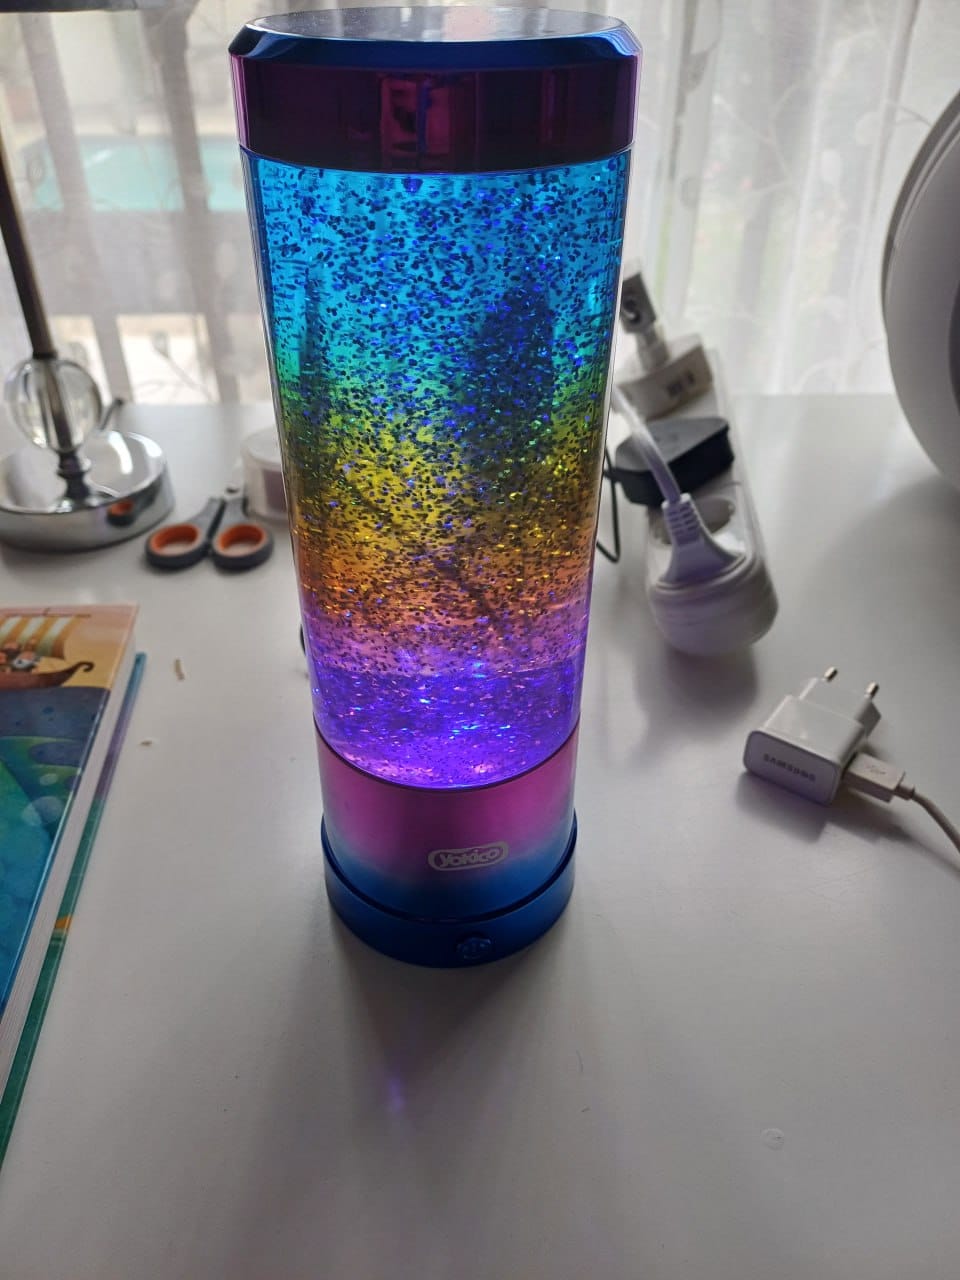
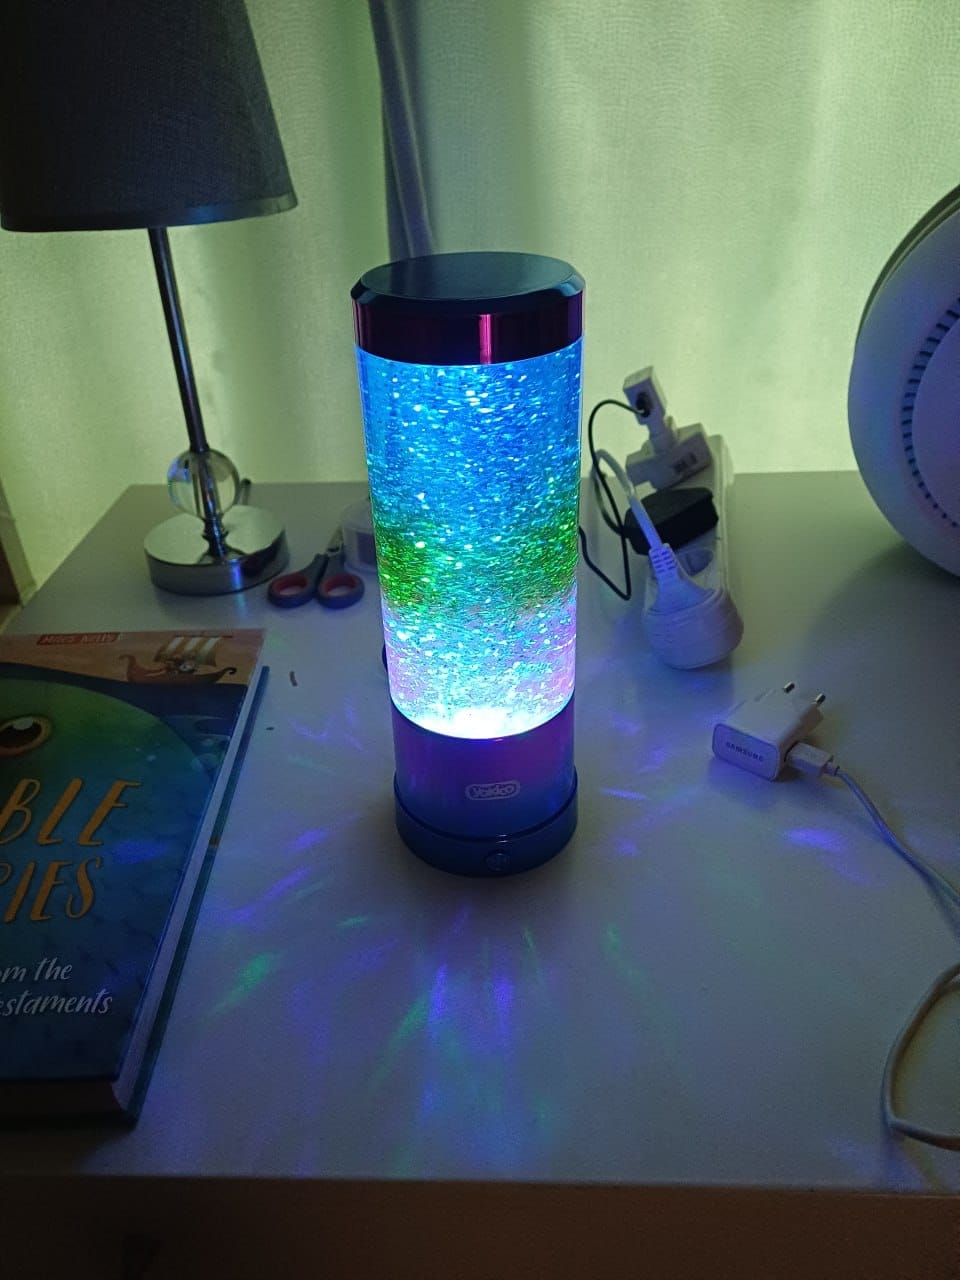
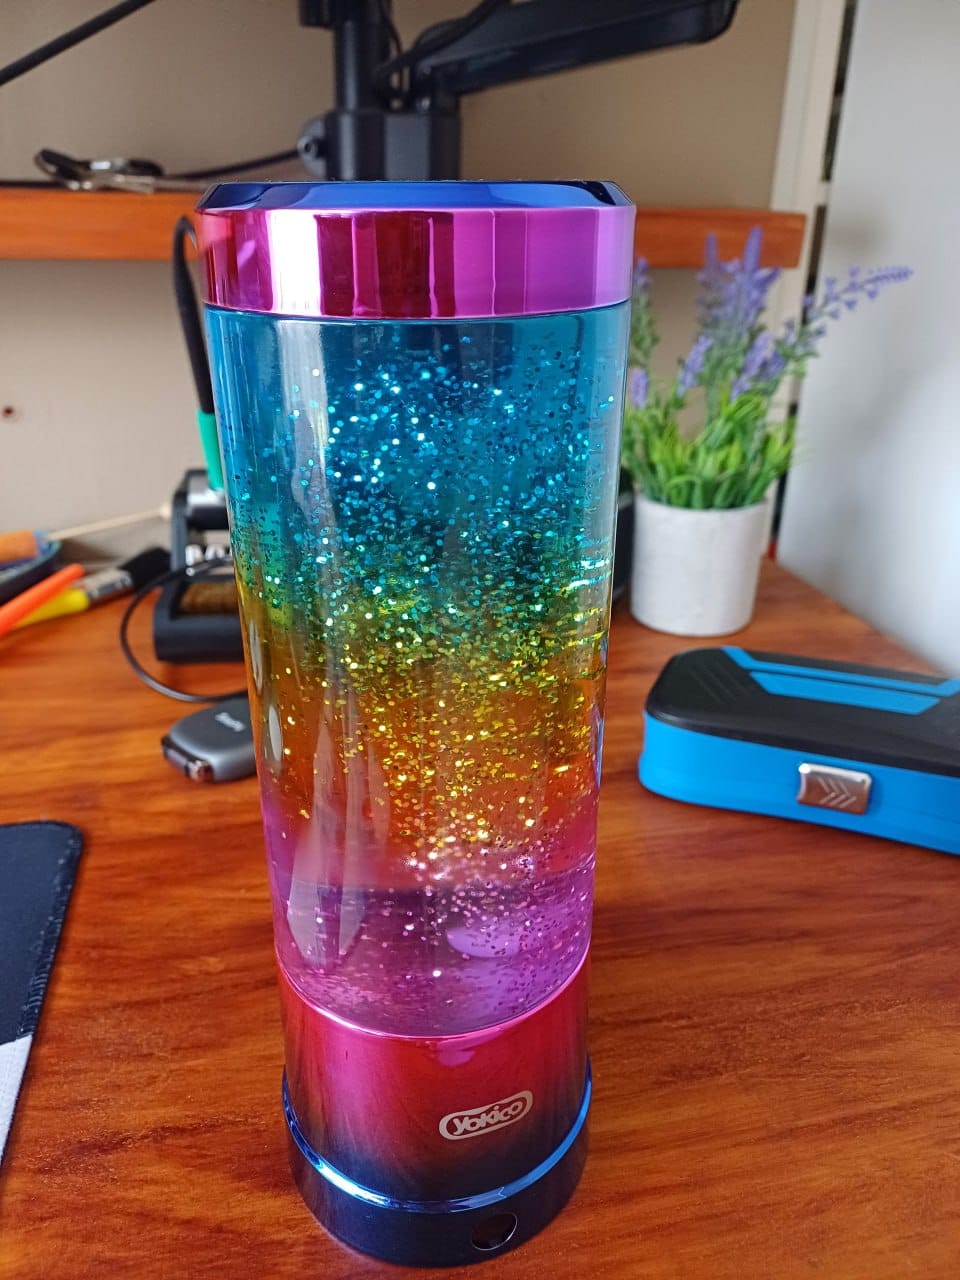
Weekend projects are the best projects. This one started with a cheapish glitter swirl lamp from Yokico — the kind that sits on a bedside table, swirls glitter around in water and glows in whatever colour you cycle it to. My daughter loves it. What I don’t love is that it’s completely dumb: one button on the front, no app, no automation, no nothing.
I didn’t buy it to make it smart, either. It was bought as a lamp or night light. What actually made my brain tick was noticing the screws on the base. Screws mean it opens. Most of these things are moulded shut or clipped together, and you normally discover which by breaking a plastic clip trying to get in — which is the point where the project ends before it starts. This one had visible screws, and the thought arrived fully formed: I can get inside this.
So I made it smart. An ESP32-C3 devkit and a single 2N2222 transistor later, the glitter twirler is a fully fledged Home Assistant device — and it now answers to the ZigBee button next to her bed (Since she does not have HA App or phone yet).
First, the lamp itself
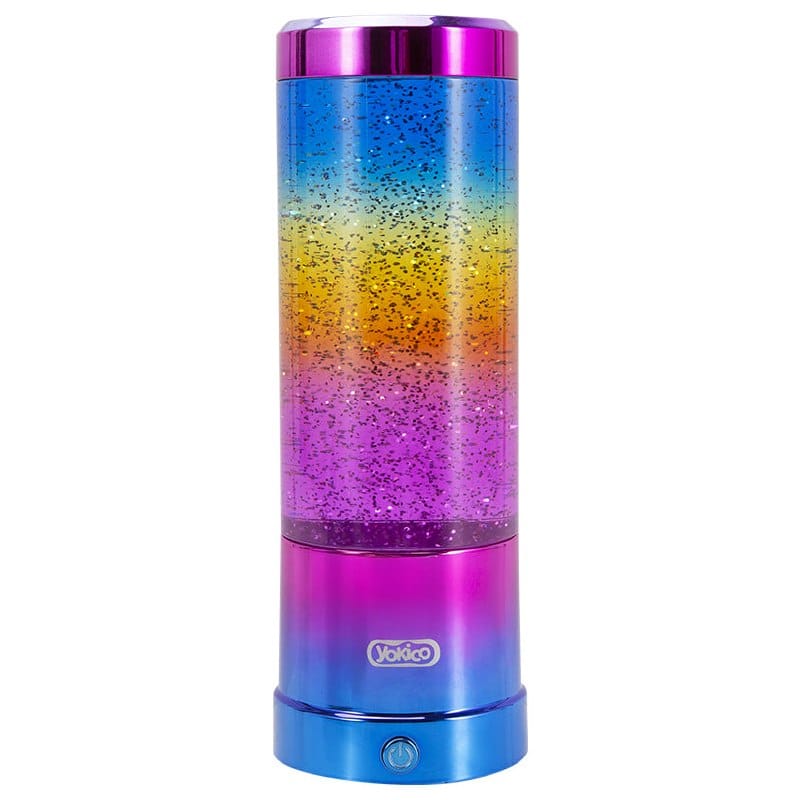
It’s a Yokico Glitter Swirl Lamp — nothing exotic. The specs that mattered to this project:
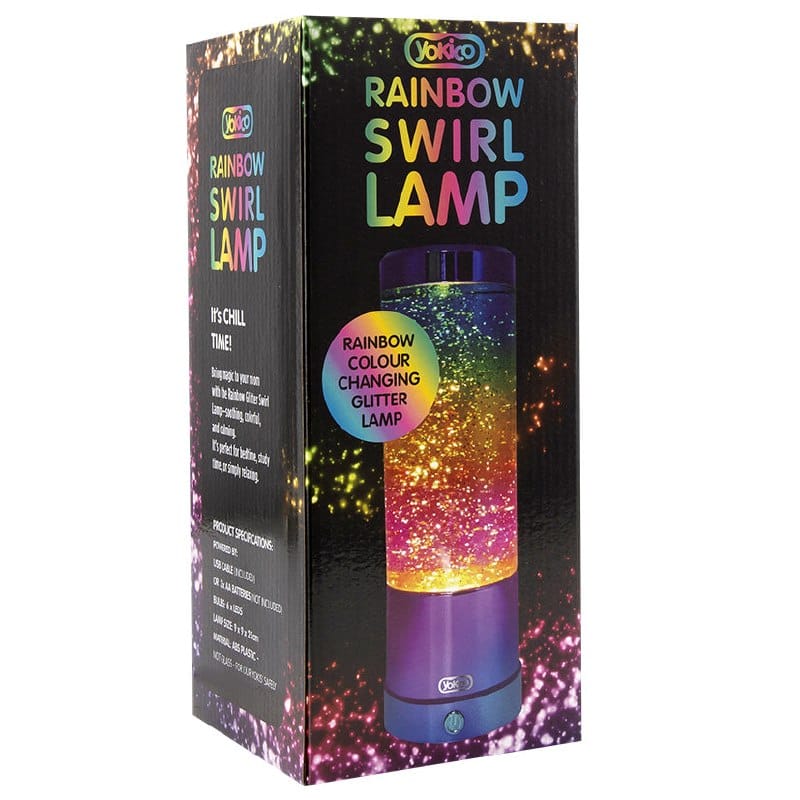
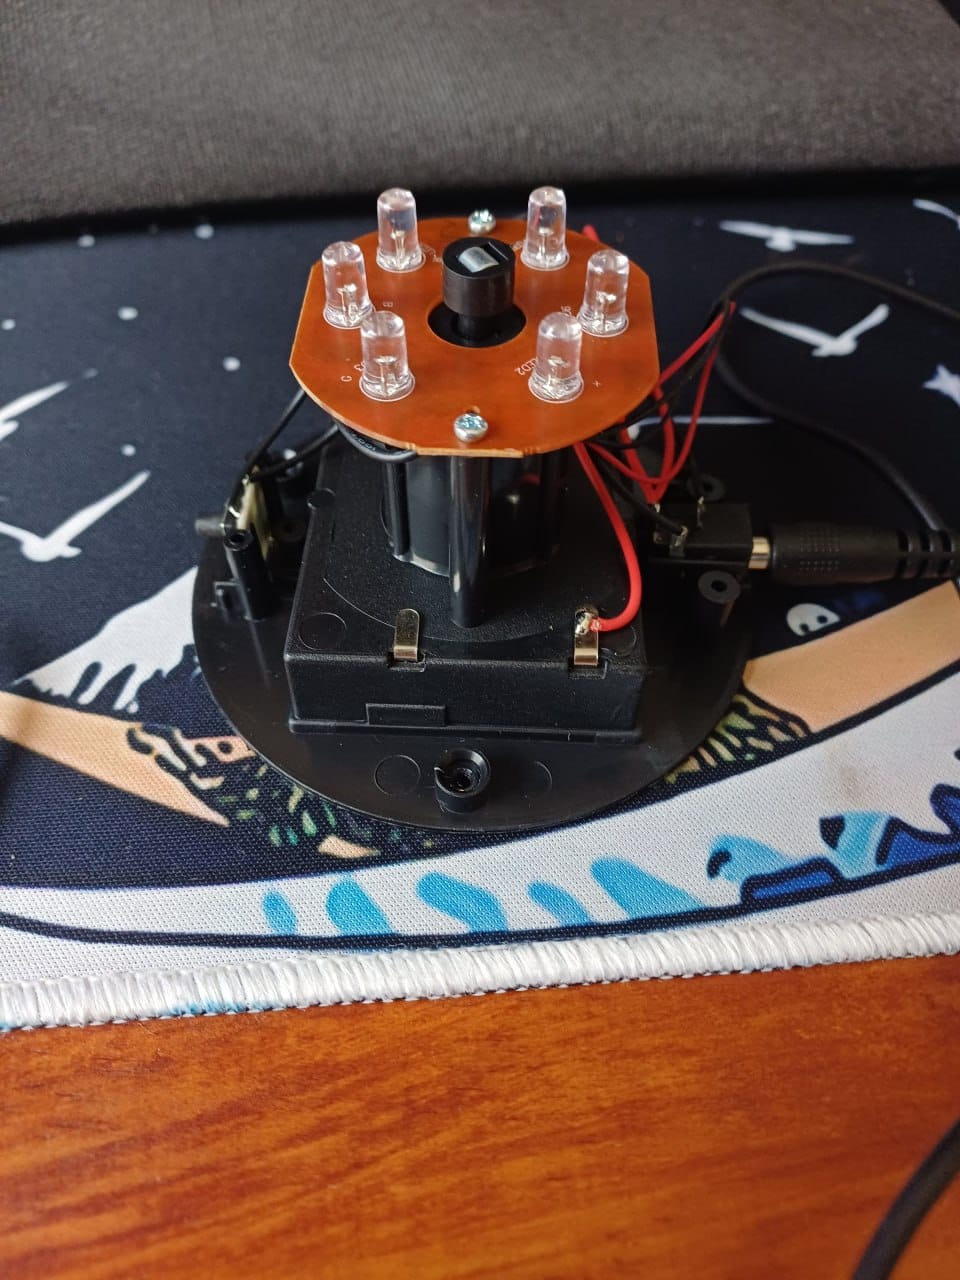
- Six LEDs in the base, which produce eight colour modes plus Off — nine states in total
- One button on the front that cycles forward through them. Keep pressing and eventually you land on Off
- Powered by 3 × AA batteries or a USB cable (the USB cable is included)
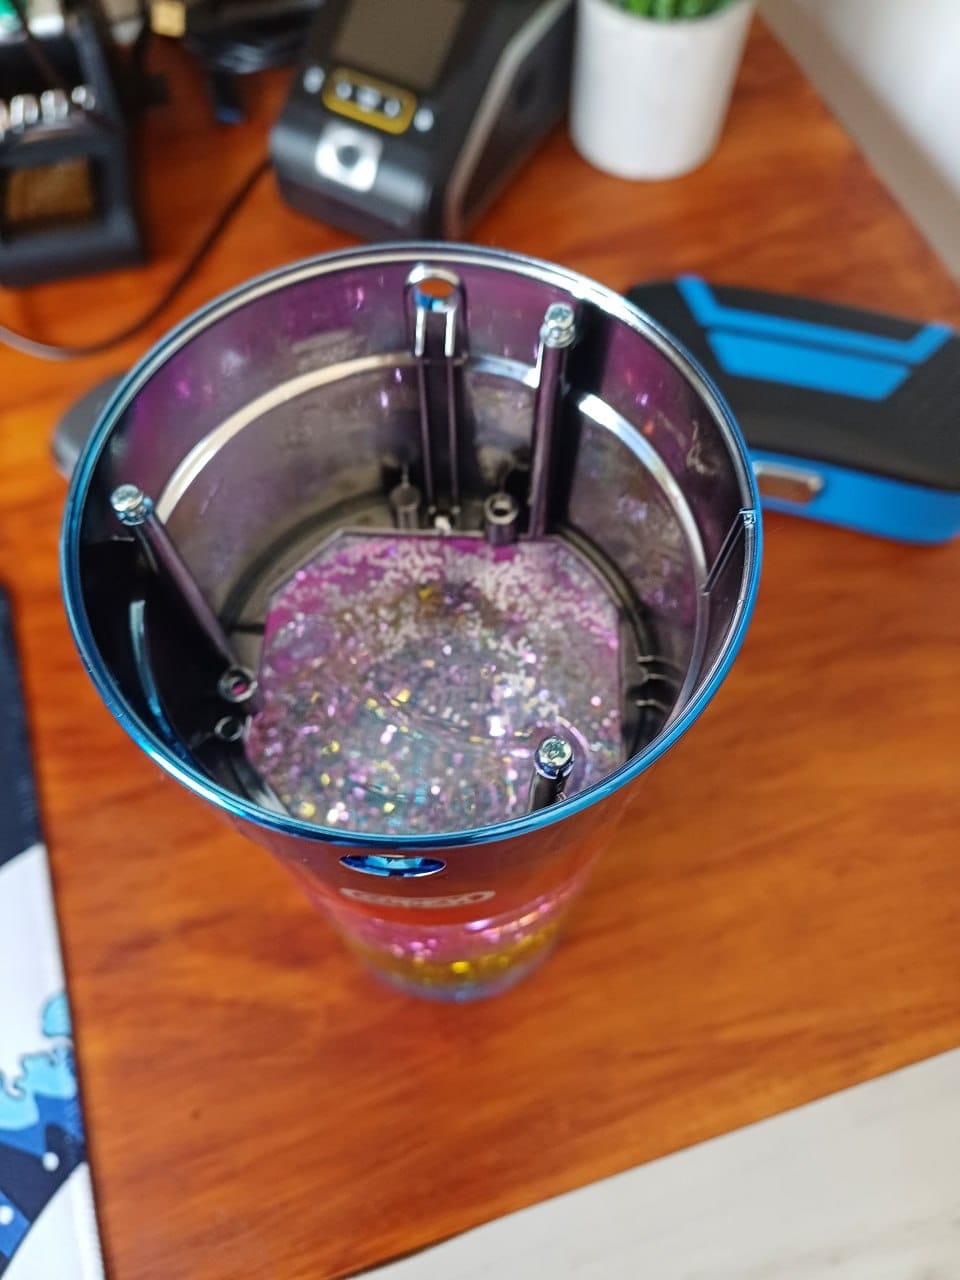
- Inside, a propeller driven by a magnet swirls glitter around in the water — that’s the part my daughter actually cares about
- 9 × 9 × 25cm, ABS plastic, not glass
That single button is the entire problem. It’s also, as it turns out, the entire solution — because if a human can press a button, a microcontroller can press it too.
The hardware: a transistor as an electronic finger
Everyone expects the hard part of a project like this to be the coding. It isn’t. The hard part is getting at the electronics without wrecking a lamp your daughter likes.
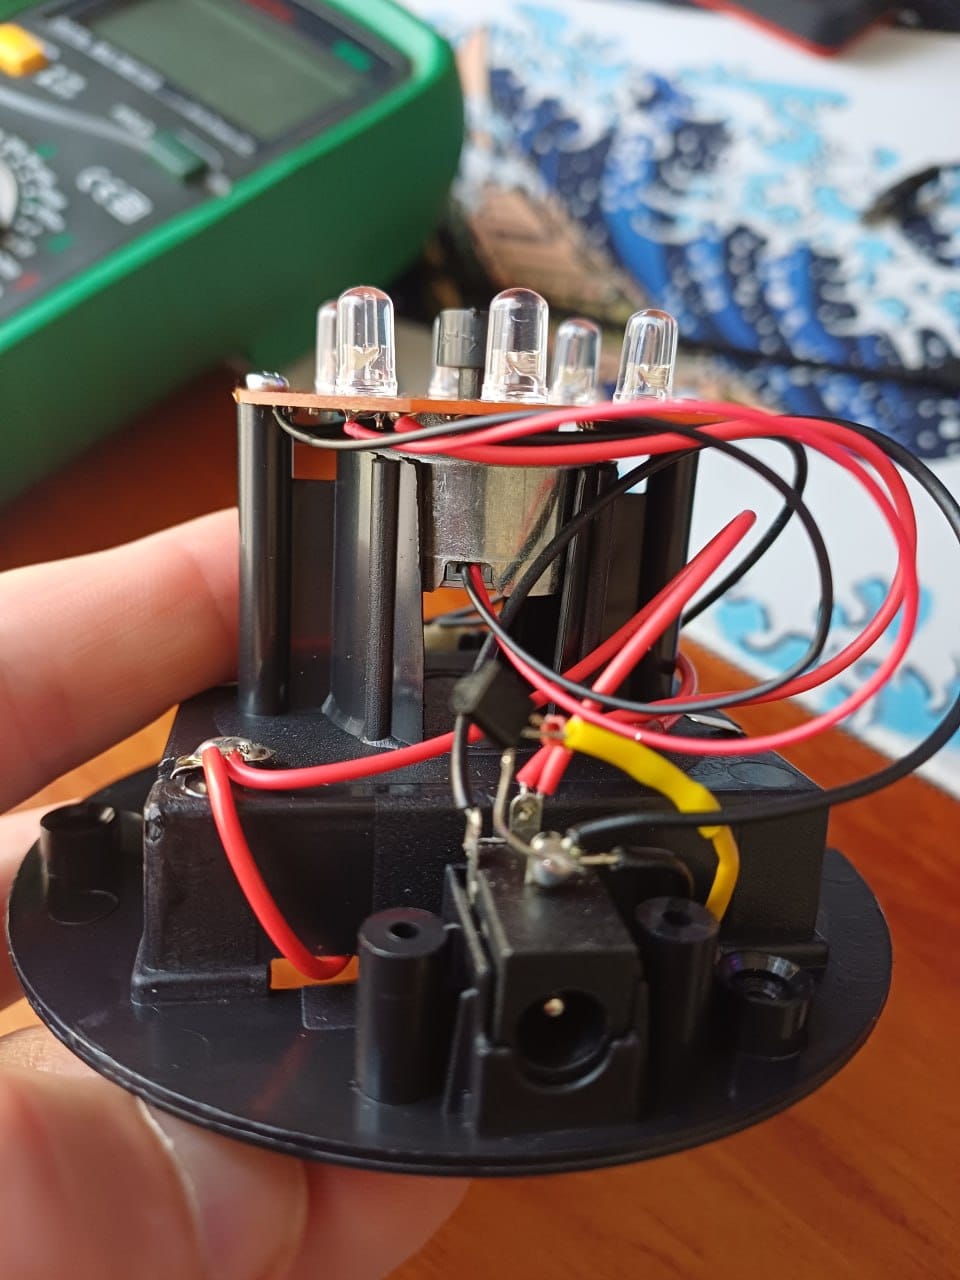
The approach I settled on is about as simple as it gets. I didn’t try to intercept the LEDs or reverse-engineer the lamp’s own controller. Instead, I treated the existing button as the interface it already is: a 2N2222 NPN transistor sits across the lamp’s button contacts and acts as an electronic finger, wired to GPIO3 on the ESP32-C3. Pulse that pin and the transistor conducts, and as far as the lamp is concerned, somebody pressed the button. (That pin is GPIO3 for a reason — I started on GPIO2, and it caused the single most annoying problem in this build. The full story is further down.)
No soldering irons near the LED driver, no guessing at voltages the lamp wasn’t designed for. The ESP32 just presses the button, in the right order, at the right speed — an 80ms pulse followed by a 350ms gap, which turned out to be the timing the lamp reliably registers.
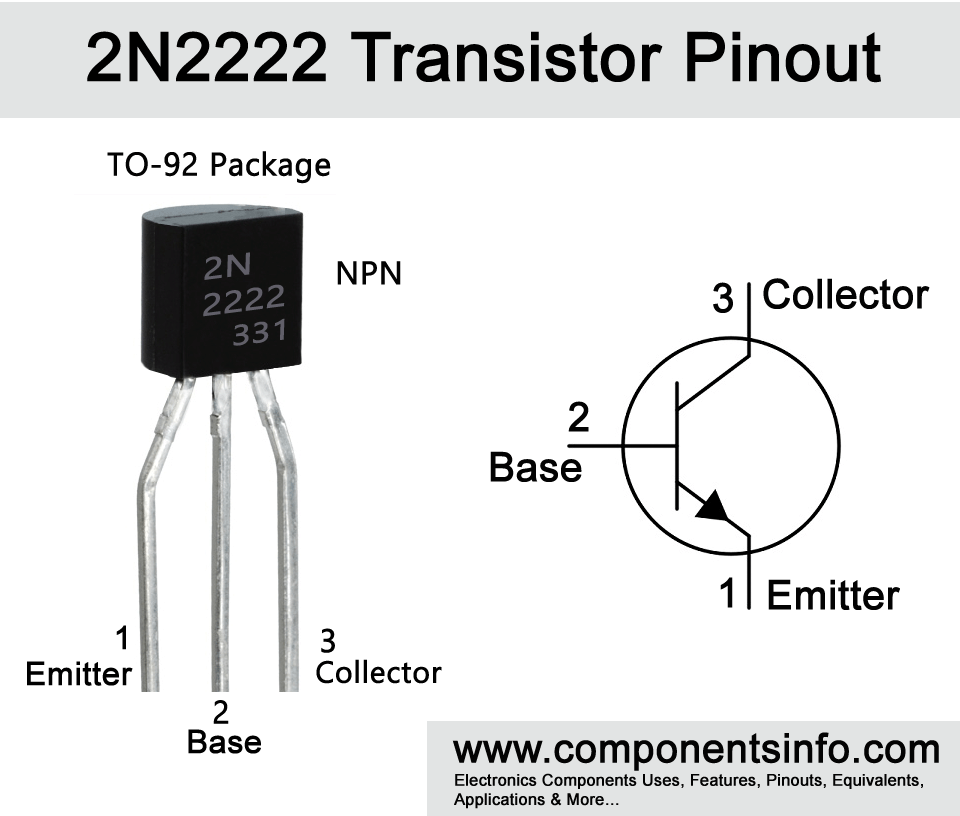
The transistor in question is a 2N2222 in a TO-92 package — emitter, base, collector, three legs, no ambiguity about which way round it goes. The pinout diagram is in the upgrade gallery below (diagram credit: componentsinfo.com).
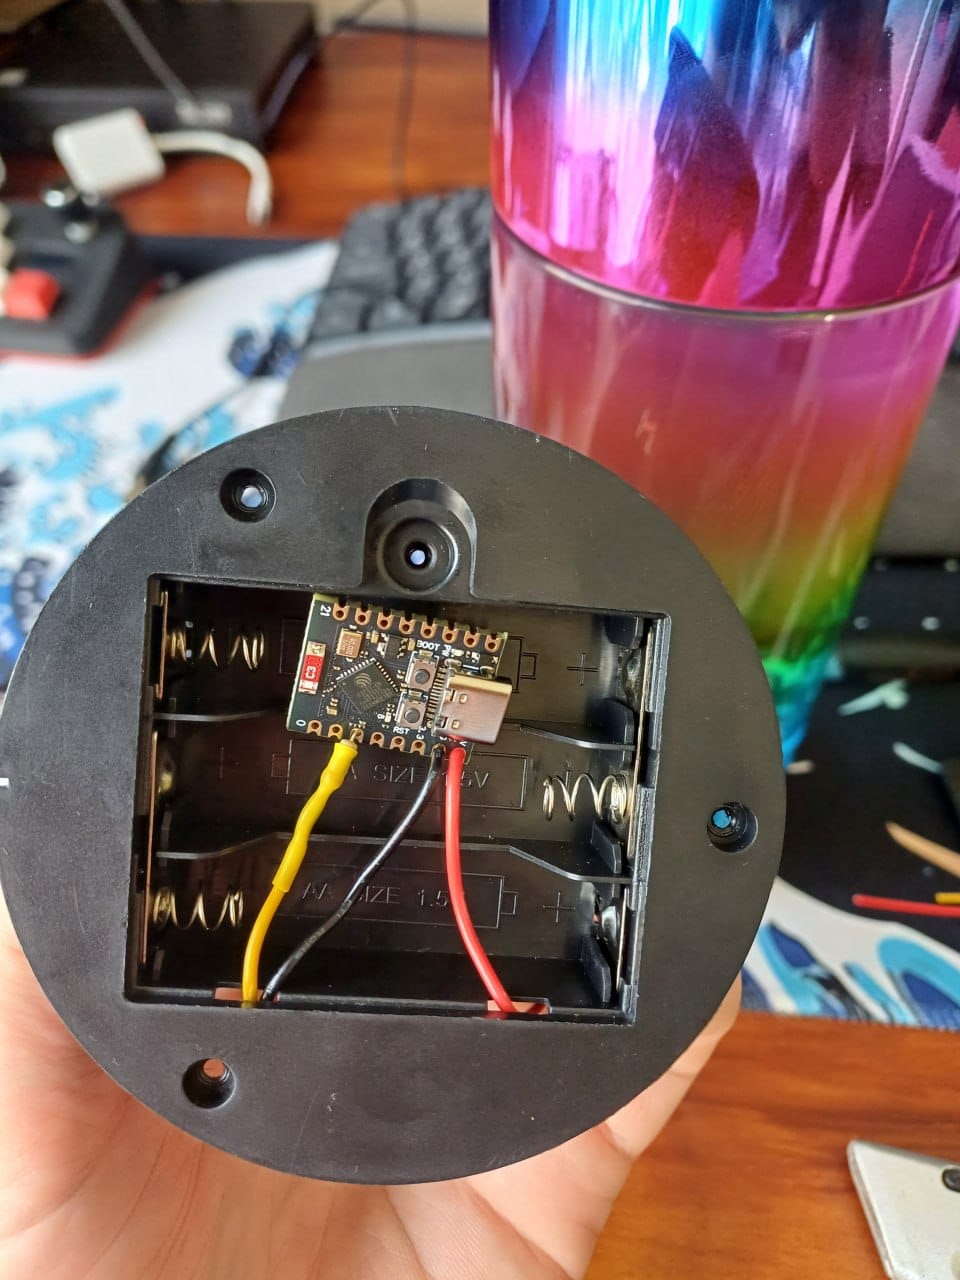
Where do you hide a dev board in a glitter lamp?
In the battery compartment, obviously.
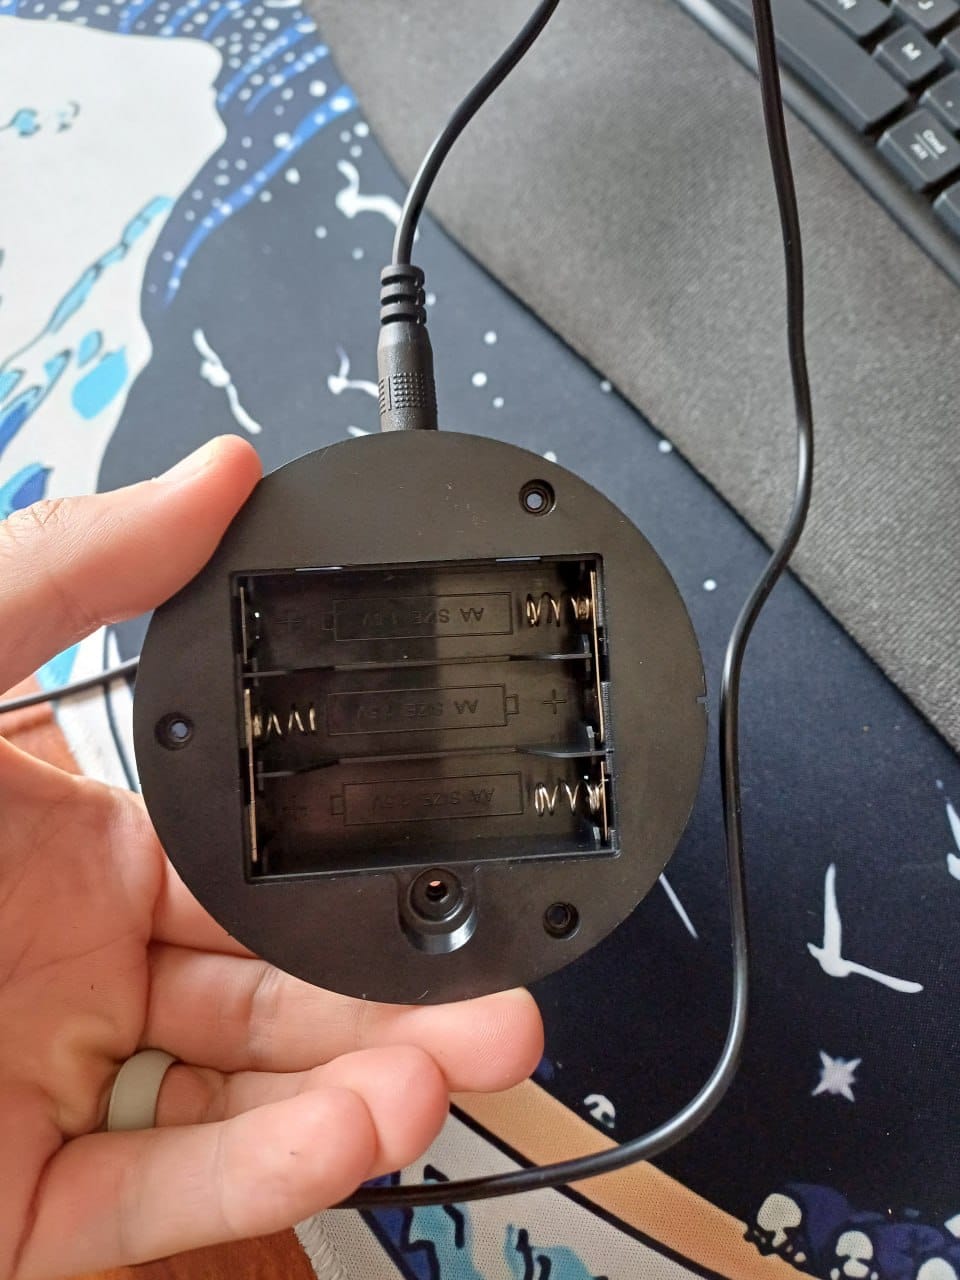
The lamp runs perfectly well from USB — I will never use it on batteries — so the cavity where the three AAs would have lived was dead space doing nothing. An ESP32-C3 devkit fits in there neatly, which means the lamp stays externally unchanged. There’s no extra box glued to the side, no dangling wires, no “what’s that?” from anyone walking past. From the outside it’s still just a glitter lamp.
While it’s in there doing nothing, it also runs as a Bluetooth proxy for Home Assistant. The sketch enables esp32_ble_tracker with bluetooth_proxy: active: true, which makes this lamp one more BLE proxy in the house — and there are a good few of them now, all running on ESP32-C3 boards.
Those proxies exist for one reason: room presence. Between them they track my phone from room to room, and when I open the Home Assistant app the dashboard is already showing the room I’m standing in. In practice the room I’m in is the room I see when the app opens — which sounds like a small thing until you’ve scrolled past the wrong dashboard one time too many. This lamp just improved that coverage in one room, for the cost of a board that was already powered and already positioned there.
What the ESPHome sketch exposes to Home Assistant
The sketch publishes five controls:
- Glitter Lamp Toggle — a plain on/off switch that mirrors whether the lamp is lit. Flip it off and the sketch drives the lamp to Off for you; flip it on while it’s off and it walks back to Rainbow. It’s an ordinary switch entity, so it drops into a Home Assistant helper group or a dashboard button the same as any other switch, and the sketch pushes its state outward on every single change so the group can’t drift out of sync with the lamp
- Lamp Current Color — a selector with all nine states: Rainbow, Red, Green, Blue, Green & Red, Green & Blue, Purple, White and Off. Pick one and the lamp goes to it
- Lamp Next Color — steps forward one colour, exactly like pressing the physical button. From Off it wraps back around to Rainbow
- Lamp Turn Off — sends the lamp to Off automatically, so you don’t sit there pressing a button eight times yourself
- Reset Sync to Off State — the calibration button, explained below, and the one that saves this build
The catch: physical buttons and digital state don’t mix
Here’s the honest weakness of any build like this. The lamp has no idea what colour it’s on. It has no state to report and nothing to read back. It has a button, and it moves to the next colour when you press it. That’s the whole interface.
So the sketch keeps its own score, with a pair of global variables: one for where the lamp thinks it is, and one for where you’ve just asked it to go. Every command works out how many clicks are needed to get from one to the other — using modular arithmetic, so asking for White from Rainbow and asking for Rainbow from White both produce the right number of presses:
int clicks_needed = (target - current + 9) % 9;That works perfectly — right up until someone presses the physical button on the lamp. Now Home Assistant’s idea of the current colour is wrong, and every command afterwards is off by however many presses happened. You press “Red” in the app and get something else entirely.
Hence two recovery paths:
- Reset Sync to Off State. This does no clicking at all — it simply sets the tracked index to Off and publishes that state. You use it when the lamp is genuinely off but Home Assistant thinks otherwise, so the two agree again without a single wasted press.
- Unplug it and plug it back in. This one used to be messy. The lamp would come on the moment it got power, before the sketch could do anything about it, so the sketch had to wait for the lamp to settle and then click its way back to Off. That is fixed now, and the fix is one pin — it is worth reading the next section, because I had the cause completely wrong. A power cycle today is clean: the lamp comes up off, the sketch boots already knowing it is on Off, and the two agree from the first second. No delay, no clicking, no correction.
It’s not elegant, but it’s honest. A complete fix would mean reading the lamp’s own LED driver, which is a much bigger job than a weekend.
The lamp that switched itself on: a strapping pin, not a quirk
Here is the mistake I lived with for far too long, and it is the most useful thing in this whole post.
Every time I plugged the lamp in, it came on. Straight into Rainbow, immediately, before the sketch had any chance to stop it. I assumed that was the lamp being the lamp — a cheap gadget doing something odd at power-up — so I wrote around it: wait 1.5 seconds for the twitch to settle, then drive the lamp all the way back to Off, clicking through every colour to get there. It worked. It was also completely unnecessary.
The real cause was my own wiring. GPIO2 on the ESP32-C3 is a strapping pin. It is not a general-purpose pin you can hang anything off: the chip pulls it high during boot while it works out how to start up. High on that pin meant the transistor’s base went high, the transistor conducted, and the lamp did precisely what it is designed to do when somebody presses its button.
So the “twitch” was never the lamp at all. It was the ESP32 pressing the button for me, every time it booted. No amount of logic in my sketch was ever going to fix that properly, because it was happening before my code was running.
The fix is embarrassing in its simplicity: move that wire one pin over, to GPIO3, which is an ordinary GPIO with no job at boot. I re-soldered it to pin 3, flashed the sketch with the boot logic taken out, and the lamp now comes up off and stays off.
Which let me delete a pile of machinery that only existed to paper over the problem:
- The
on_bootblock is gone entirely — nodelay: 1.5s, no “correcting hardware boot twitch” log line, no boot-timeselect.setforcing the selector to Off - The tracked colour index and the selector now start on Off instead of Rainbow, so the sketch’s idea of the lamp’s state is correct from the first moment it runs
- Nothing walks the lamp through all eight colours back to Off on every power-up any more, so plugging it in is instant rather than a visible little light show
If you are driving anything from an ESP32-C3, look up the strapping pins before you start writing workarounds. There are three of them — GPIO2, GPIO8 and GPIO9, with GPIO9 usually being the boot button on these devkits — and anything that acts the moment the board powers up should not be on one of them. Learn it from my mistake instead of your own.
The best part: her bedside button now runs it
My daughter already had a Sonoff ZigBee button next to her bed for her lights. Making the glitter lamp part of that was the moment this went from “neat hack” to something she actually uses every night. Three gestures on one button:
- Single press — turns the glitter lamp on, and every single press after that behaves exactly like pressing the button on the lamp: next colour, and next colour again
- Double press — toggles her bedside lamp
- Long press — toggles the main bedroom light
So the lamp is no longer a thing she has to walk over and press. It’s on her bedside button with everything else, and it does the one thing a glitter lamp is for: being pretty at bedtime without her having to get up.
The ESPHome sketch
Here’s the YAML, in full. Swap the secrets for your own Wi-Fi credentials and it should drop straight into ESPHome:
esphome:
  name: ava-glitter-lamp
  name_add_mac_suffix: false
  friendly_name: Ava Glitter Lamp
  # on_boot:
  #   priority: -10
  #   then:
  #     - delay: 1.5s
  #     - logger.log: "Correcting hardware boot twitch. Turning lamp off..."
  #     - select.set:
  #         id: color_selector
  #         option: "Off"

esp32:
  board: esp32-c3-devkitc-02
  variant: esp32c3
  framework:
    type: arduino

logger:
api:
ota:
  - platform: esphome

wifi:
  ssid: !secret wifi_ssid
  password: !secret wifi_password

esp32_ble_tracker:
bluetooth_proxy:
  active: true

# ==============================================================================
# 1. CORE TRACKERS
# ==============================================================================
globals:
  - id: current_color_index
    type: int
    restore_value: no
    initial_value: '8'

  - id: target_color_index
    type: int
    restore_value: no
    initial_value: '8'

# ==============================================================================
# 2. HARDWARE OUTPUT SWITCH & EXPORTED TOGGLE SWITCH
# ==============================================================================
switch:
  - platform: gpio
    pin: GPIO3
    id: transistor_switch
    inverted: false

  - platform: template
    name: "Glitter Lamp Toggle"
    id: glitter_lamp_light
    icon: "mdi:lightbulb-glitter"
    lambda: |-
      return id(current_color_index) != 8;
    turn_on_action:
      - lambda: |-
          if (id(current_color_index) == 8) {
            ESP_LOGI("custom", "Light flipped ON -> Targeting Rainbow");
            id(target_color_index) = 0;
            id(jump_to_color_index).execute();
          }
    turn_off_action:
      - lambda: |-
          if (id(current_color_index) != 8) {
            ESP_LOGI("custom", "Light flipped OFF -> Targeting Off State");
            id(target_color_index) = 8;
            id(jump_to_color_index).execute();
          }

# ==============================================================================
# 3. INTERACTIVE HOME ASSISTANT SELECTION ENTITY
# ==============================================================================
select:
  - platform: template
    name: "Lamp Current Color"
    id: color_selector
    options:
      - "Rainbow"
      - "Red"
      - "Green"
      - "Blue"
      - "Green & Red"
      - "Green & Blue"
      - "Purple"
      - "White"
      - "Off"
    initial_option: "Off"
    optimistic: true
    set_action:
      - lambda: |-
          const auto &options = id(color_selector).traits.get_options();
          int target_idx = 8;
          for (size_t i = 0; i < options.size(); i++) {
            if (options[i] == x) {
              target_idx = i;
              break;
            }
          }
          id(target_color_index) = target_idx;
          id(jump_to_color_index).execute();

# ==============================================================================
# 4. CORE AUTOMATION SCRIPTS
# ==============================================================================
script:
  # Master navigation script
  - id: jump_to_color_index
    mode: single
    then:
      - lambda: |-
          int current = id(current_color_index);
          int target = id(target_color_index);

          if (current != target) {
            int clicks_needed = (target - current + 9) % 9;

            for(int i = 0; i < clicks_needed; i++) {
              id(transistor_switch).turn_on();
              delay(80);
              id(transistor_switch).turn_off();
              delay(350);
            }
            id(current_color_index) = target;
          }
          // Safely broadcast updates outward to UI components
          id(color_selector).publish_state(id(color_selector).traits.get_options()[target]);

          // Instantly pushes the state changes up to your helper groups
          id(glitter_lamp_light).publish_state(target != 8);

  # Manual Next-Step Cycle Button Handler
  - id: single_click
    mode: queued
    then:
      - switch.turn_on: transistor_switch
      - delay: 80ms
      - switch.turn_off: transistor_switch
      - delay: 350ms
      - lambda: |-
          id(current_color_index) += 1;
          if (id(current_color_index) > 8) {
            id(current_color_index) = 0;
          }
          int updated_idx = id(current_color_index);
          id(color_selector).publish_state(id(color_selector).traits.get_options()[updated_idx]);

          // Forces toggle visibility updates when clicking color by color
          id(glitter_lamp_light).publish_state(updated_idx != 8);

# ==============================================================================
# 5. EXPOSED UTILITY CONTROL BUTTONS
# ==============================================================================
button:
  # Next Color Manual Step
  - platform: template
    name: "Lamp Next Color"
    icon: "mdi:palette"
    on_press:
      - script.execute: single_click

  # Master Absolute Off
  - platform: template
    name: "Lamp Turn Off"
    icon: "mdi:power"
    on_press:
      - lambda: |-
          id(target_color_index) = 8;
          id(jump_to_color_index).execute();

  # Maintenance Re-Calibration Reset
  - platform: template
    name: "Reset Sync to Off State"
    icon: "mdi:refresh"
    on_press:
      - lambda: |-
          id(current_color_index) = 8;
          id(color_selector).publish_state("Off");
          id(glitter_lamp_light).publish_state(false);
What I’d tell anyone doing this
- Don’t fight the original controller. Using the existing button as the interface is the least invasive path, and it survives you getting the electronics wrong. Worst case, the lamp still works as a lamp.
- Find the dead space. Battery compartments are free real estate when a device lives on USB. Add a Bluetooth proxy while you’re in there.
- Plan for the state to be wrong eventually. Anything you drive by counting button presses will drift, because the world has other fingers in it. Build the reset button before you need it.
- Check the strapping pins before you write a workaround. I treated the lamp turning itself on as a quirk of a cheap lamp for months. It was GPIO2 on the ESP32-C3 being held high while the chip boots — my wiring, not the hardware, and it was happening before a single line of my code ran. One pin over, on GPIO3, and the entire workaround disappeared along with the problem.
Gallery
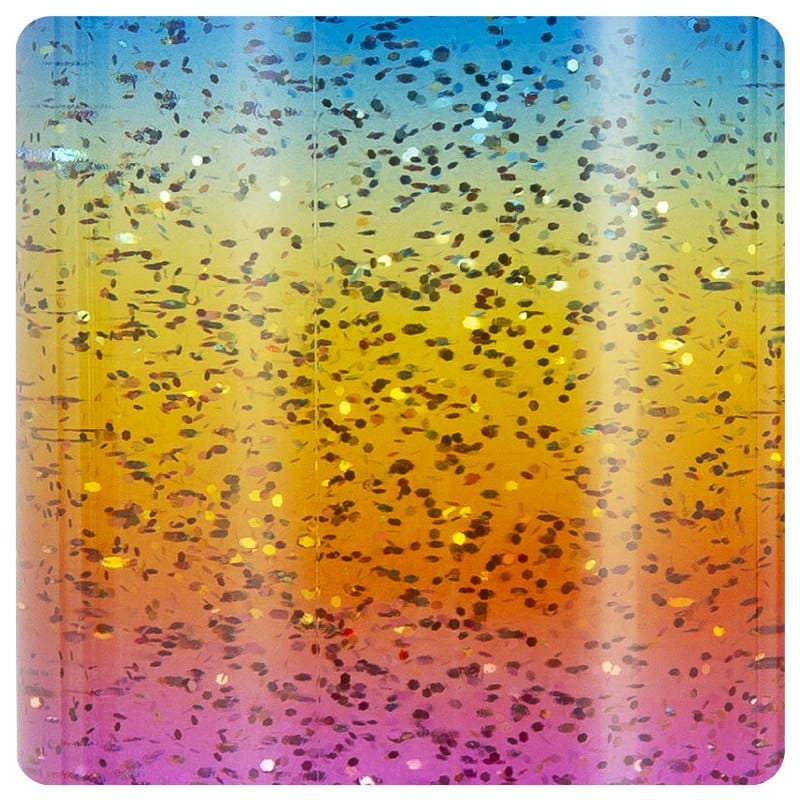
First, the lamp as it comes — an off-the-shelf glitter swirl unit with a single button and no smarts whatsoever. Retail box specs: six LEDs, eight colours plus off, powered by USB or 3 × AA, and glitter suspended in liquid inside ABS plastic that very much wants you to leave it sealed.
The upgrade
Ordered as the job went: the empty battery bay and the LED board first, then the guts and the ESP32 going in, and the finished lamp at the end — including the desk shot with the rainbow gradient — and, at the end, the 2N2222 pinout itself.
The whole thing cost almost nothing beyond the lamp, the dev board I already had, took a couple hours, and turned a gadget that did one thing into a device my daughter controls from bed without opening her eyes properly. That’s a good weekend.
The finished lamp, in her room
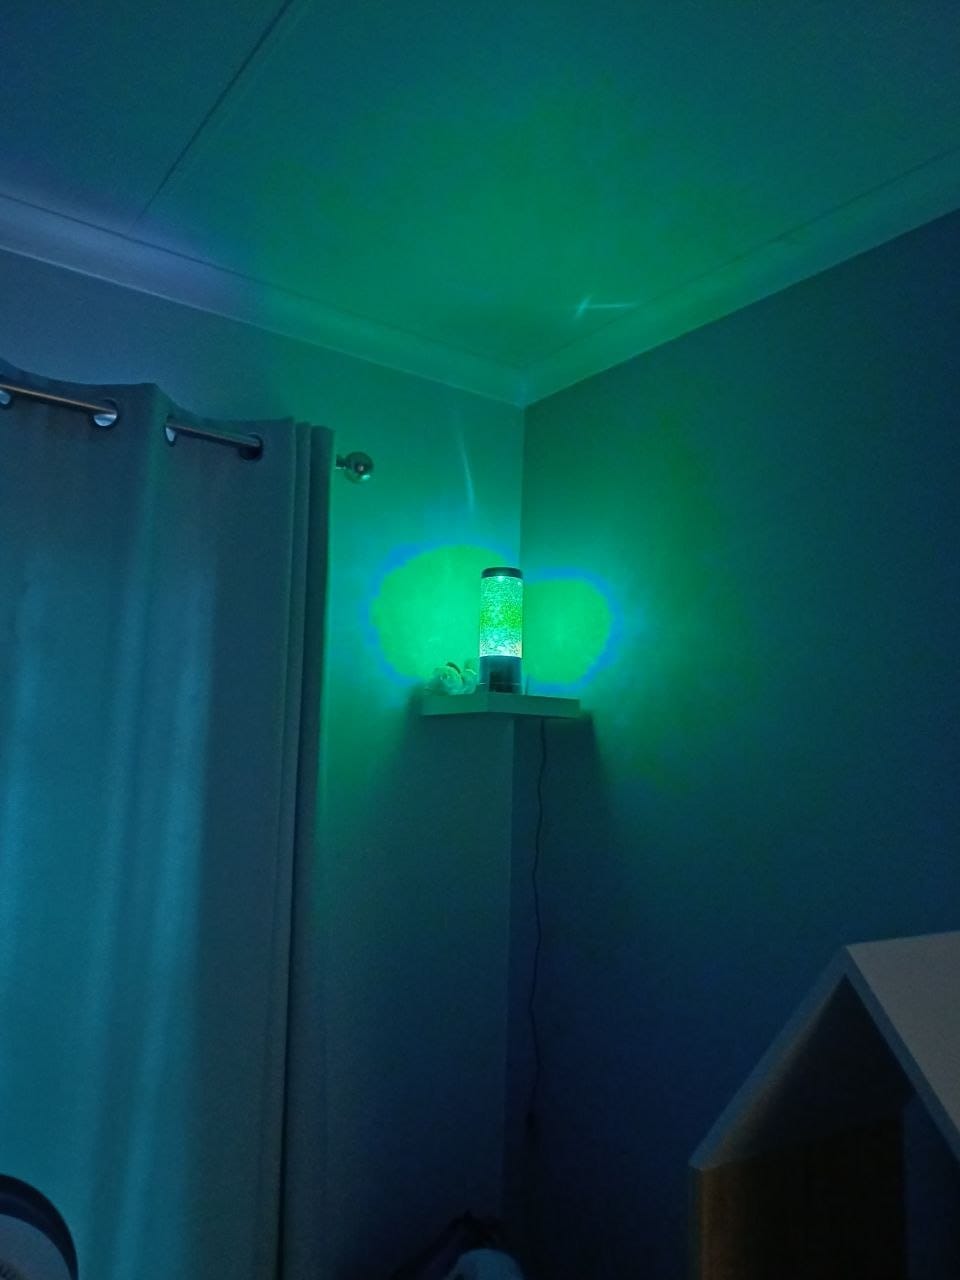
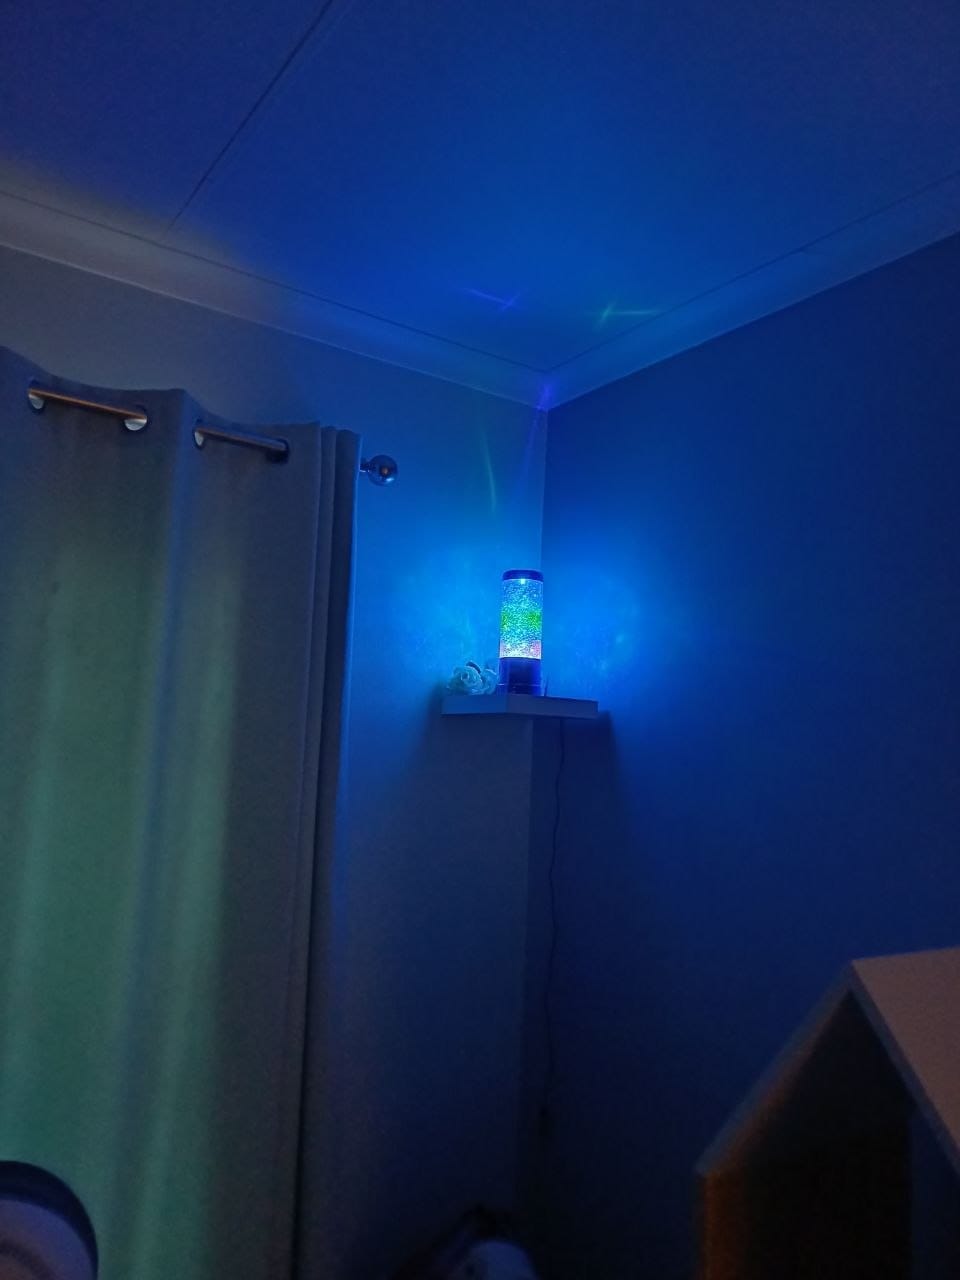
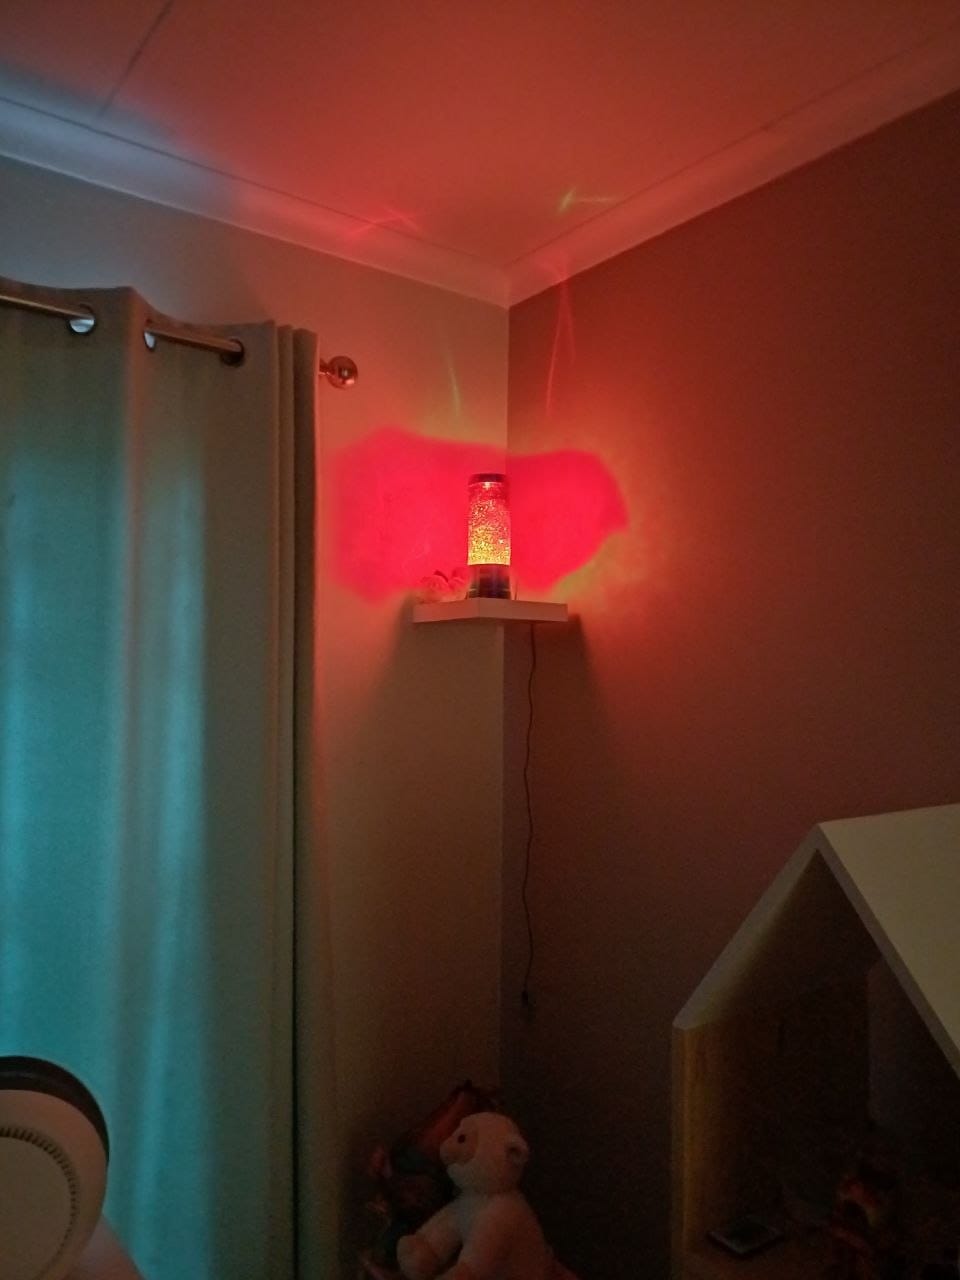
Same corner shelf above her bed, in three of the colours — green, blue and red — and two clips of it running through the modes. This is the view she has from bed when she single-taps the Zigbee button on her bedside table.