Migrating My Entire Tasmota Fleet to ESPHome
Around thirty Tasmota devices migrated to ESPHome in a single day - and the Sonoff switches came out noticeably faster than they ever were. Here's the full story, including the Tasmota-minimal trick that makes it possible.
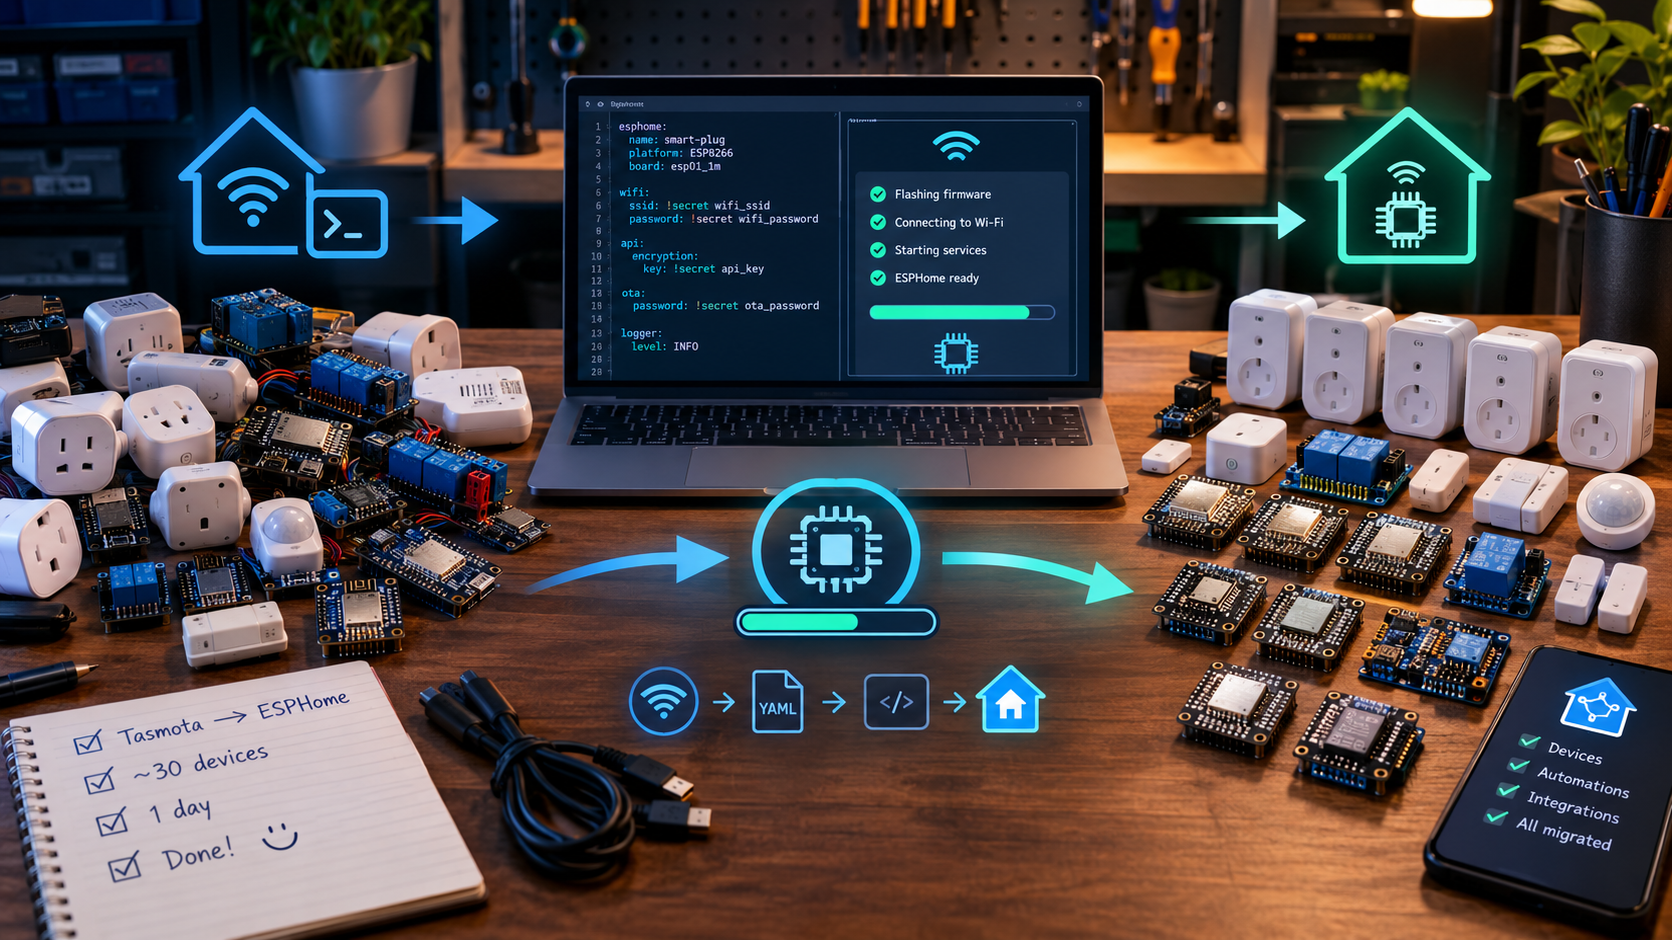
Today started with the words “let me just do one or two of these” and ended with around thirty devices reborn, a laptop that hadn’t been closed in twelve hours, and the distinct feeling that I should have done this two years ago. I migrated my entire Tasmota fleet to ESPHome. All of it. In one day.
If you’ve read my post about switching from openHAB to Home Assistant, you’ll know I don’t do these things by halves. Here’s the full story of the migration, why it finally made sense, and the one result I genuinely didn’t expect.
Why Tasmota in the first place
None of this is a knock on Tasmota. Tasmota was the right answer when I chose it. The problem was timing — ESPHome simply wasn’t around yet in any real sense, and back then I was running openHAB anyway. Tasmota was proven, it flashed onto cheap Sonoff hardware, and it talked to openHAB happily over MQTT. It did everything I asked of it for years.
Then two things changed. I moved my whole setup over to Home Assistant, and ESPHome grew up. In March 2021, Nabu Casa — the company behind Home Assistant itself — acquired ESPHome from its founder, Otto Winter. That was the moment ESPHome stopped being a clever side project and became part of the core of the platform I’d already committed to.
Since then, every new device I add has been built with ESPHome. The old Tasmota gear was the last bit of the house still speaking a different language.
The roll call
Roughly thirty devices went across today. Rough breakdown:
- Sonoff T1 touch light switches — the bulk of the fleet, scattered through most rooms in the house
- Sonoff POW R2 — energy monitoring on the heavy loads
- Sonoff Basic — the cheap workhorses hiding behind things
- Shelly 1 — a handful, tucked into tight boxes
- Wemos D1 mini and NodeMCU boards — the homebrew end of the operation
- My irrigation controller — the one that actually waters the garden
- The loadshedding lights — the ones that have to work when the power doesn’t
That last pair is the part I was most nervous about. A switch that misbehaves in a bedroom is an annoyance. An irrigation controller that forgets its schedule, or lights that don’t come on during a load-shedding slot, is a real problem.
How I actually moved each one across
There’s no magic one-click button for this. The good news is that Tasmota devices are already running a bootloader that accepts over-the-air firmware, which means most of them never had to come off the wall. The process I settled into was the same for every single device:
- Pull the status 0 output from the Tasmota console. This is the important bit, and it’s the reason the rest of it works. Tasmota’s
Status 0dumps the device’s full configuration, including the GPIO and pin assignments that map to the physical hardware. That output is your source of truth for how the board is wired. - Turn that output into an ESPHome configuration. I took the Status 0 output and used Gemini to generate an ESPHome sketch from it. Doing it by hand for thirty devices would have taken me days; this way each one was a matter of seconds.
- Flash Tasmota minimal onto the device first. This is the step people miss. The full Tasmota firmware doesn’t leave enough free flash space to accept an ESPHome binary over the air, so you install the stripped-down minimal build first. That clears the room the new firmware needs.
- Compile the ESPHome firmware. In the ESPHome dashboard I created the device from the generated sketch, compiled it, and downloaded the resulting
.binfile. - Upload the ESPHome bin through Tasmota’s web interface. With Tasmota minimal running, you use its own firmware upgrade page to upload the ESPHome binary. The device reboots straight into ESPHome.
- Adopt it in Home Assistant. Once the device comes up on the network, Home Assistant discovers it through the ESPHome integration and you click to adopt it. No MQTT topics, no manual entity definitions, no discovery config to get wrong.
Two things worth saying about that list. First, treat the generated sketch as a first draft, not gospel. A wrong GPIO in an ESPHome config means a switch that drives the wrong relay, and no amount of clever prompting beats checking the pin assignments against your own Status 0 output before you flash. Second, the reason this works at all is that the upload happens through Tasmota’s own over-the-air upgrade path — and once a device is on ESPHome, every future update goes straight from the ESPHome dashboard, also over the air.
The thing I didn’t expect: everything got faster
This is the bit I keep telling people about. My Sonoff devices respond noticeably faster on ESPHome than they ever did on Tasmota. Not subtly — noticeably enough that I went and pressed the same wall switch repeatedly to make sure I wasn’t imagining it. You press it, and the light is on. There’s no moment of “did that register?”
I think I know why, and it comes down to the plumbing rather than the hardware. Tasmota talks MQTT, which means a broker sits in the middle of every command and every state change: Home Assistant publishes, the broker receives, Tasmota picks it up, acts, publishes back, the broker relays, Home Assistant hears about it. It works, and it’s all local, but it’s a lot of handoffs.
ESPHome plugs straight into Home Assistant over its own native API on a connection that stays open. No broker in the middle, no waiting for the next poll, no discovery chatter. A button press is reported the moment it happens, and a command is acted on the moment it’s sent. Same ESP chips. Same relays. Same wires. The difference is entirely in how the message travels.
And what about the T1 ghosting?
The Sonoff T1 touch switches have annoyed me for years. They ghost — a light switches itself on with nobody near it. It’s the kind of fault that makes you doubt your own memory. I’m reasonably sure I turned that light off. I did turn that light off.
My working theory is that ESPHome will fix it, or at least dramatically reduce it. If the ghost presses are coming from state changes being reported late, or from commands arriving out of order, or from discovery parsing stomping on the same entity twice, then removing MQTT from the equation removes the cause. Cleaner reporting, one entity per device, no duplicate state paths.
I’ll be honest: ESPHome did not solve this, but actually reintroduced this issue into my smart home. Tasmota fixed it, to a point that switches would still beep randomly but the lights would not switch on. So after being woken up at 3am with lights turning on, I looked for a fix, seems there is one, with adding delays like a debounce in the sketch, it’s early days, and I’m not declaring victory on day one/two. But the whole reason I did this migration in one push rather than spreading it over months is that I want a clean answer to a question that’s been nagging me for years. Ask me again in a month.
What I’d tell anyone doing this
If you’re sitting on a pile of Tasmota devices and wondering whether it’s worth moving them:
- Do the whole lot in one go. A half-migrated house is harder to reason about than either end state, especially when you’re trying to work out what’s causing a fault.
- Start with the devices you can afford to get wrong. Kitchen and hallway switches first, irrigation and load-shedding gear last, once you’re confident in your configuration.
- Get the pins right before you flash. Status 0 output first, ESPHome config second. A wrong GPIO is a switch driving the wrong relay, and it’s far easier to catch on paper than after the fact.
- Don’t skip Tasmota minimal. Flashing the minimal build first is what frees the flash space for the ESPHome binary. Without it, the upload simply won’t fit.
- Keep your naming sane. Thirty devices means thirty names. Get them right the first time, because renaming them afterwards means fixing every automation that references them.
- Watch the automations. Every entity ID that changes is an automation that quietly stops firing. This is the part that actually takes the time — not the flashing.
Where this leaves the house
For the first time, everything in my home runs on one platform, one firmware philosophy, and one way of speaking to Home Assistant. No MQTT broker sitting in the middle of the house doing the translation.
It’s quieter, it’s faster, and it’s far easier to maintain. And the load-shedding lights still come on when they’re supposed to, which was the only test that really mattered today.