🌿 3D Pot Plant Design 🌿


There’s something incredibly satisfying about watching a 3D print come to life layer by layer. But if you’ve spent any time in the hobby, you’ll know that satisfaction can quickly turn into frustration—especially when a single print takes 9 hours… and you need more than one.
That’s exactly where I found myself.
The Problem with Printing Everything
I originally came across a really cool vertical plant wall design. It looked great, but there was a catch: each pot had to be fully 3D printed. That meant roughly 9 hours per pot. Multiply that by a few plants, and suddenly you’re committing days of print time—not to mention filament costs and the risk of failed prints.
It got me thinking: Do I really need to print the entire pot?
The answer, of course, was no.
Enter Onshape: Learning by Rebuilding
Instead of just downloading and printing the design, I decided to take a different approach—I wanted to understand it and recreate it with my own improvements.
That’s where learning CAD came in, specifically using Onshape.
Rather than starting from scratch blindly, I used the existing design as inspiration. I studied how it worked, how the mounting system supported the weight, and how the geometry fit together. Then I began rebuilding it piece by piece in Onshape.
This process turned out to be one of the most valuable learning experiences:
- I learned how to sketch and constrain dimensions properly - I got comfortable with extrusions, offsets, and fillets - I started thinking in terms of function-first design instead of just shape - Most importantly, I learned how small design tweaks can have a big real-world impact
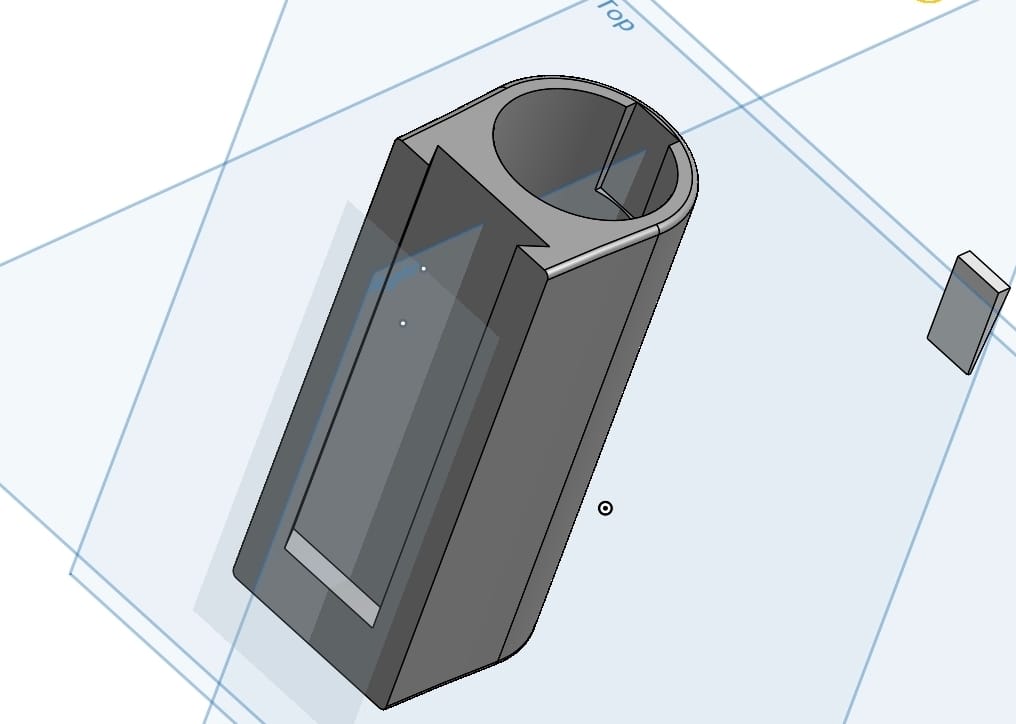
The “Aha” Moment: Don’t Print What You Can Buy
The biggest breakthrough came when I realized I was overengineering the problem.
Instead of printing entire pots, I could just design a bracket that holds a standard, store-bought 12cm pot.
That single idea changed everything.
Benefits of the Bracket Approach:
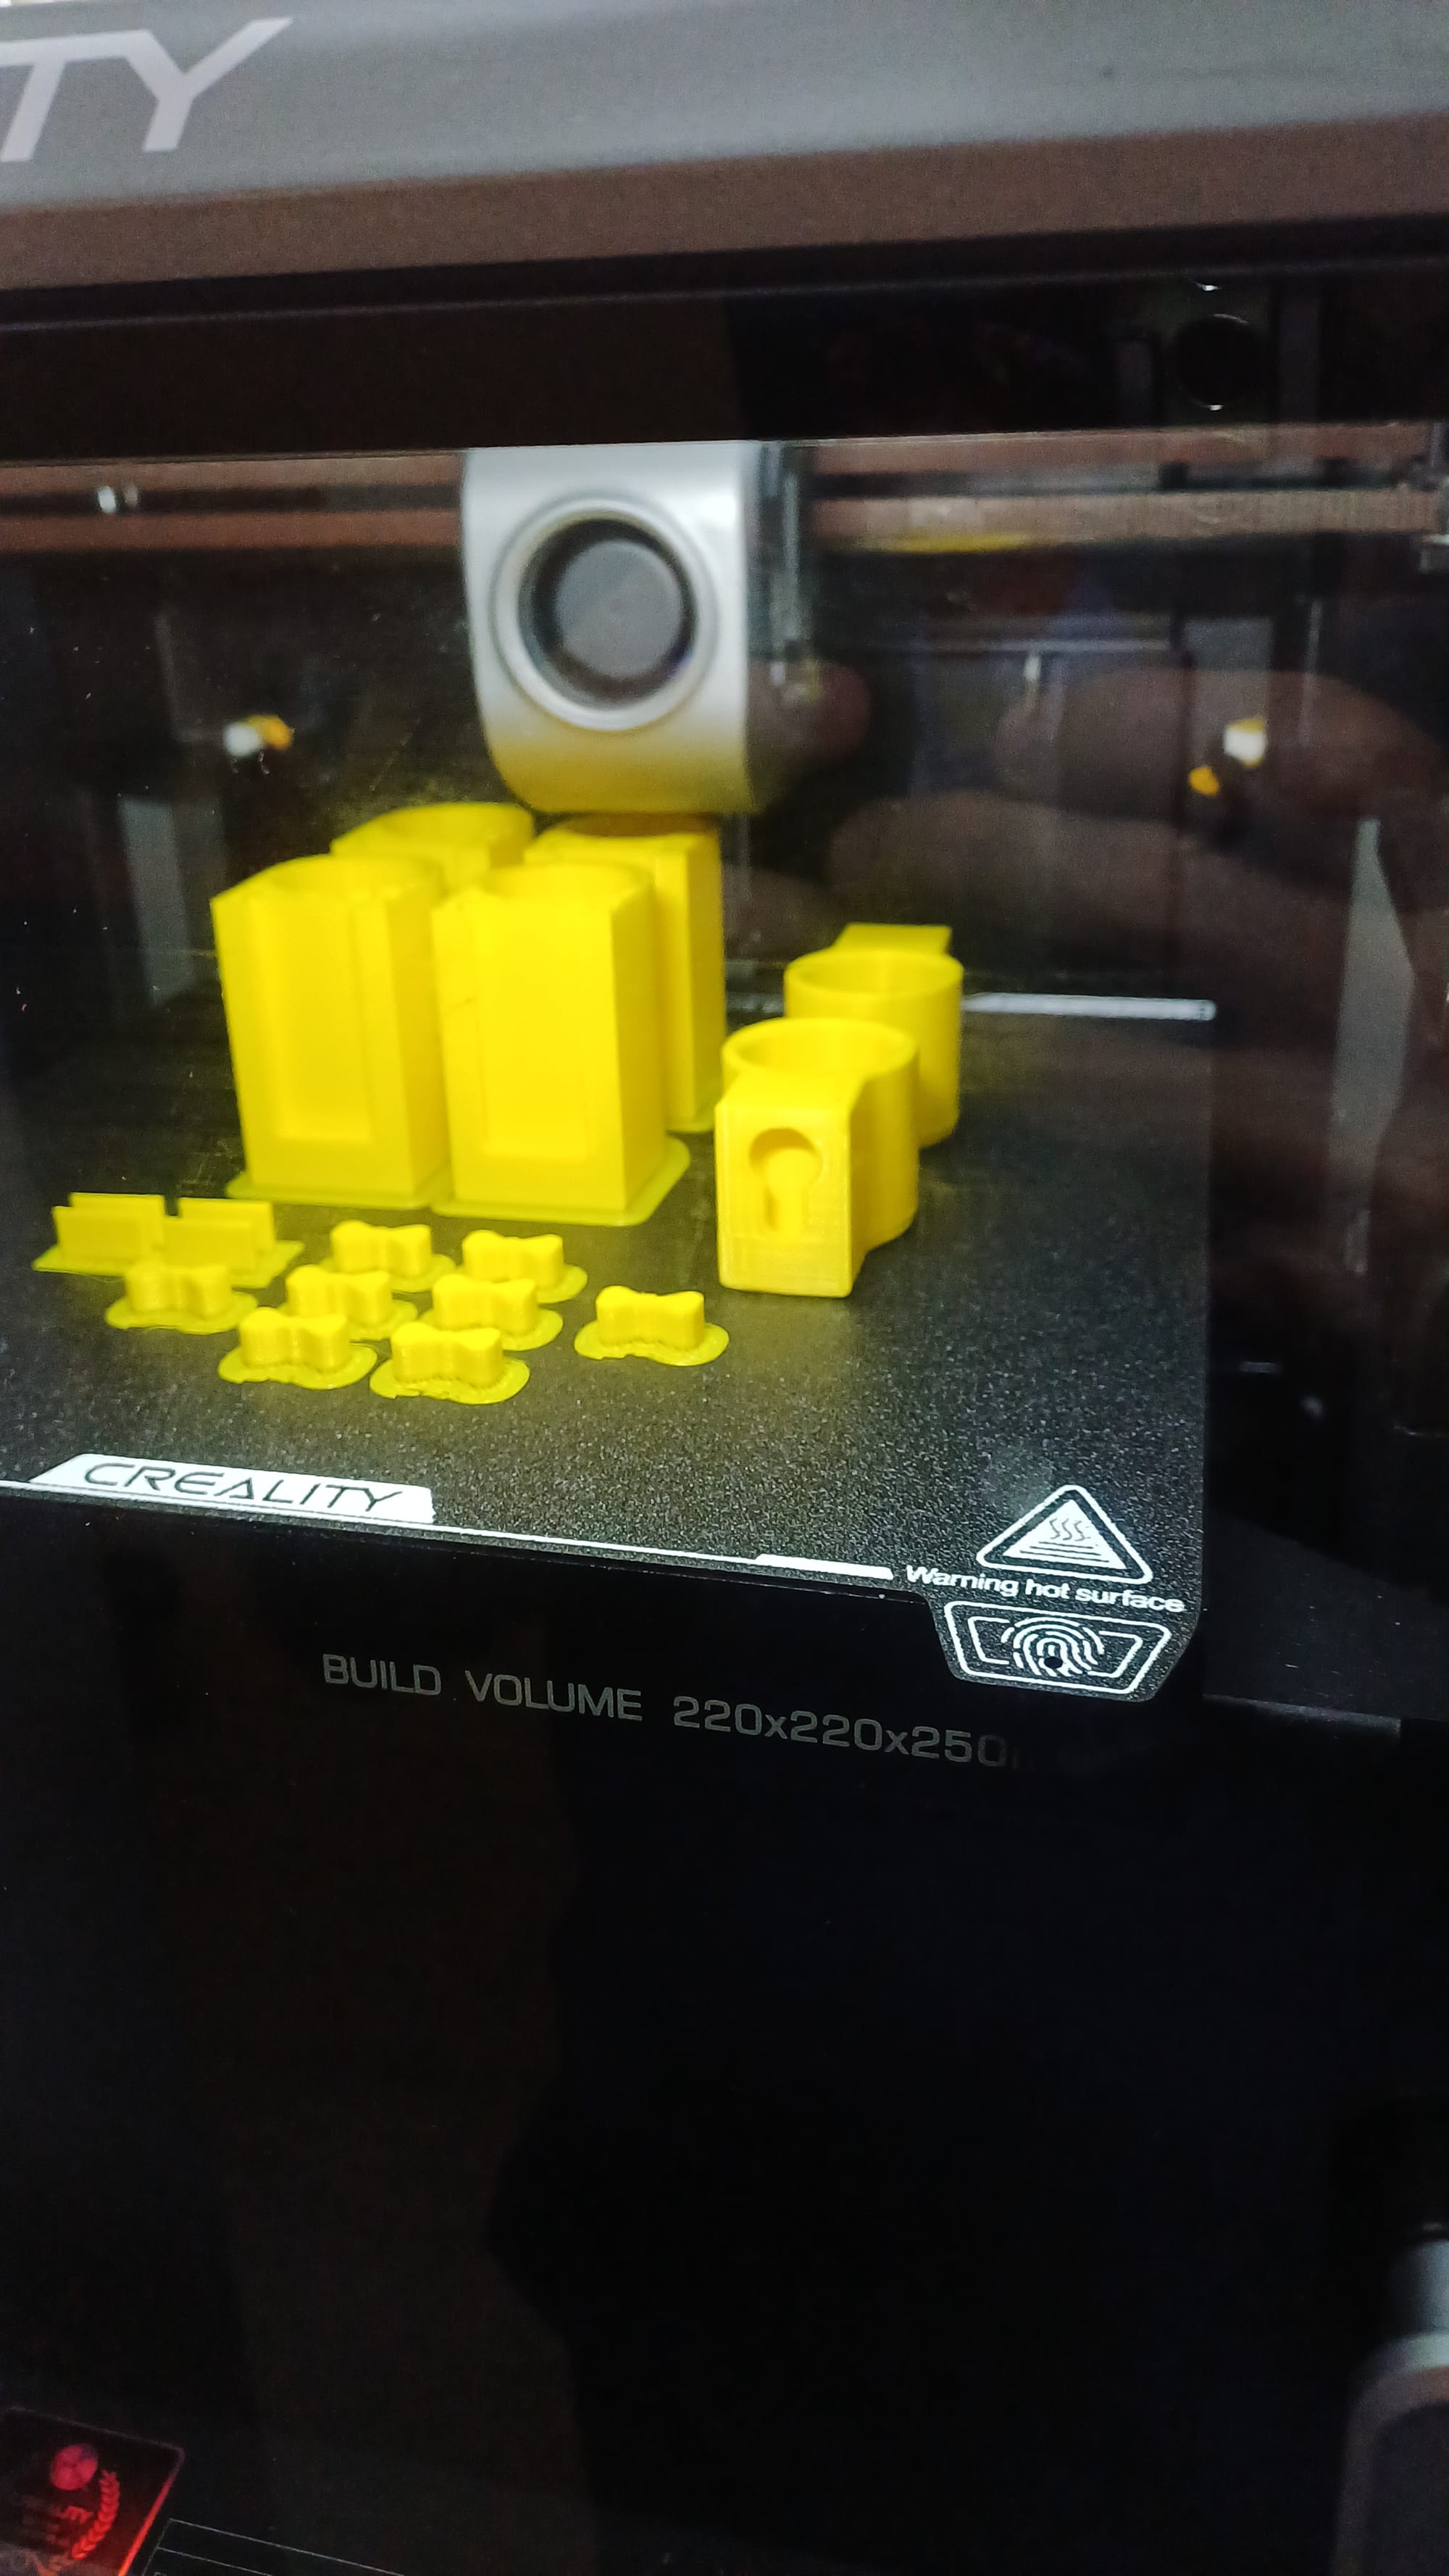
- Massive time savings – from 9 hours per pot to a fraction of that - Less filament usage – cheaper and more sustainable - Stronger parts – focusing print strength where it actually matters - Flexibility – easily swap out pots without reprinting
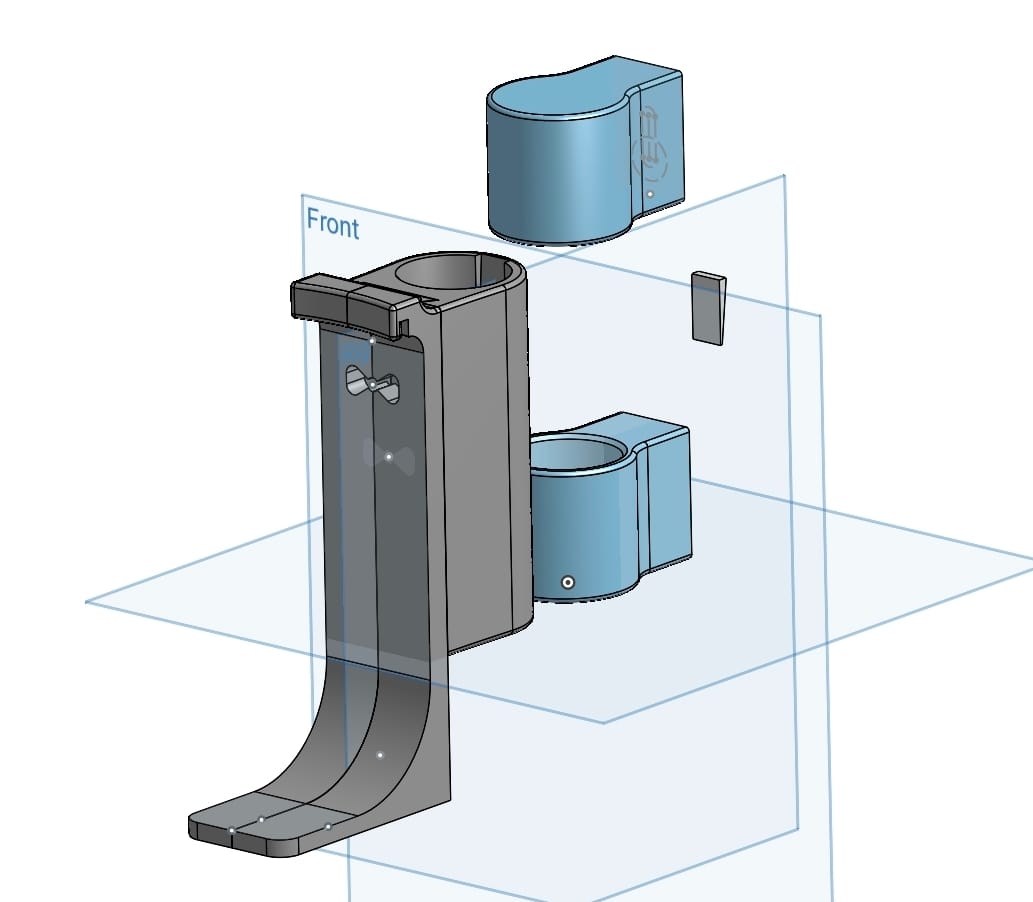
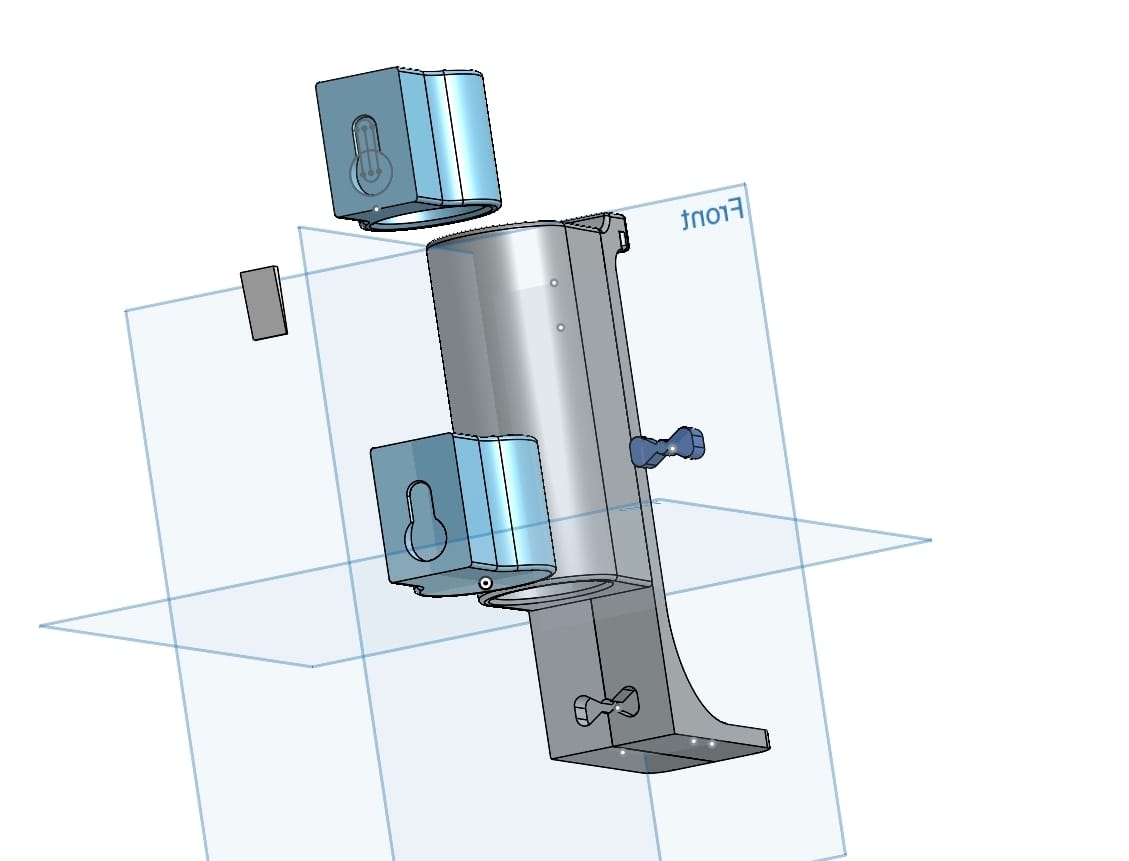
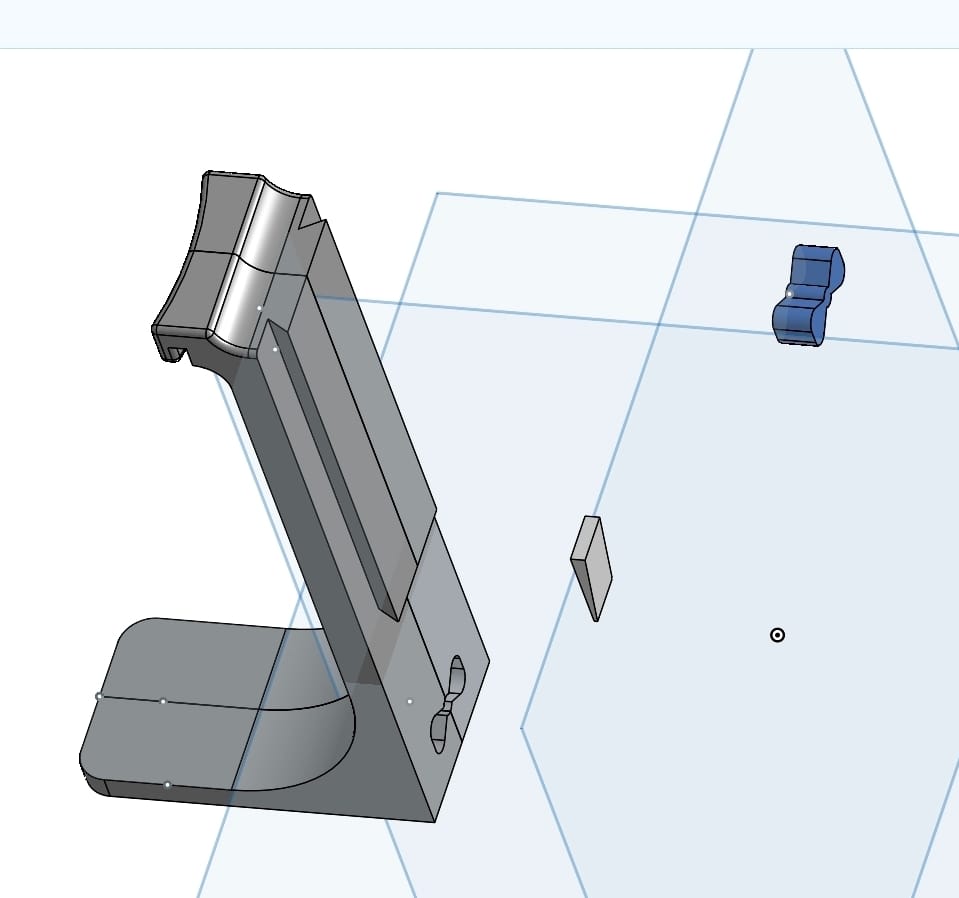
The Final Design
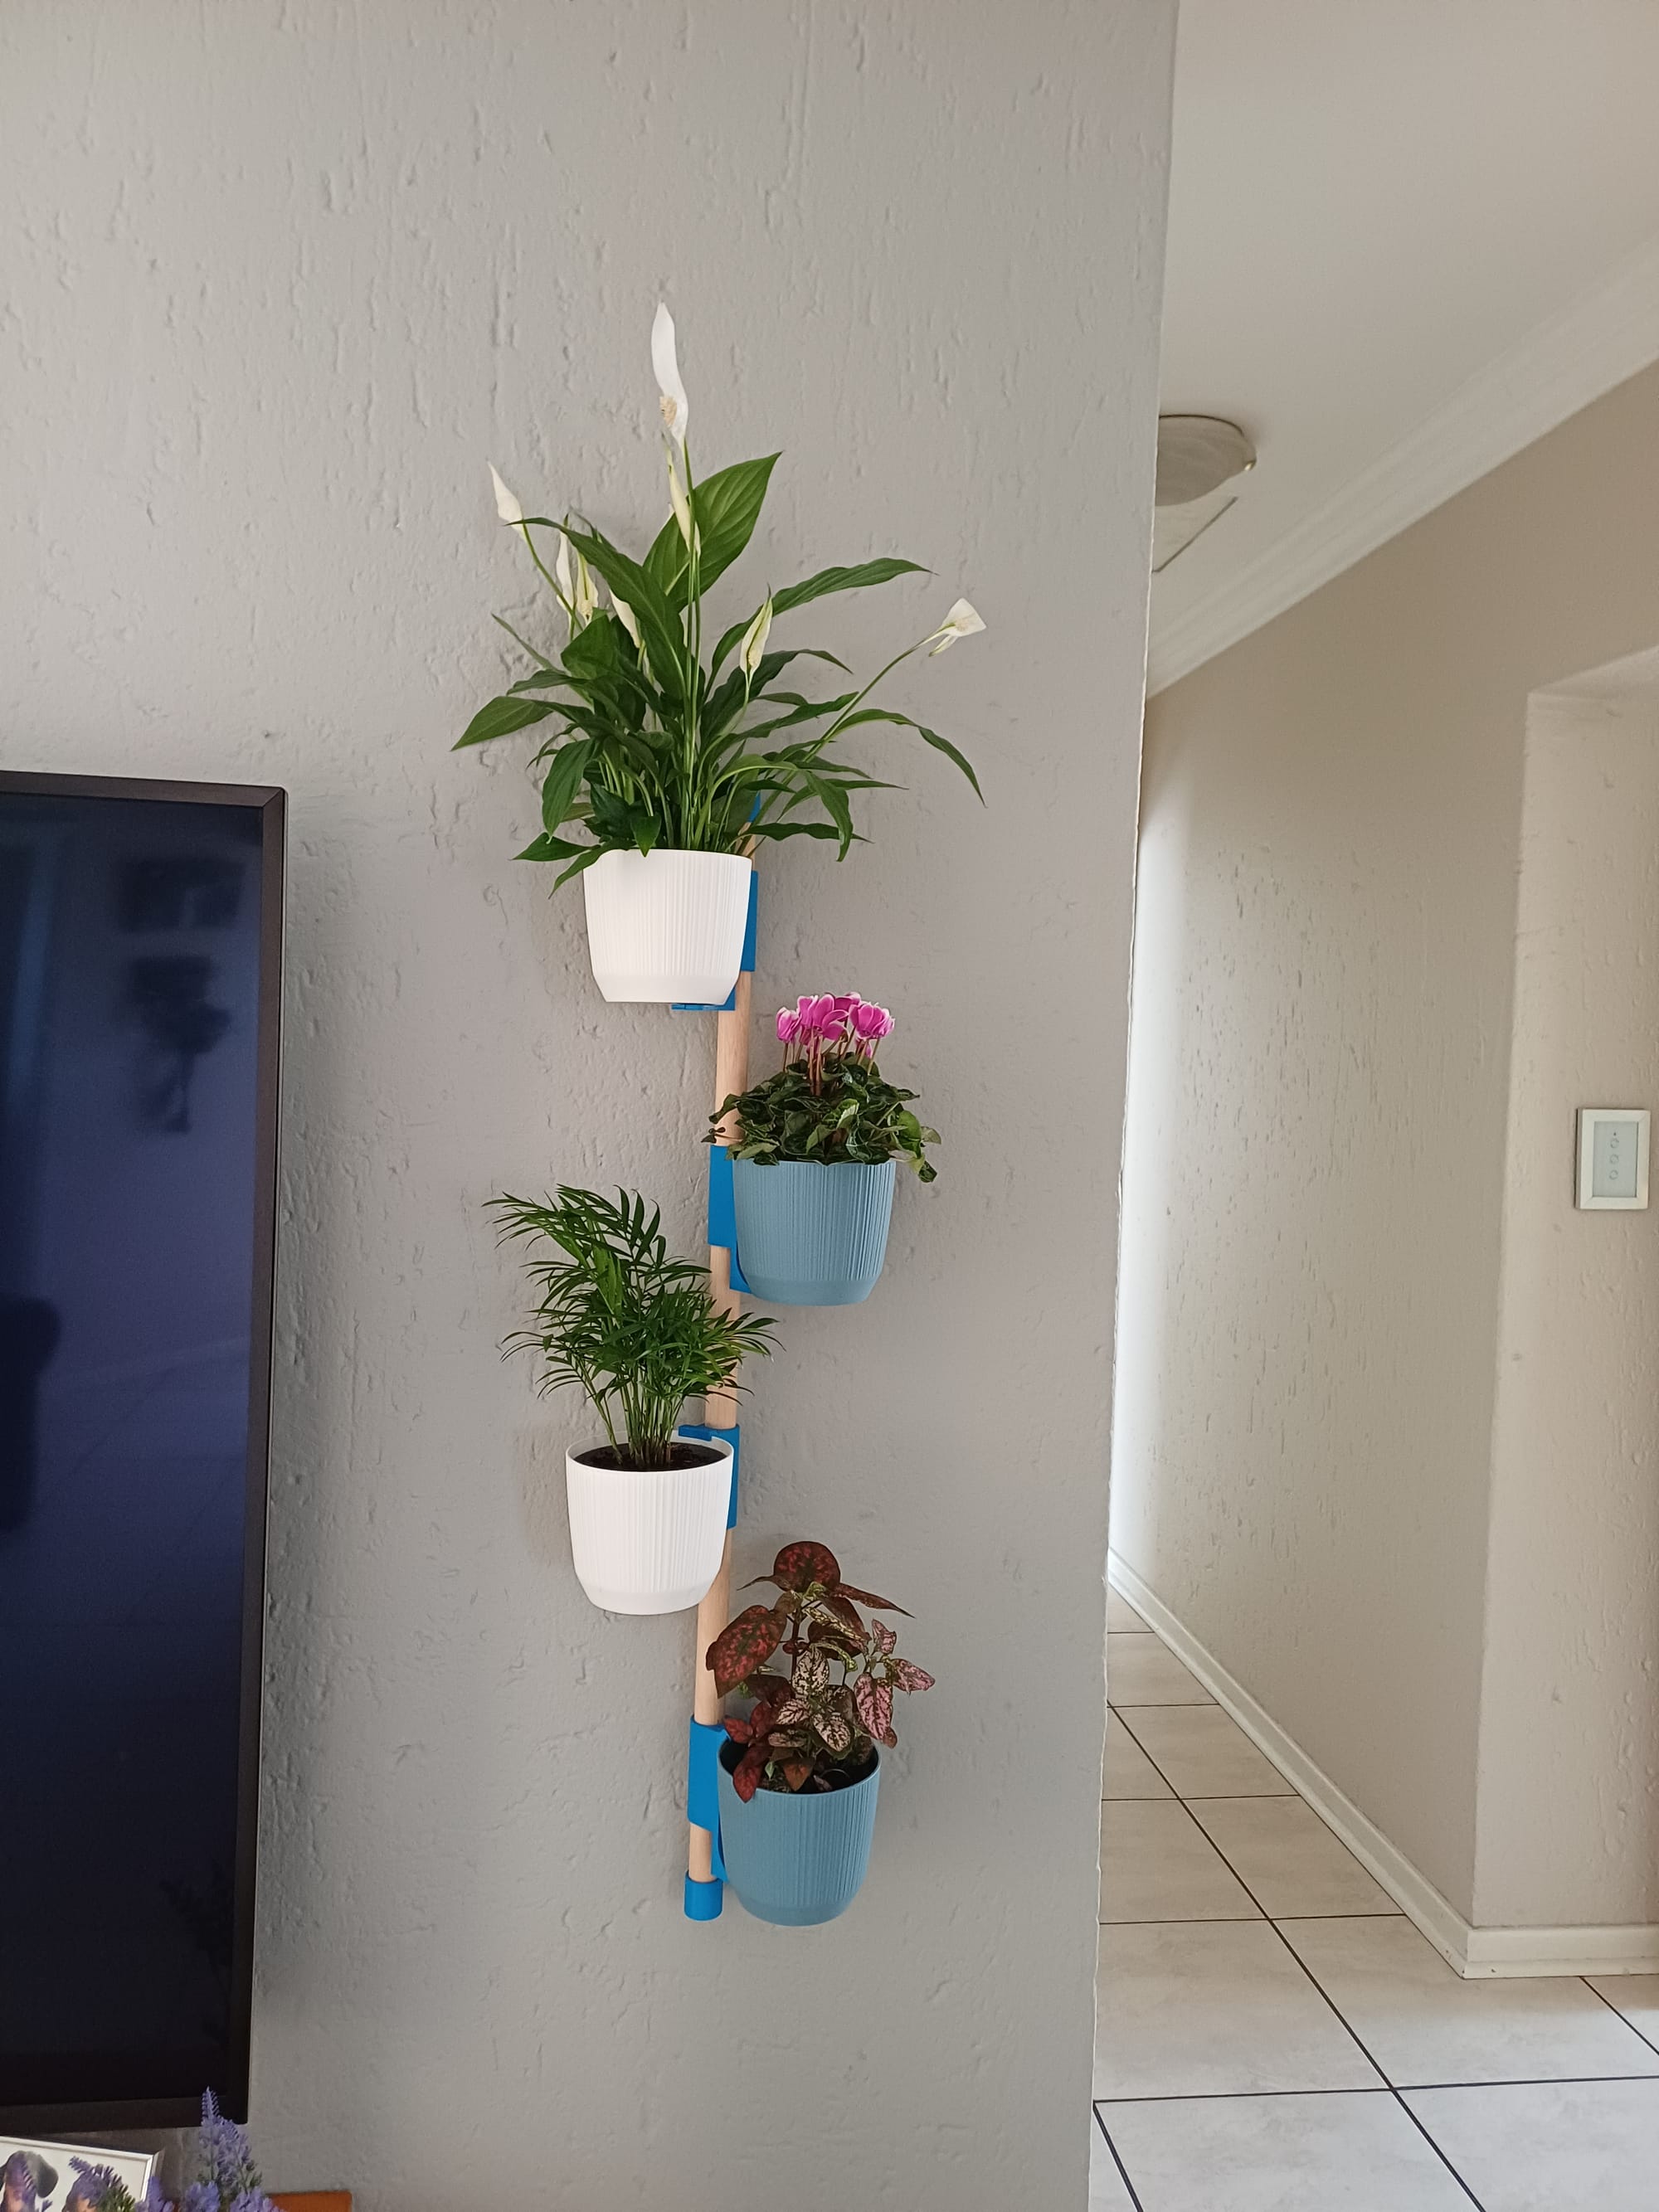
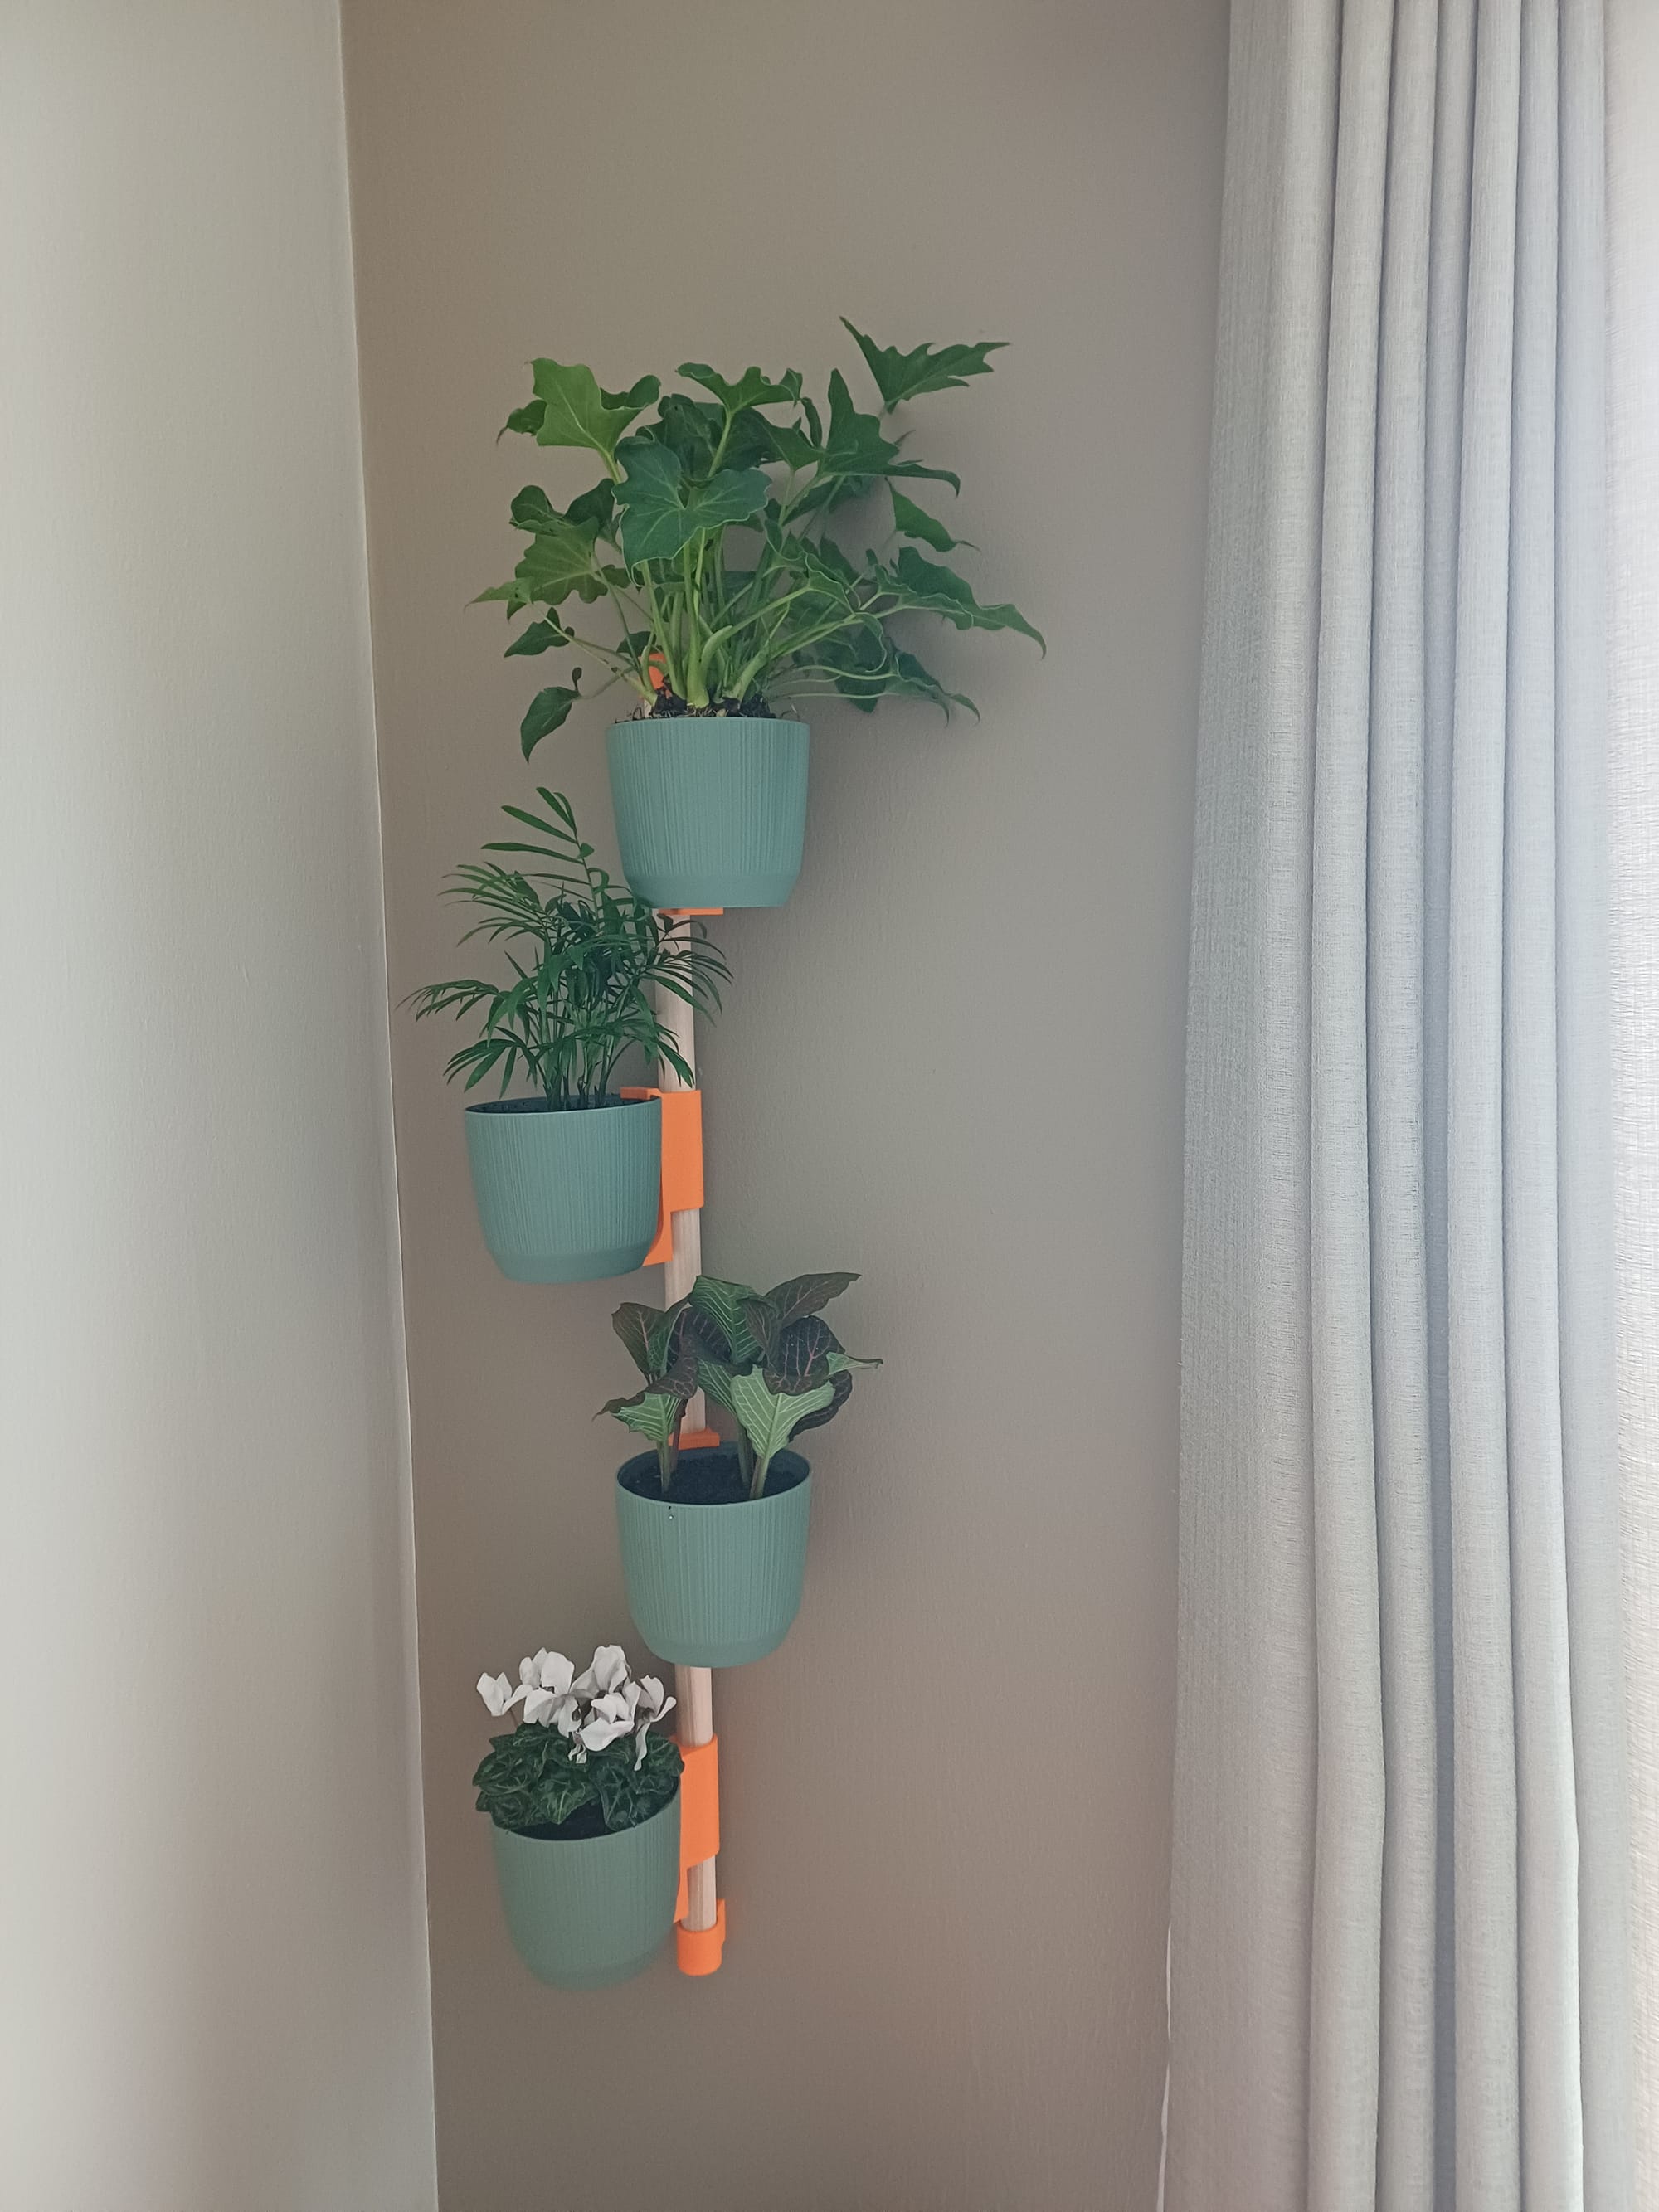
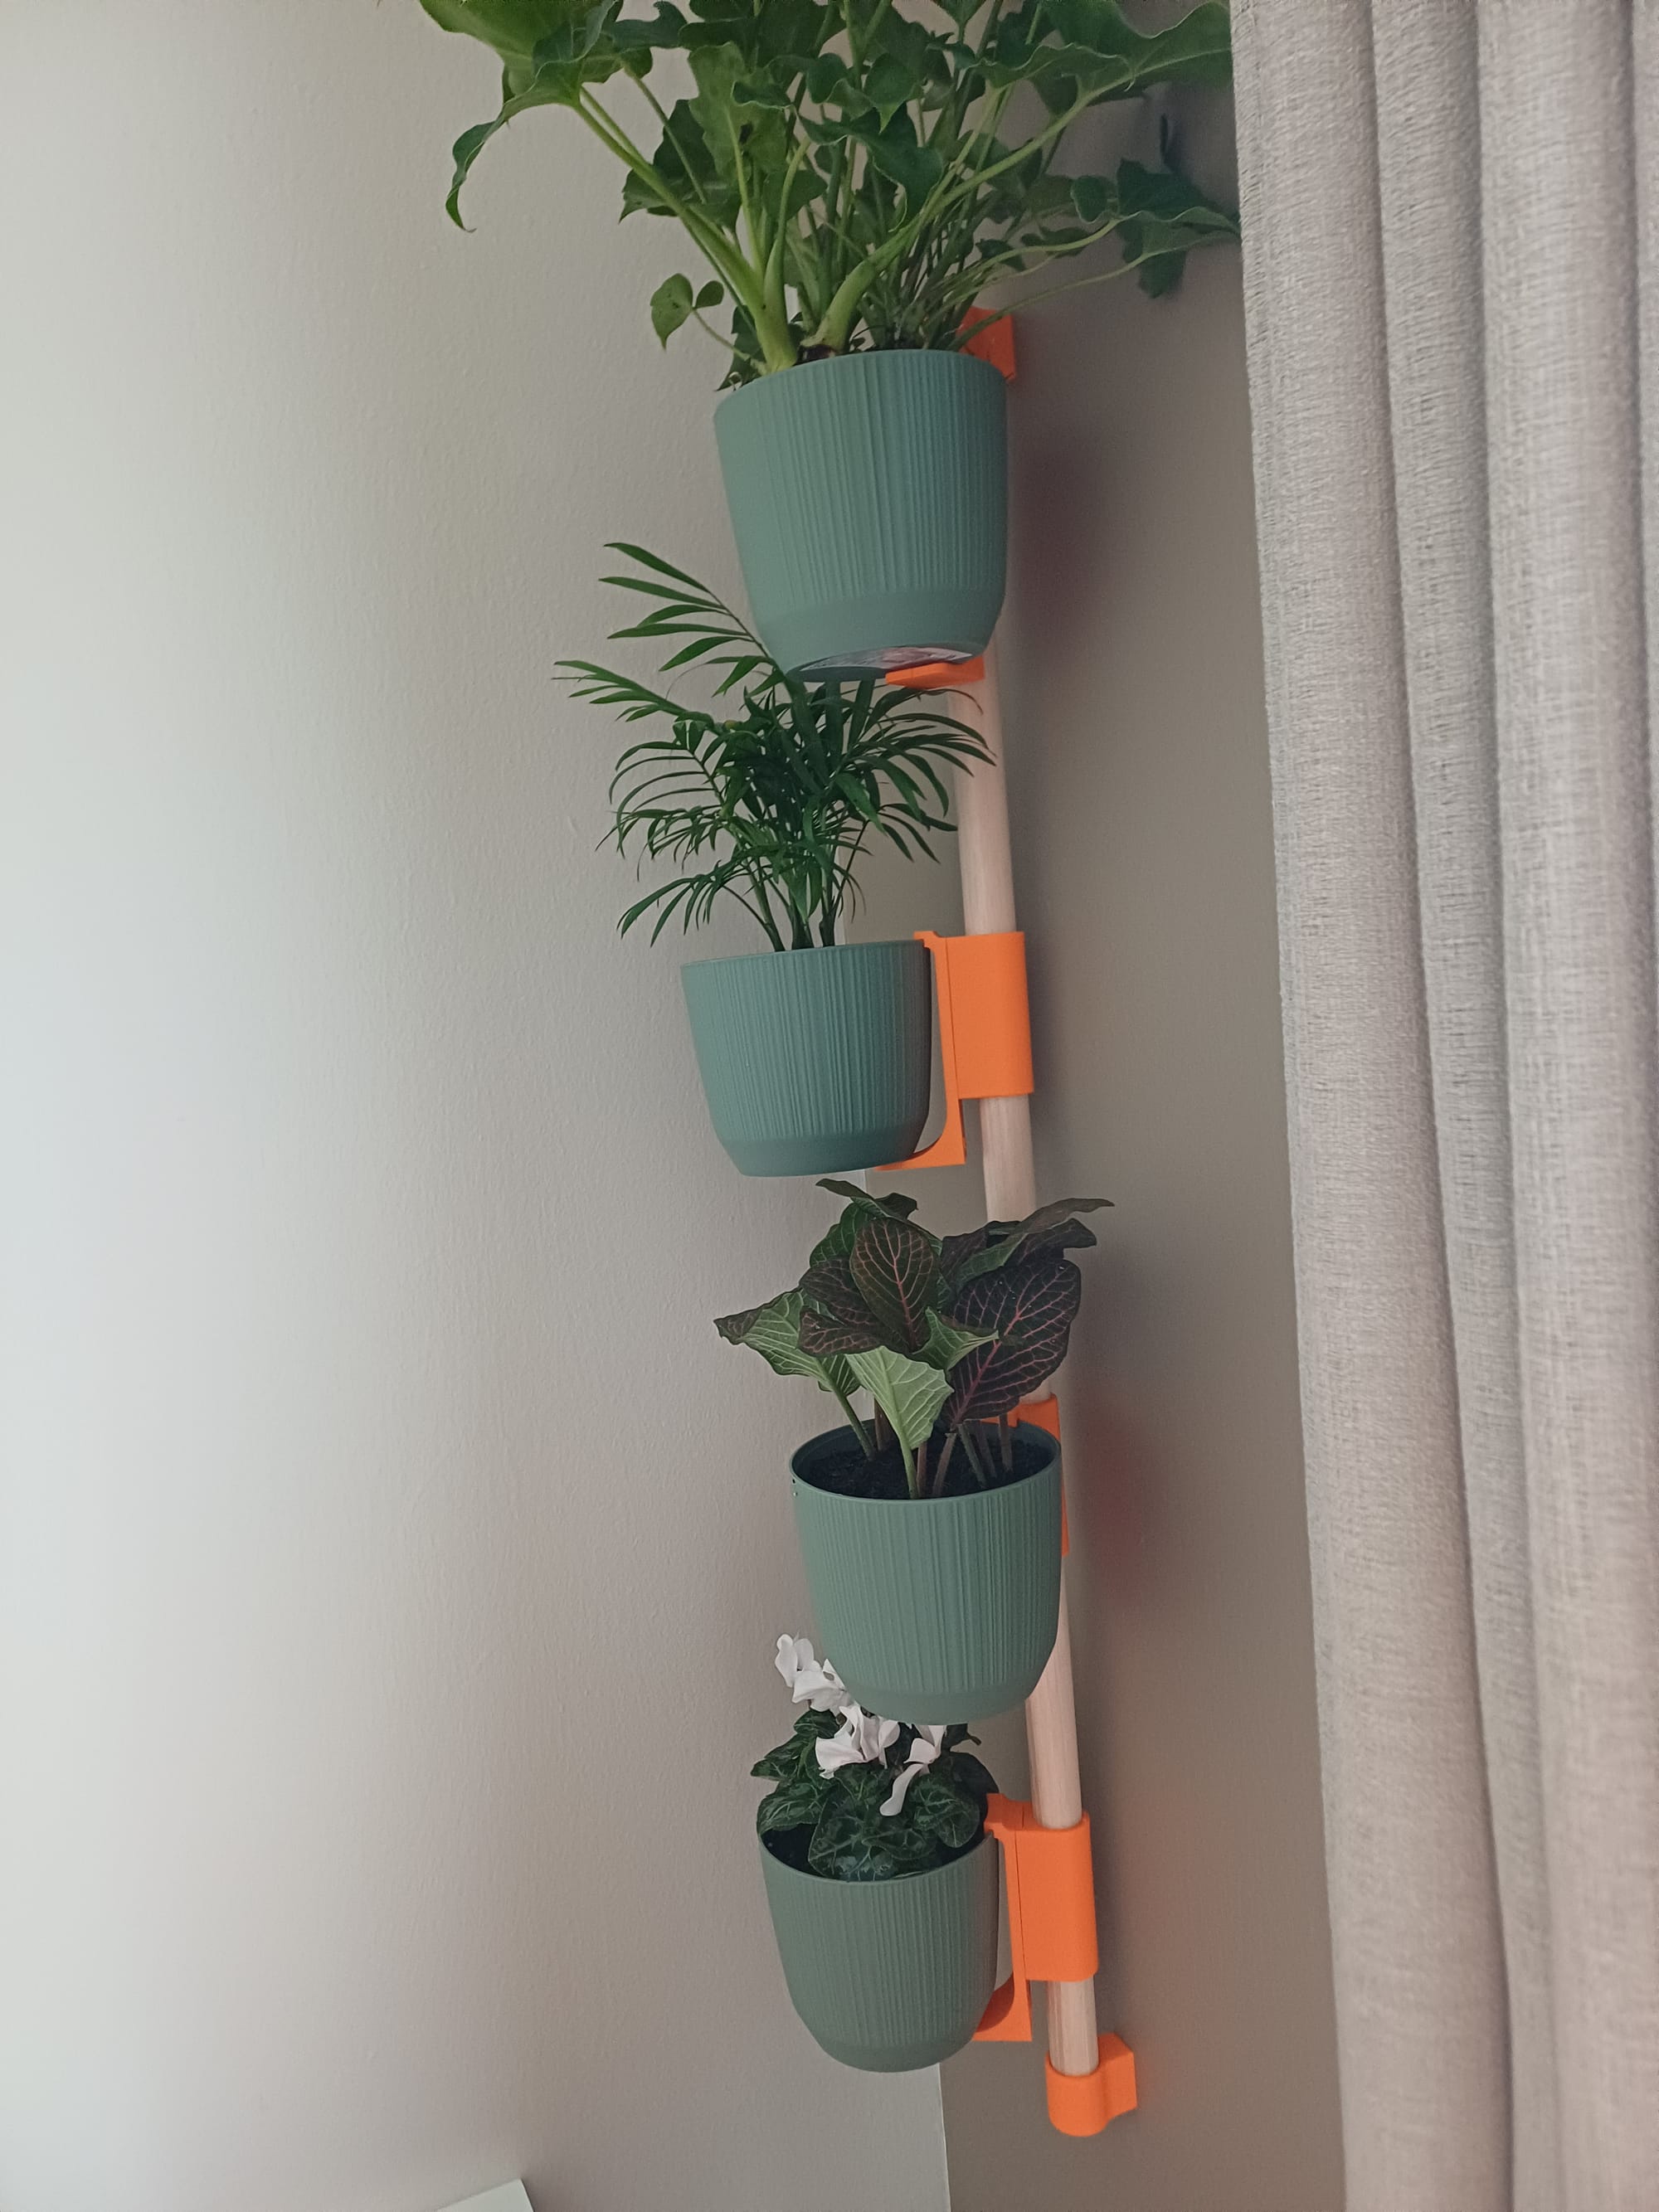
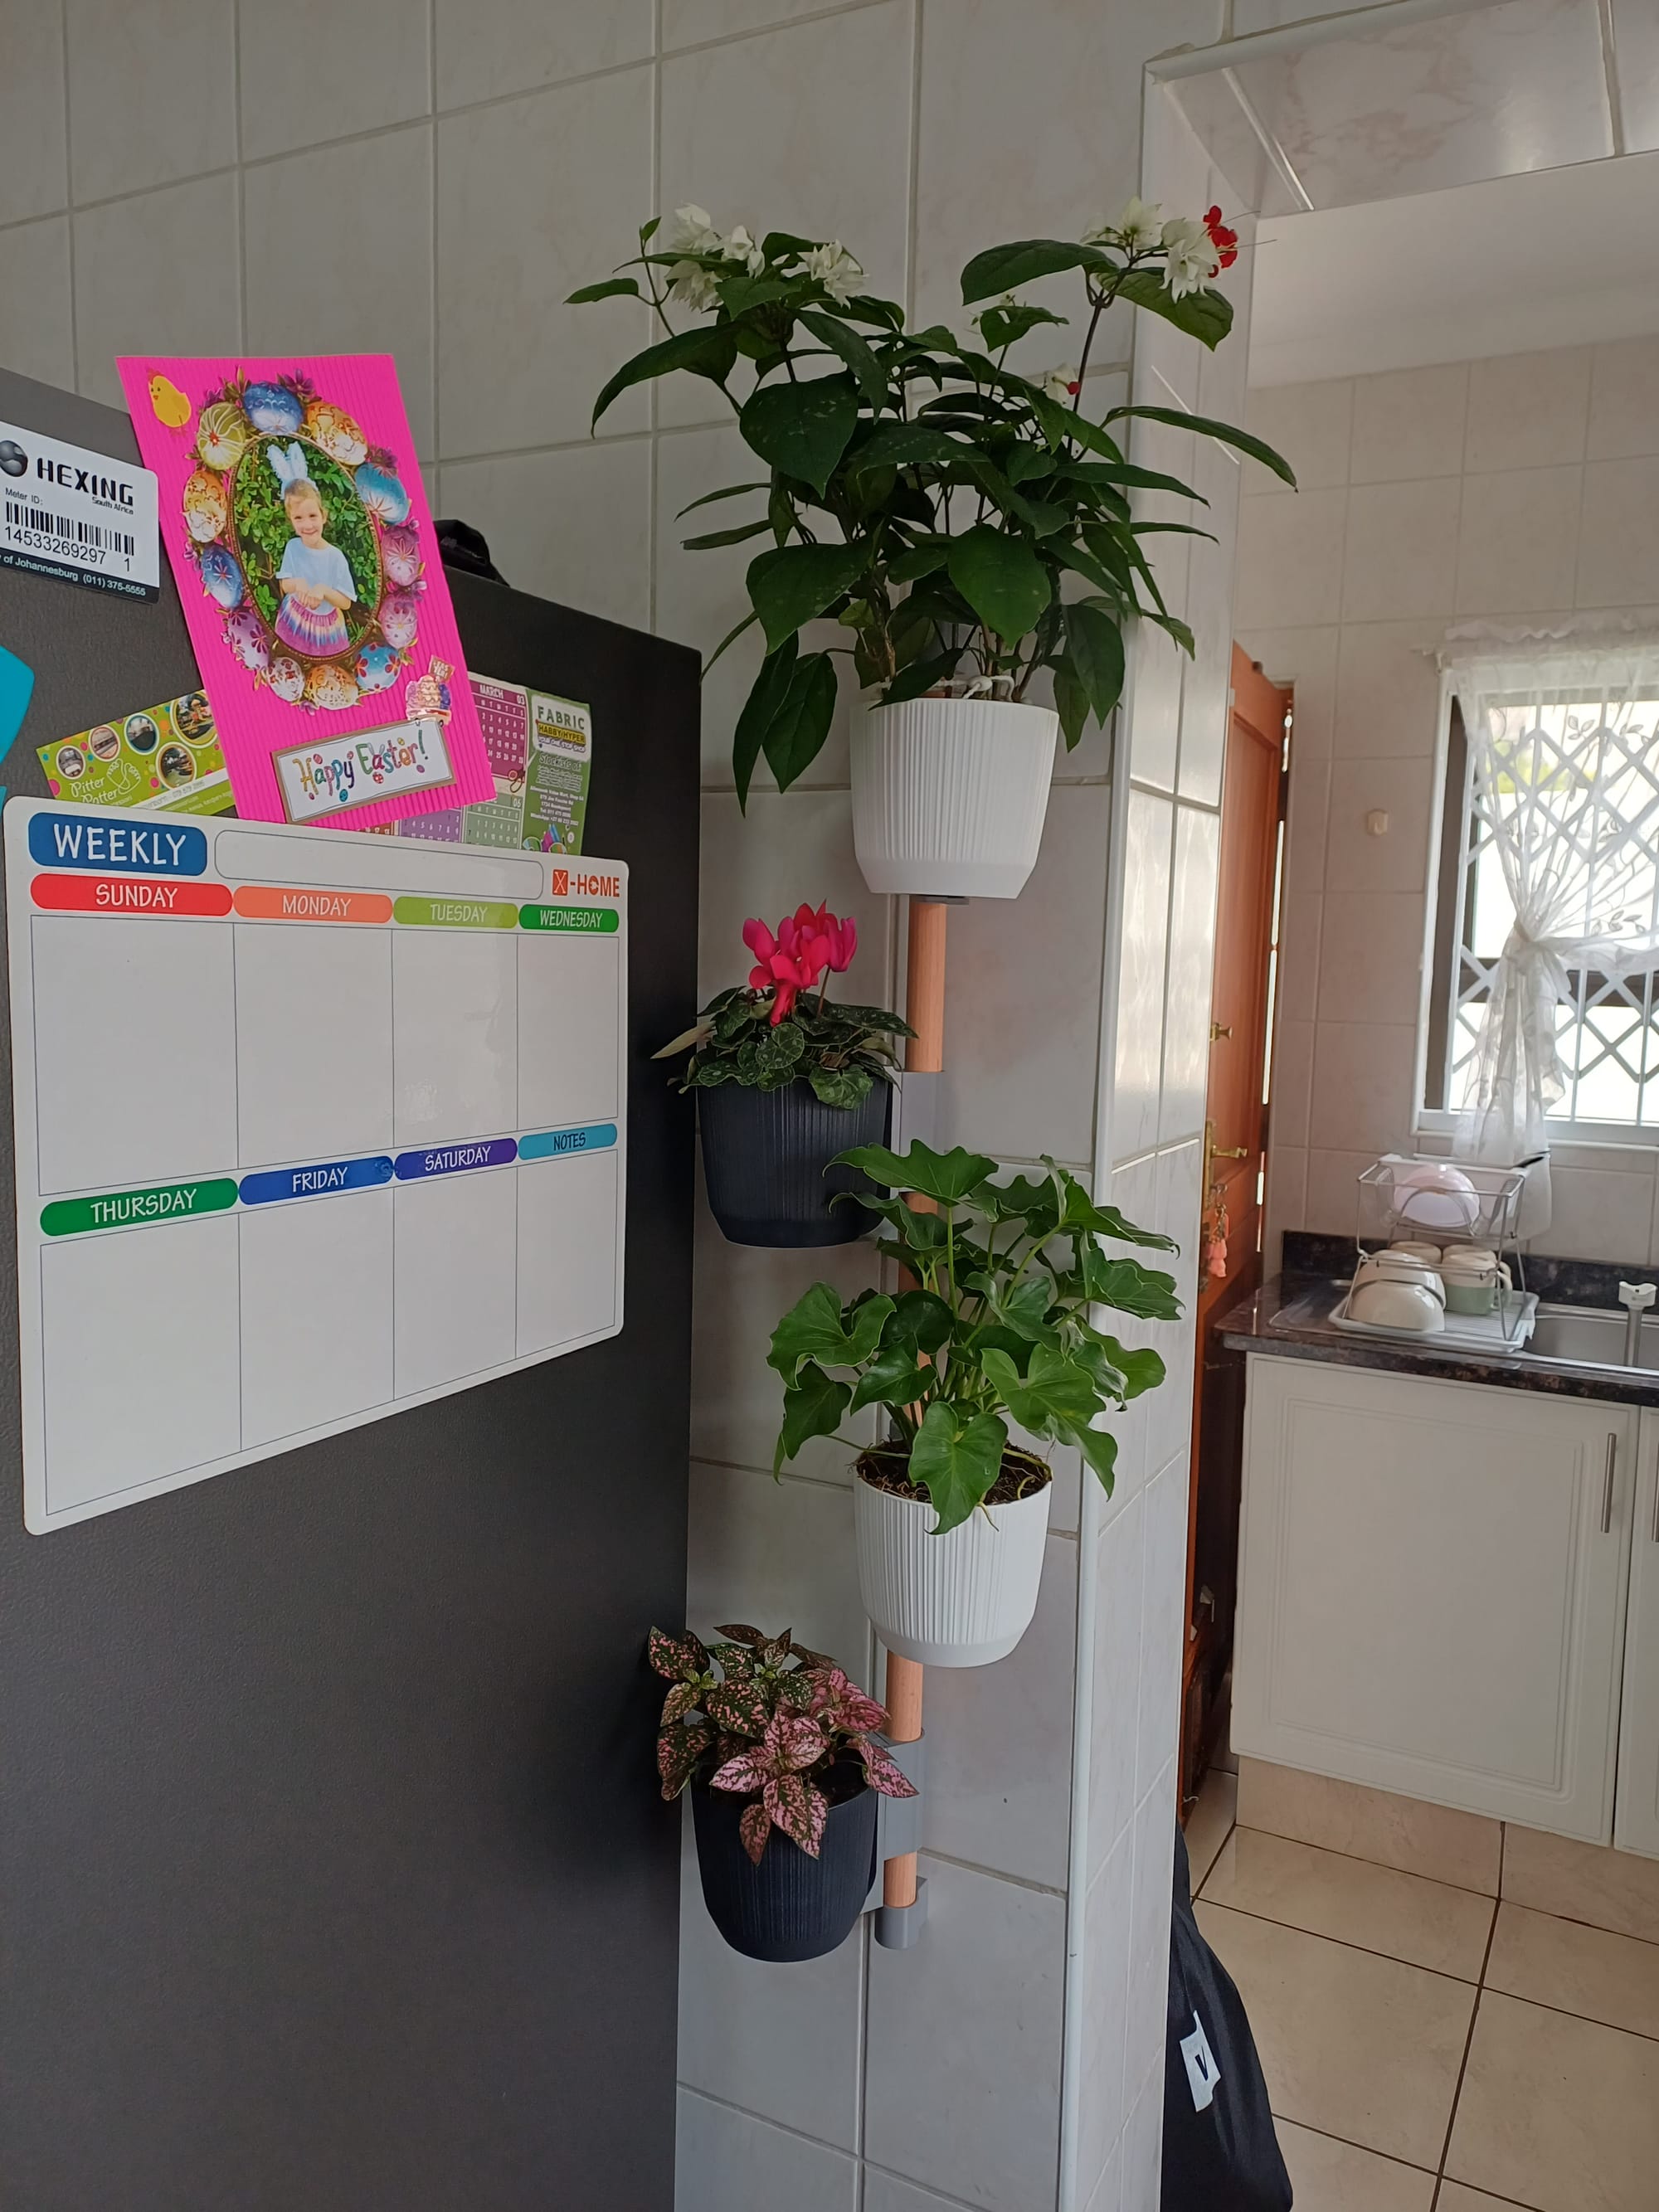
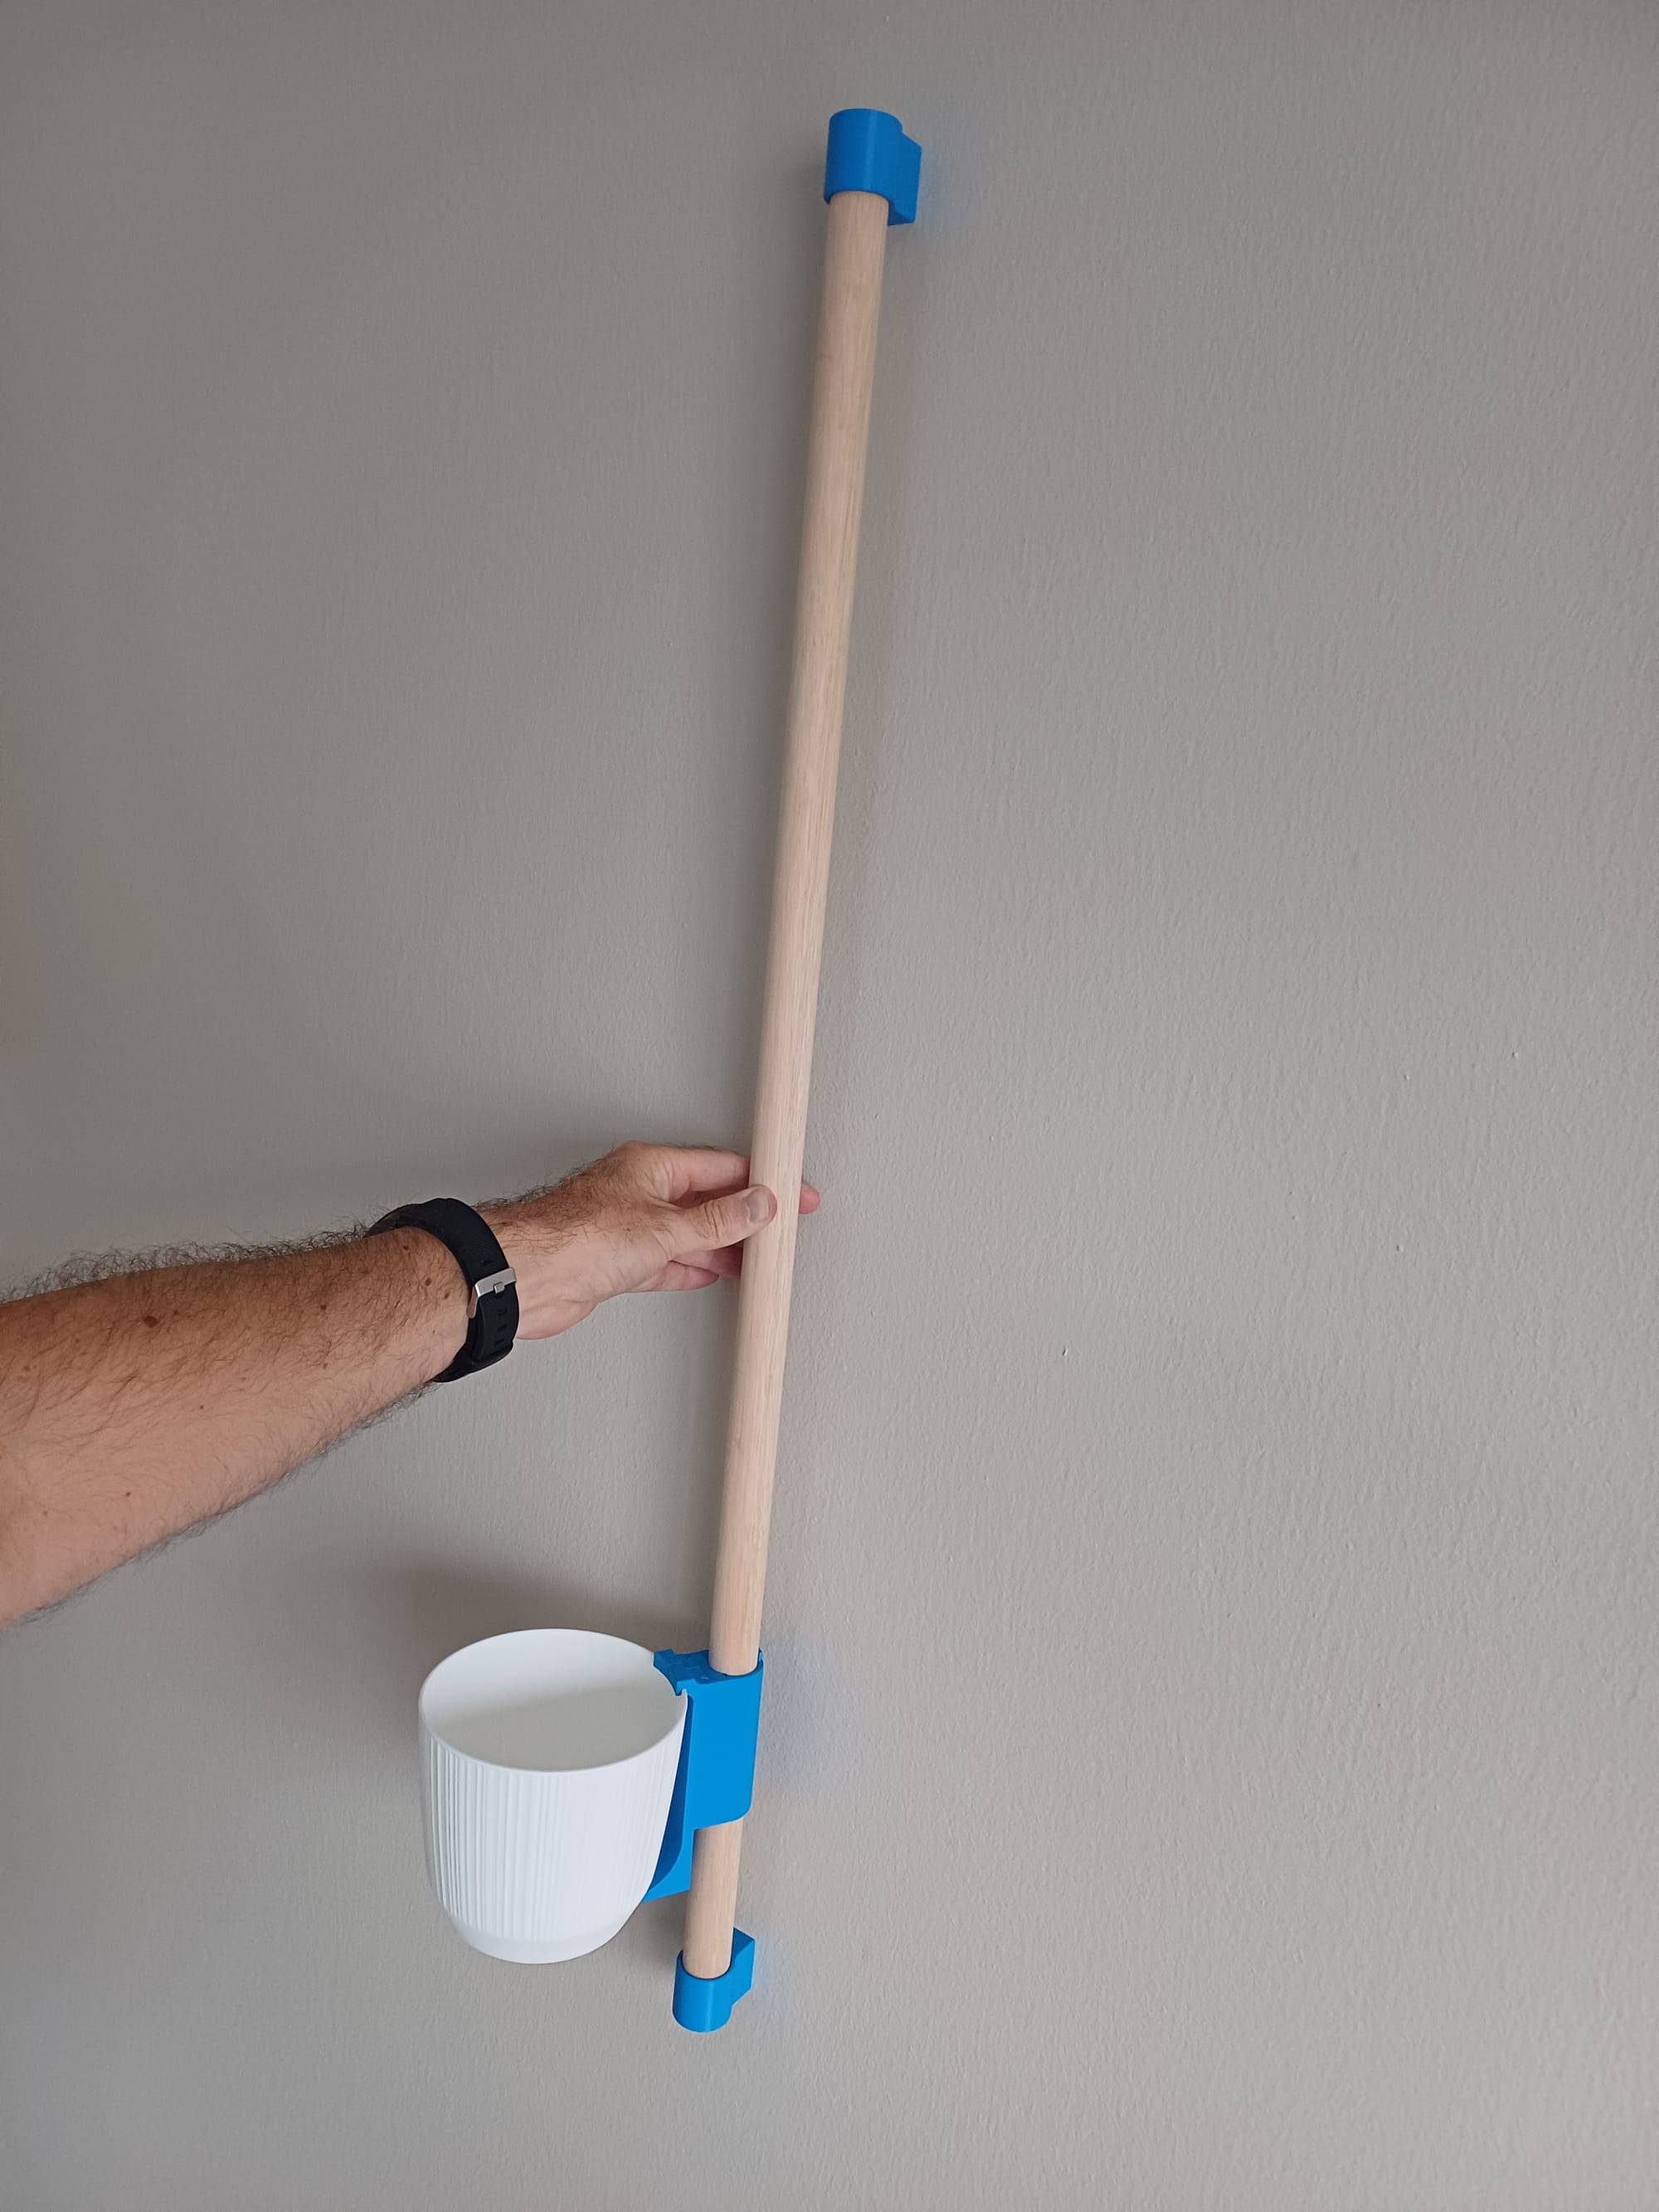
The solution I landed on is a modular vertical mounting system:
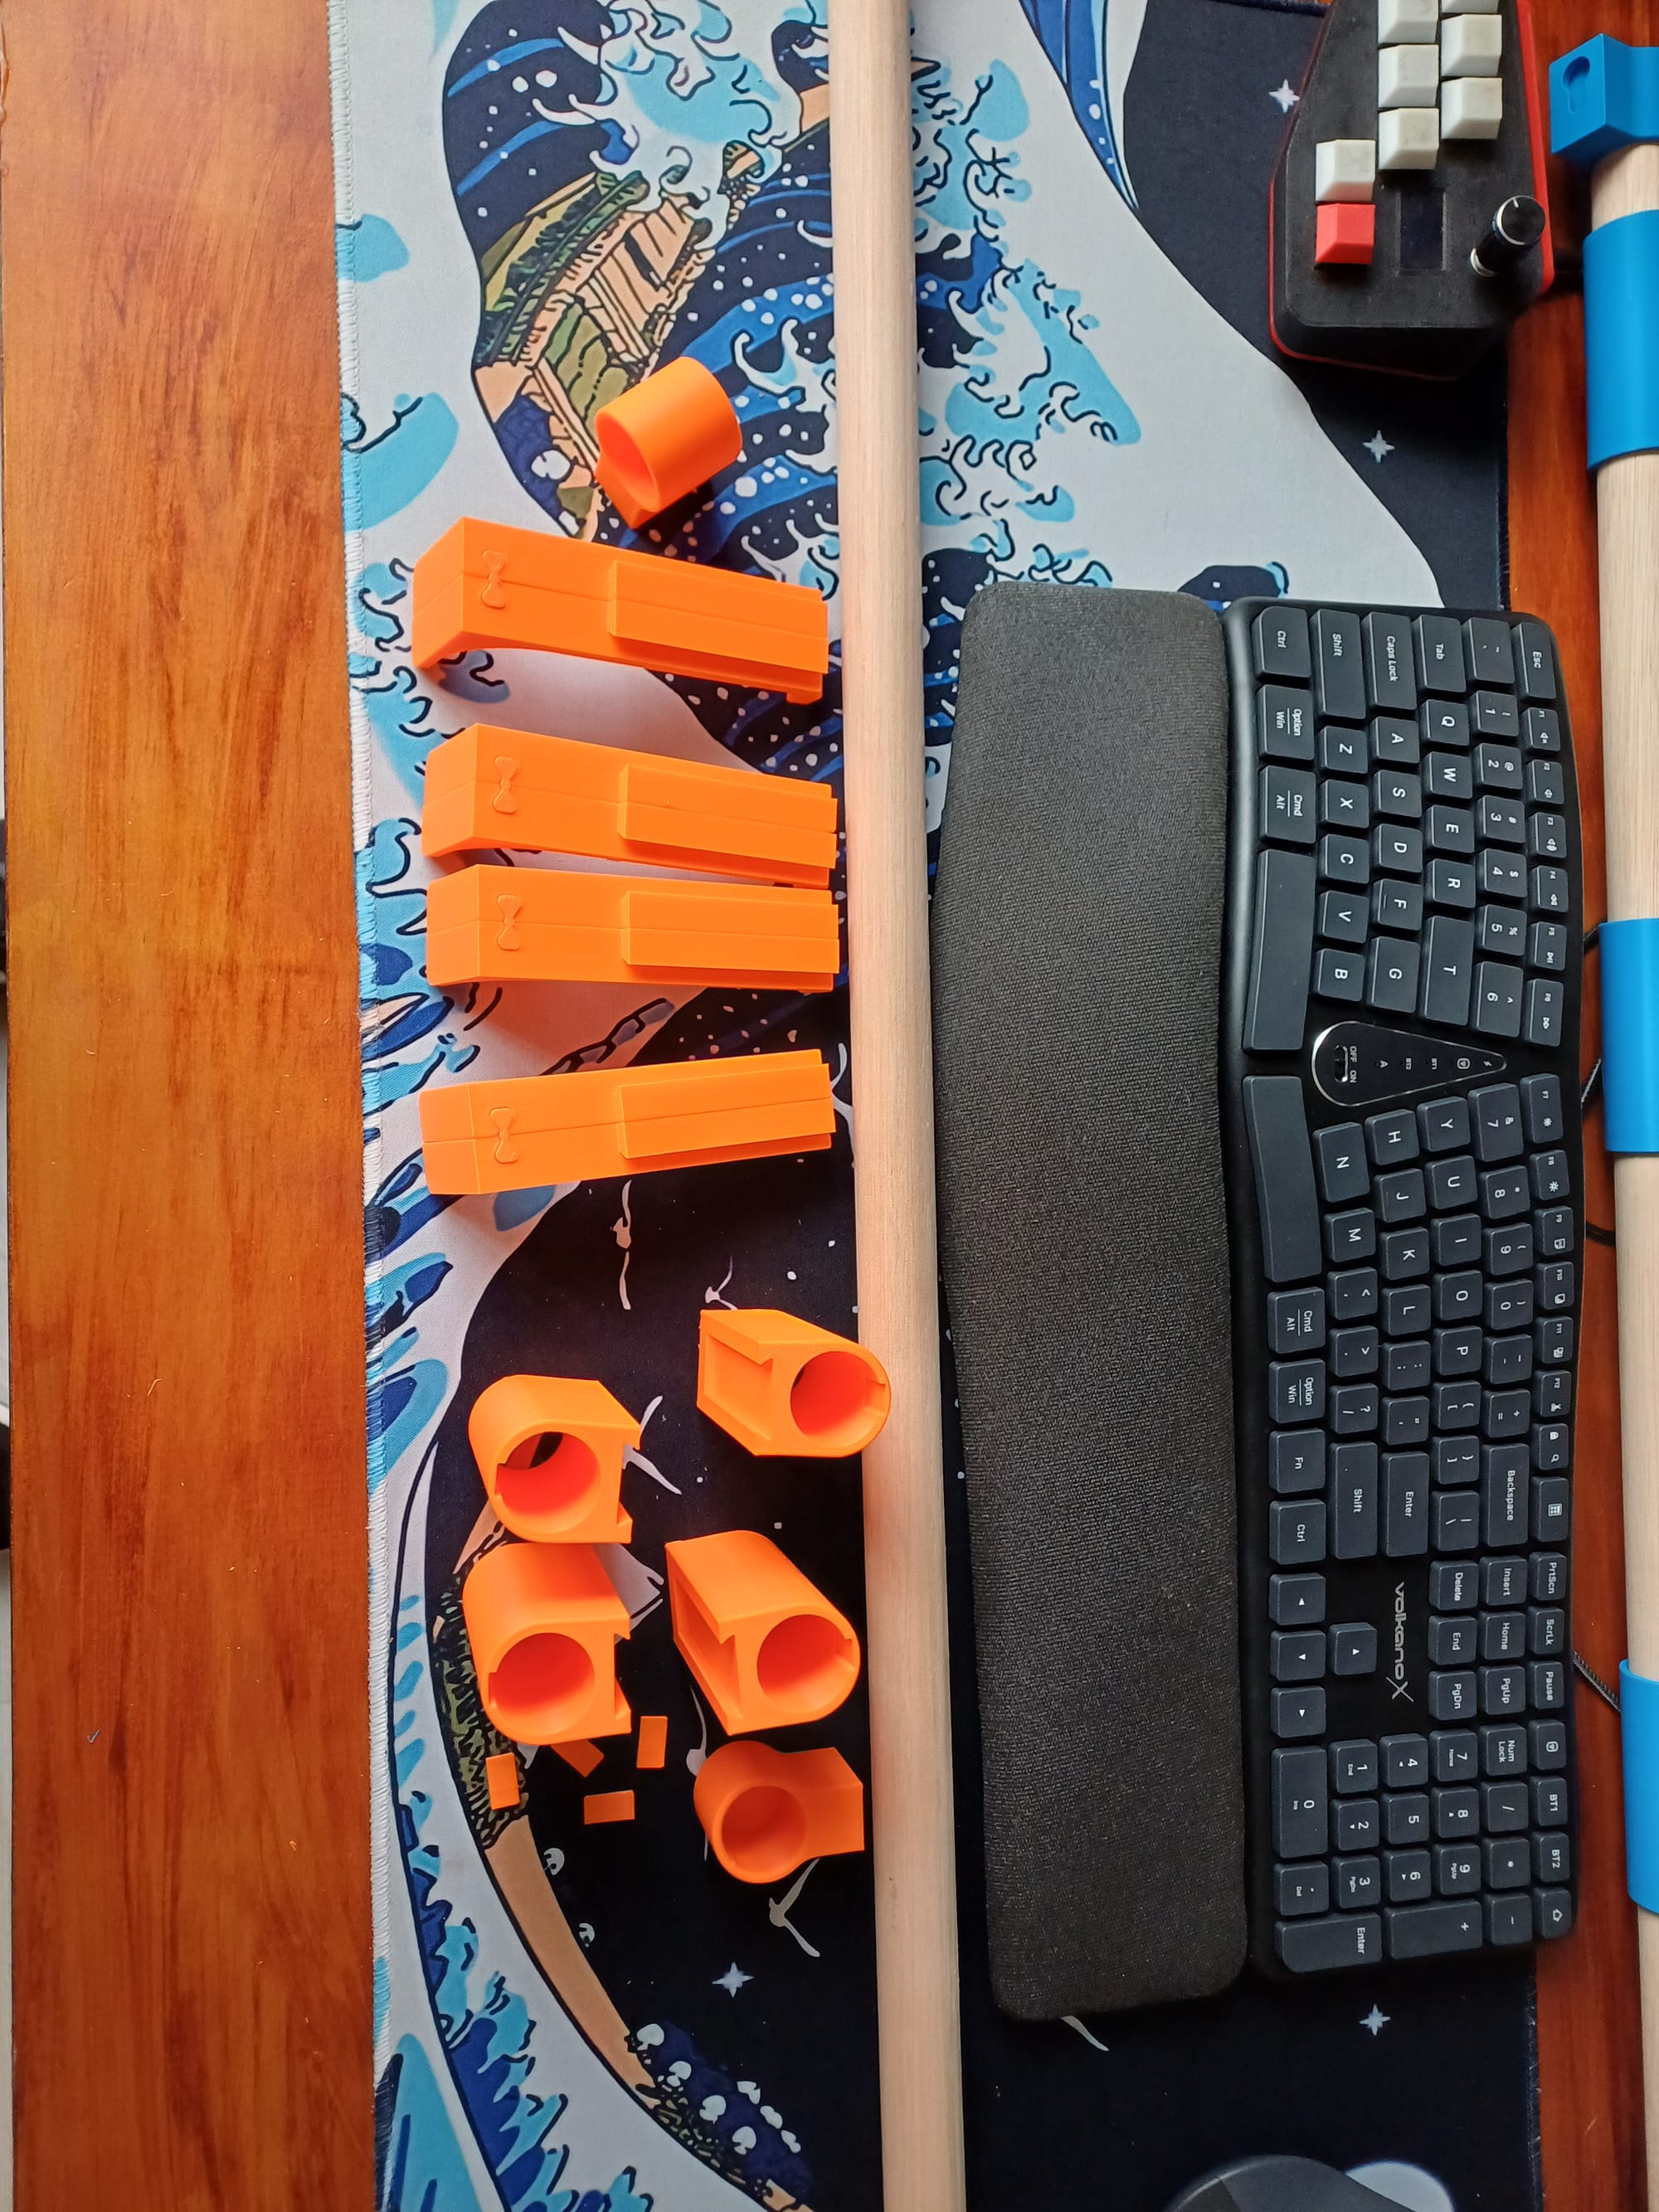
- A wooden dowel stick acts as the vertical support - Custom 3D printed brackets clip or mount onto the dowel - Each bracket securely holds a 12cm pot plant
This gives me a clean, scalable vertical garden that’s quick to produce and easy to maintain.
And honestly? It looks just as good—if not better—than the fully printed version, subject to opinion I guess.
Why This Was So Satisfying
This project wasn’t just about printing something cool. It was about:
- Solving a real problem - Learning a new skill (CAD) in a practical way - Improving on an existing idea instead of copying it
There’s a different kind of satisfaction when you design something yourself—especially when it’s as effective as the original.
If You’re Starting Out with CAD If you’re new to Onshape (or CAD in general), here’s my advice: - Don’t start with random tutorials—start with something you want to build - Reverse-engineer existing designs—it’s one of the fastest ways to learn - Keep your first versions simple, then iterate - Focus on function first, aesthetics second Final Thoughts 3D printing isn’t just about printing—it’s about thinking differently about how things are made. Sometimes the best print… is printing less. And that’s what made this project so satisfying.

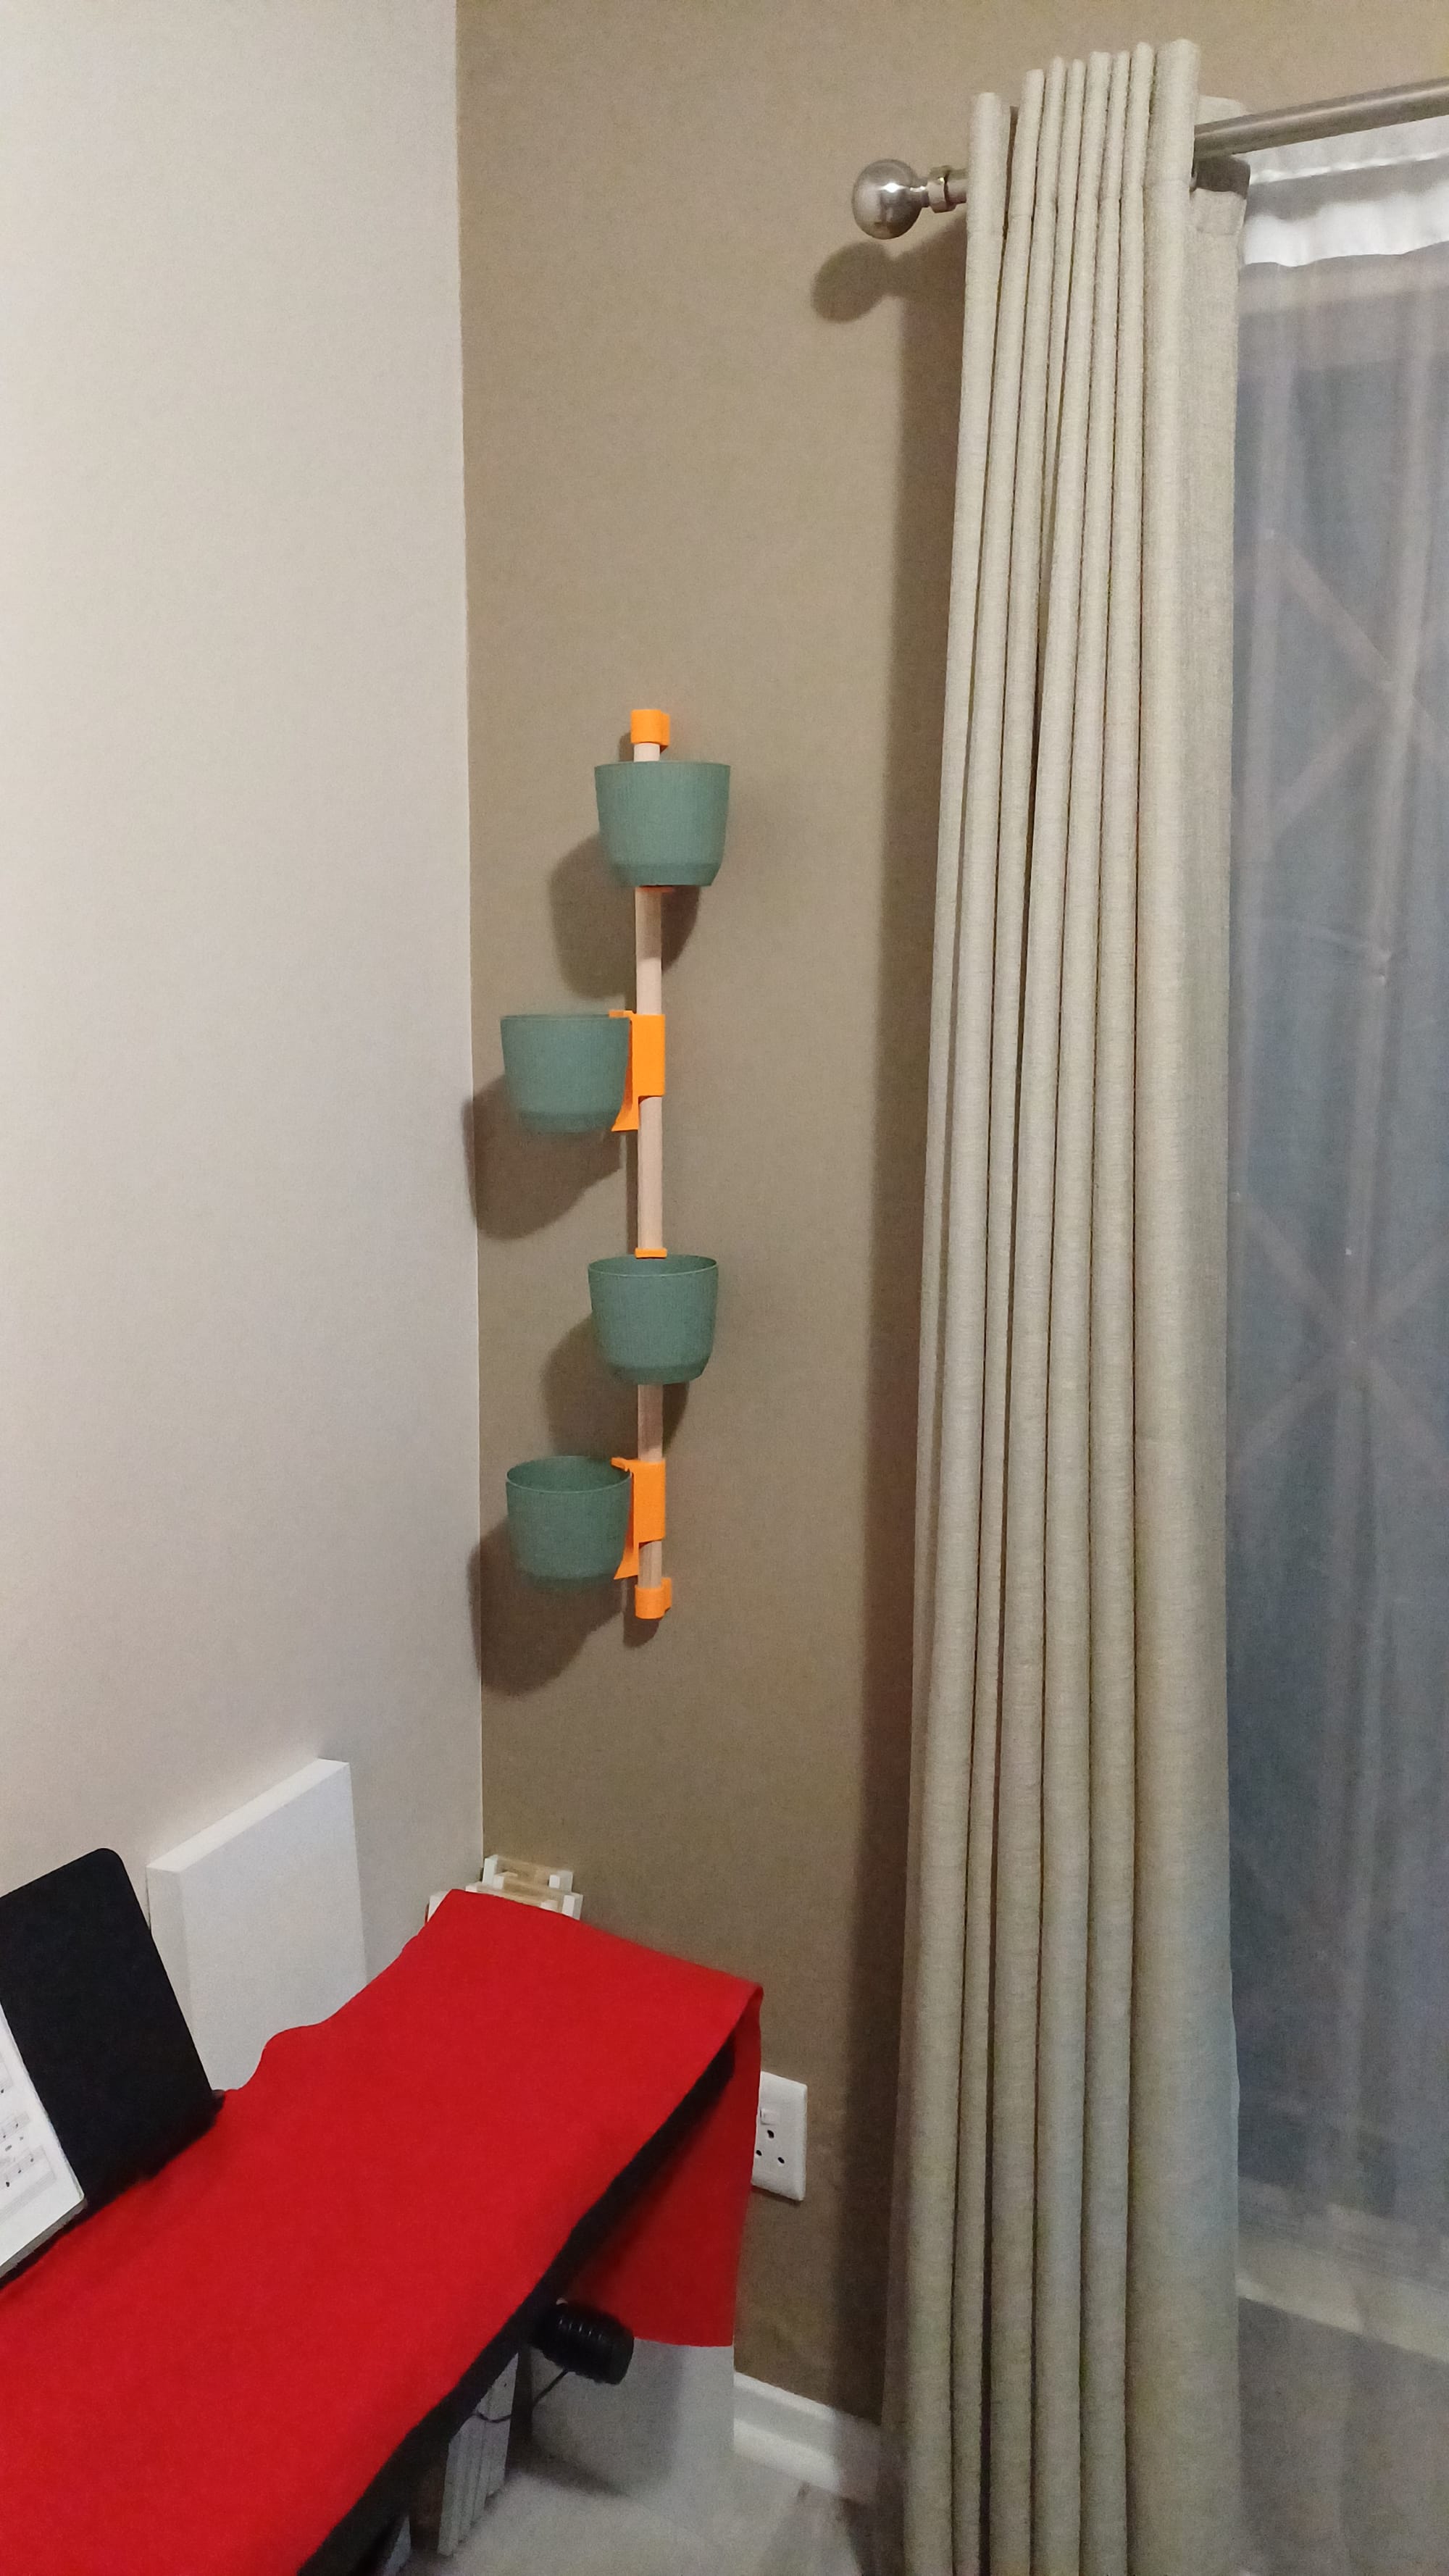
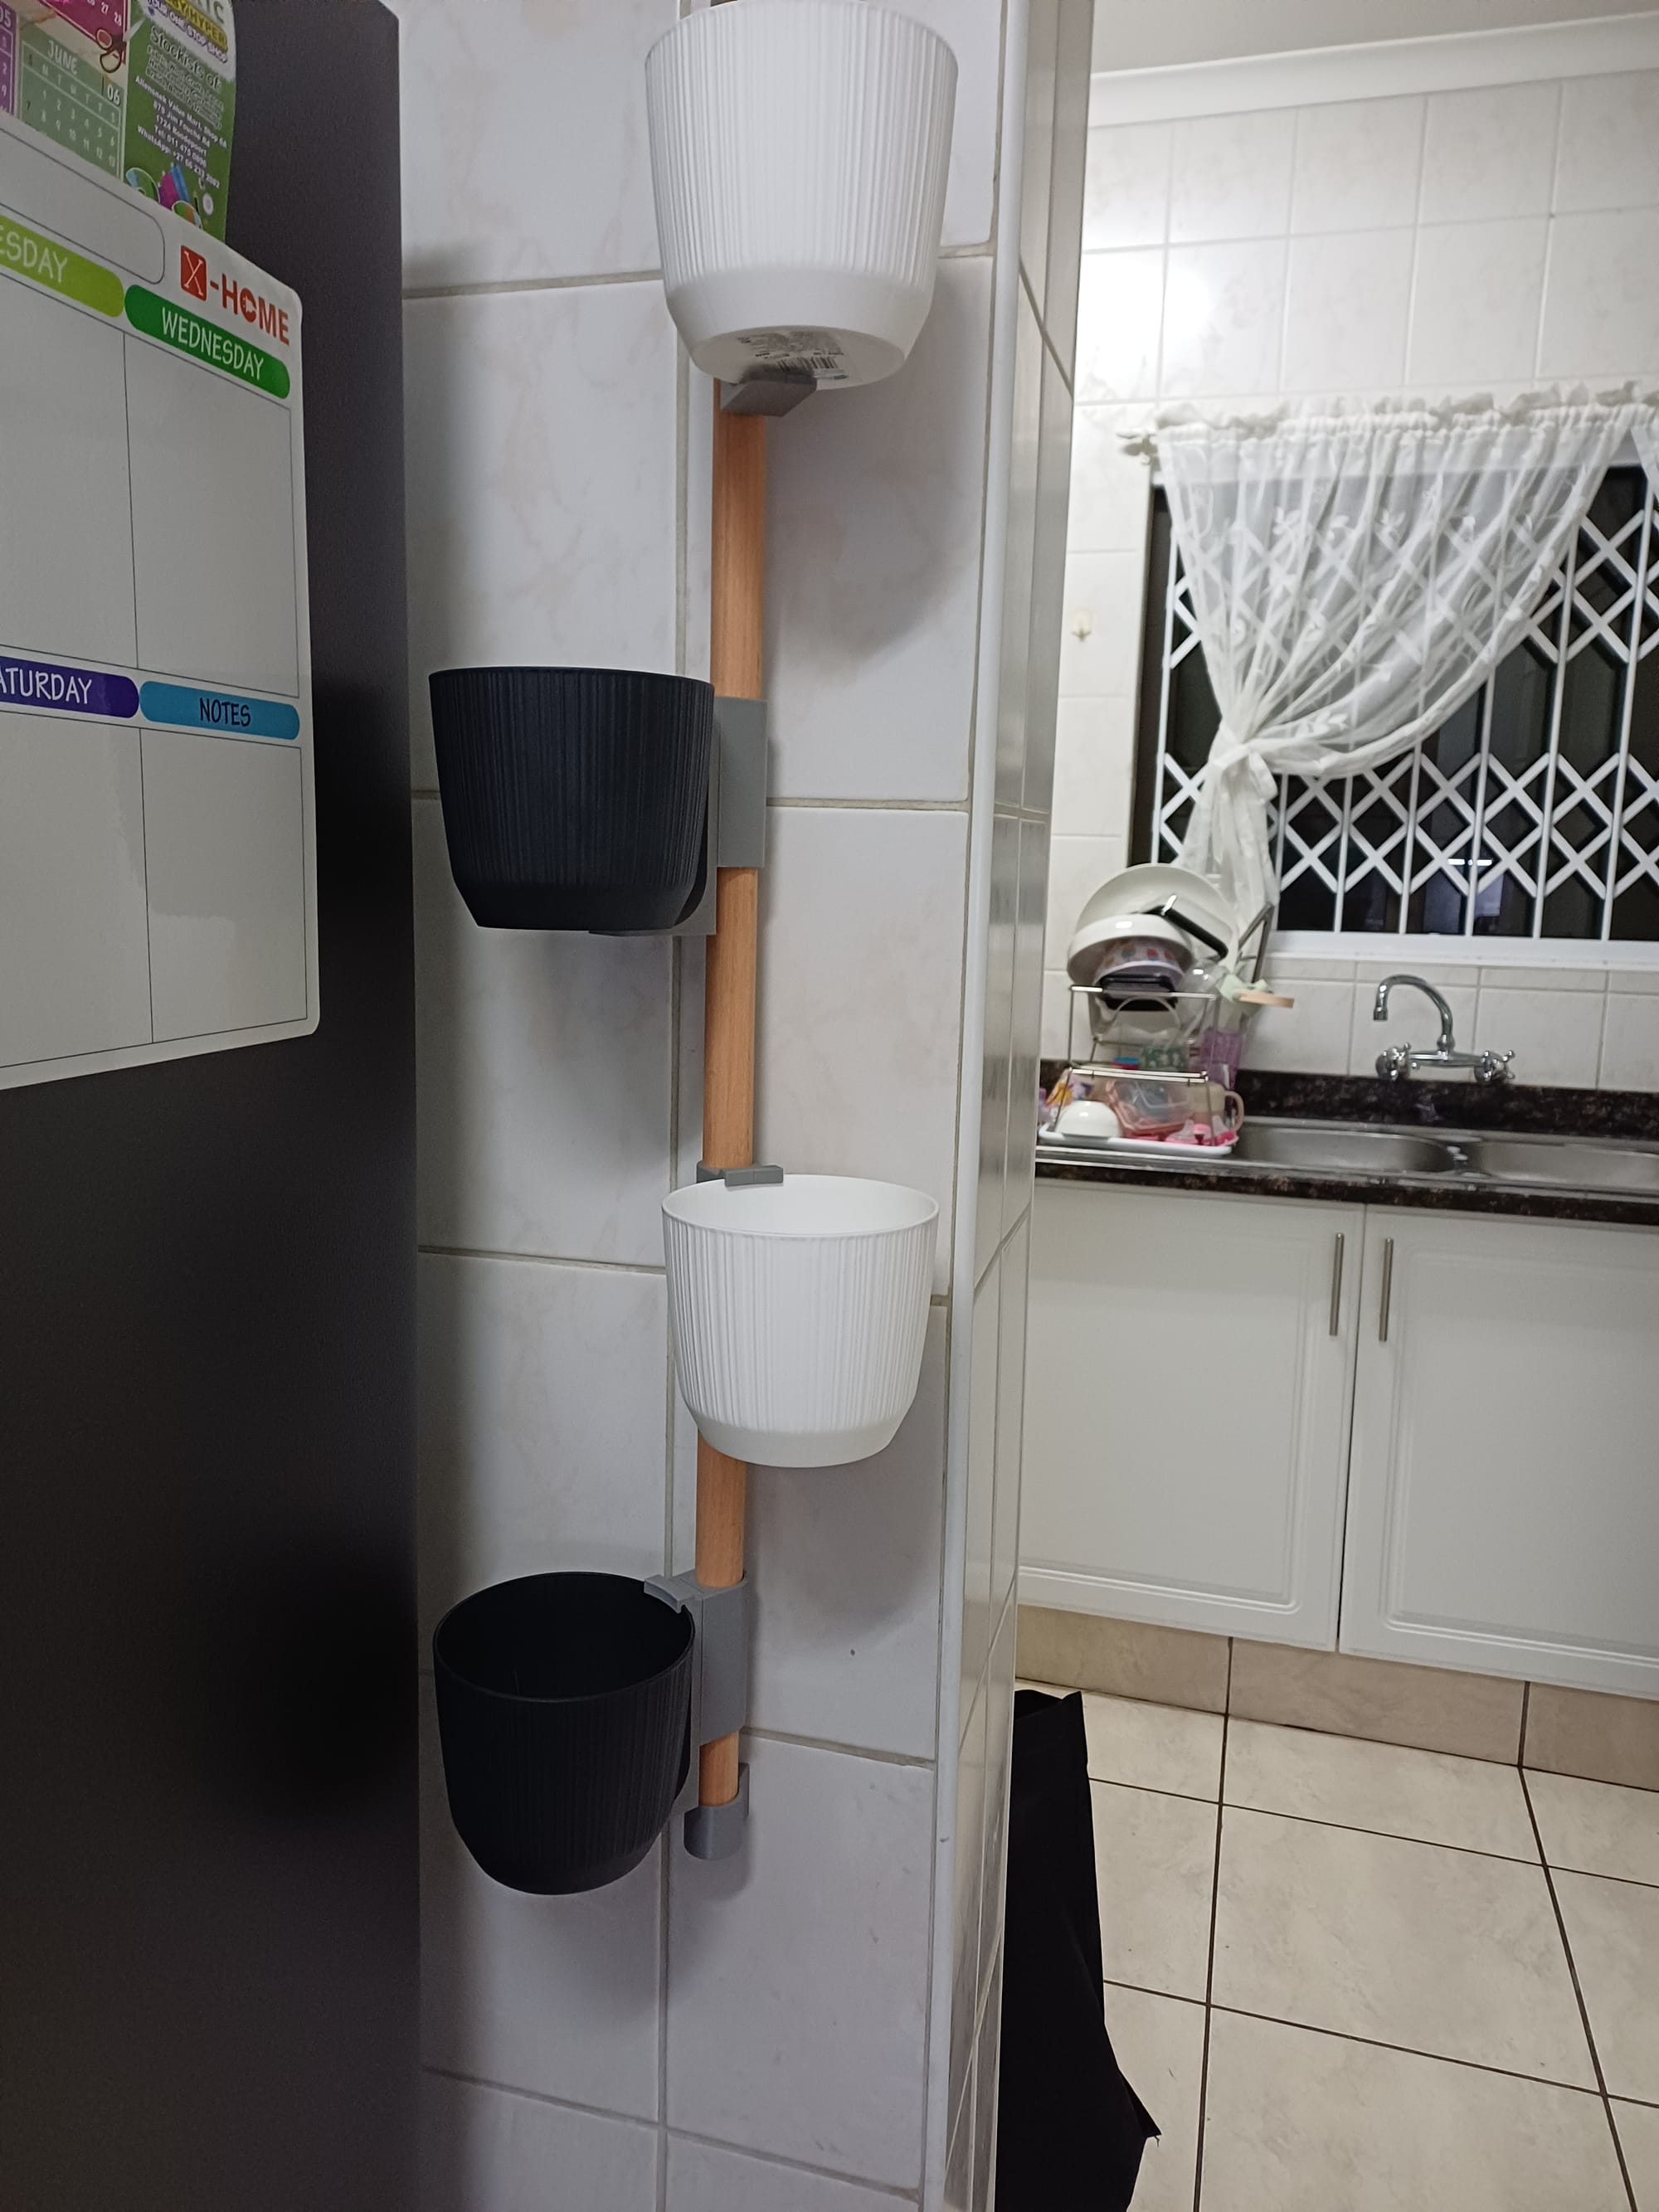
The completed product