DIY Smart Doorbell with LCD
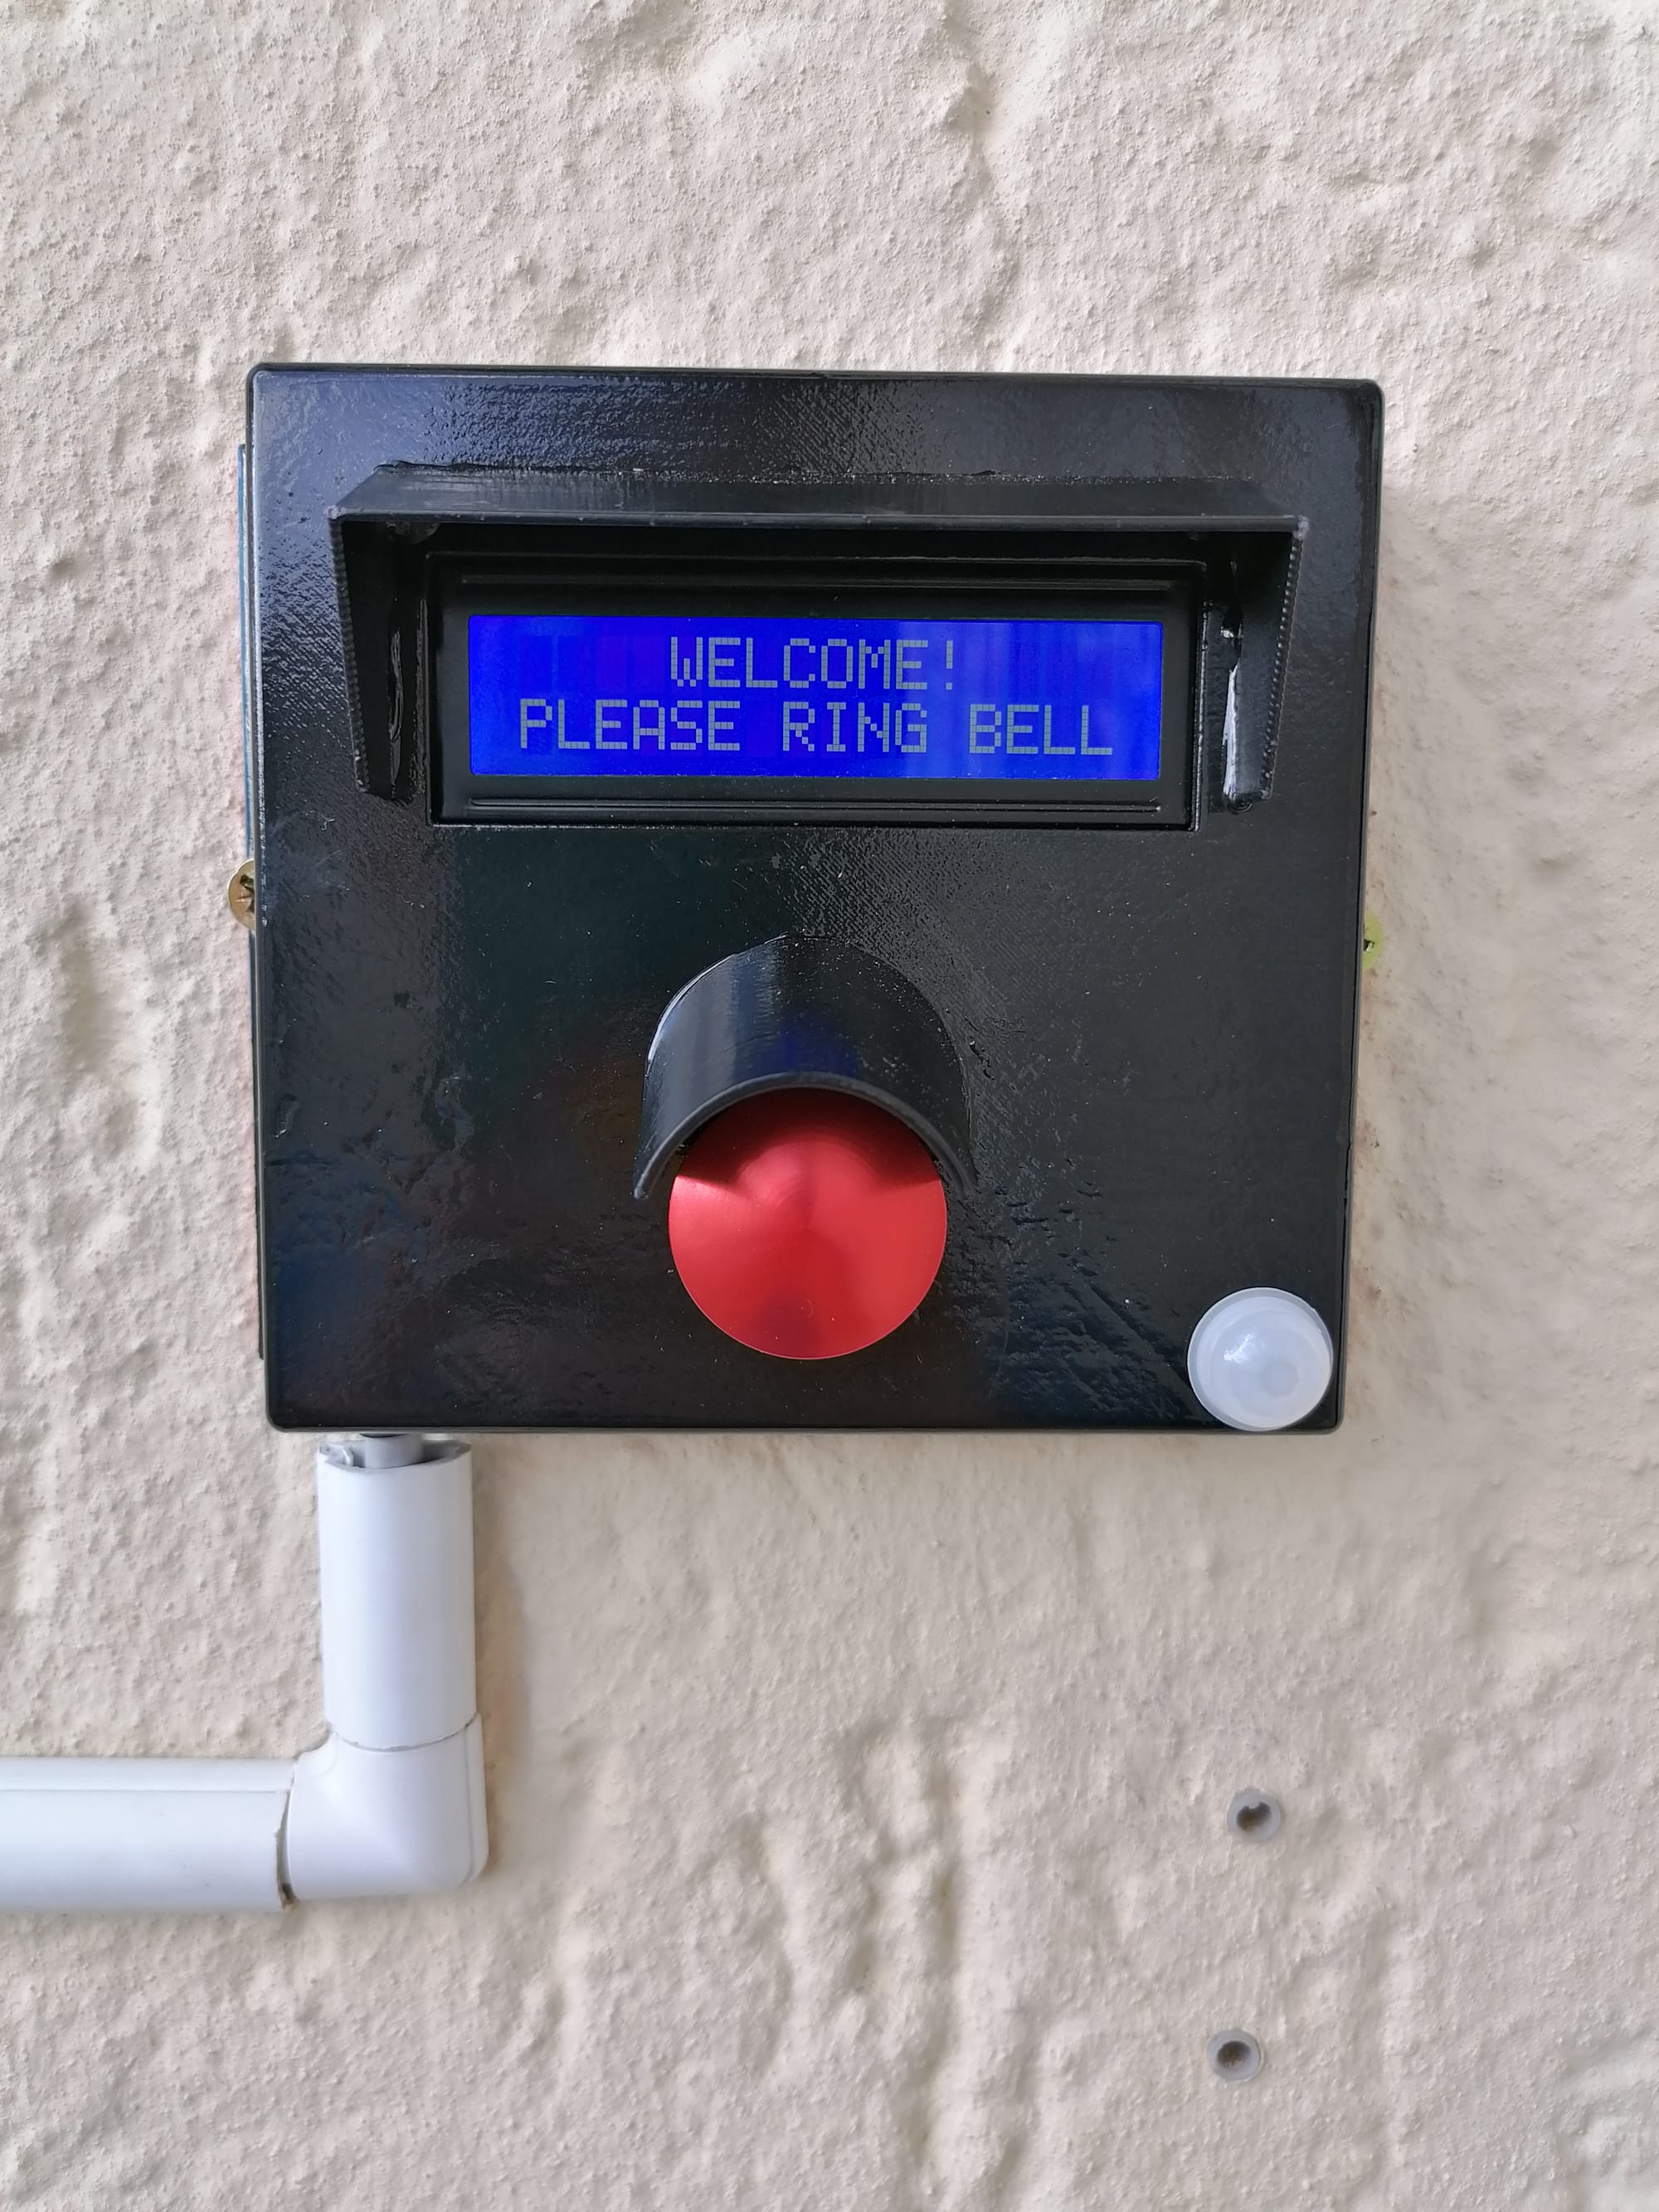
In the age of smart homes and DIY electronics, creating a personalized smart doorbell can be a rewarding project that combines functionality and creativity. In this blog post, I will show the process of building this smart doorbell using a 16x2 LCD, a 3D printed enclosure, and some nifty home automation features.
Materials Needed:
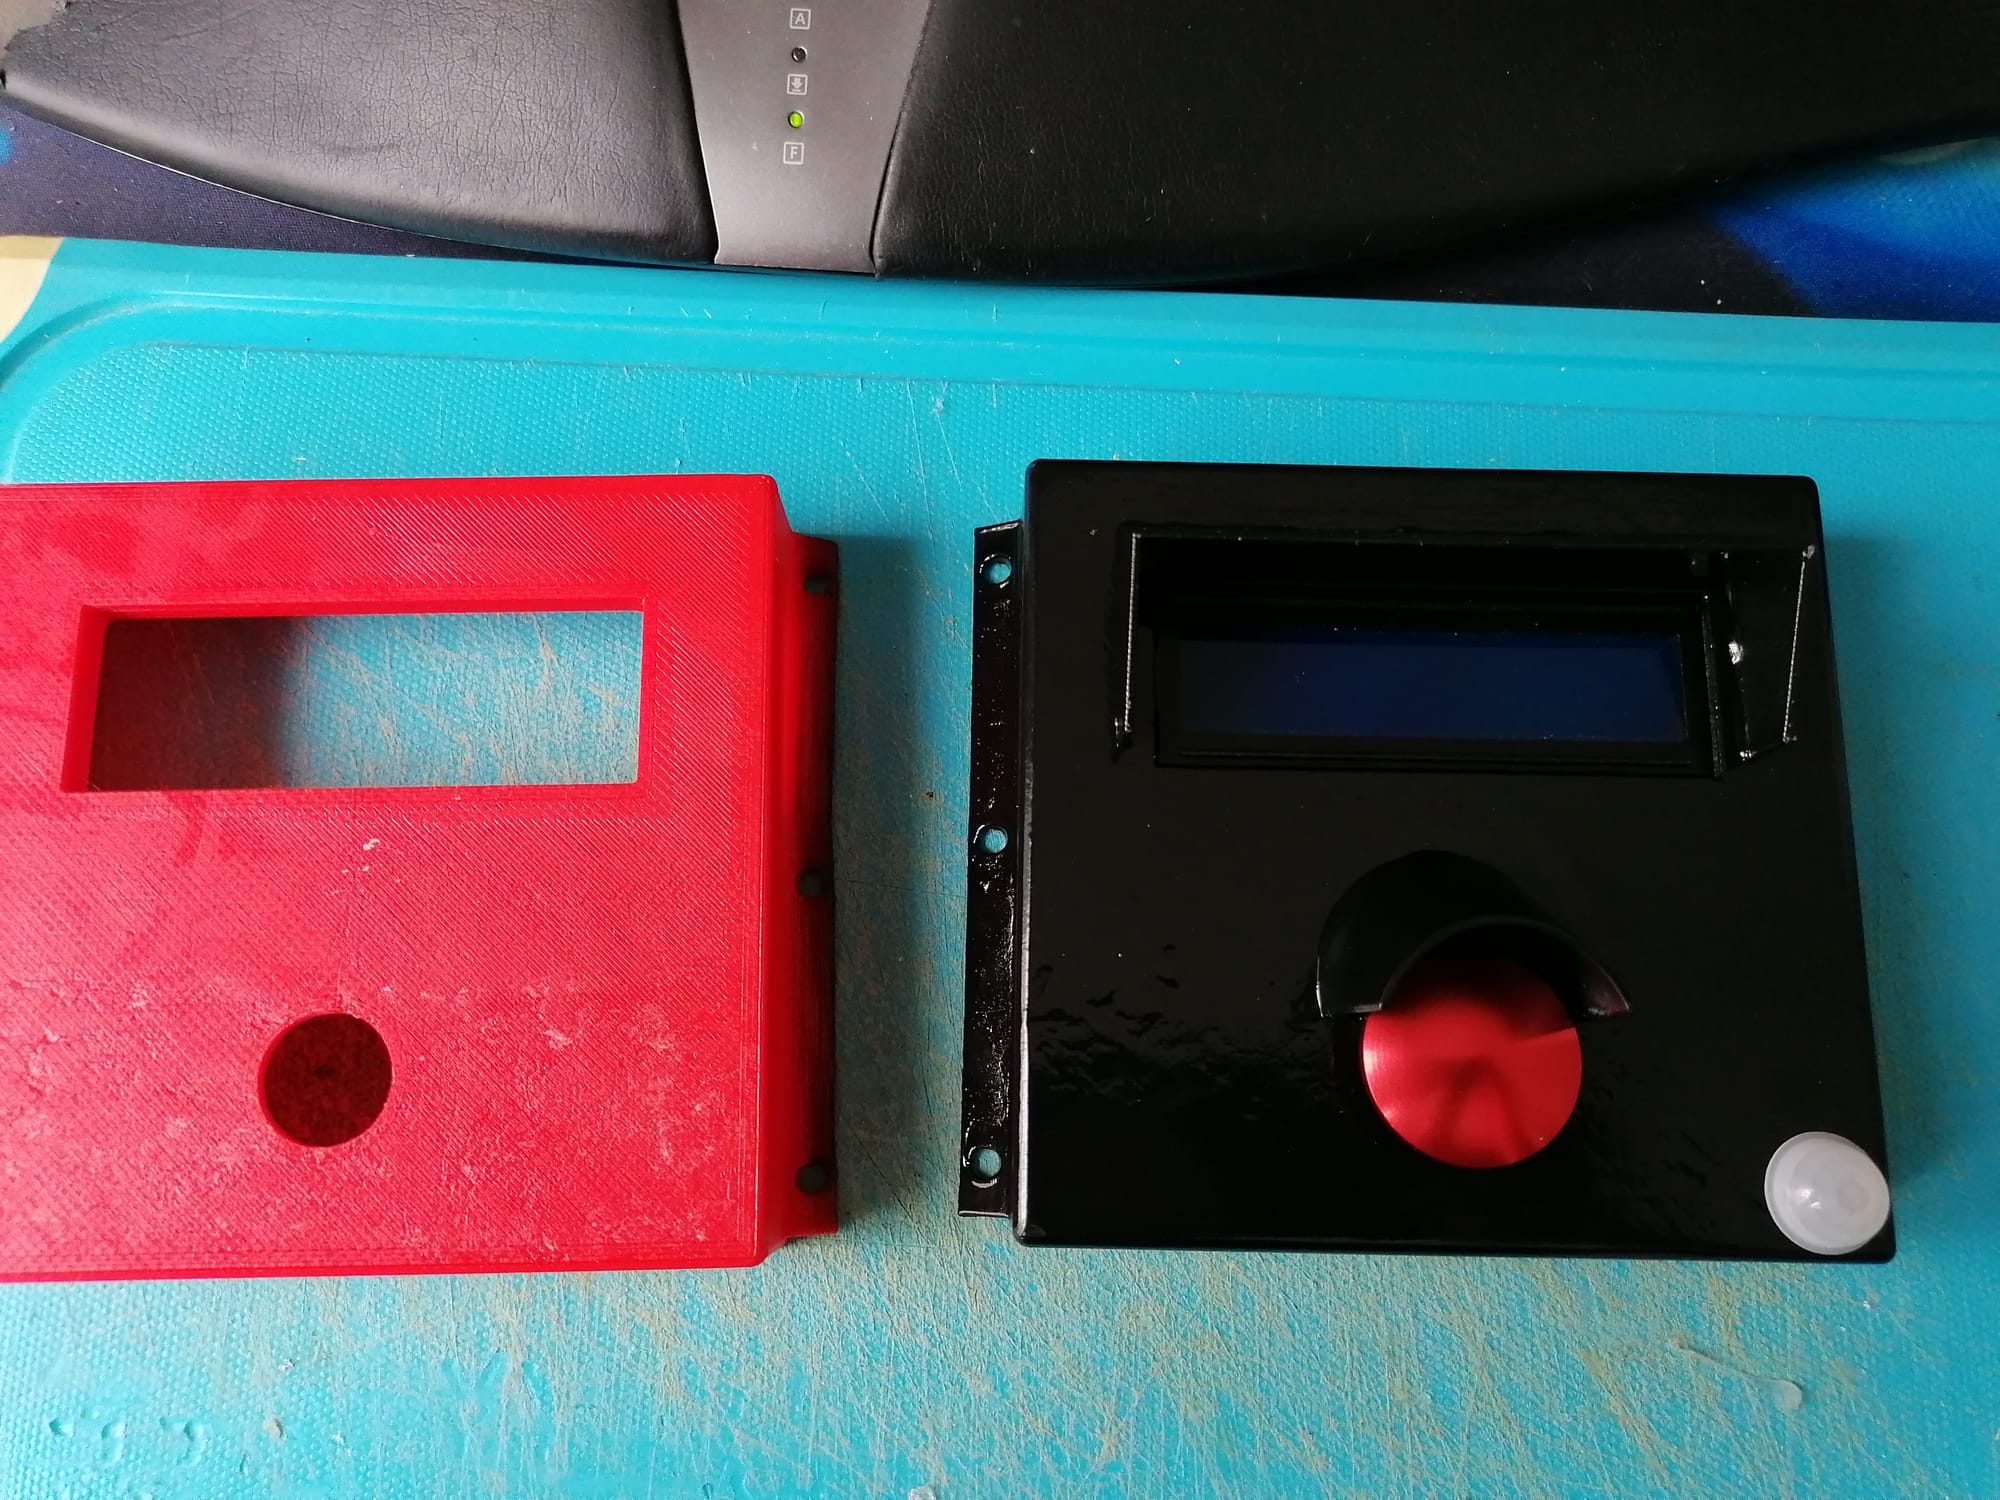
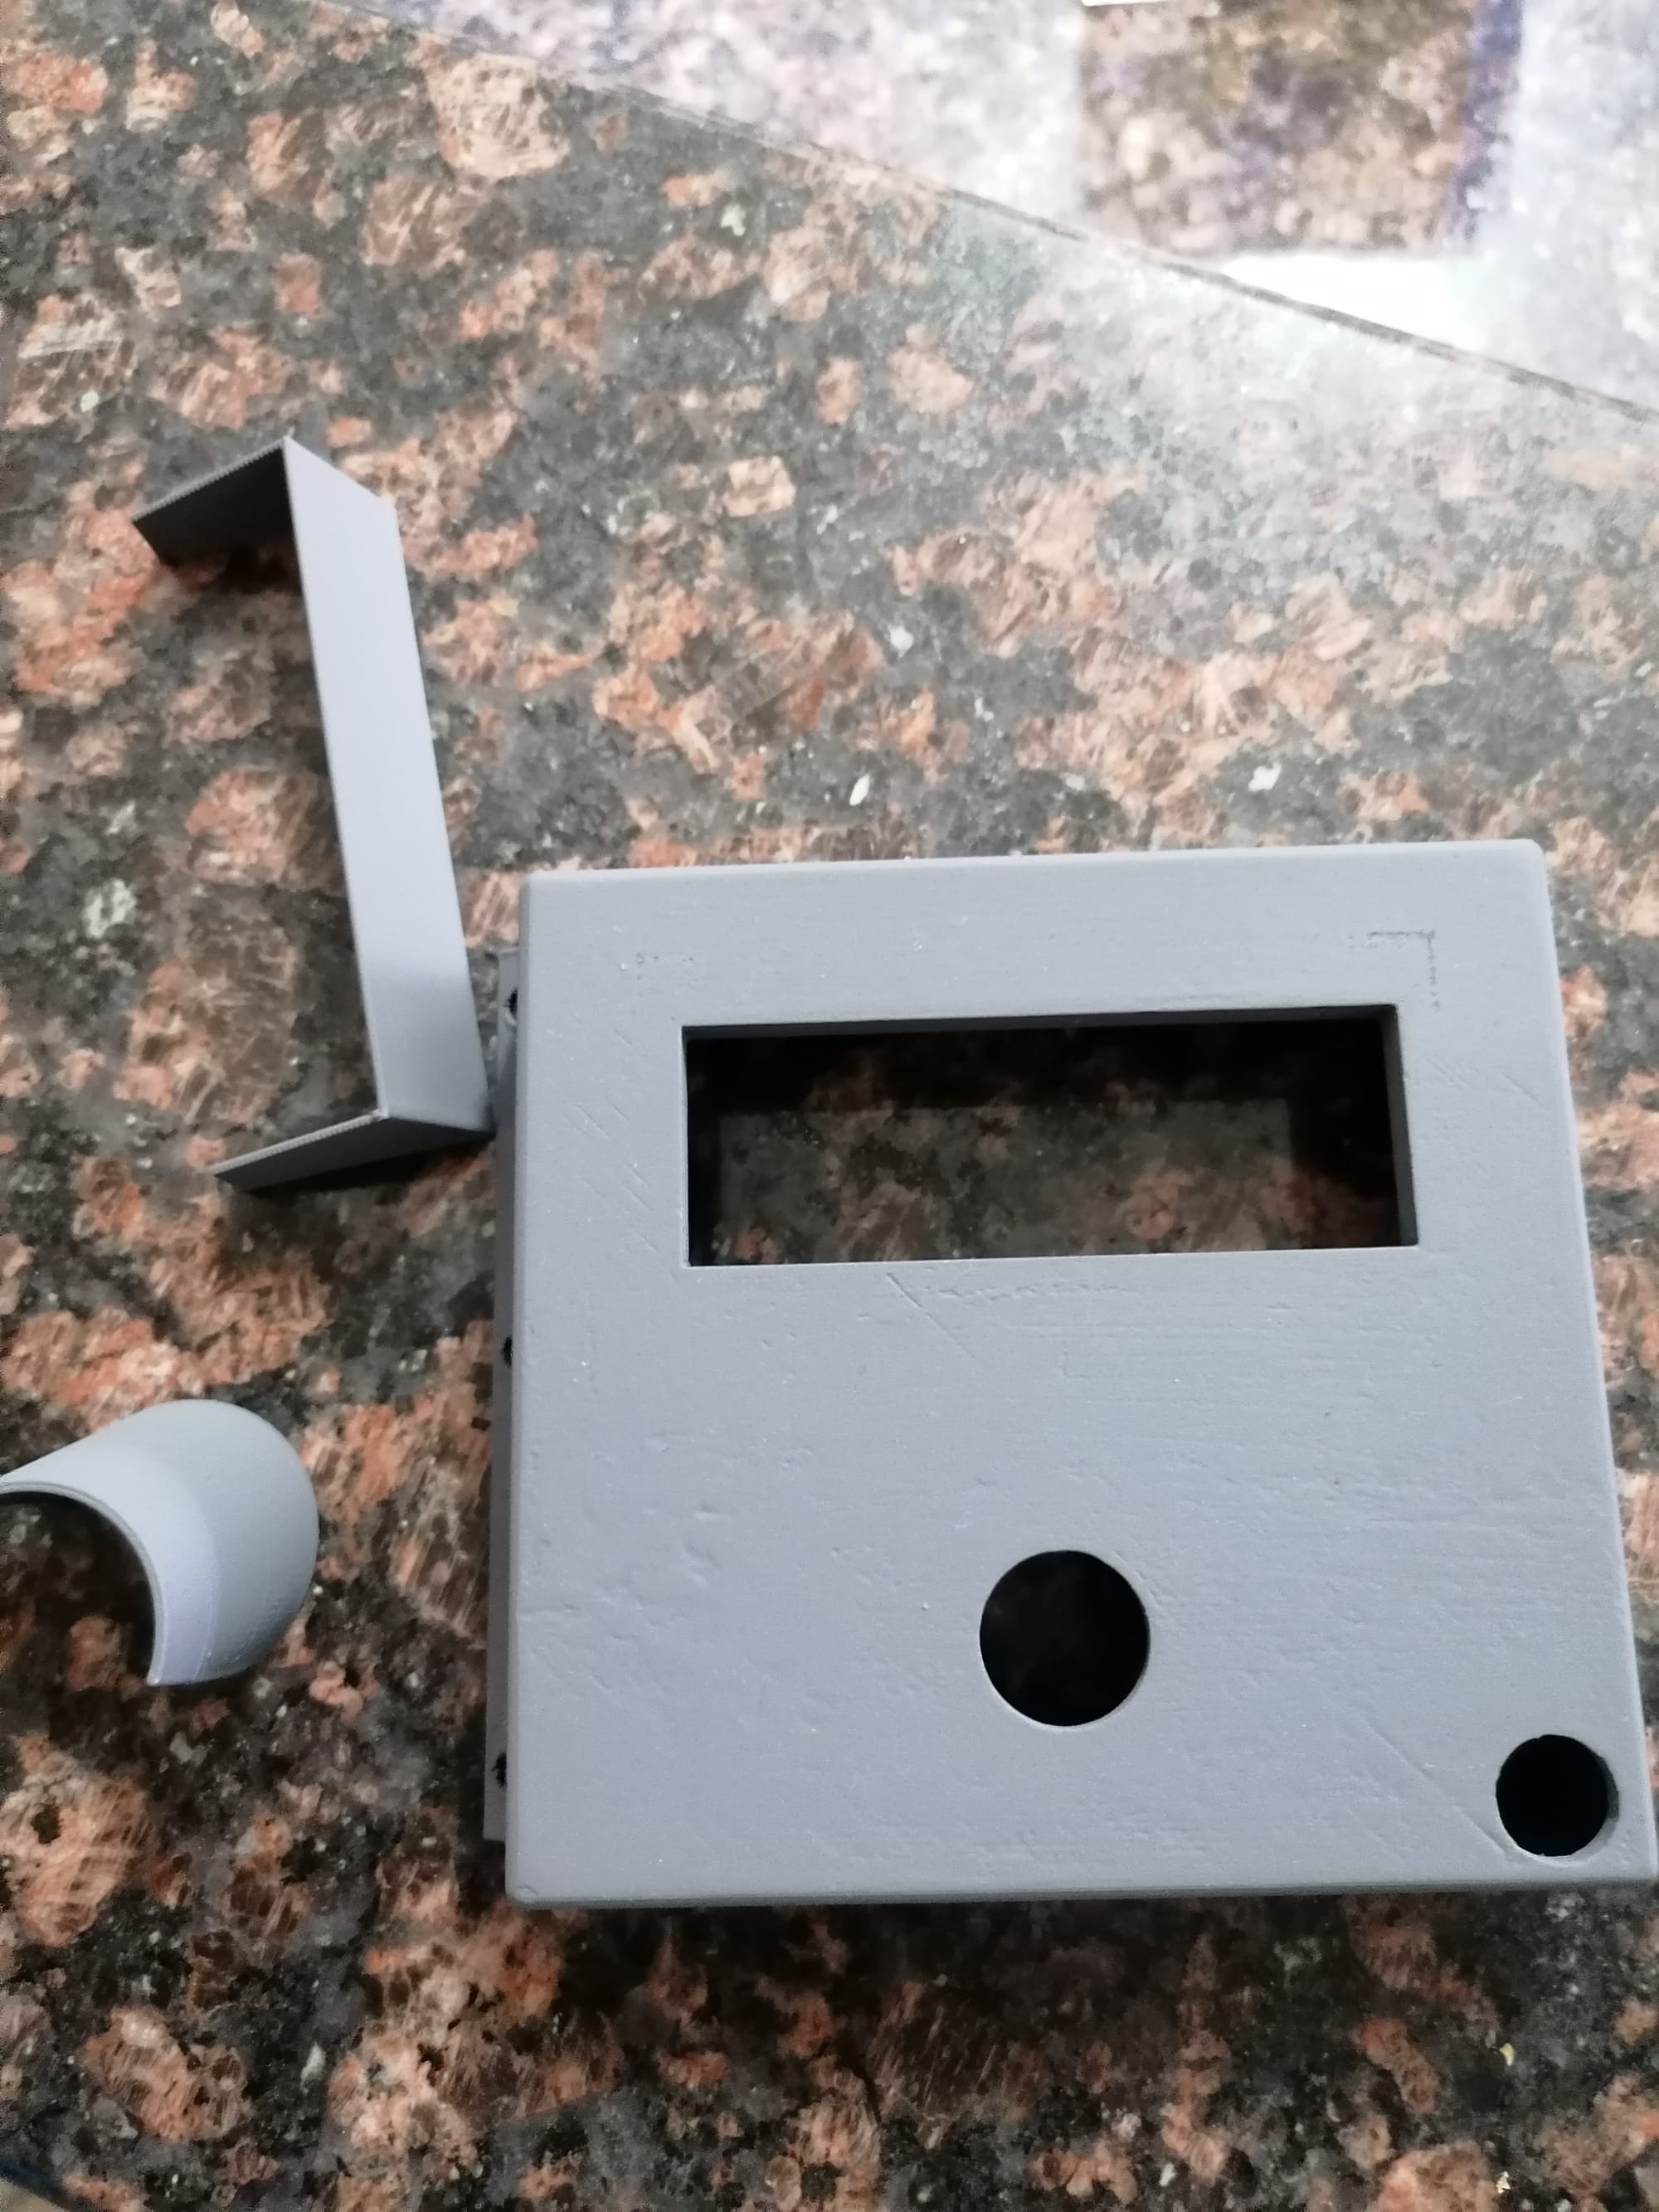
- 3D printed enclosure (sanded and sprayed gloss black)
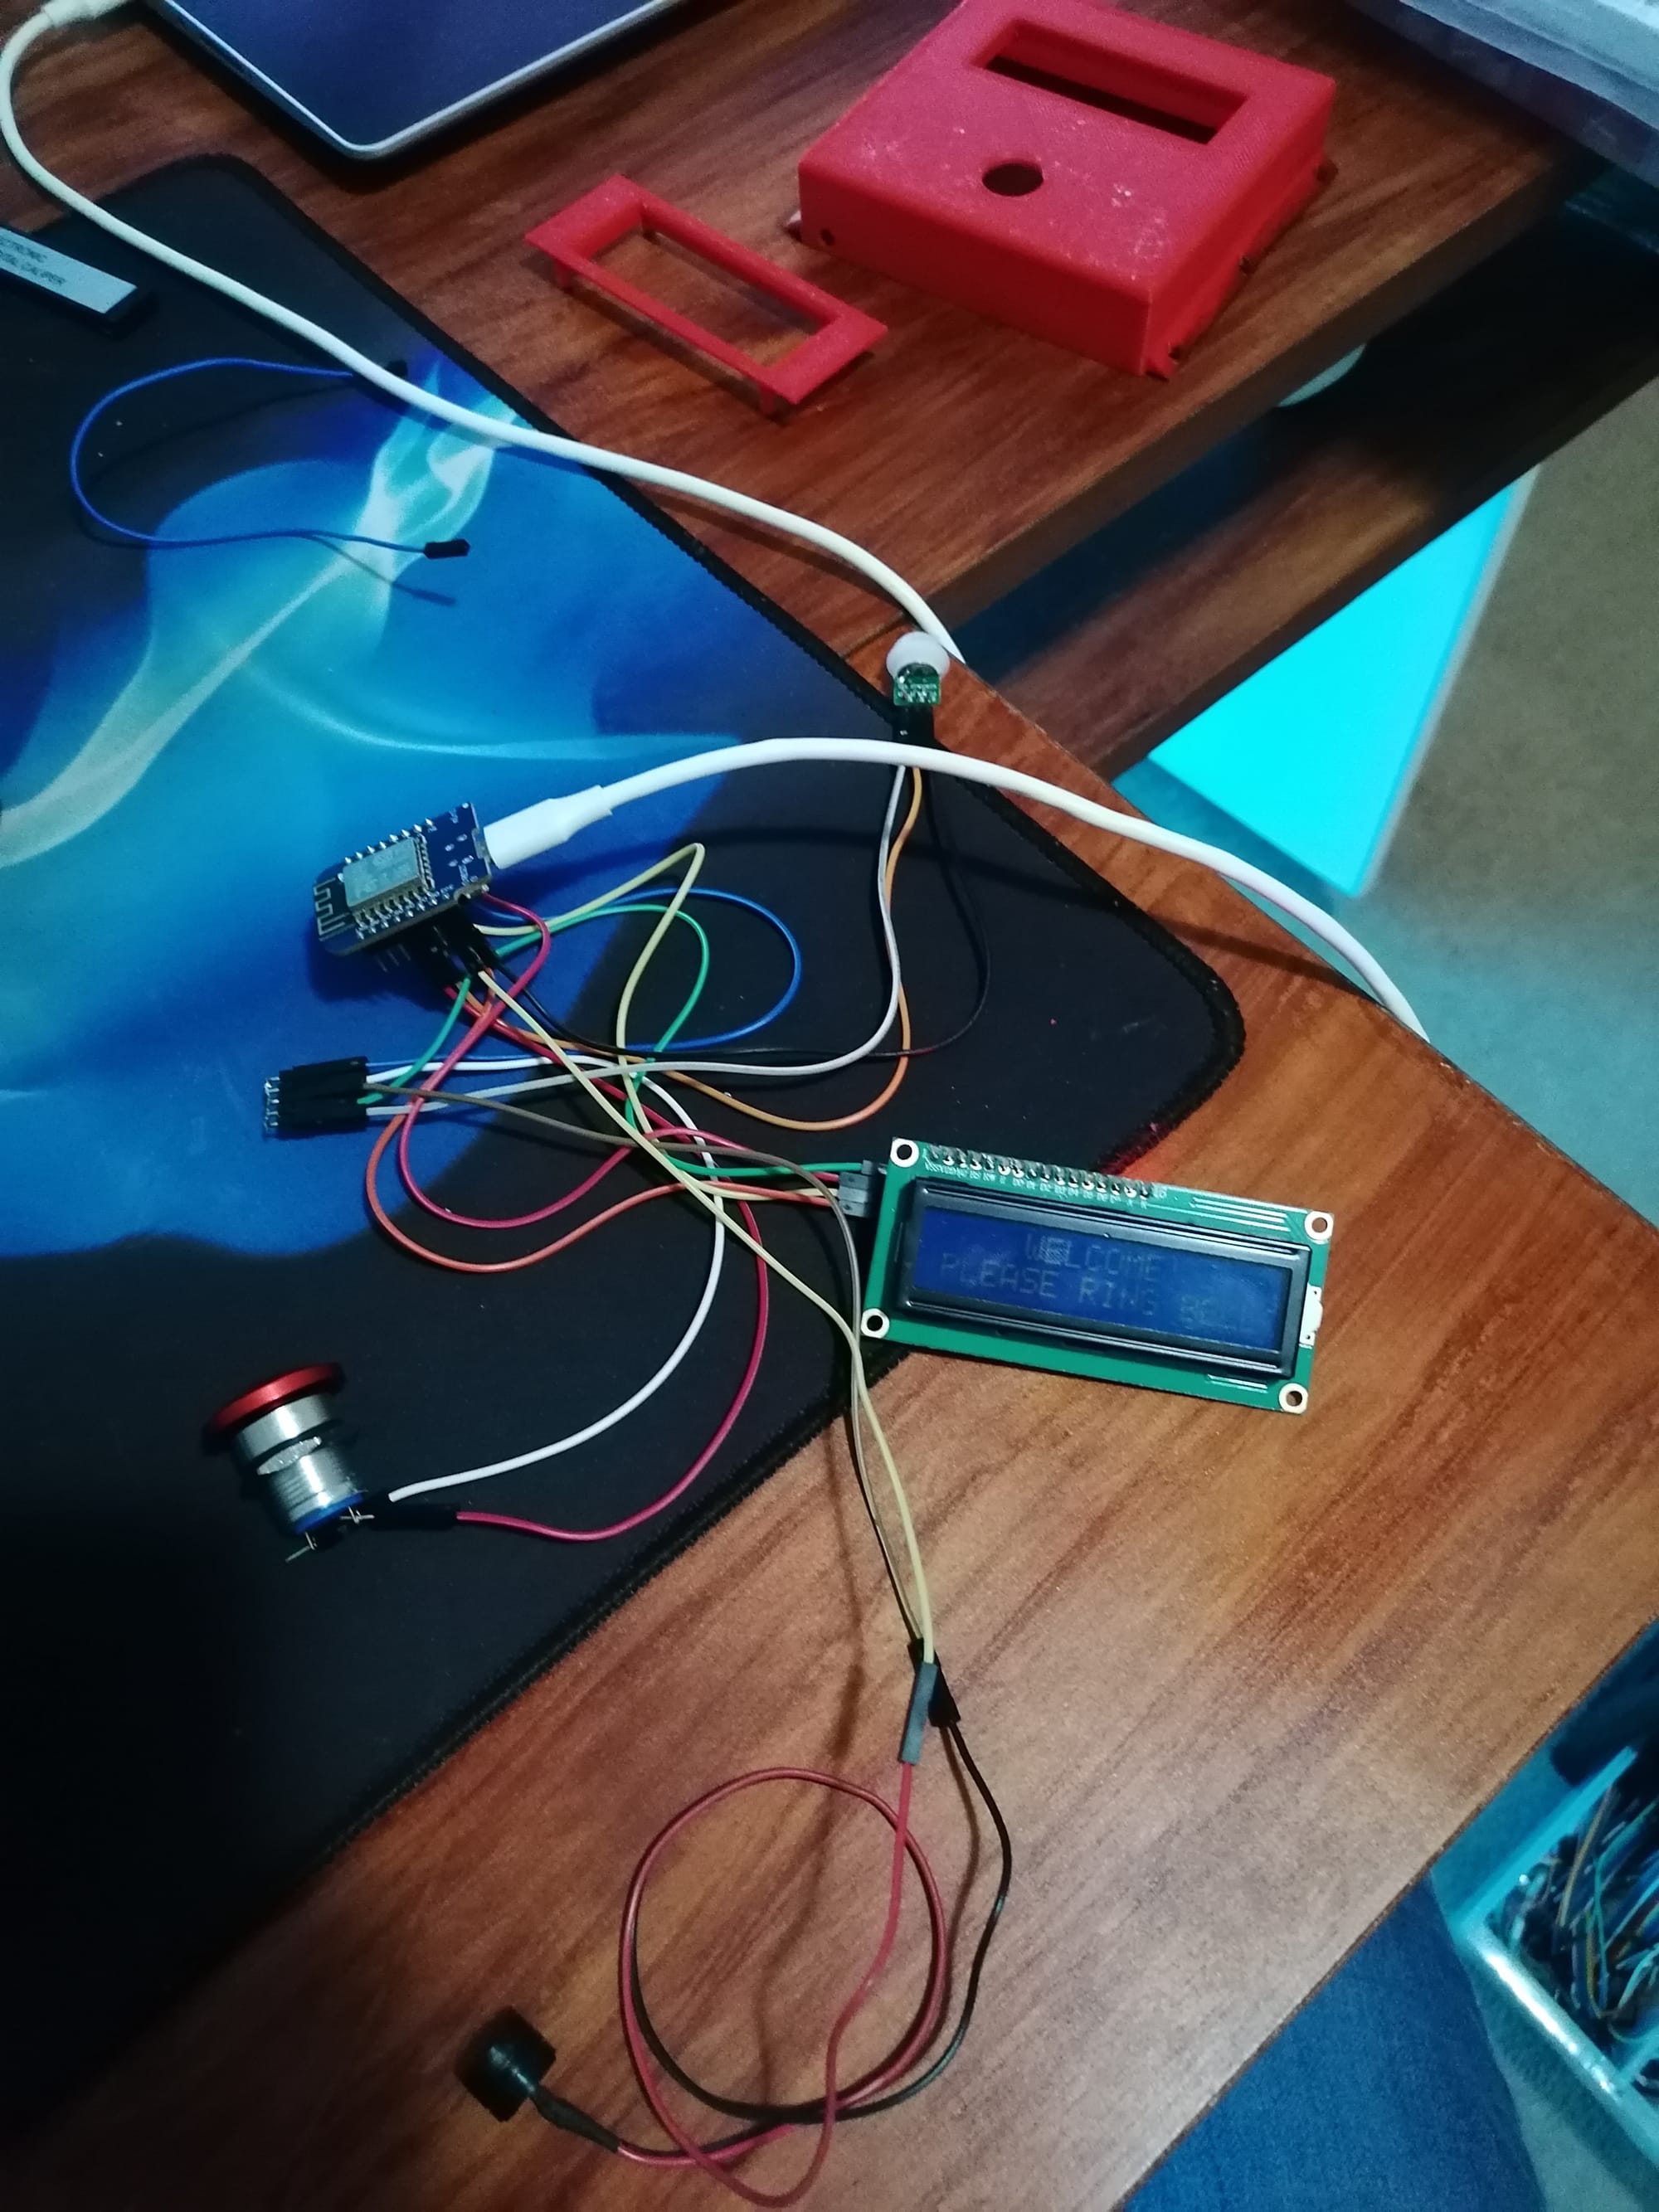
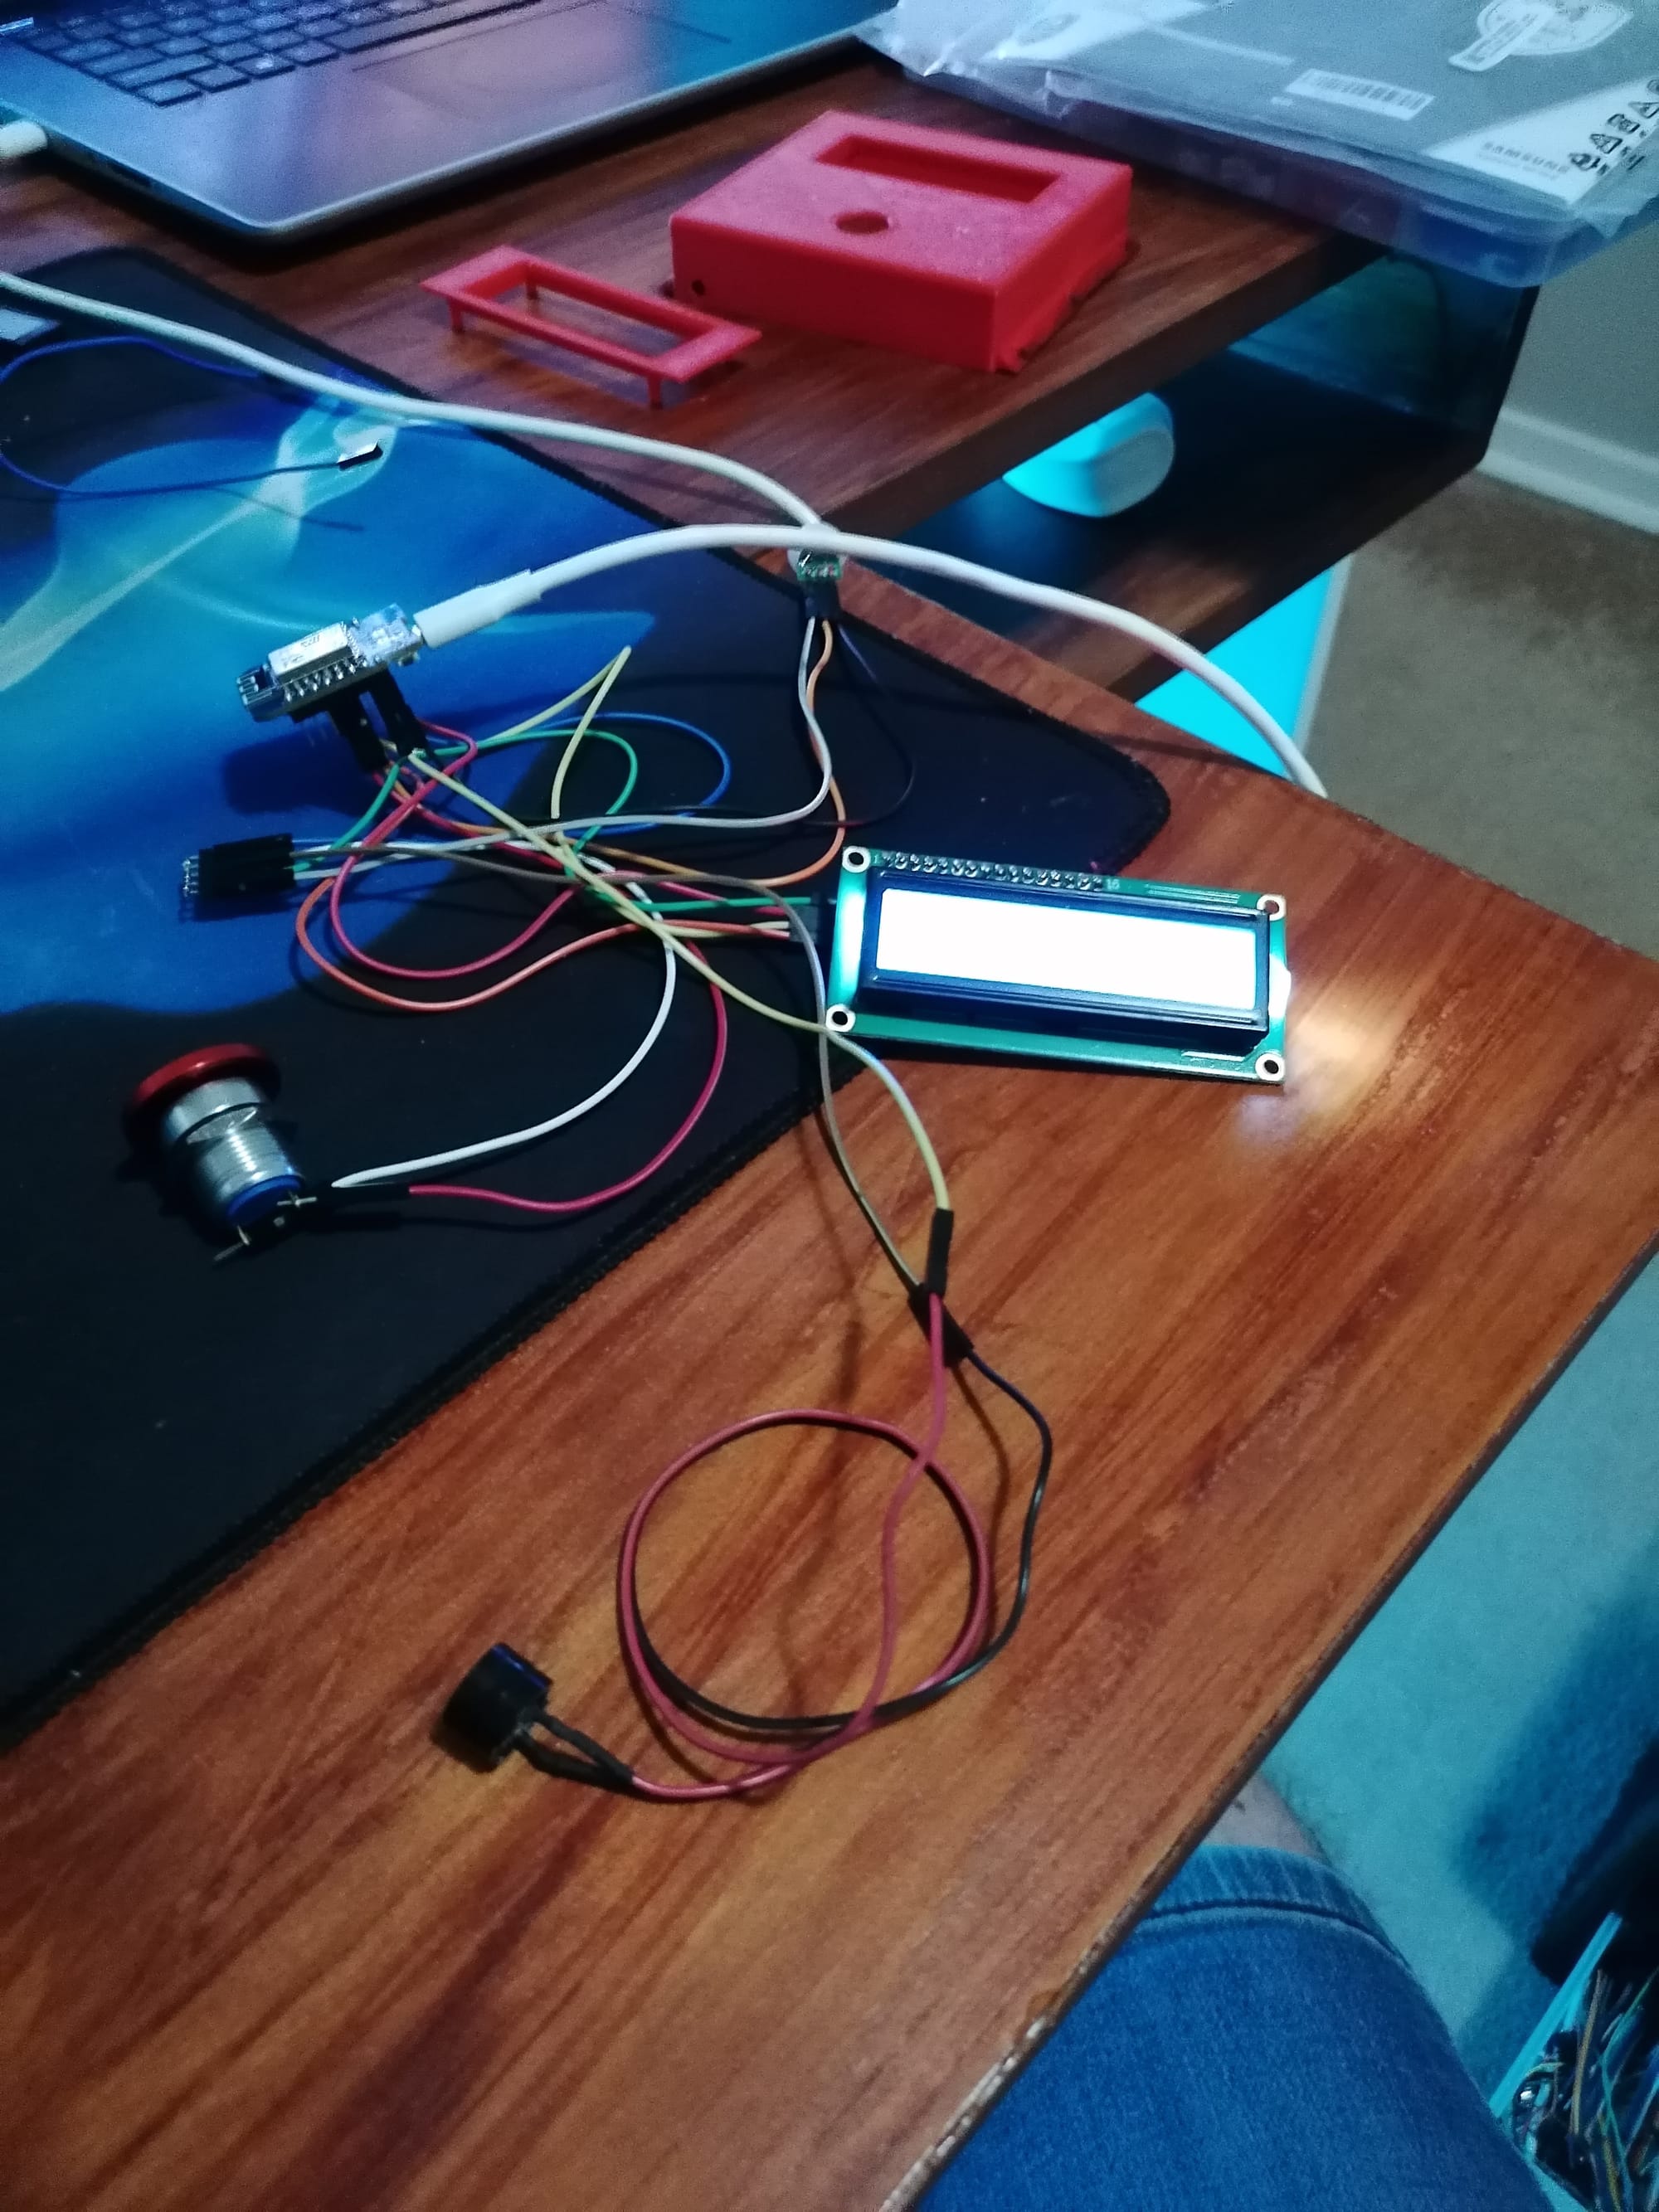
- Wemos D1 Mini ESP8266
- 12 to 5 volt step-down converter
- PIR motion sensor
- 16x2 Blue LCD
- Piezo buzzer
- 16 mm mushroom head push button
- Various electronic components (wires, resistors, etc.)
3D Printed Enclosure
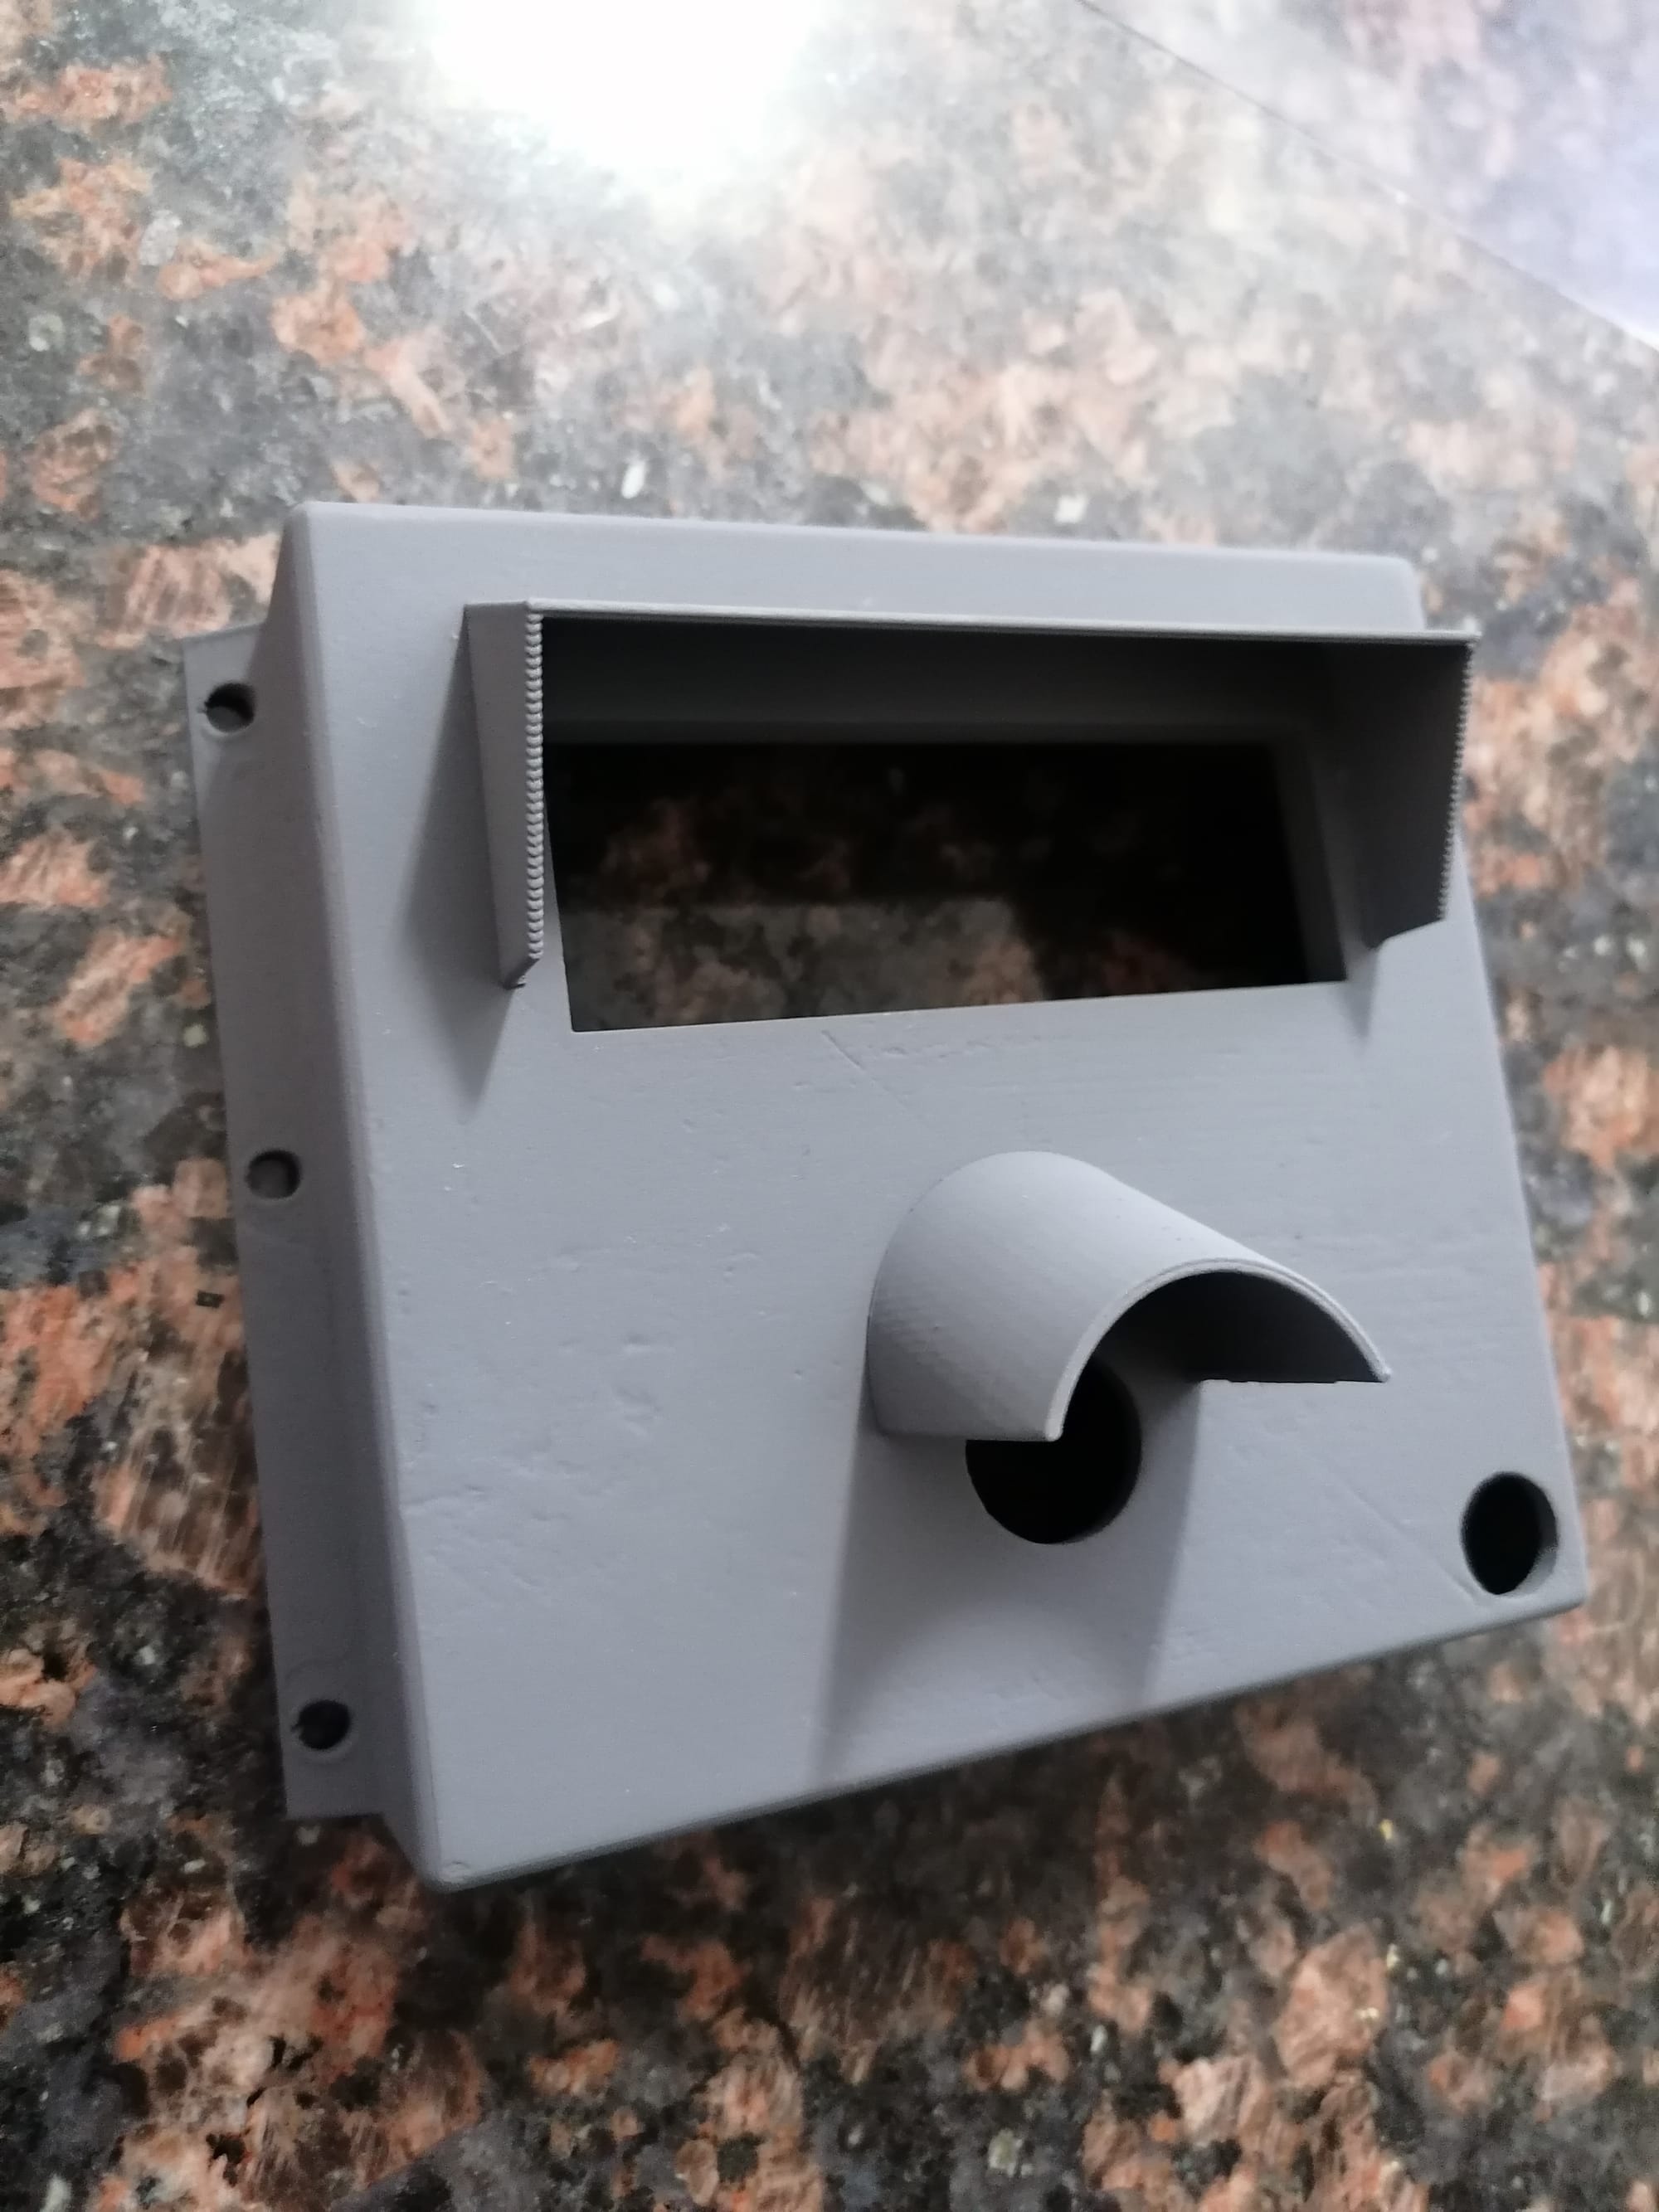
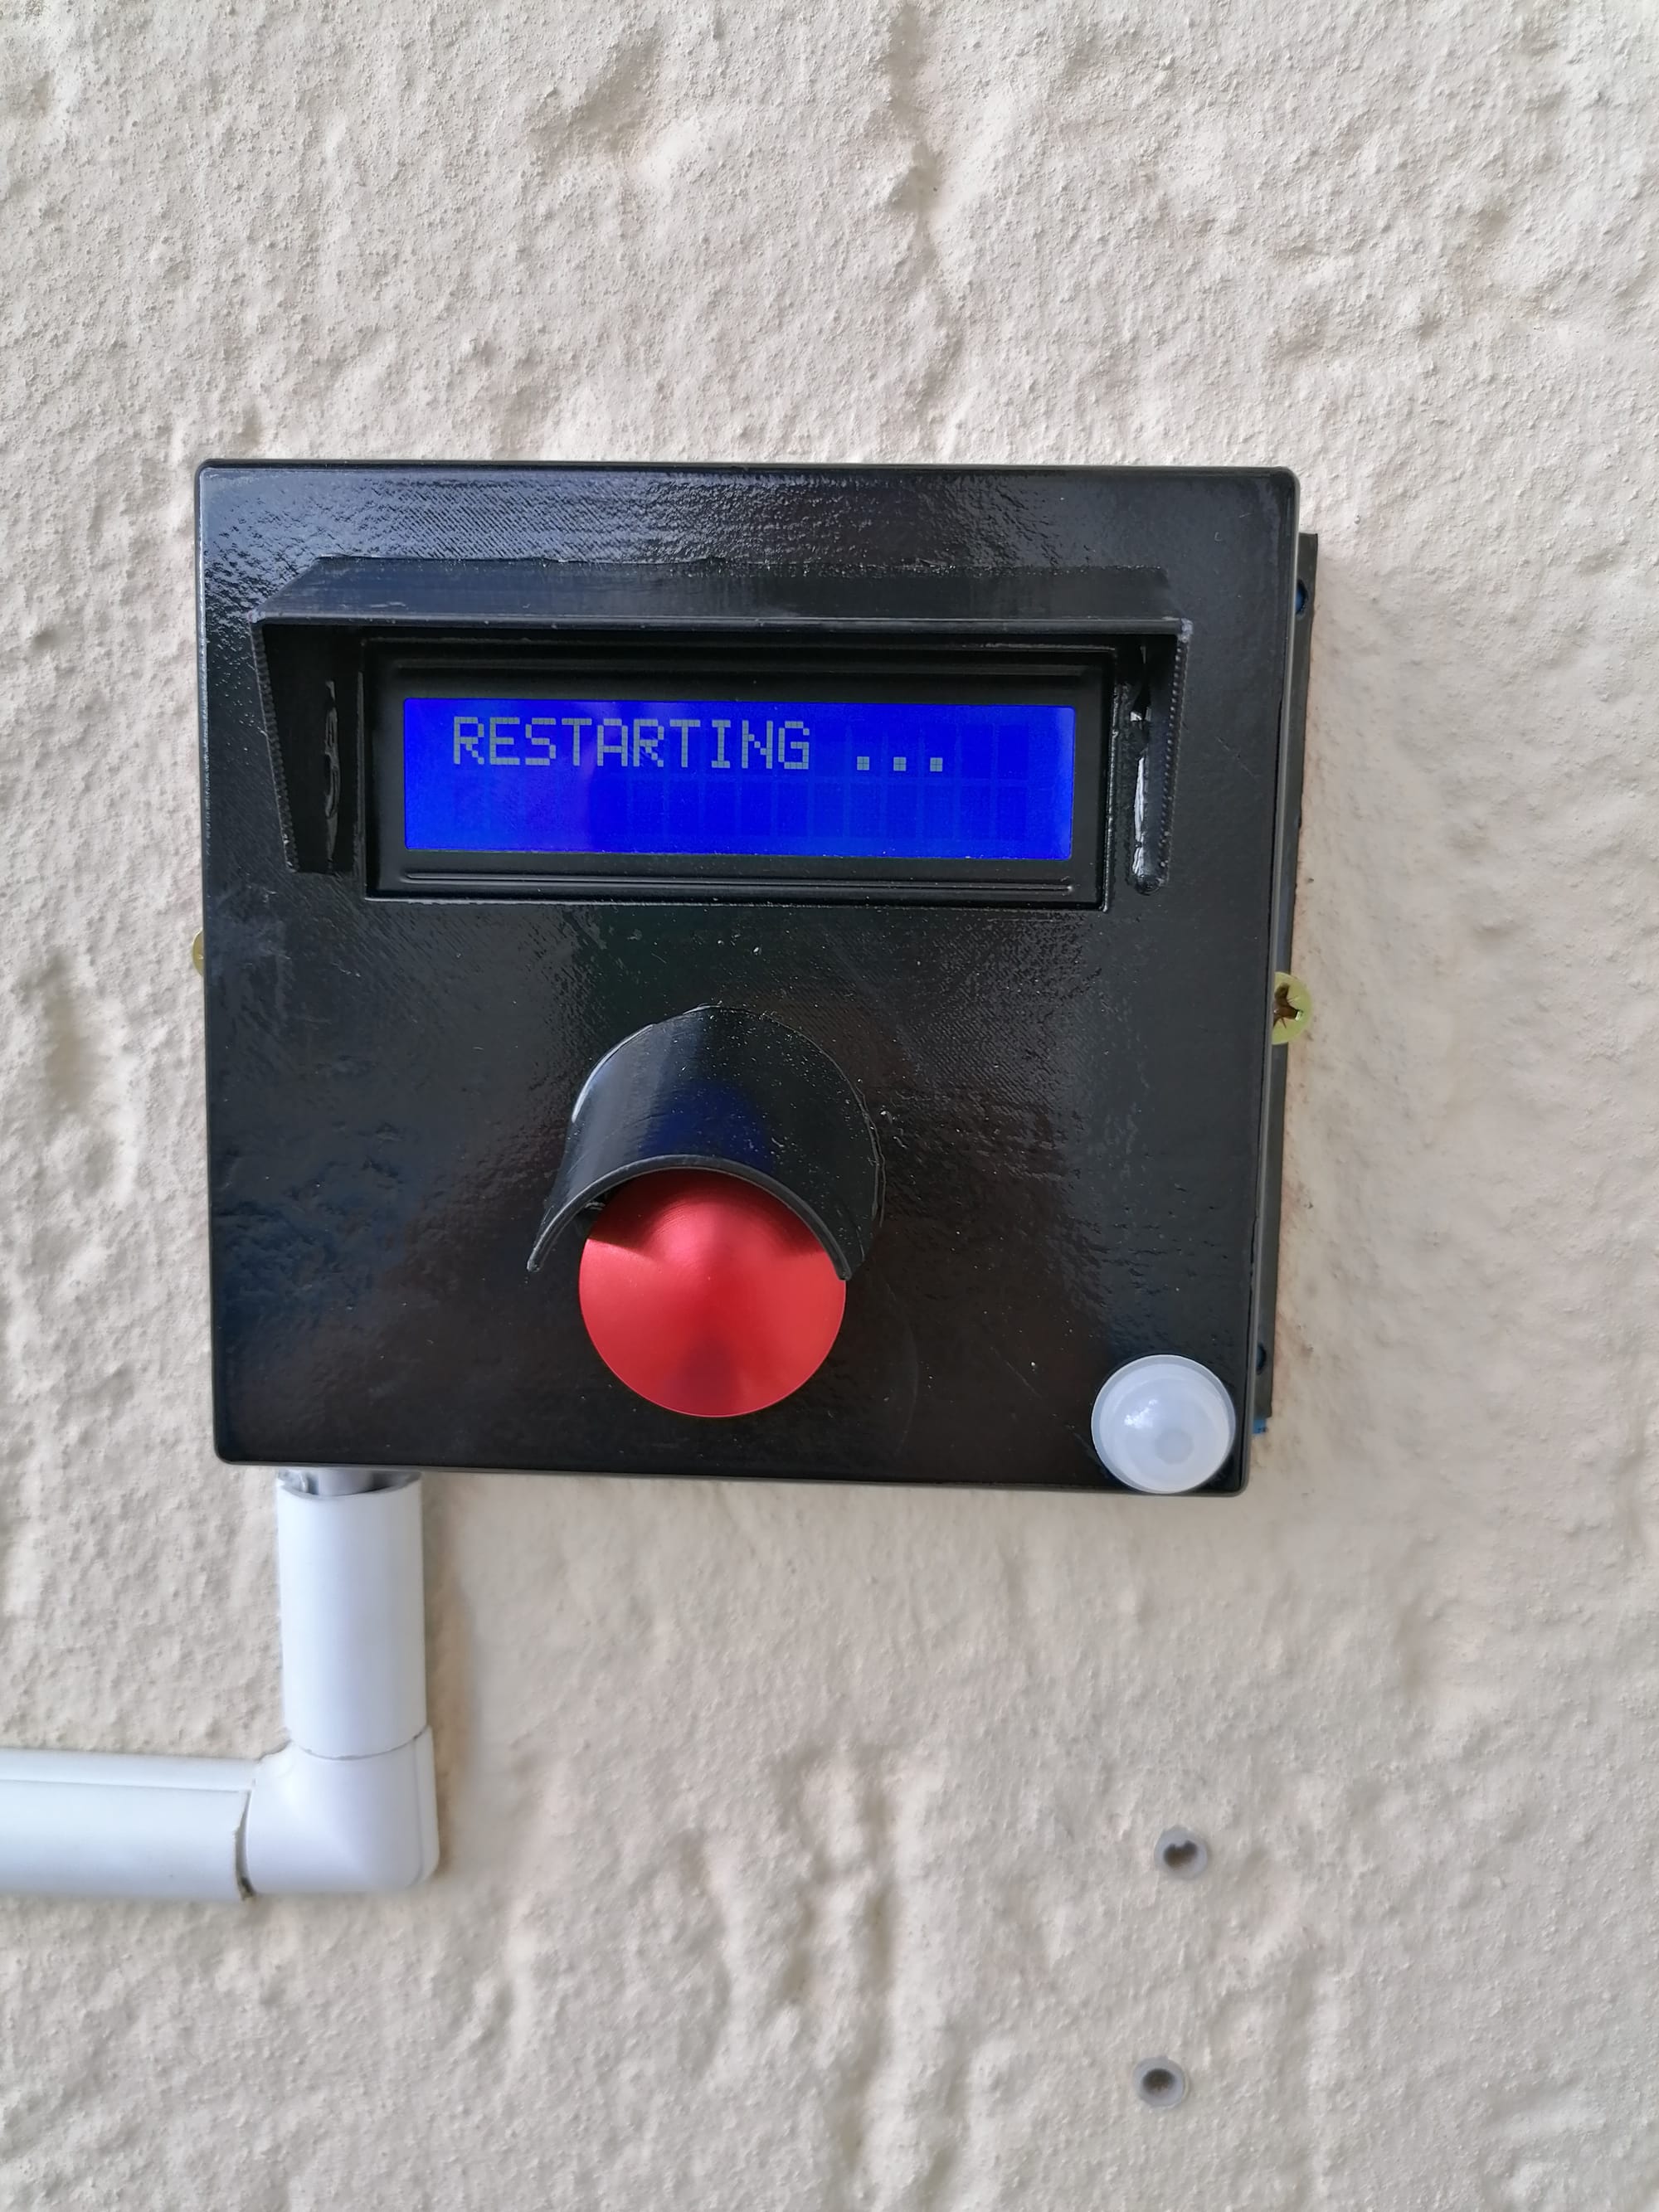
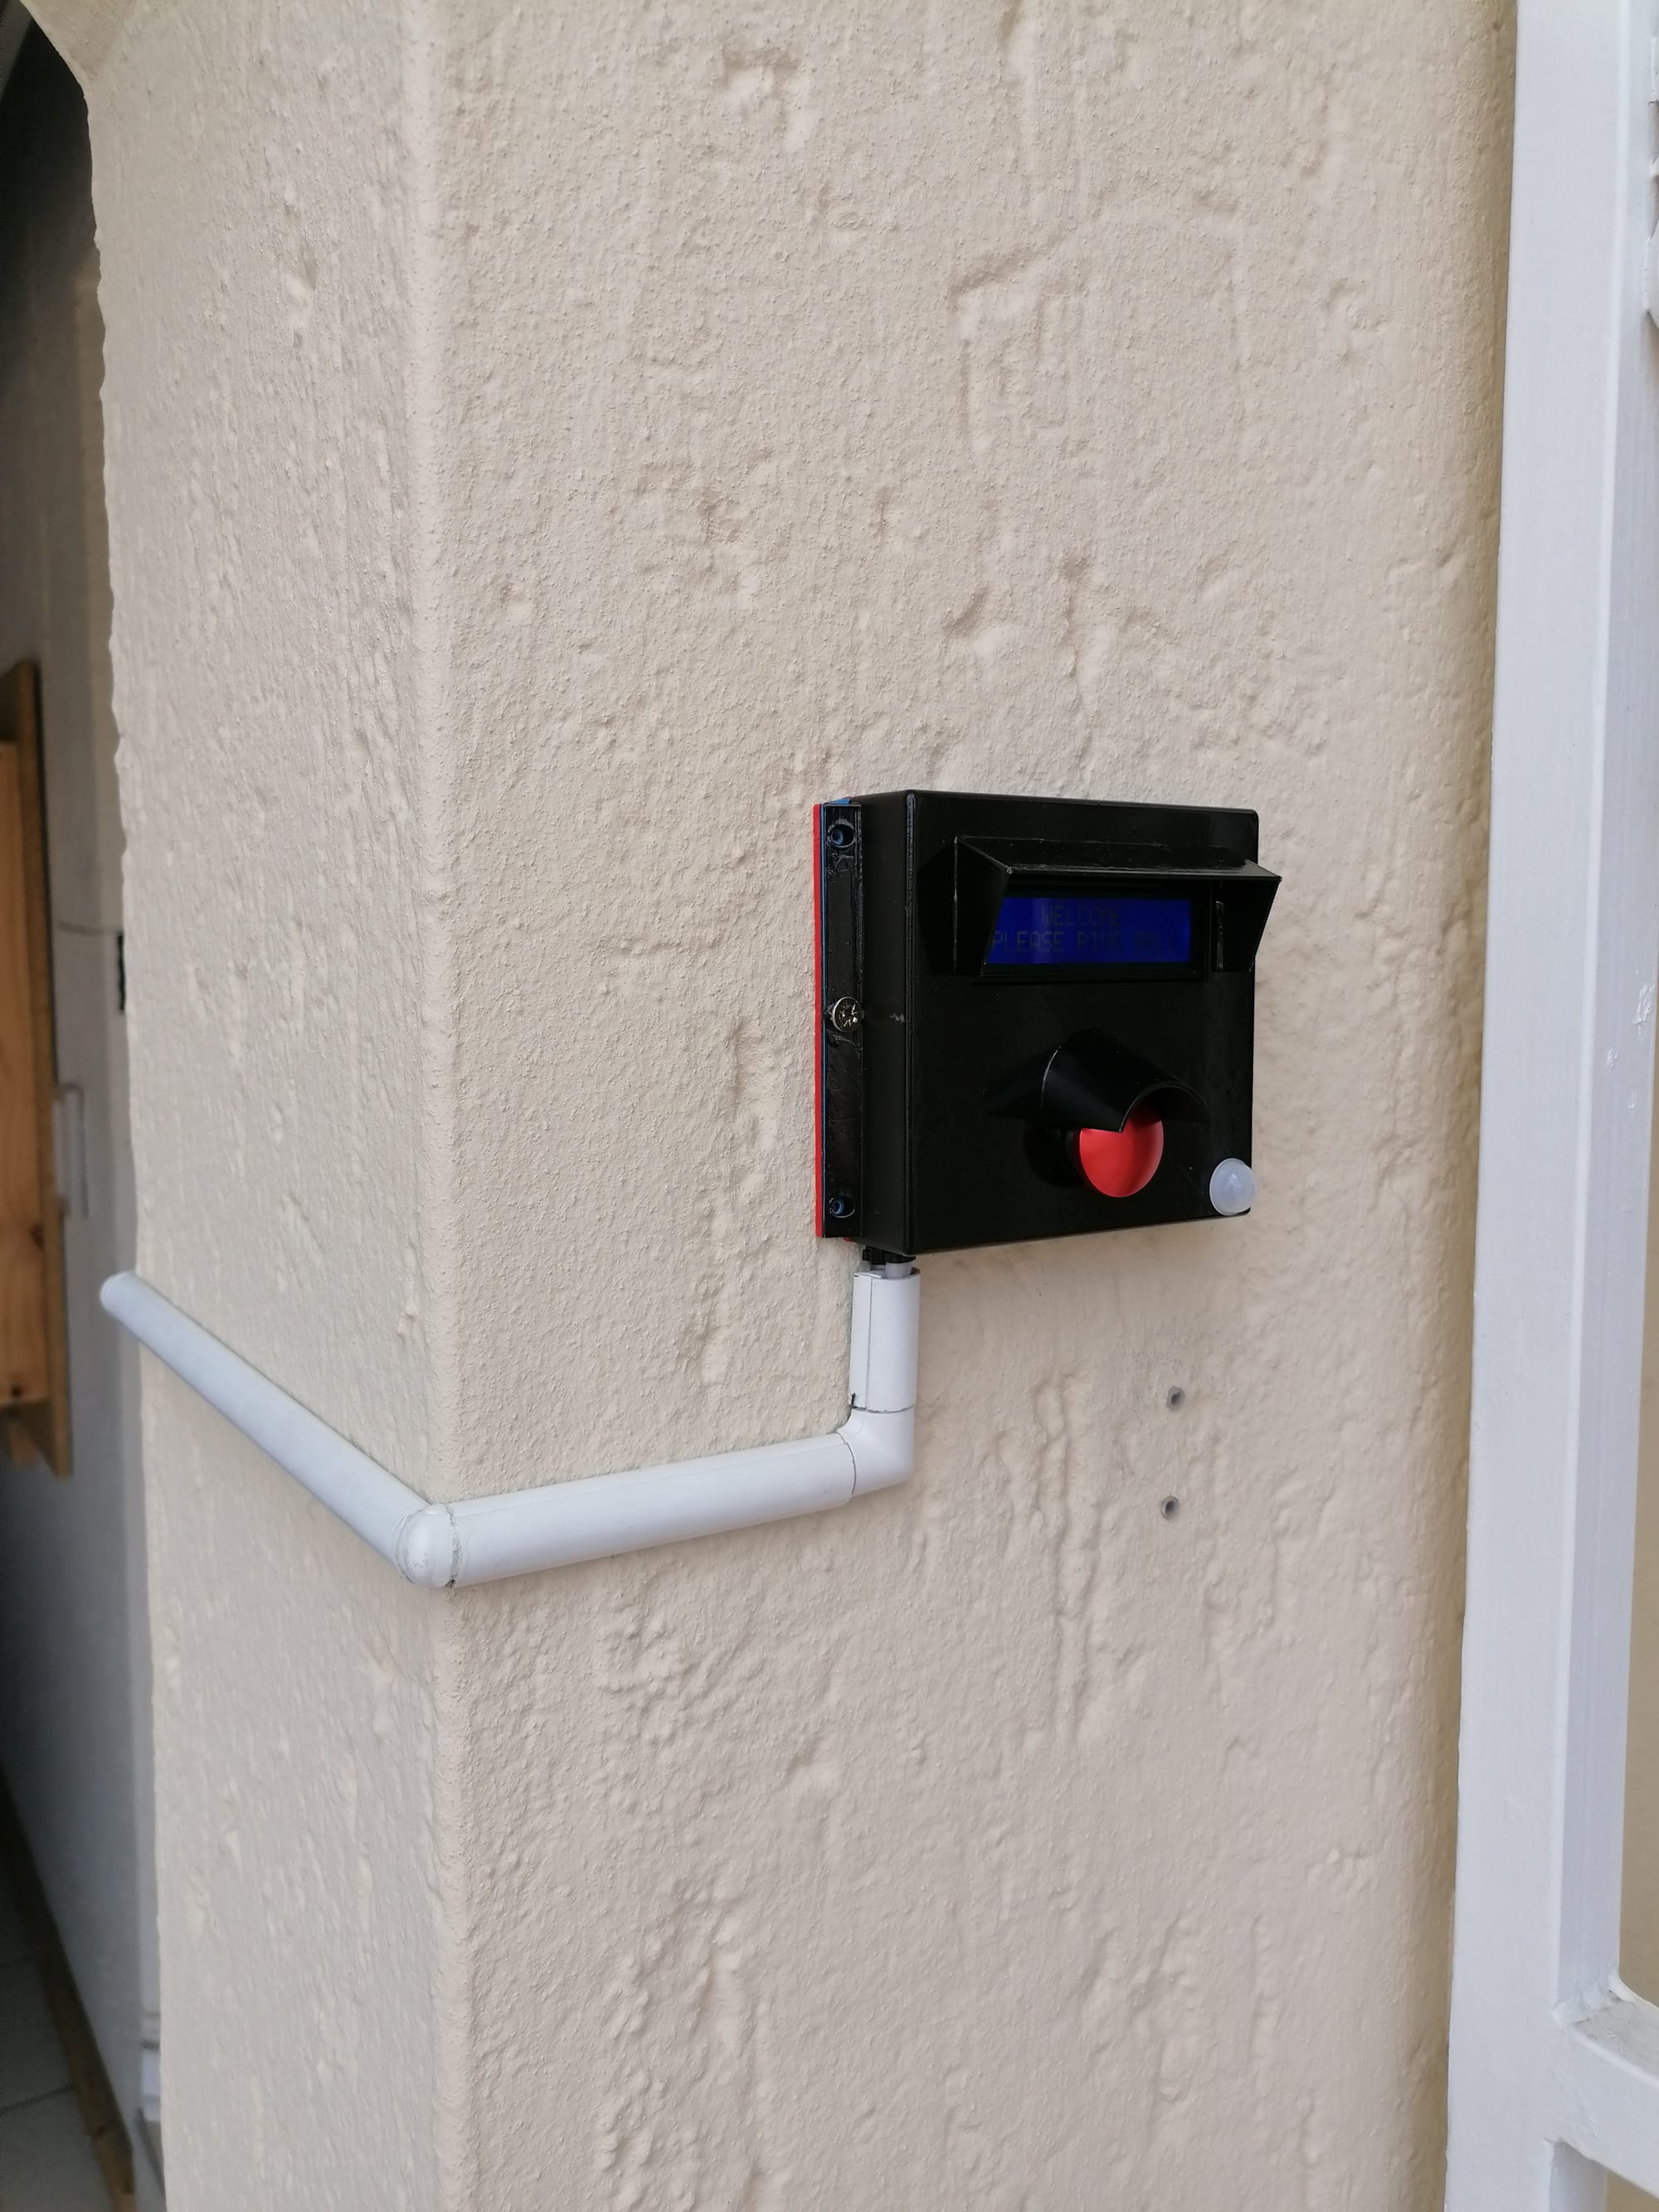
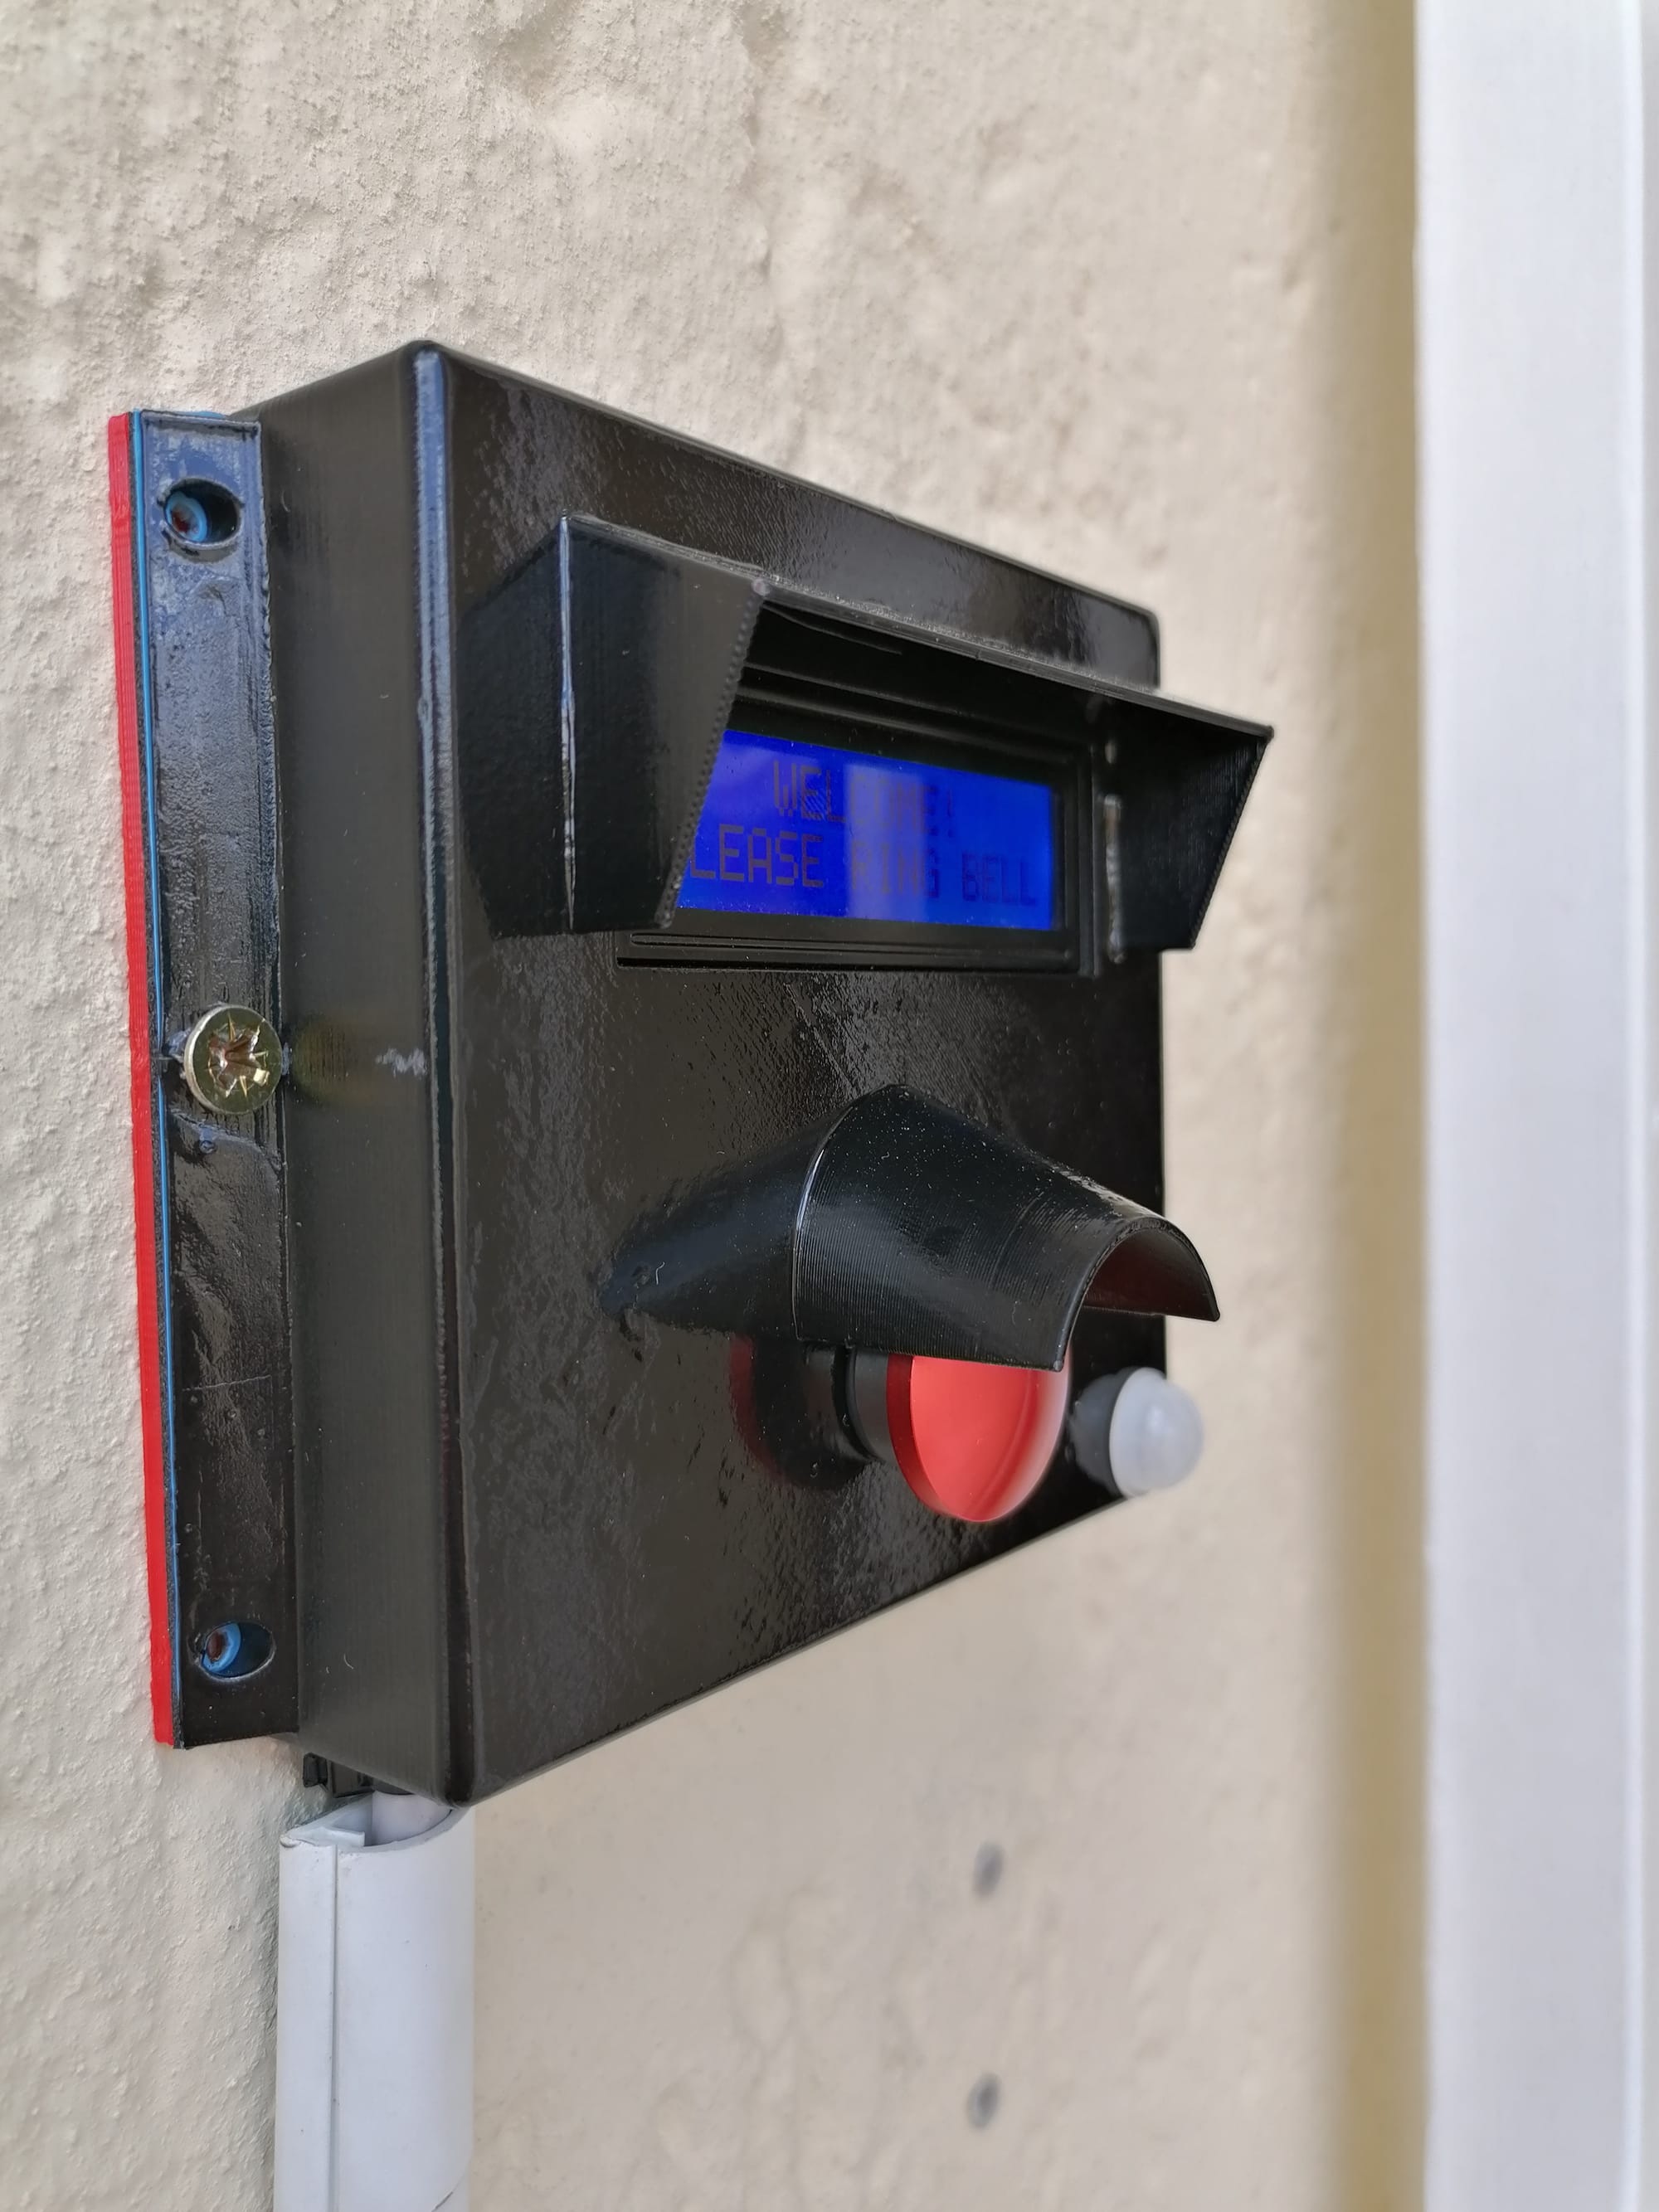
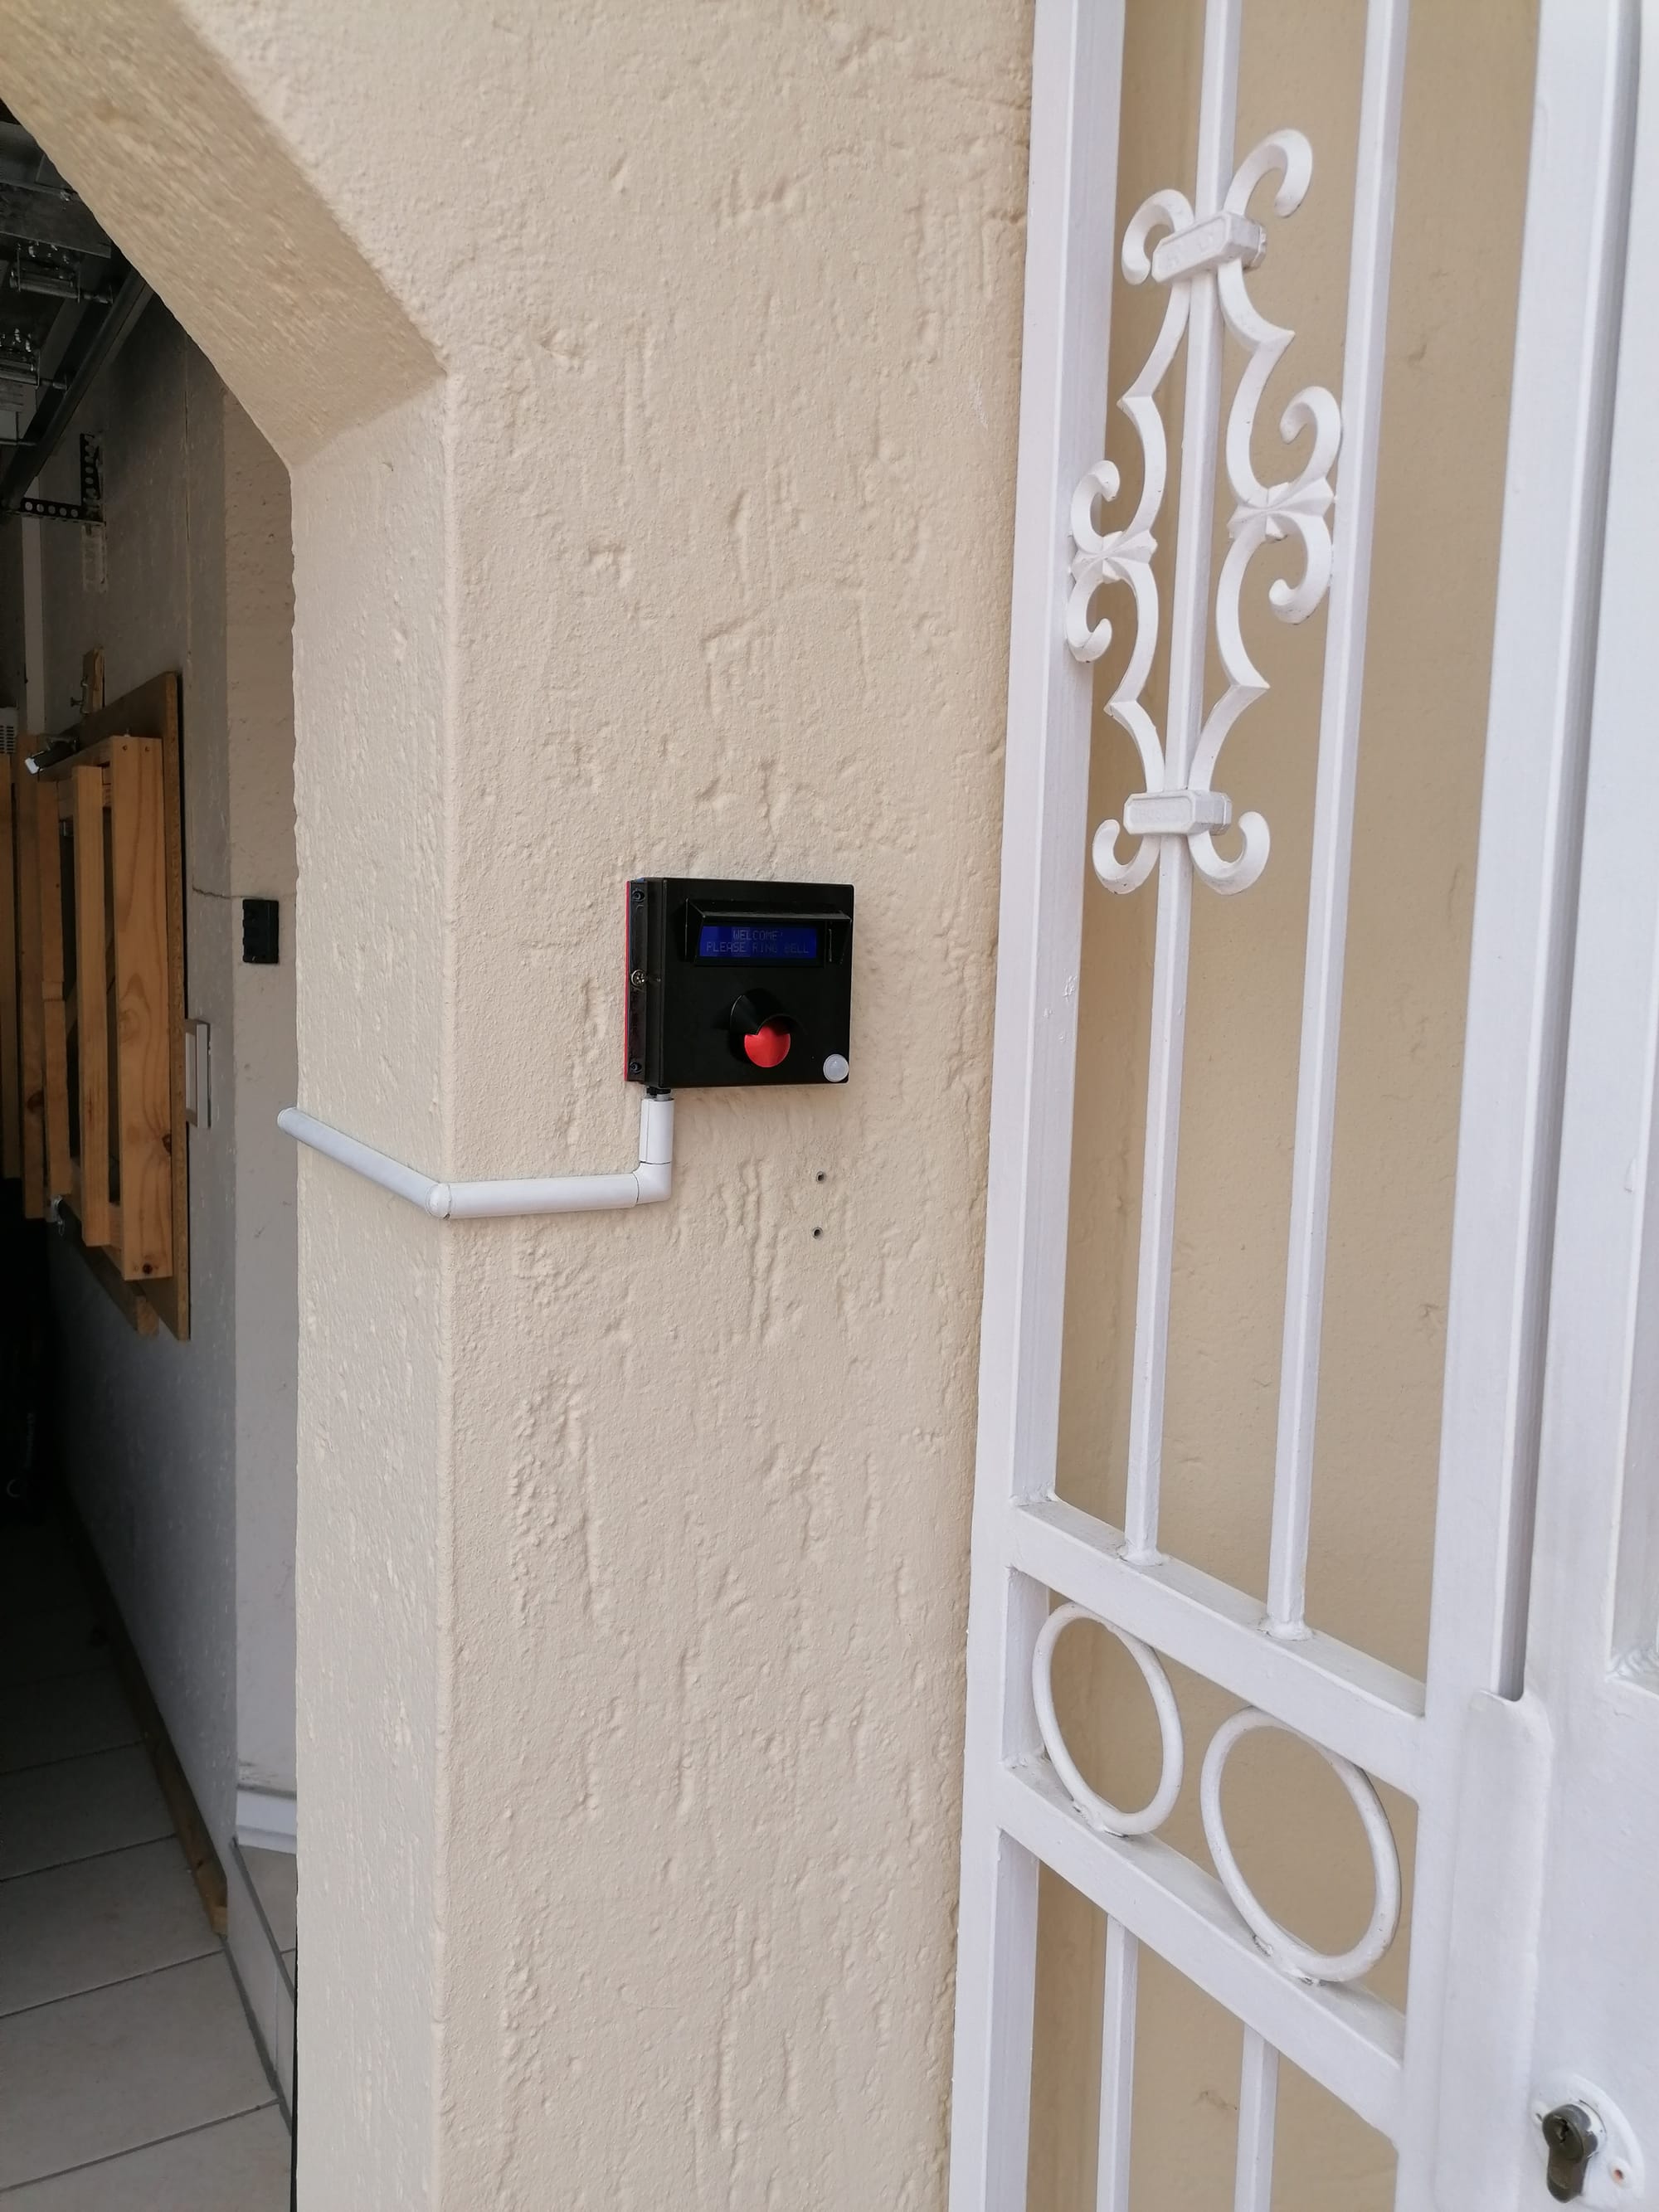
The visual aspect of the smart doorbell is the 3D printed enclosure. To achieve a sleek finish, I sprayed a few coats of primer and sanded the enclosure inbetween coats then finally sprayed it with gloss black paint. Additionally, created a weather guard for the LCD and button to ensure durability in various weather conditions. (Time will tell, how this holds up outside)
The Features And Functionality:
- Motion Detection: The PIR sensor detects motion, activating the LCD. The screen flashes on and off three times, and the Piezo buzzer beeps three times to grab the visitor's attention.
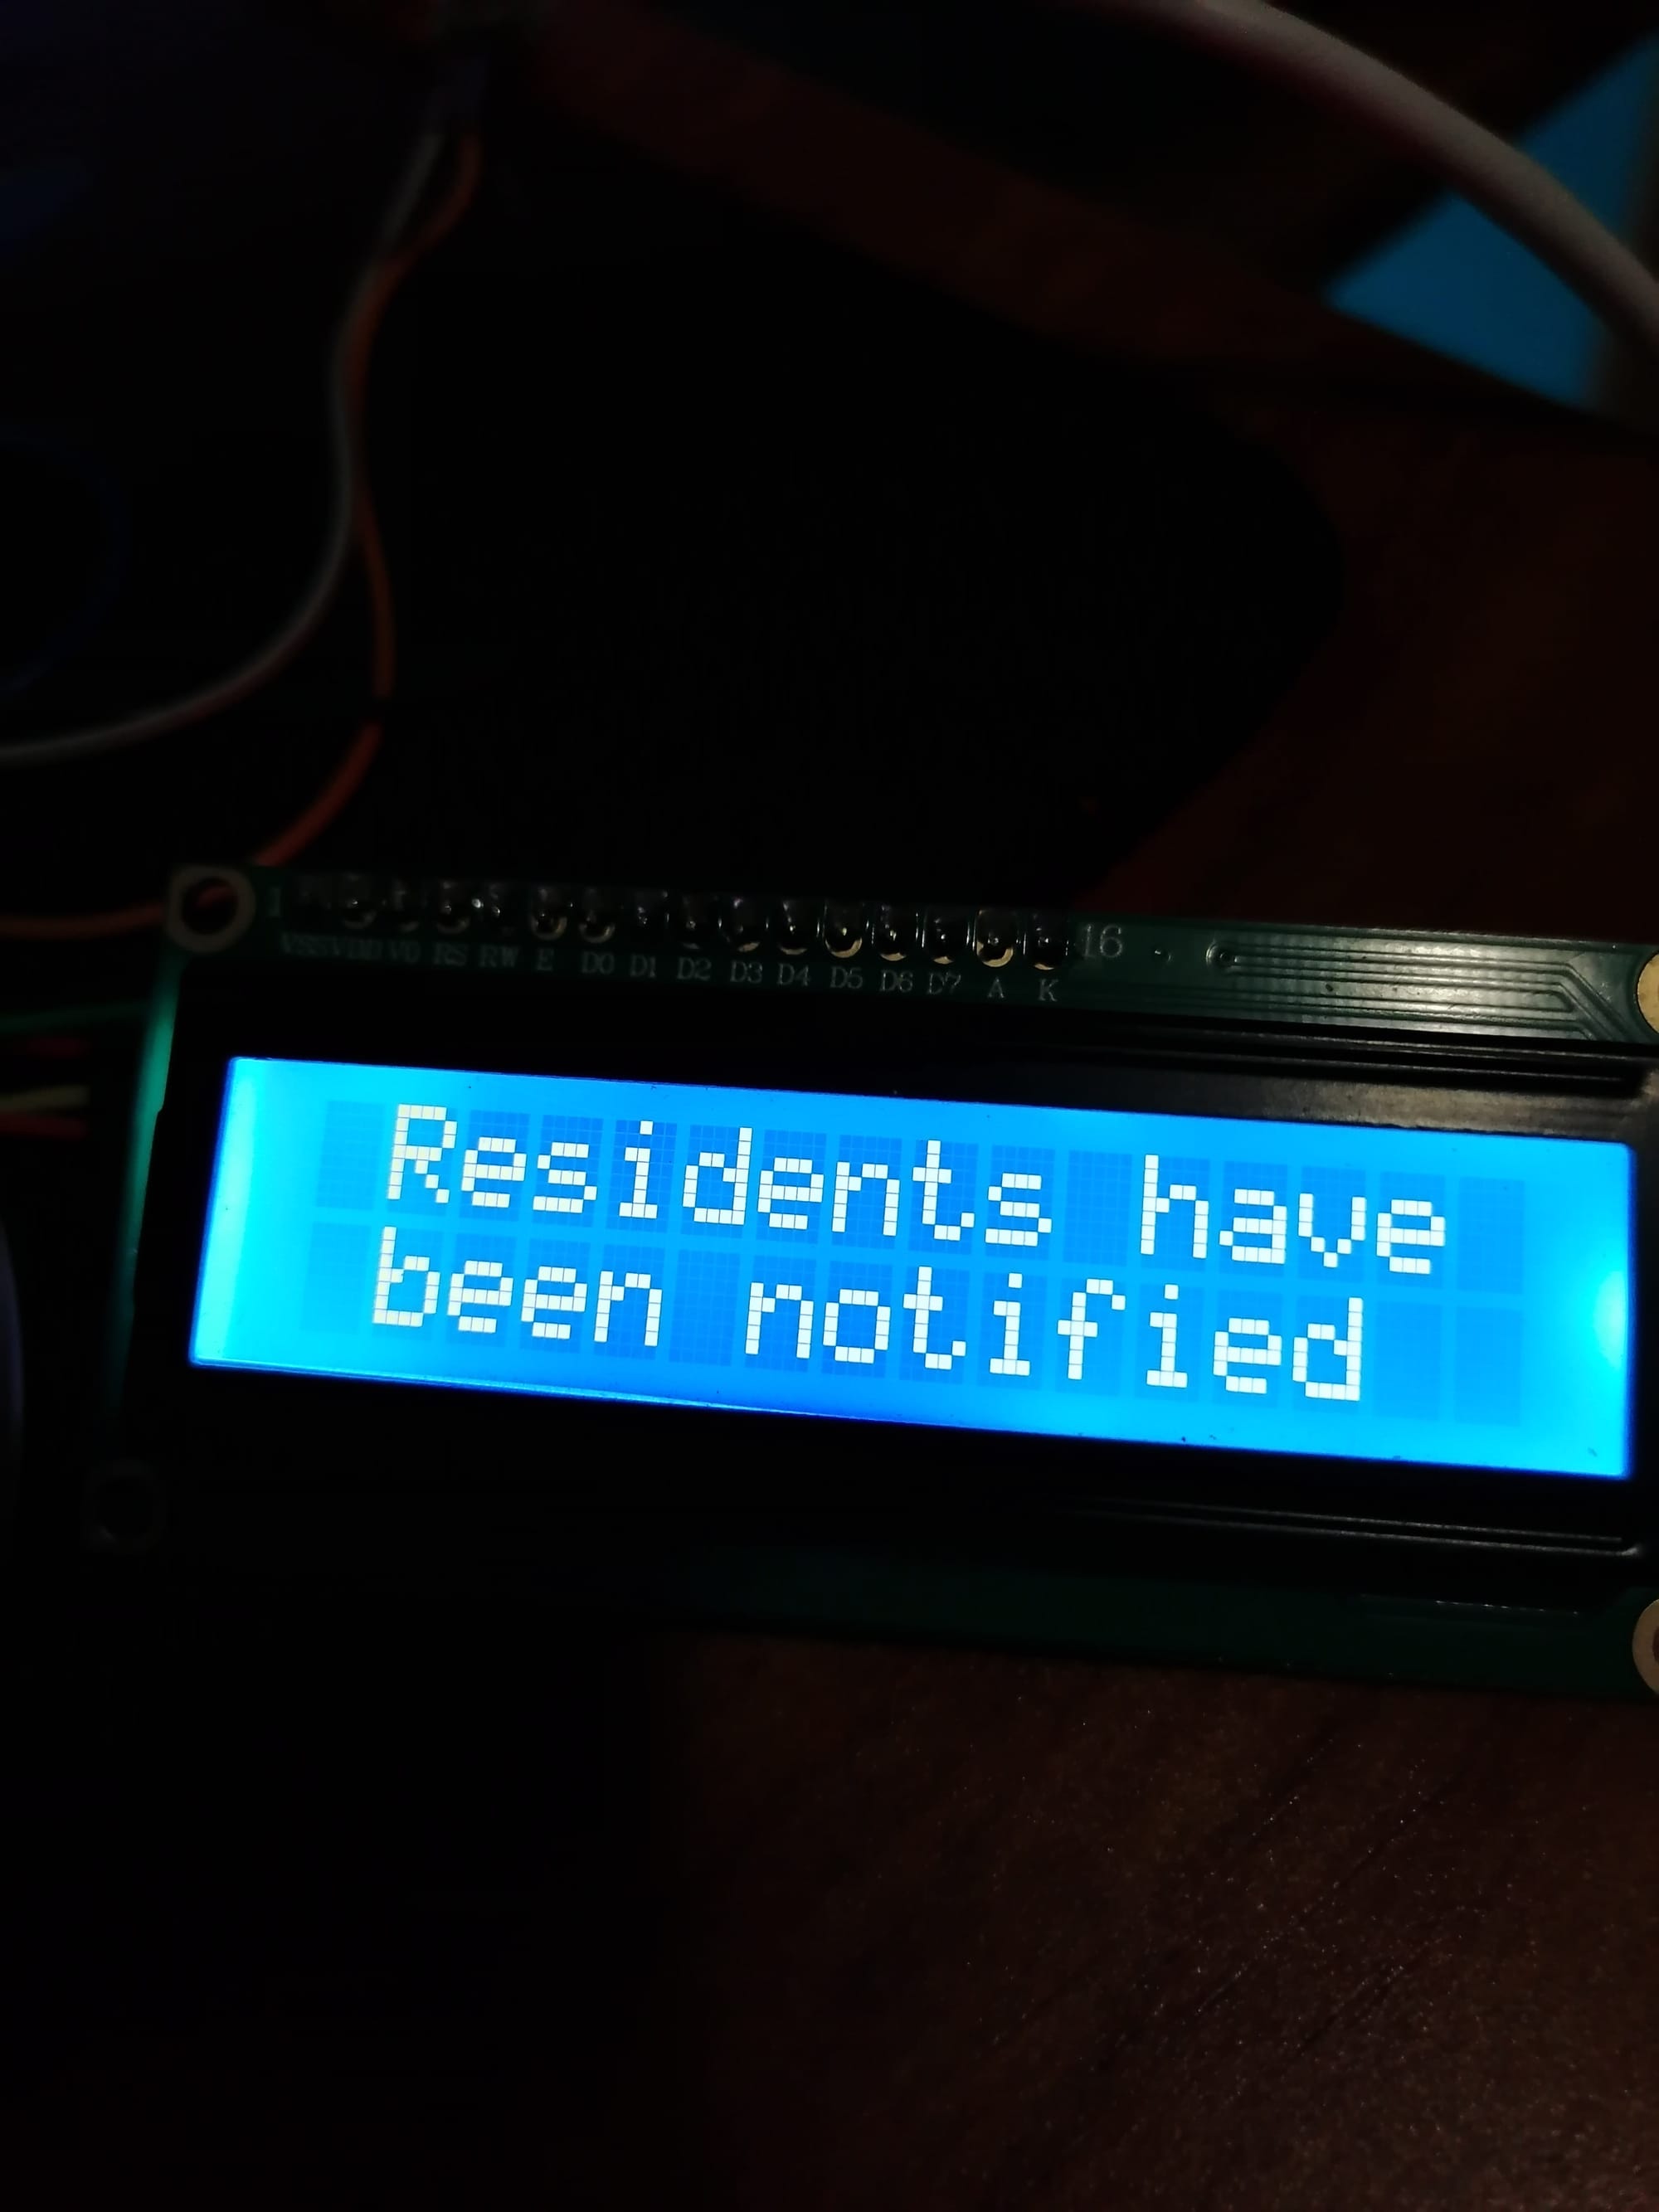
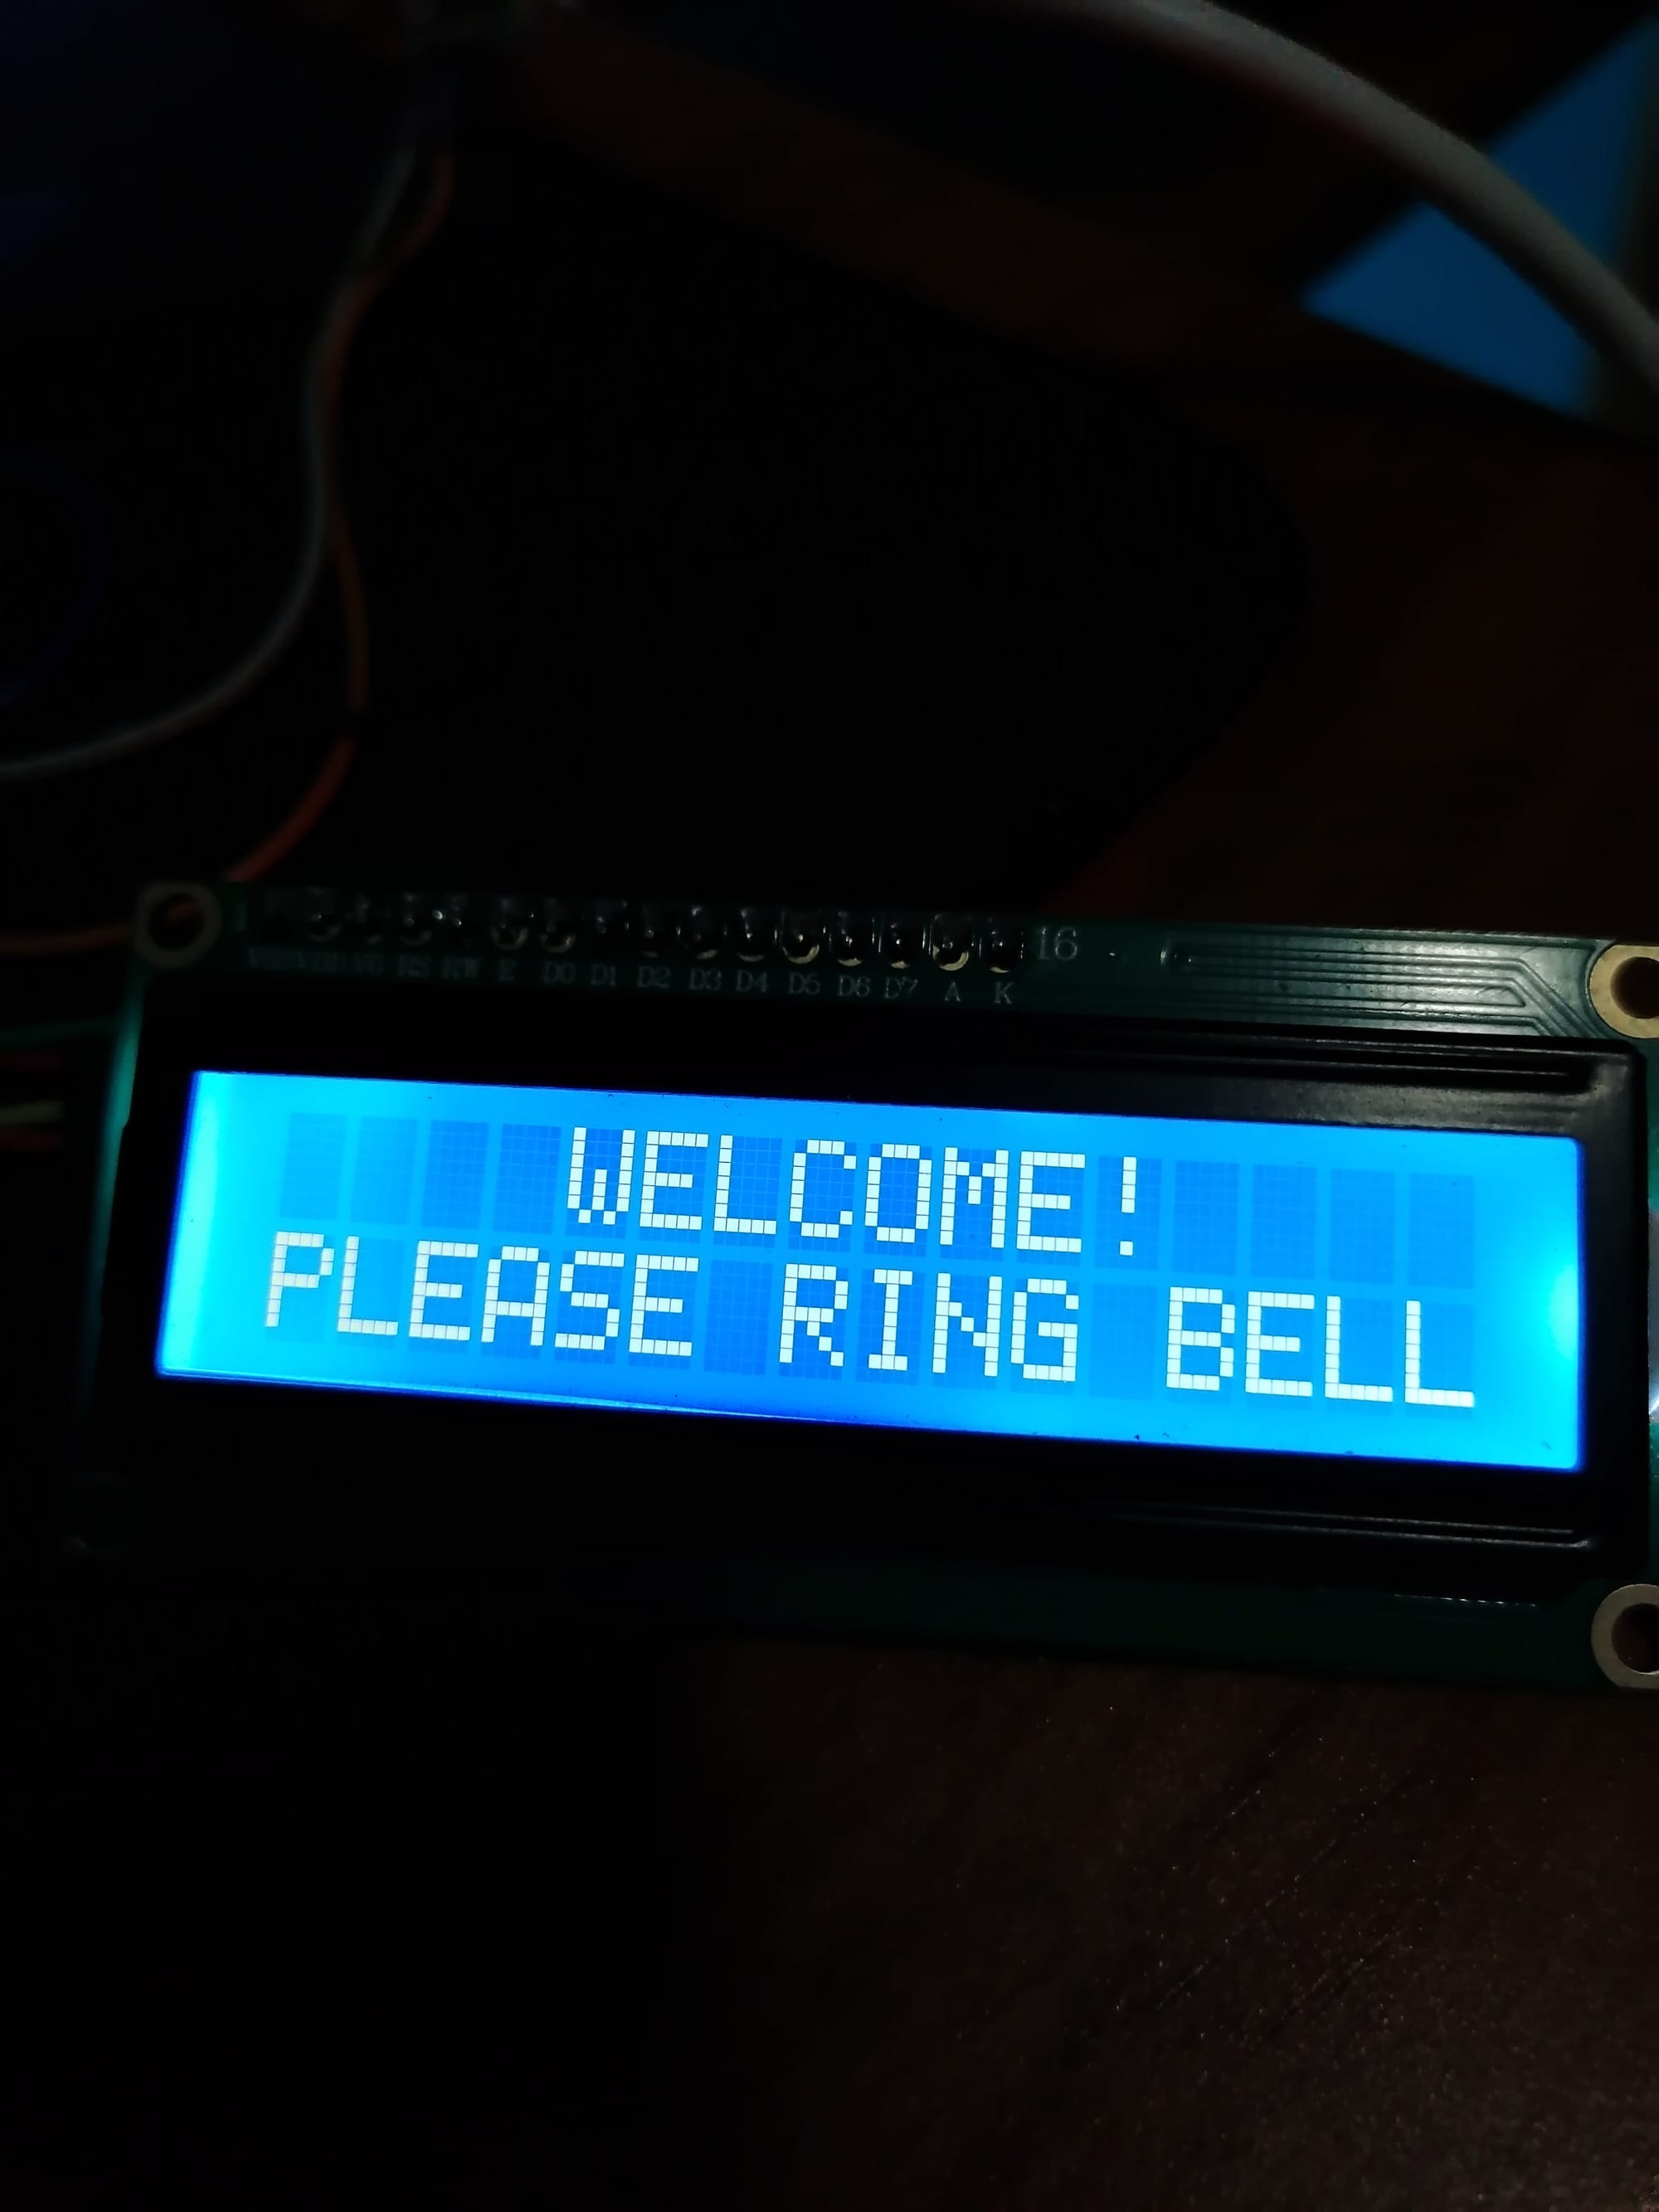
- Welcome Message: Depending on our home automation presence detection, the LCD displays a message like "Welcome! Please ring the bell" or "Sorry! We are not home." Depending if we are home or not.
- Remote Notifications: When the doorbell is pressed, a push notification is sent to my phone and my wife's phone. Inside the house, all the Google mini speakers play a doorbell chime sound effect.
- Home Presence: The system recognizes whether one or both of us are home. If at least one of us is home, the doorbell displays the welcome message; if both of us are away, it indicates our absence and displays such on the LCD.
- Silent Mode: Optionally, I can enable silent mode to mute the doorbell chime on the Google speakers, ensuring peace in the house, especially when the baby is sleeping. This was done in OpenHAB, adding a switch to enable silent mode.
- Visual Alerts: DIY temperature sensors I have built previously for each room that also have an RGB LED in them will flash green and all my RGB LED strips in the house, like my DIY "smart" desk LED, TV Cabinet LED strip, flash green for 20 seconds to visually alert us when someone is at the door. A "toast" text notification on the smart TV reinforces the message. (Nice touch I thought, for our tv to show that someone is at the door)
- Remote Management: We can reboot the doorbell remotely from our phones, should we need to for some reason. The doorbell LCD will show an alert displayed on the LCD during the reboot. I can also perform software updates using the Arduino OTA library without physically removing the D1 Mini from the 3D printed enclosure.
- Timers For LCD And PIR: The LCD does not need to stay on all the time, so I use internal timer to determine screen time. Once motion is detected by the PIR the LCD will stay on for 5 minutes and the PIR will not detect motion for another 20 seconds, otherwise the screen would stay in the flashing alert state as it keeps picking up motions of the guest standing there.
Building a DIY smart doorbell allows you to customize features based on your preferences and integrate it seamlessly into your smart home ecosystem. This project not only enhances security but also adds a touch of innovation to our home entrance. I really enjoyed creating and personalizing this smart doorbell!
I currently use analog CCTV cameras, but should I add an IP based camera, I would add a snapshot to the push notification to also see who is at the door right as they press the button. Some version 2.0 ideas I thought of would be adding a ESP32 camera right in the doorbell to stream video from the doorbell, and maybe even adding a fingerprint reader that could be used to open the garage door.... Just because its cool 😄
The production process
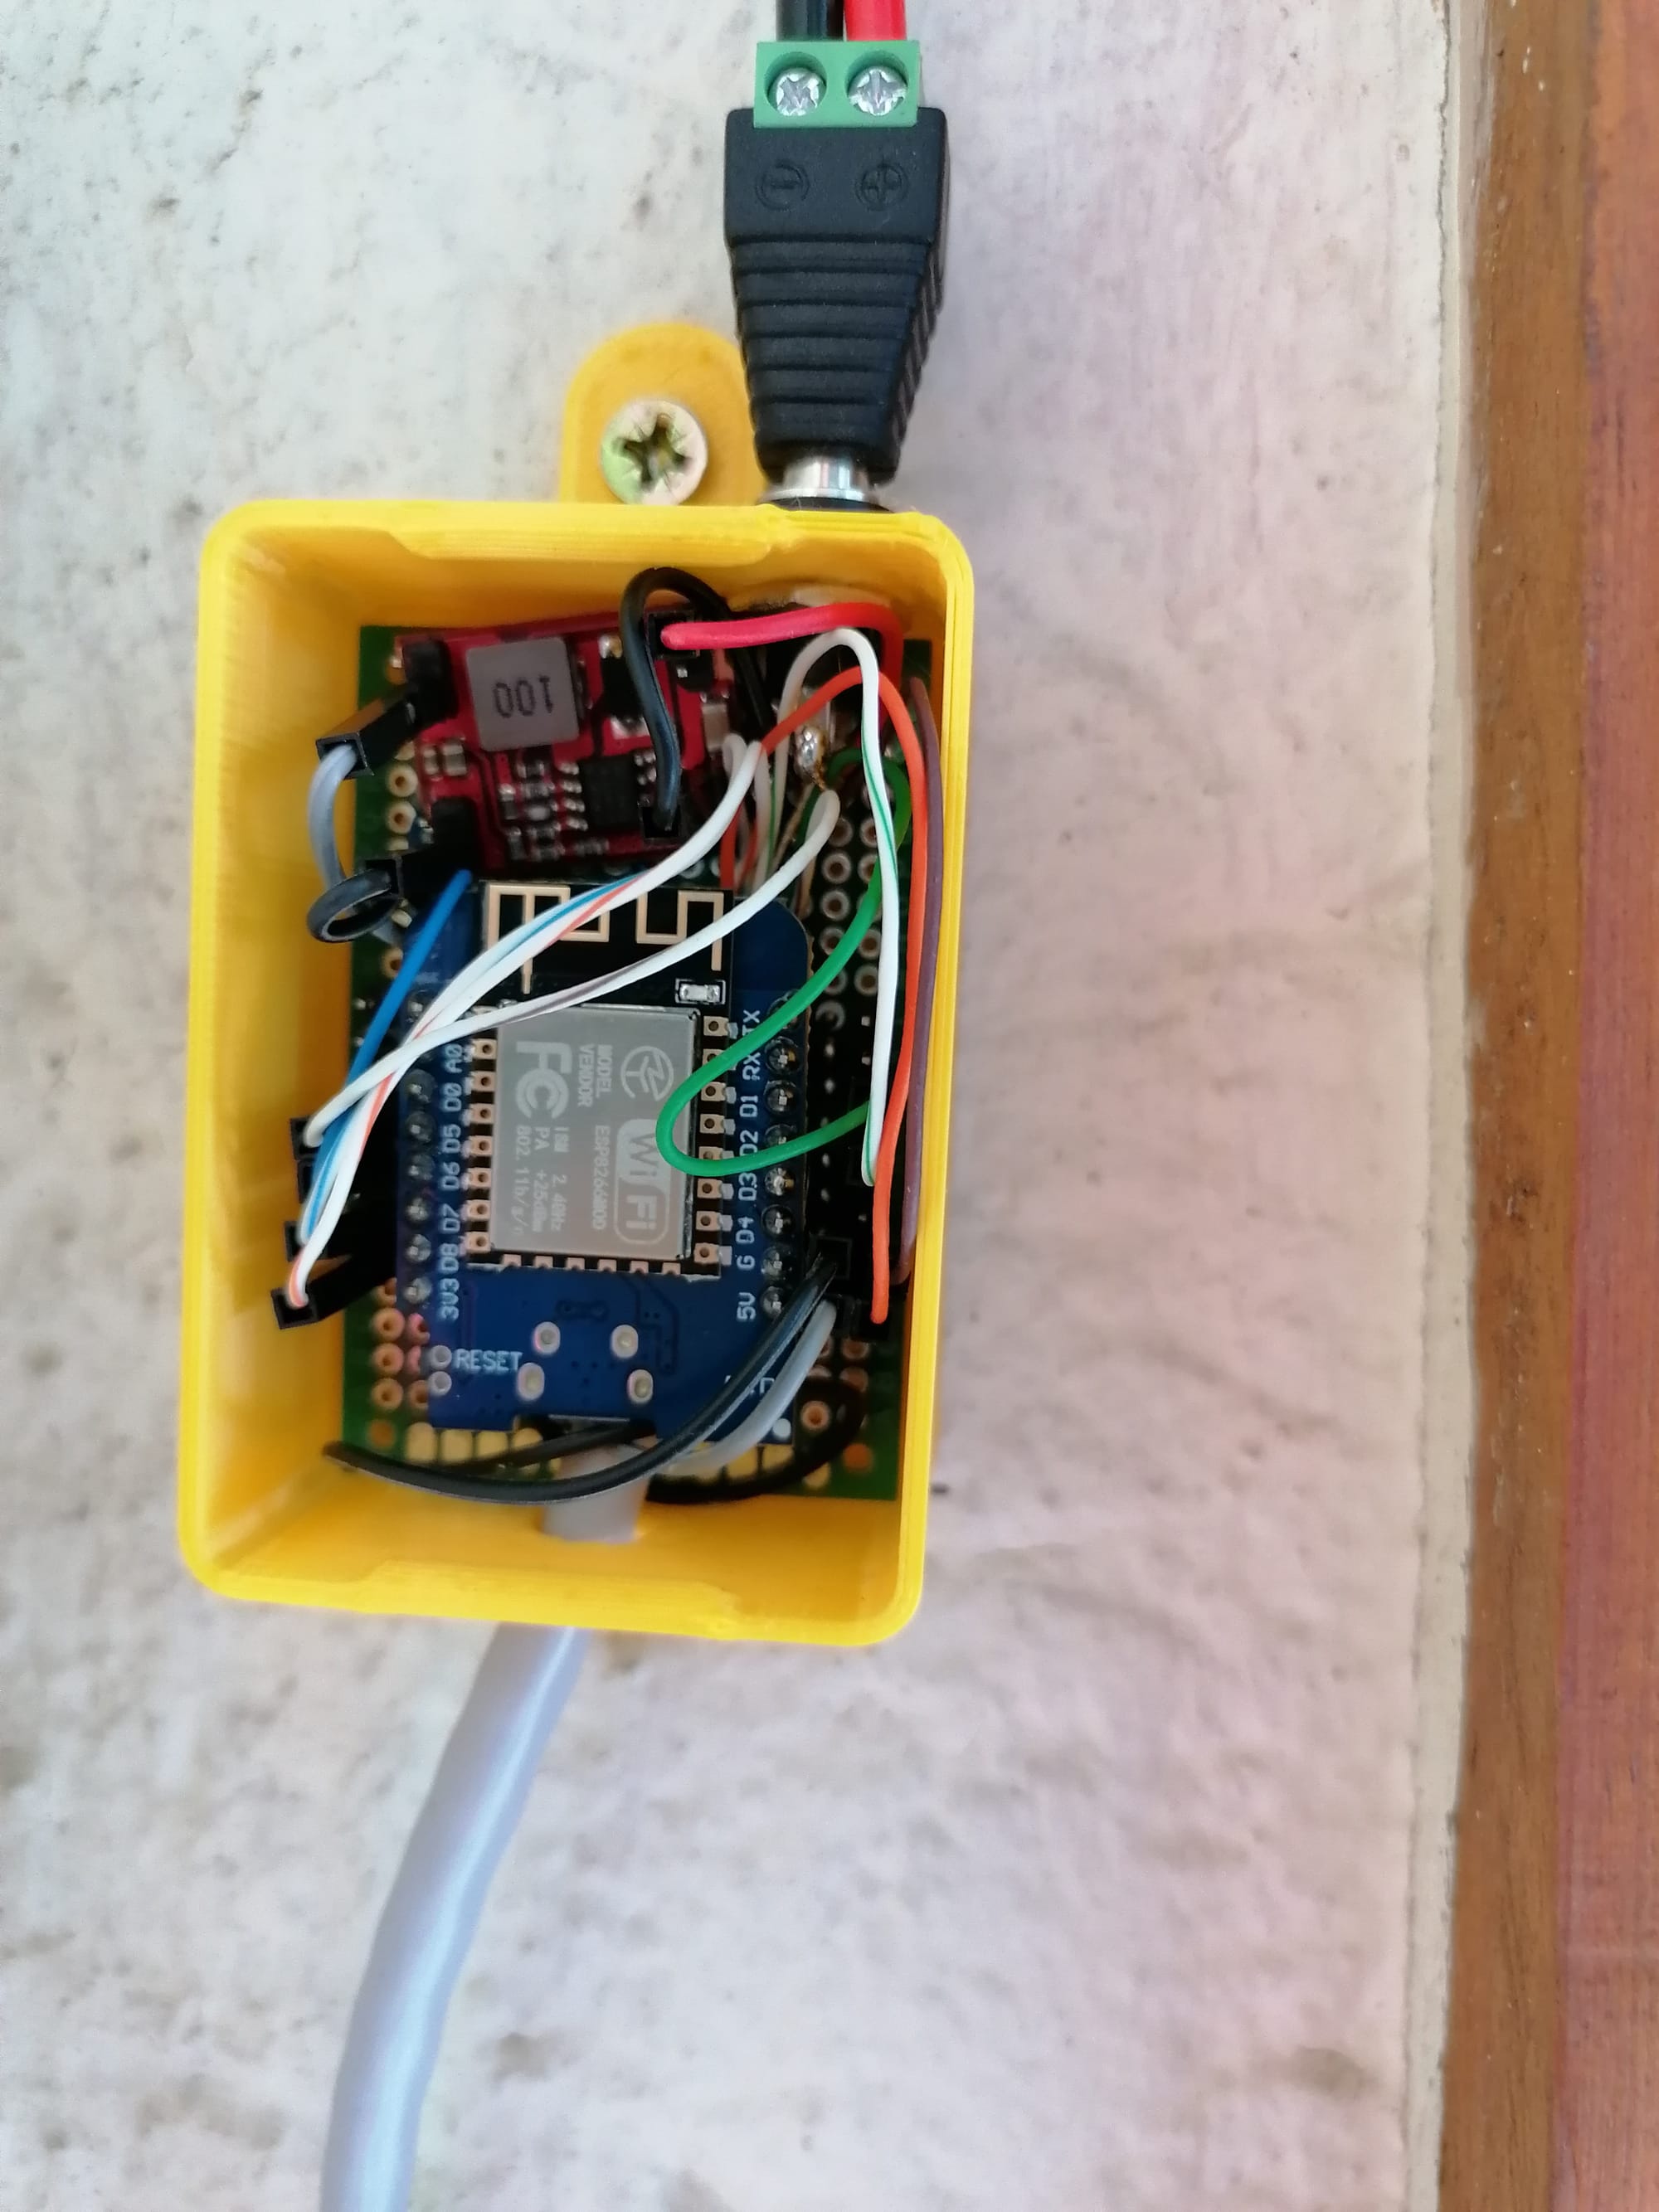
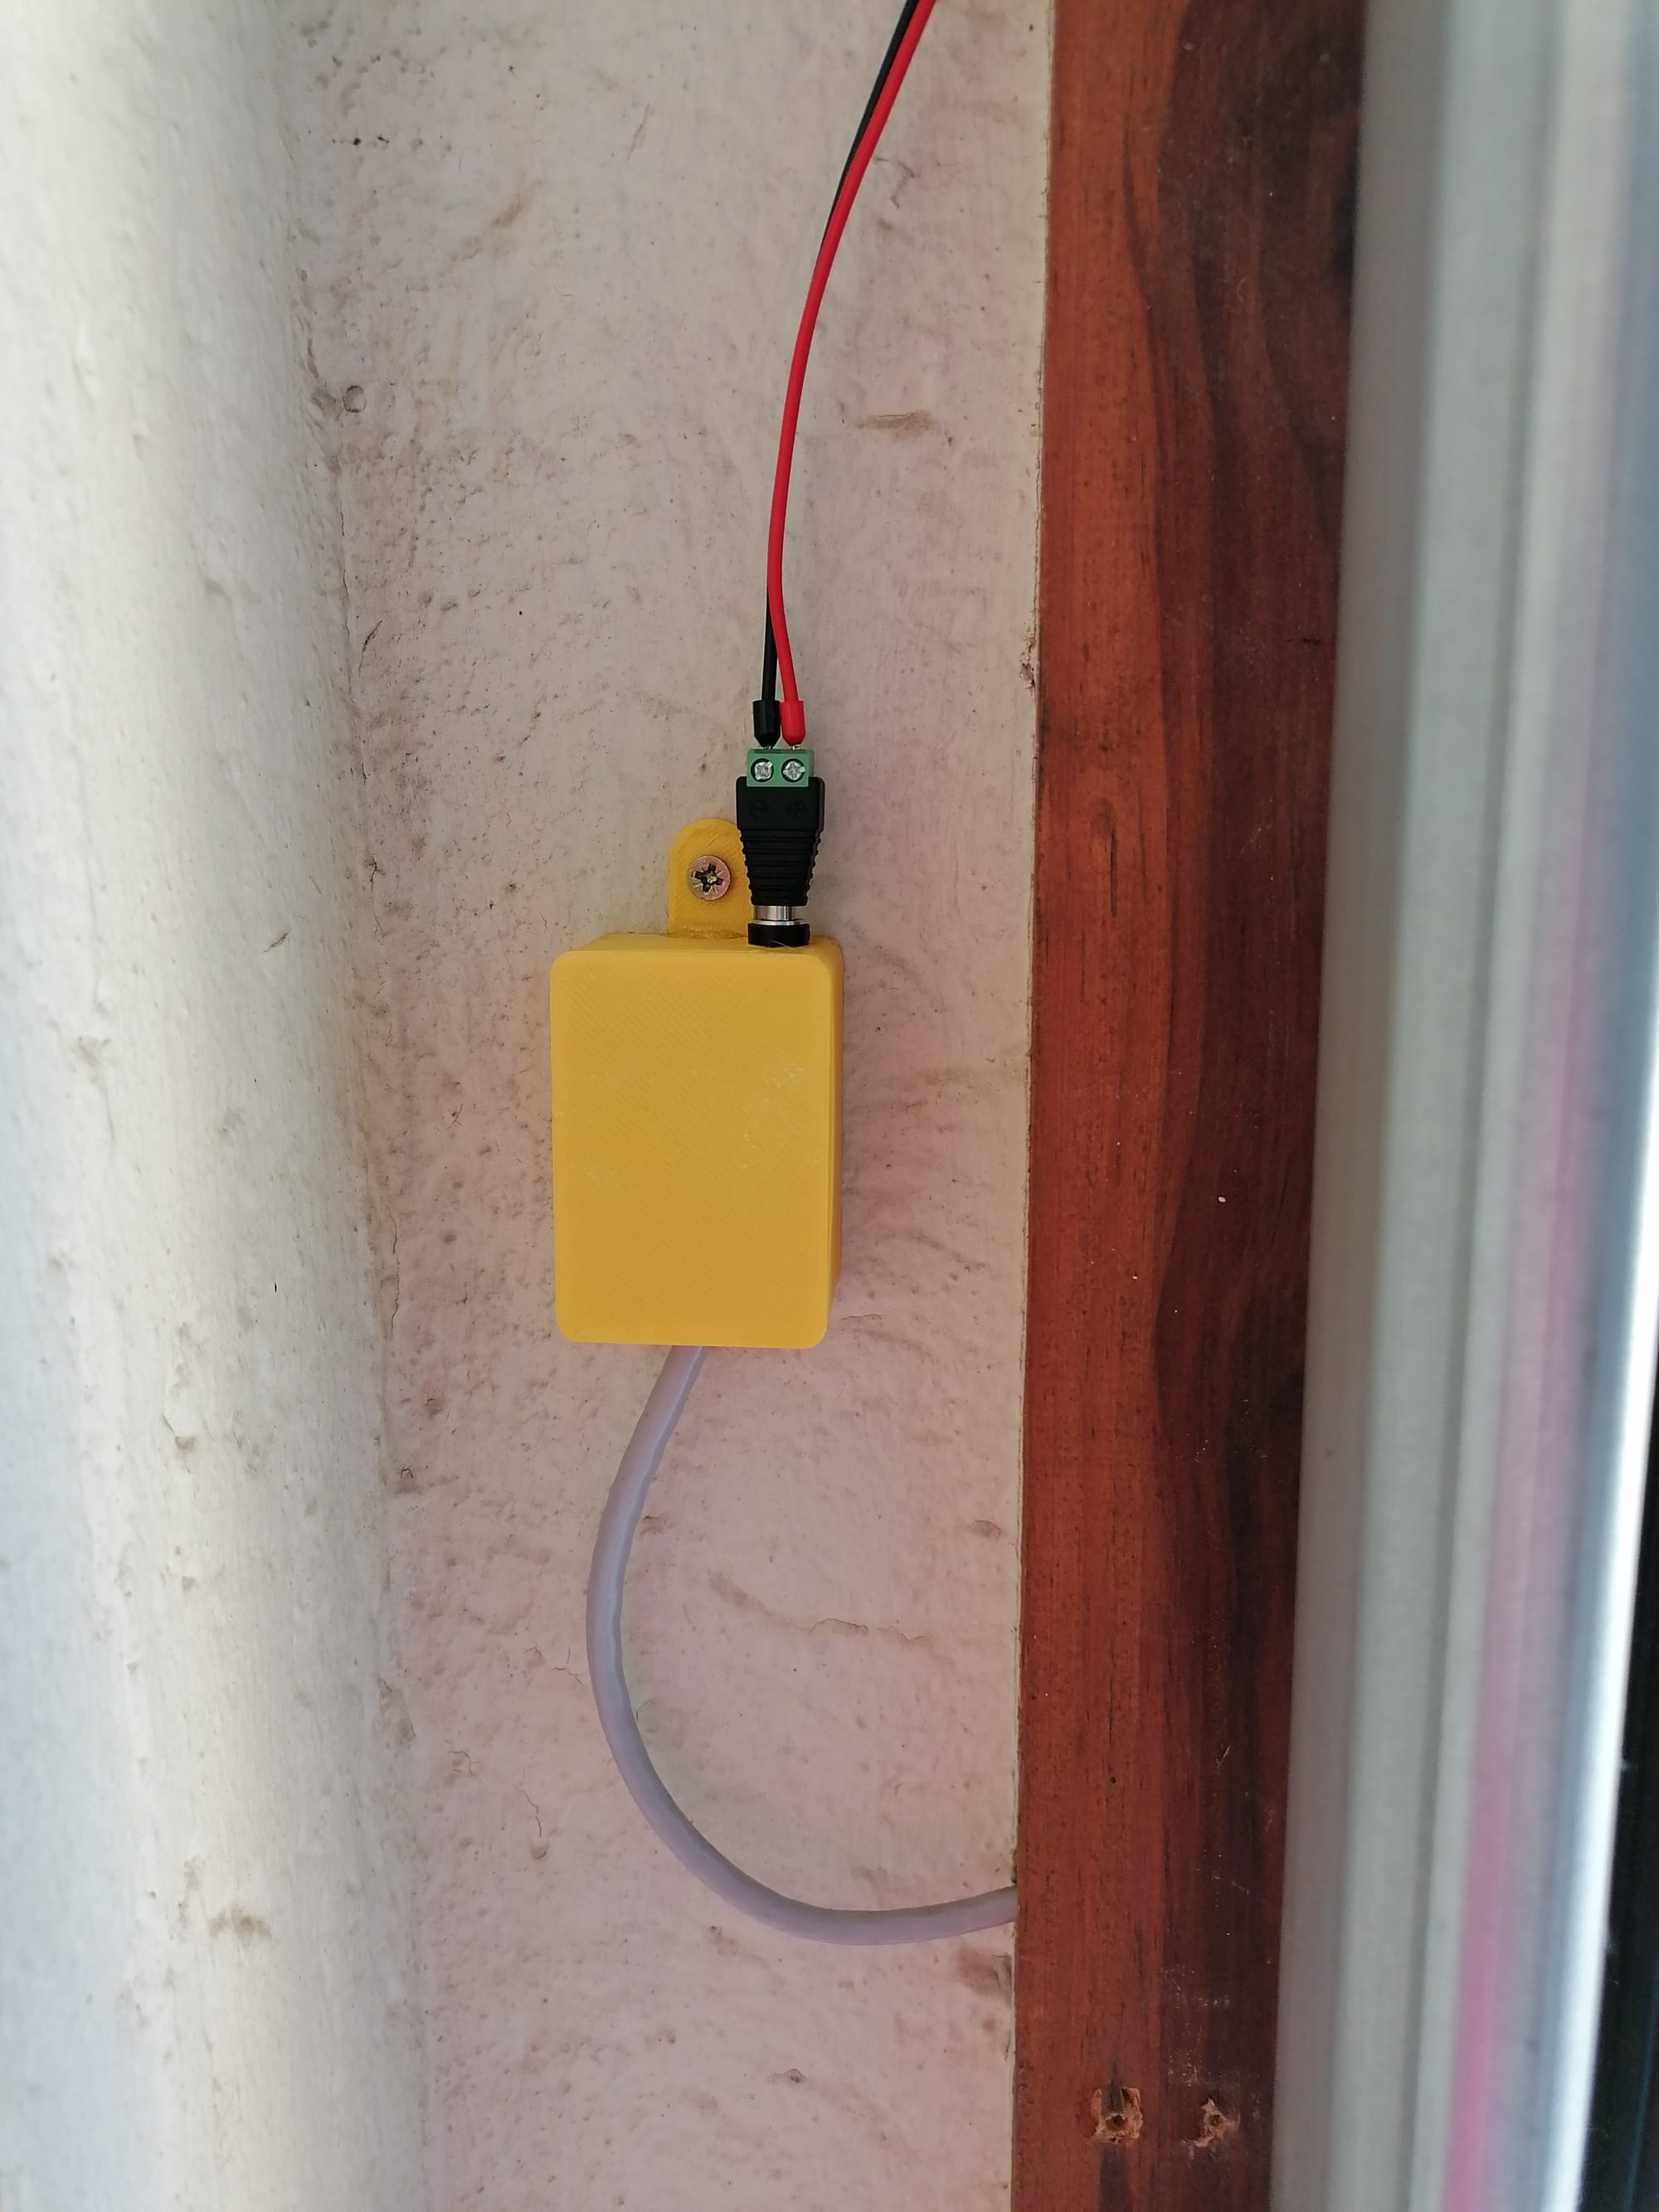
The brains, D1 Mini with ESP8266 Chip
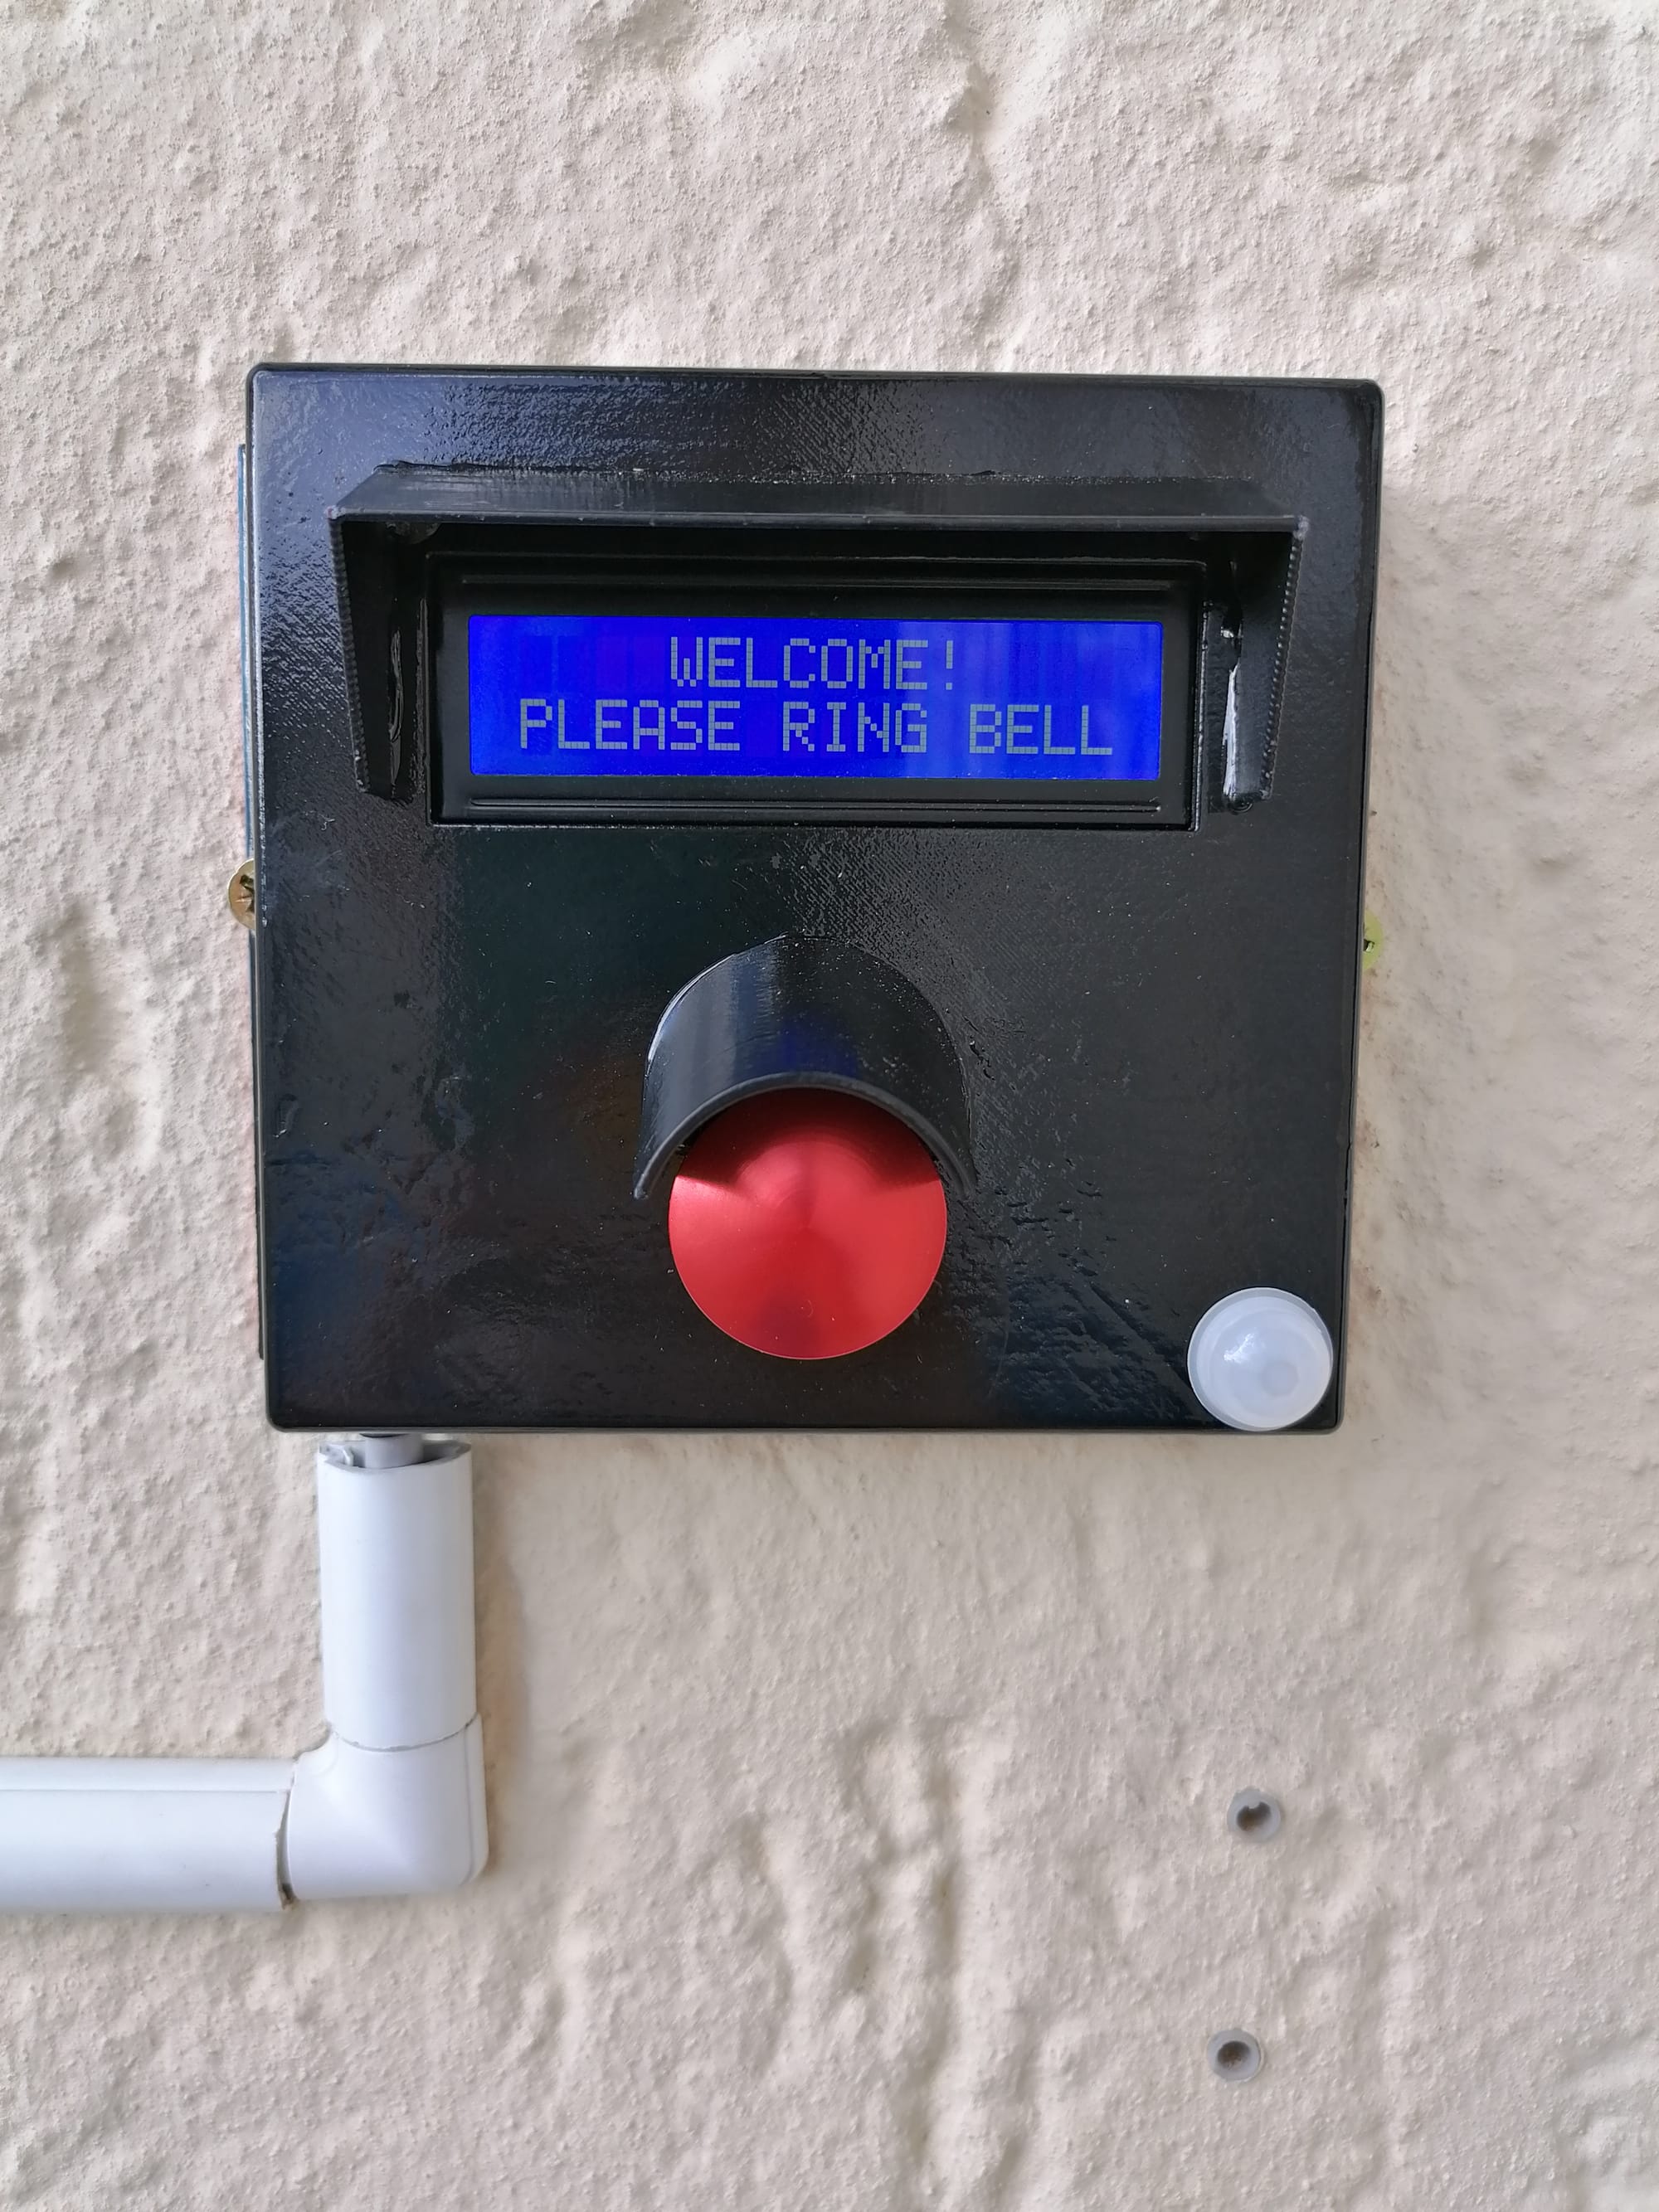
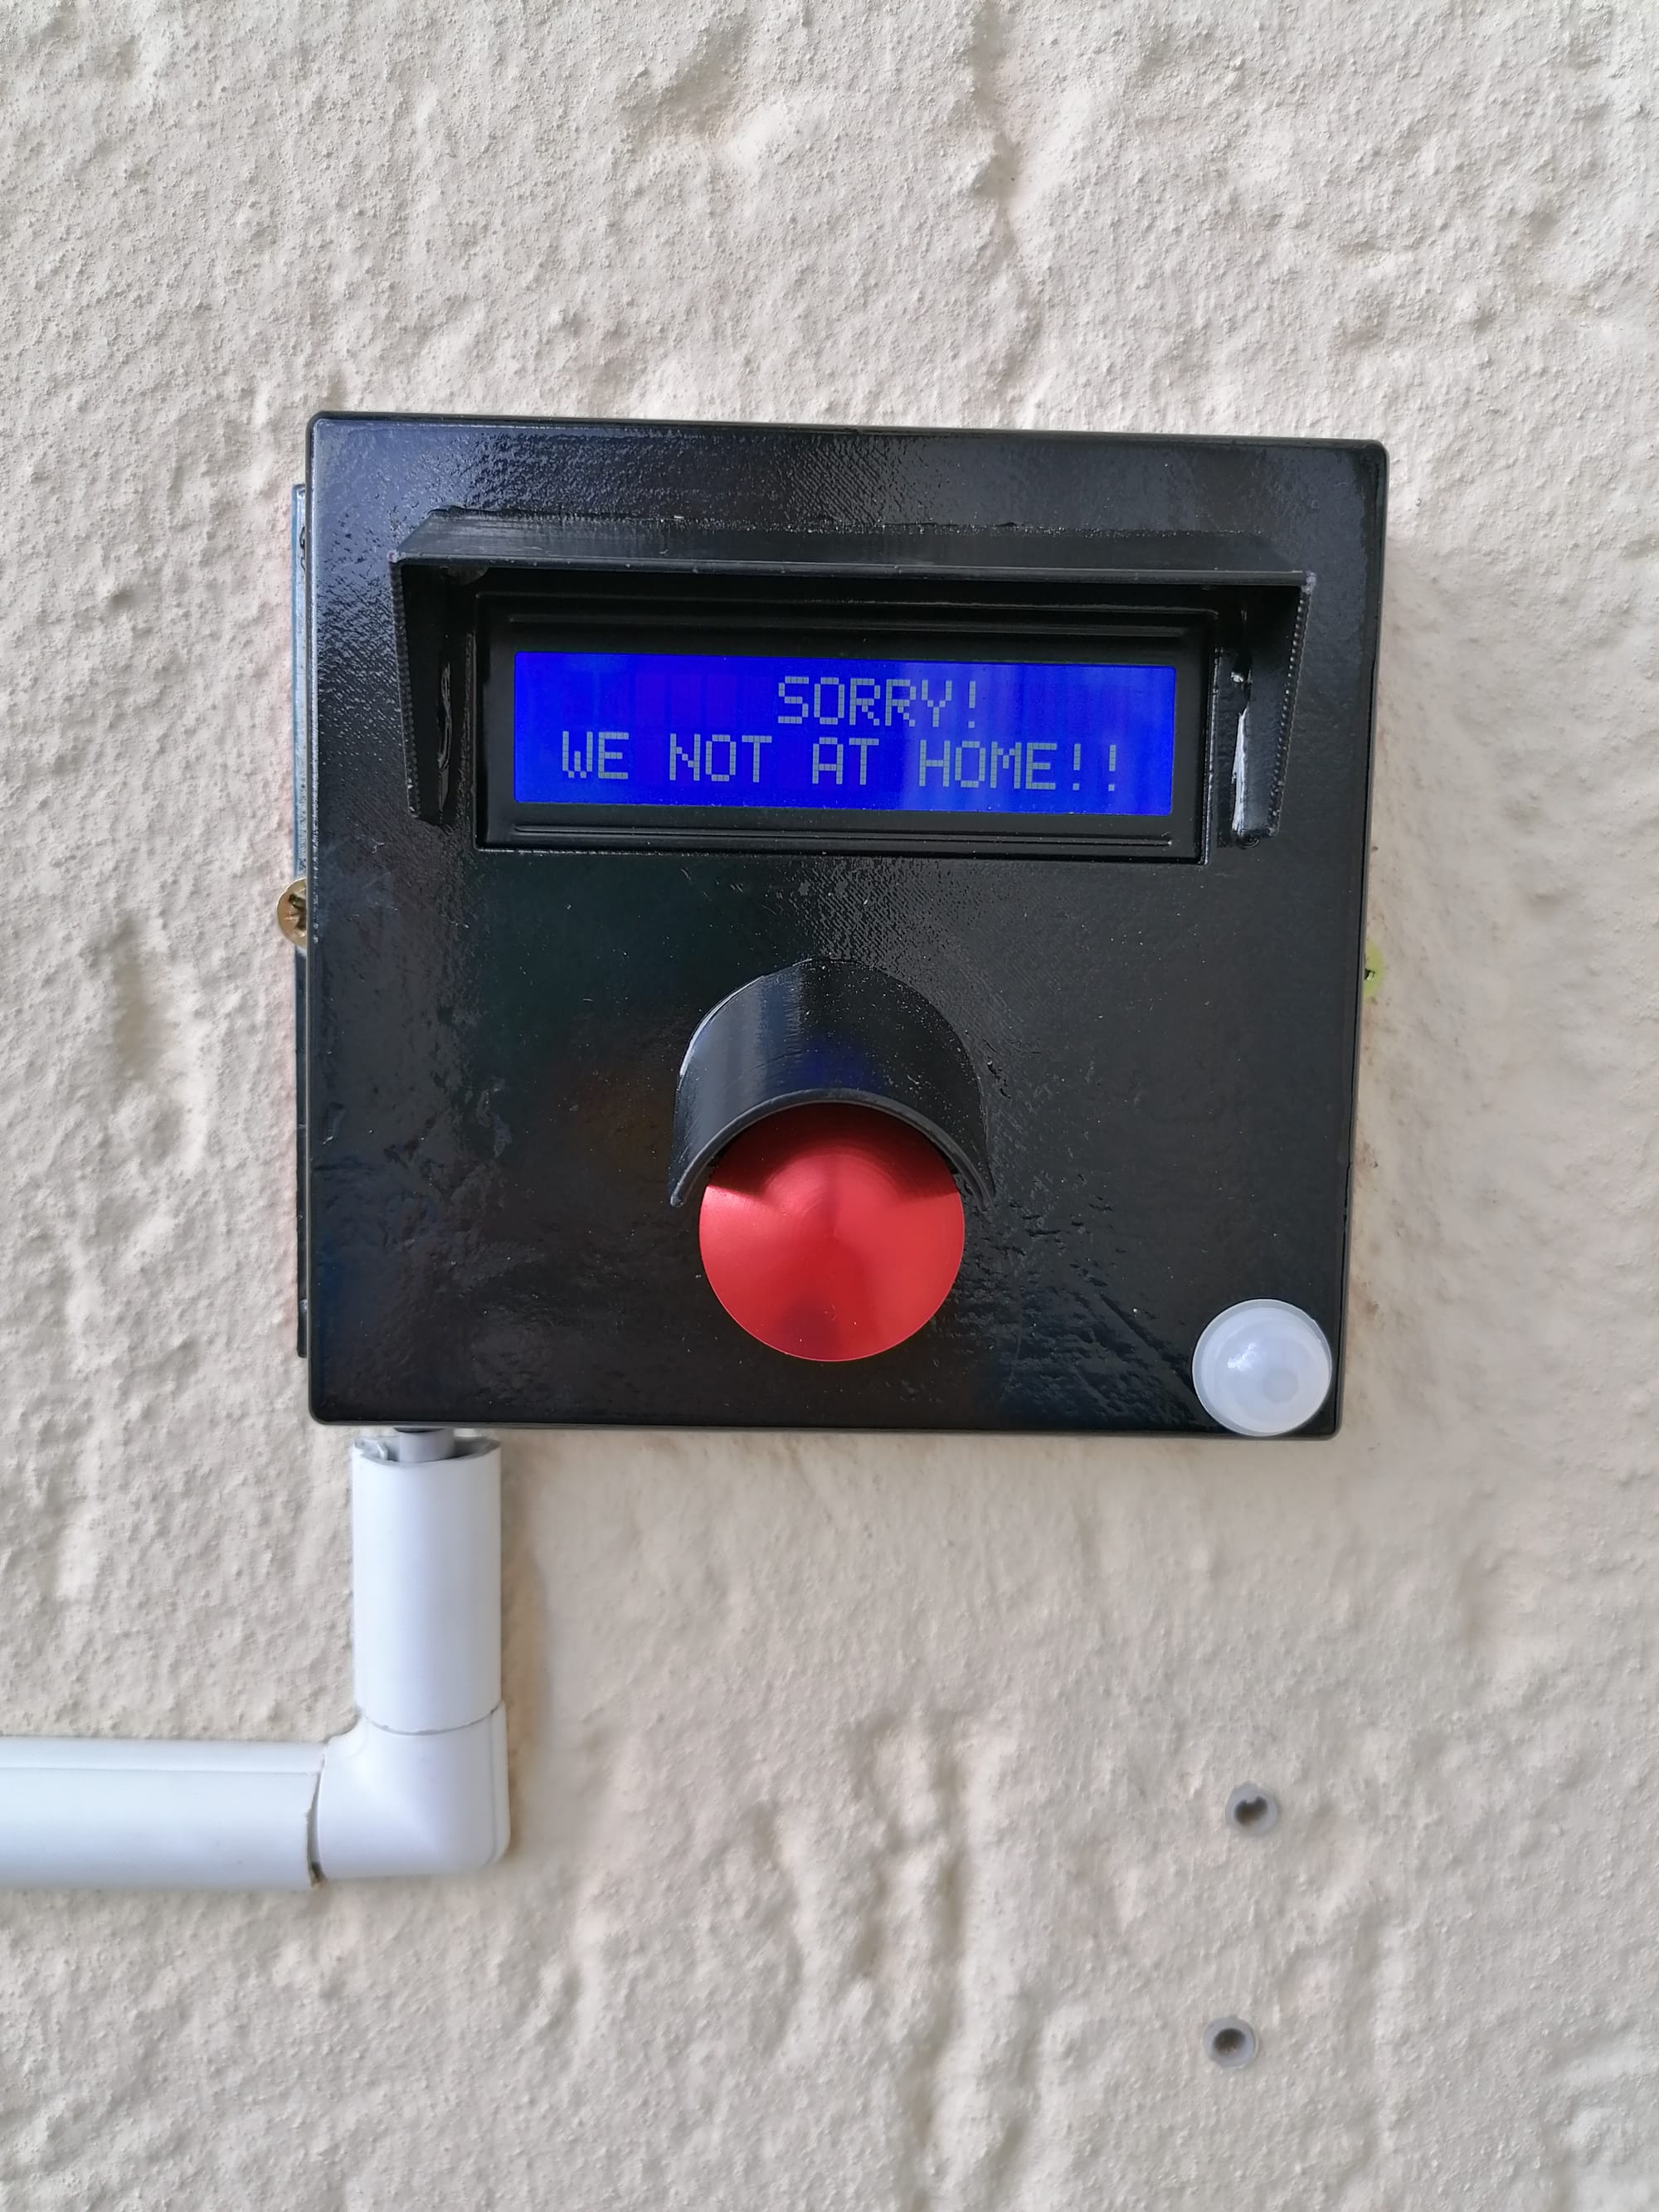
Motion Activated
