DIY Loadshedding Lights


Since loadshedding is here to stay, and installing solar and battery backups on the house is just way out of most people budgets. I decided to make my own affordable diy system to have lights during power outages.
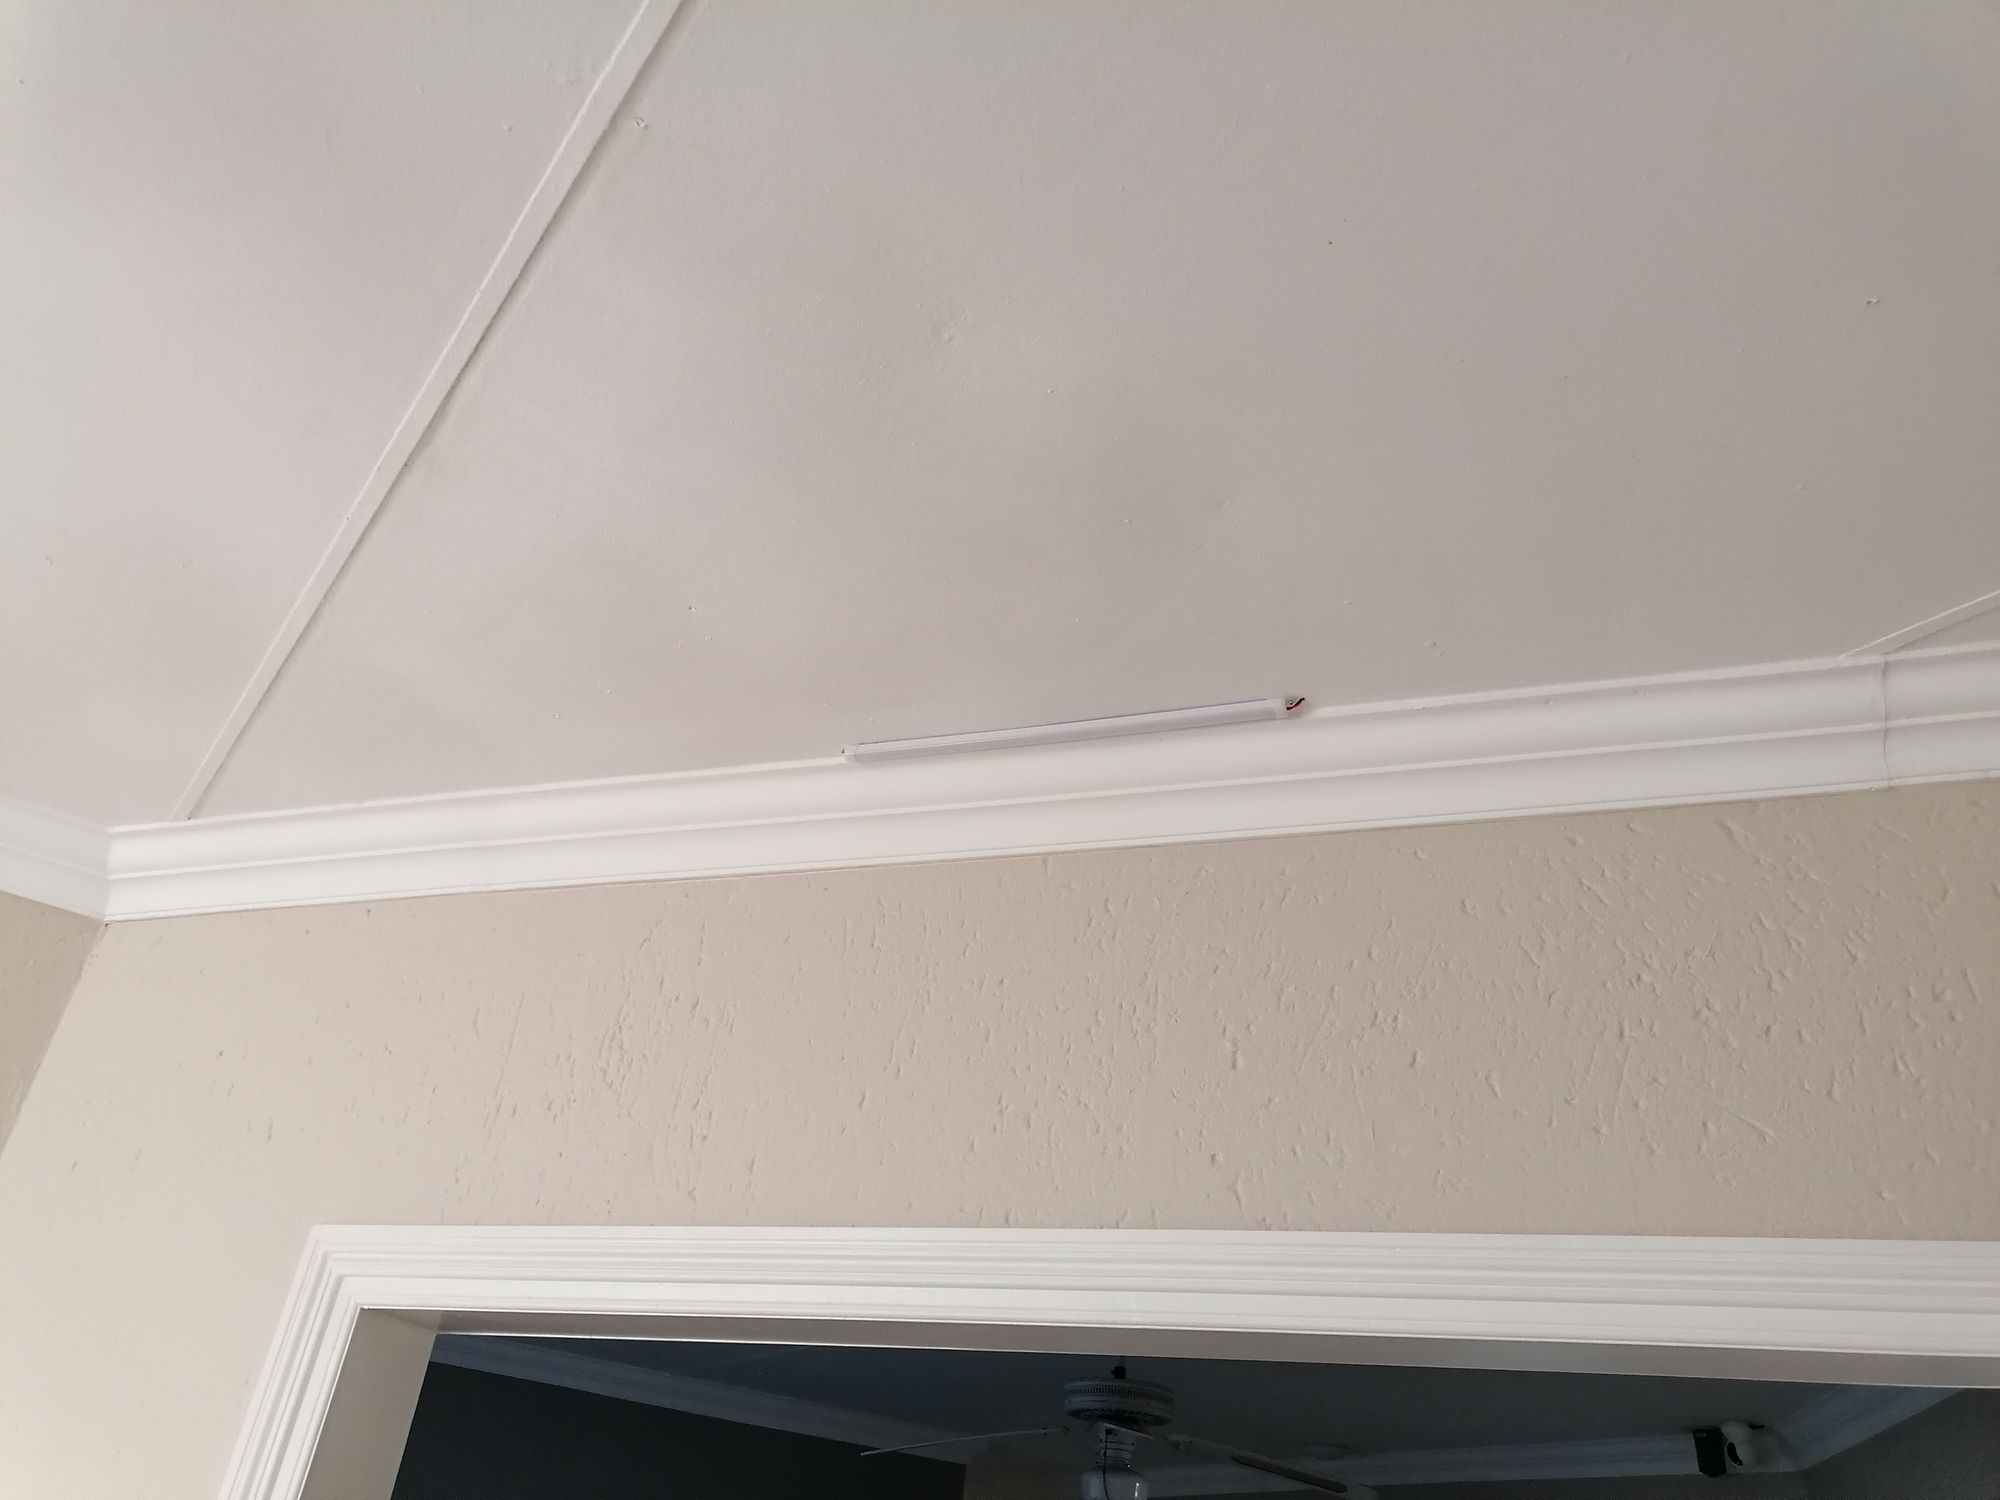
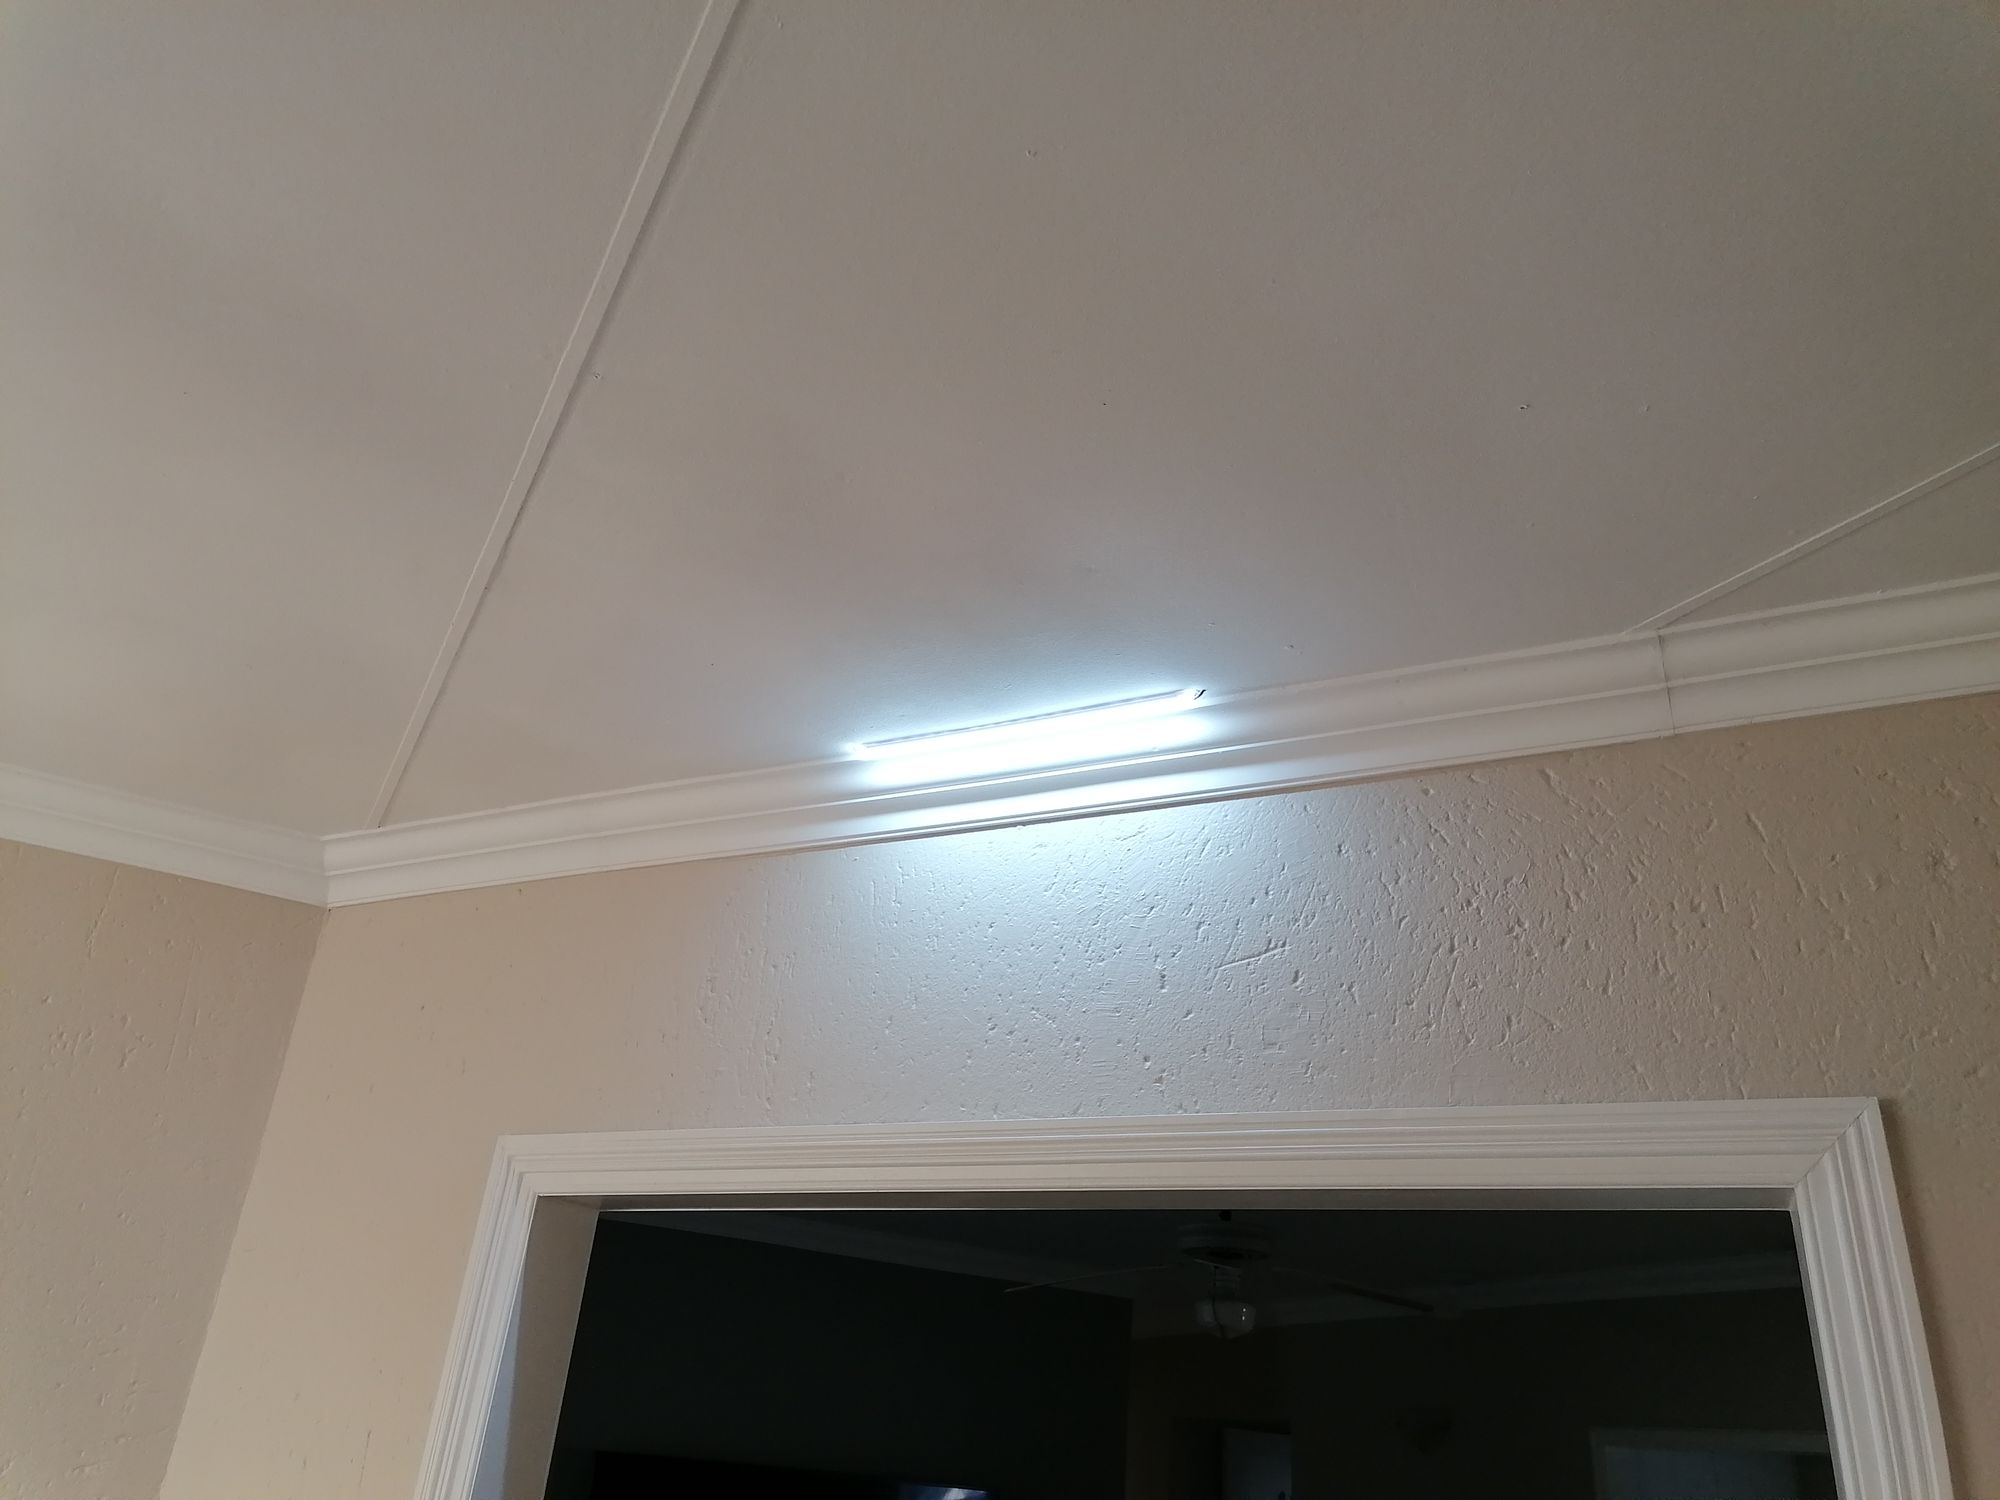
Better than having rechargable laps to carry around the house, I opted for small 50 cm LED strips in a plastic holder with diffuser. Low voltage at 12 volts, and low power, they are 8.5 watts each, and draw about 900 milliaps of power each.
One strip light this per room is almost the same about of light that my normal ceiling light gives off anyway. At a cost of around R40 per light this is much cheaper than the whole solar off grid system to keep the lights on. I do of course have an inverter and battery, but just the usual indoor troller type, which these lights are connected to now, as well as my internet and home automation system, so in an outage, most of everything we need is still running at least.
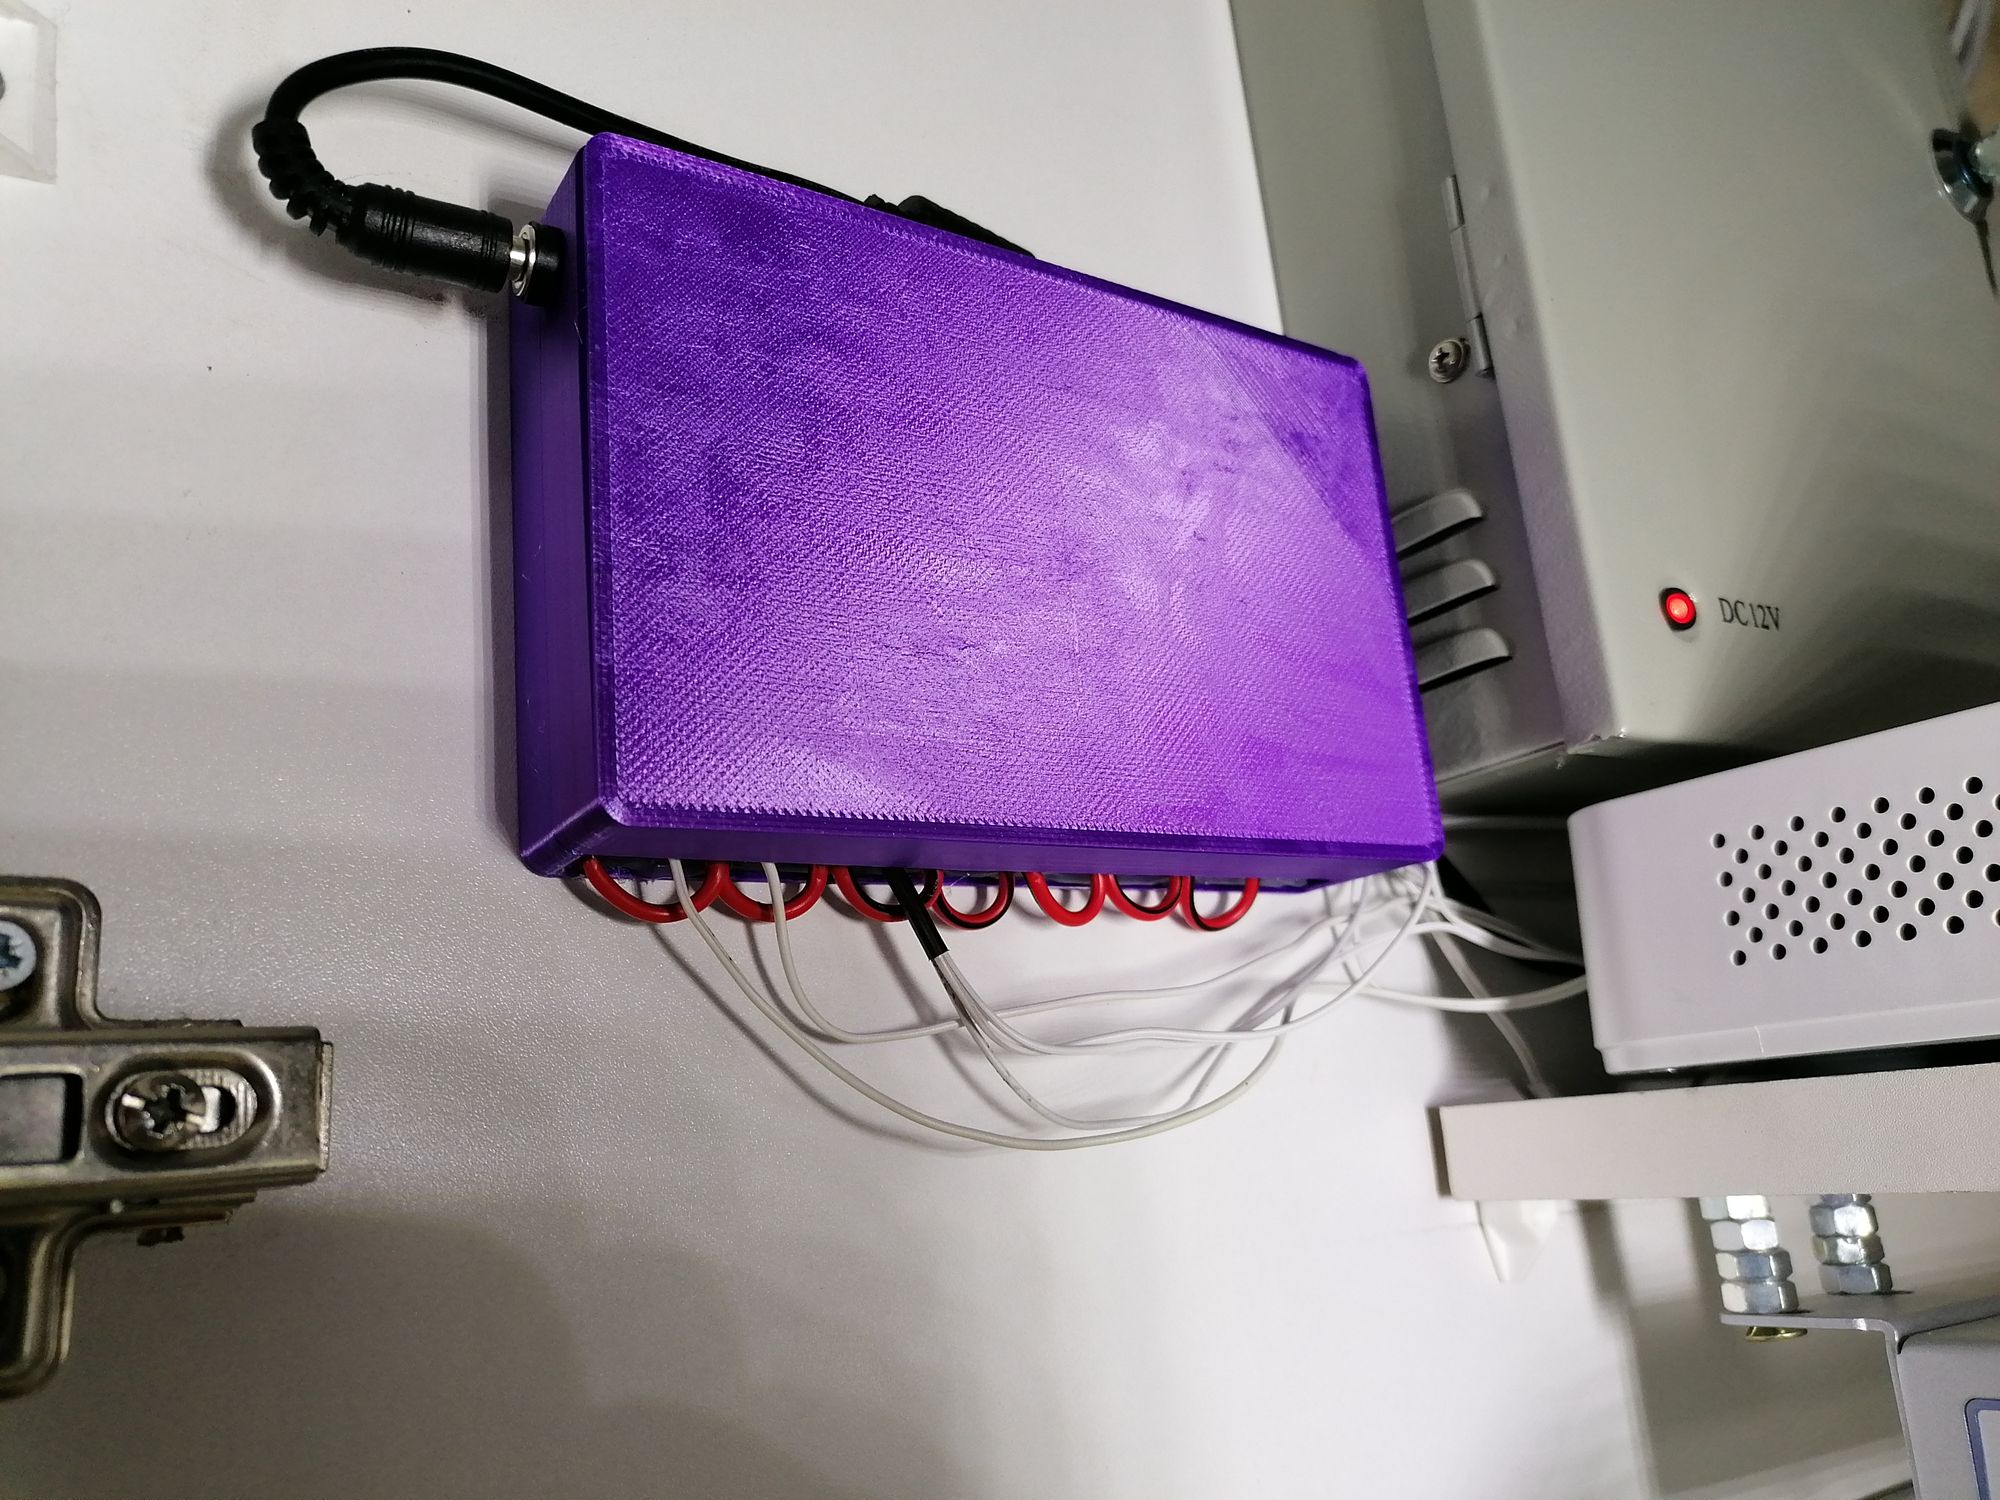
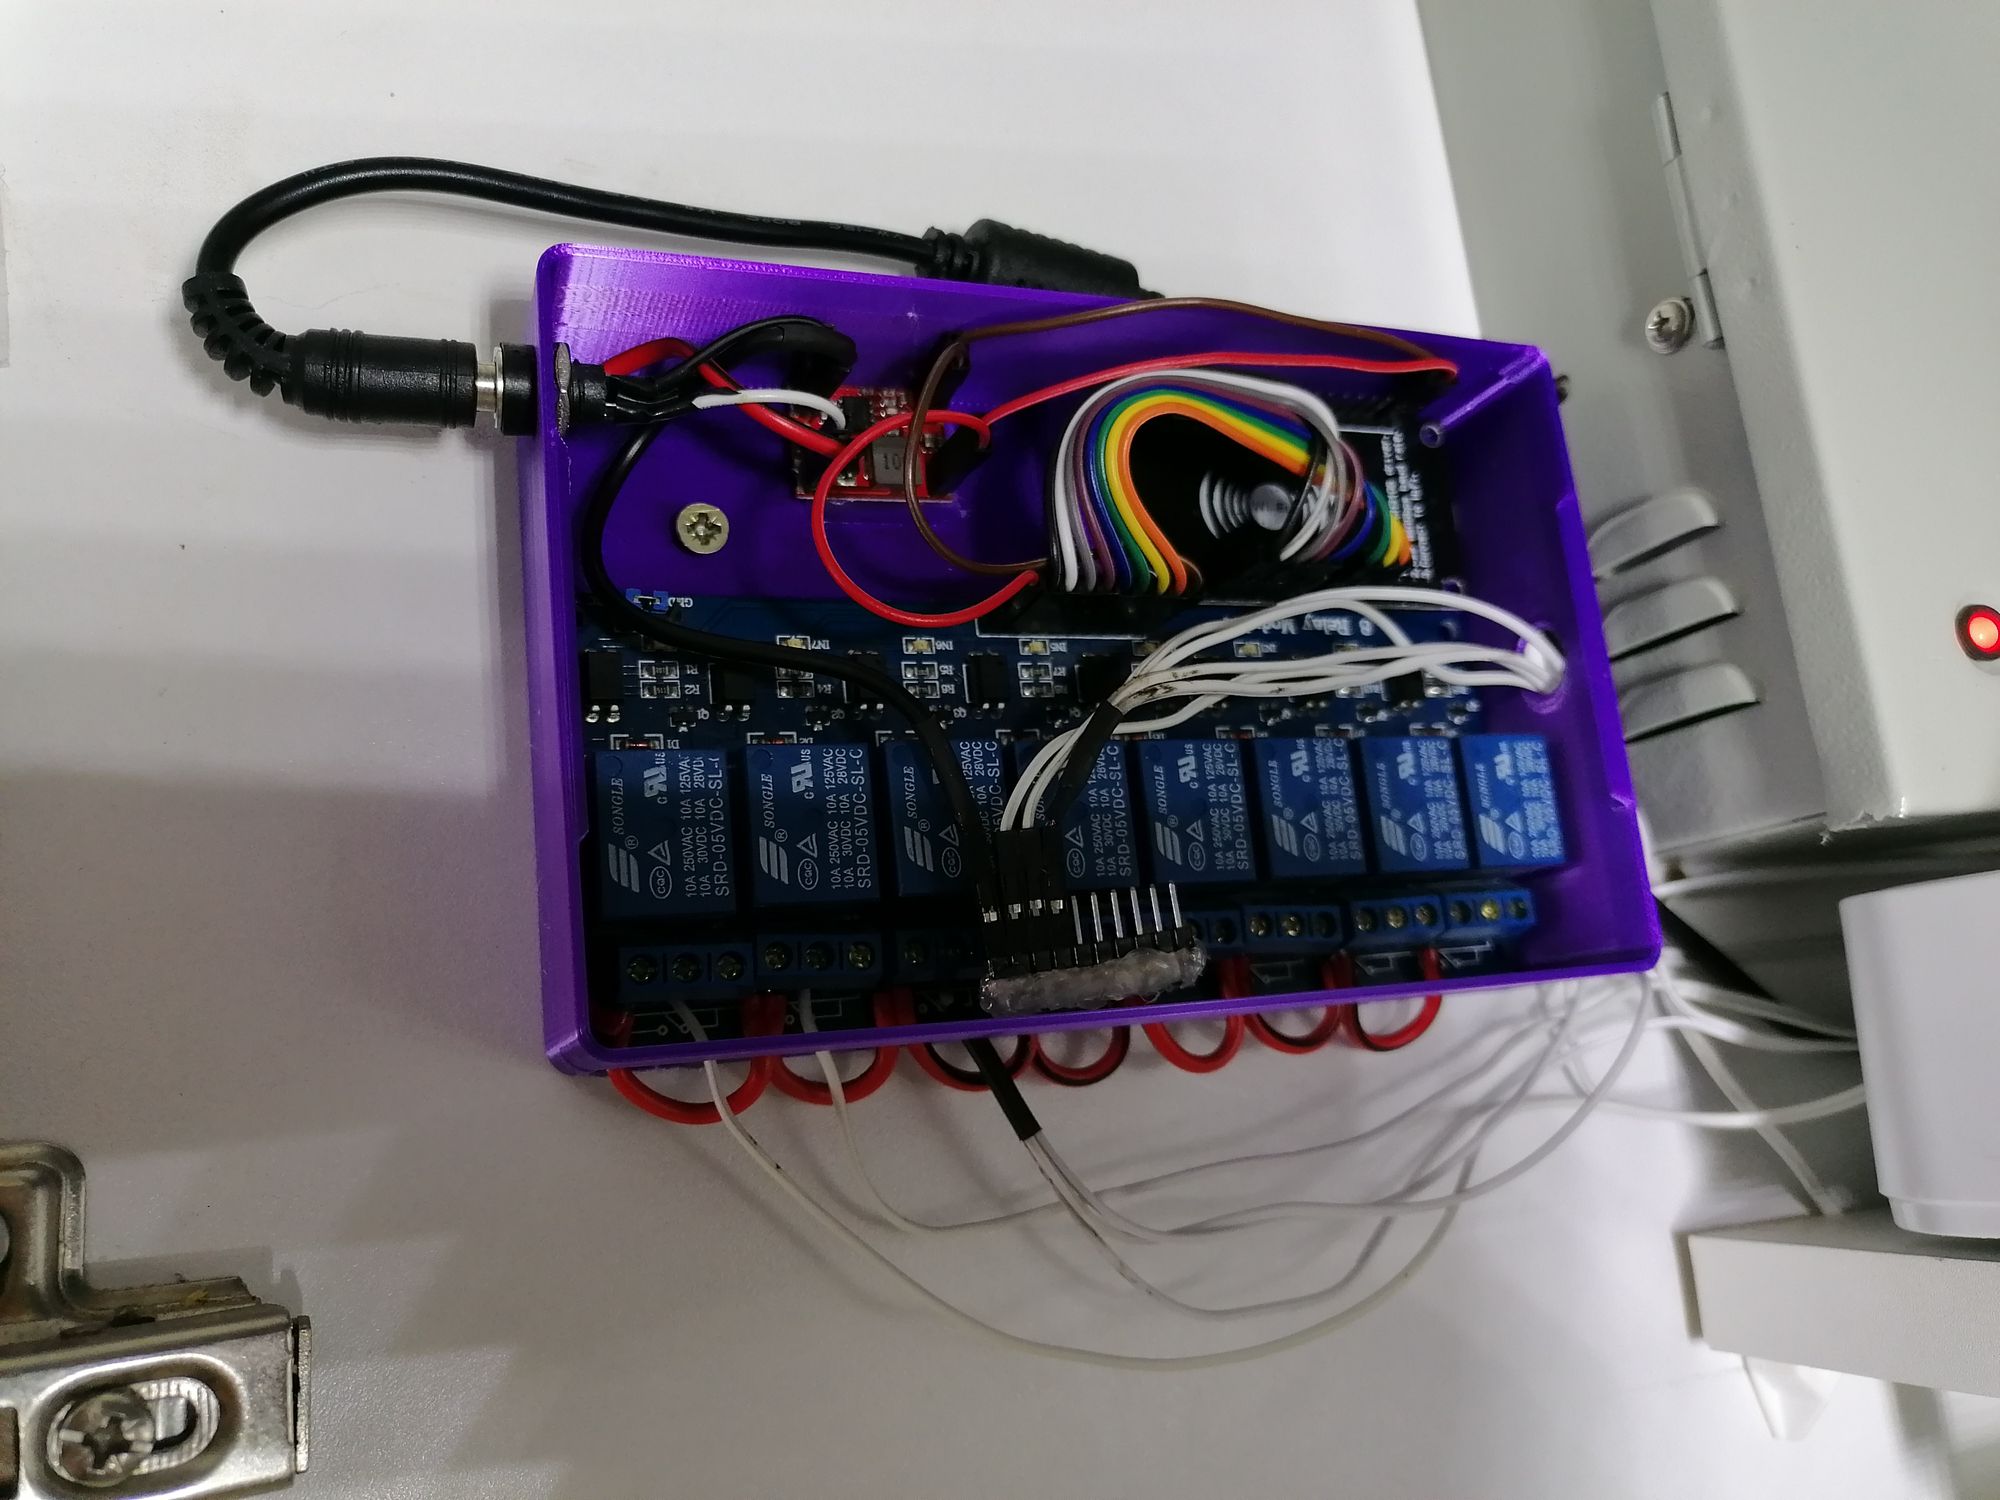
I 3D printed an enclosure again, to hold a NodeMCU board and an 8 channel relay board with a voltage buck converter. Taking in 12 volts for the light, and branching off of the 12V and stepping it down to 5V for the NodeMCU and relay board.
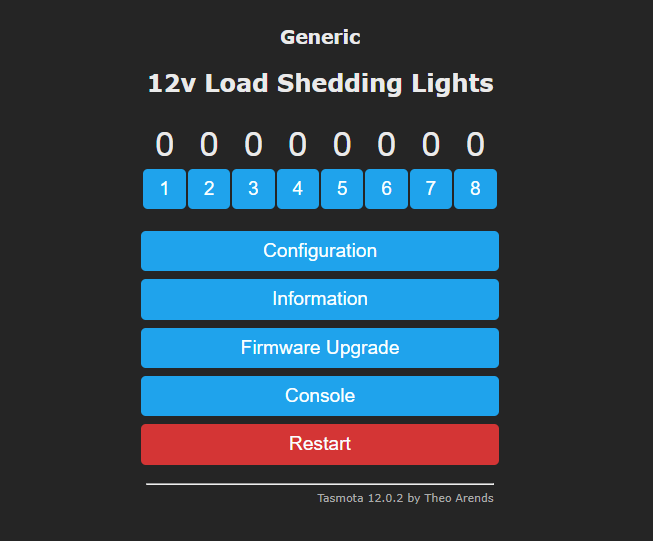
Instead of writing my own code, I flashed Tasmota on the NodeMCU and configured it for 8 relays. After installing the components in the printed box and wiring it all up. It was then time to install the lights on the ceilings and in the kitchen under the cabinets (Which is great for anytime lights) and looks cool. The most tedious part of this was probably pulling all the wires through the ceiling to the central point where the box is installed, and then connecting each light to a relay.
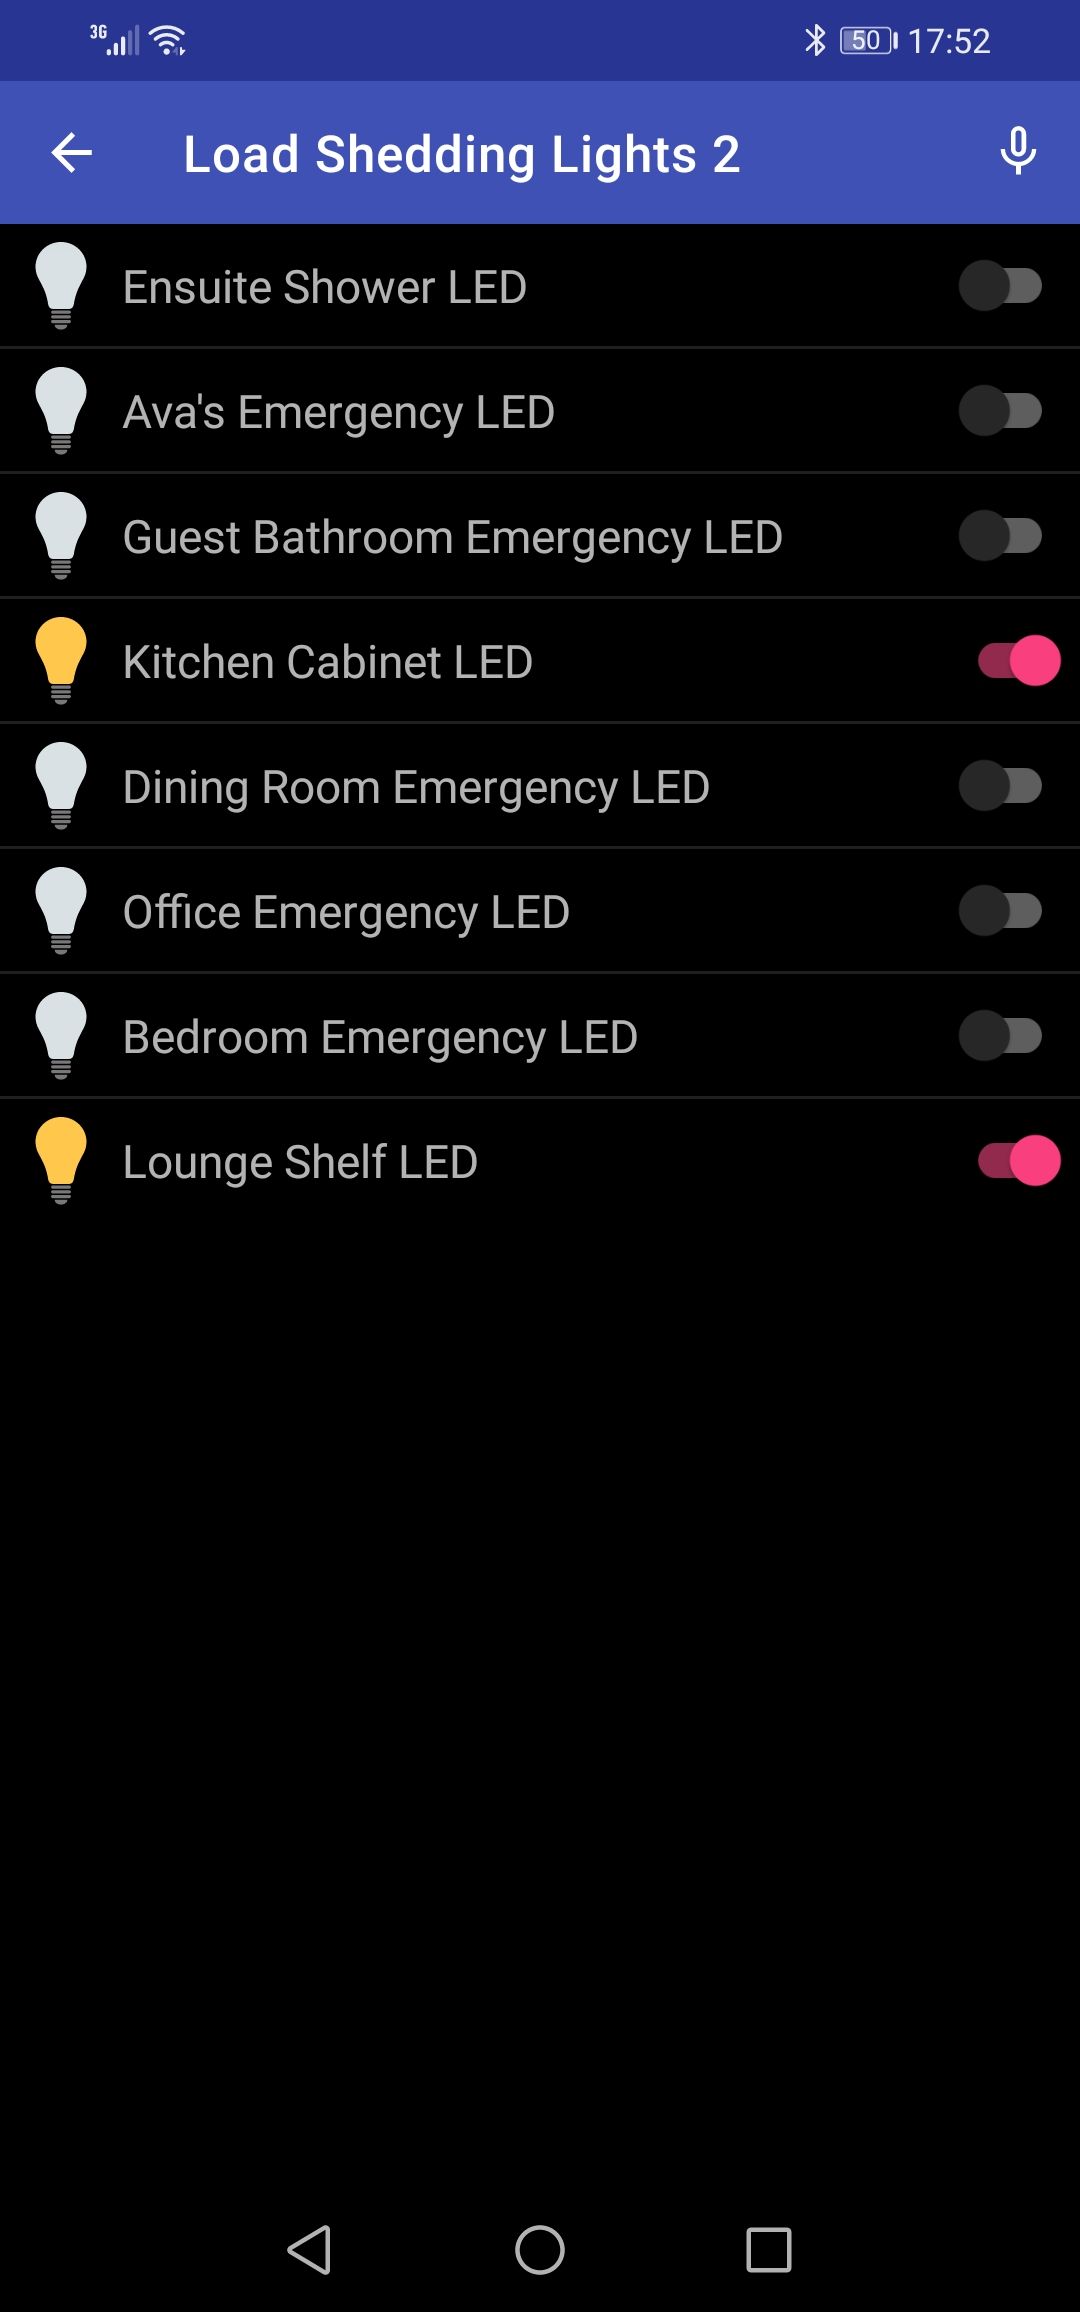
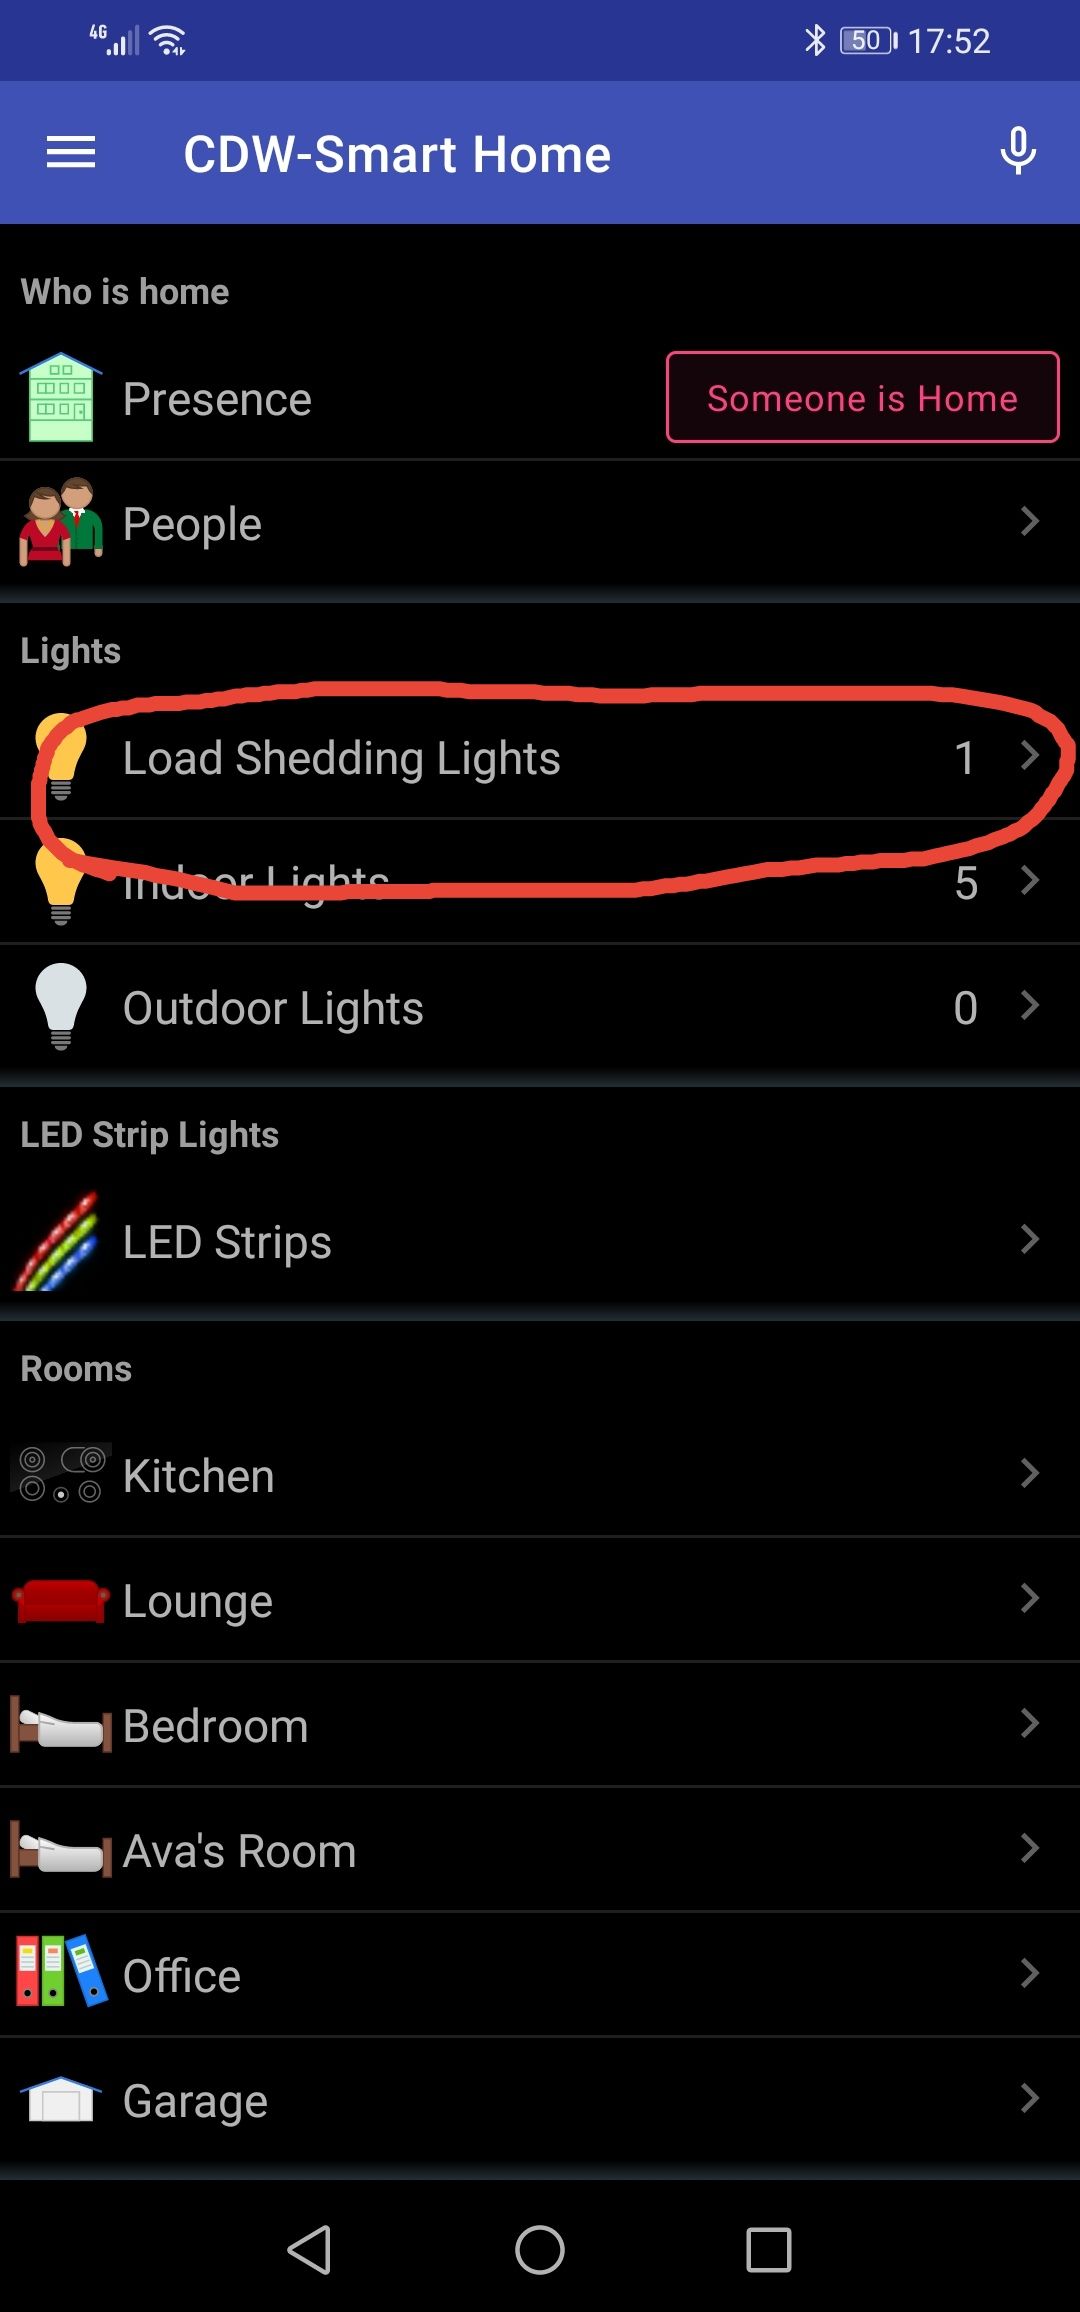
Once tested using the tasmota web interface to click on and off each light and make sure they all work, then is was down to adding each light into my home system OpenHAB. In OpenHAB I created a new view for my "Loadshedding lights" where I can easily access those lights without looking through all the indoor lights I have setup in the App. As for the kitchen cabinet lights, I configured a RF433mhz button to switch them on quick, with the push of a button instead of pulling your phone out. For now my google speakers are off during power outages, but still I added these lights to my google assistant, so I can also trigger the lights which ever one I need with the use of voice control if I dont feel like pulling my phone out to switch a light on or off.
Further automation or ideas could still be improved on to automate these lights more, or for example know when the power is off, and I walk into a certain room, that the light should switch on. (Maybe later though) for now, I at least have light in every room, and even in the showers, so I can wash properly and not need to wash in the dark :)
Oh and this is what the Tasmota web interface looks like.