Somewhat Automated Dog Feeder

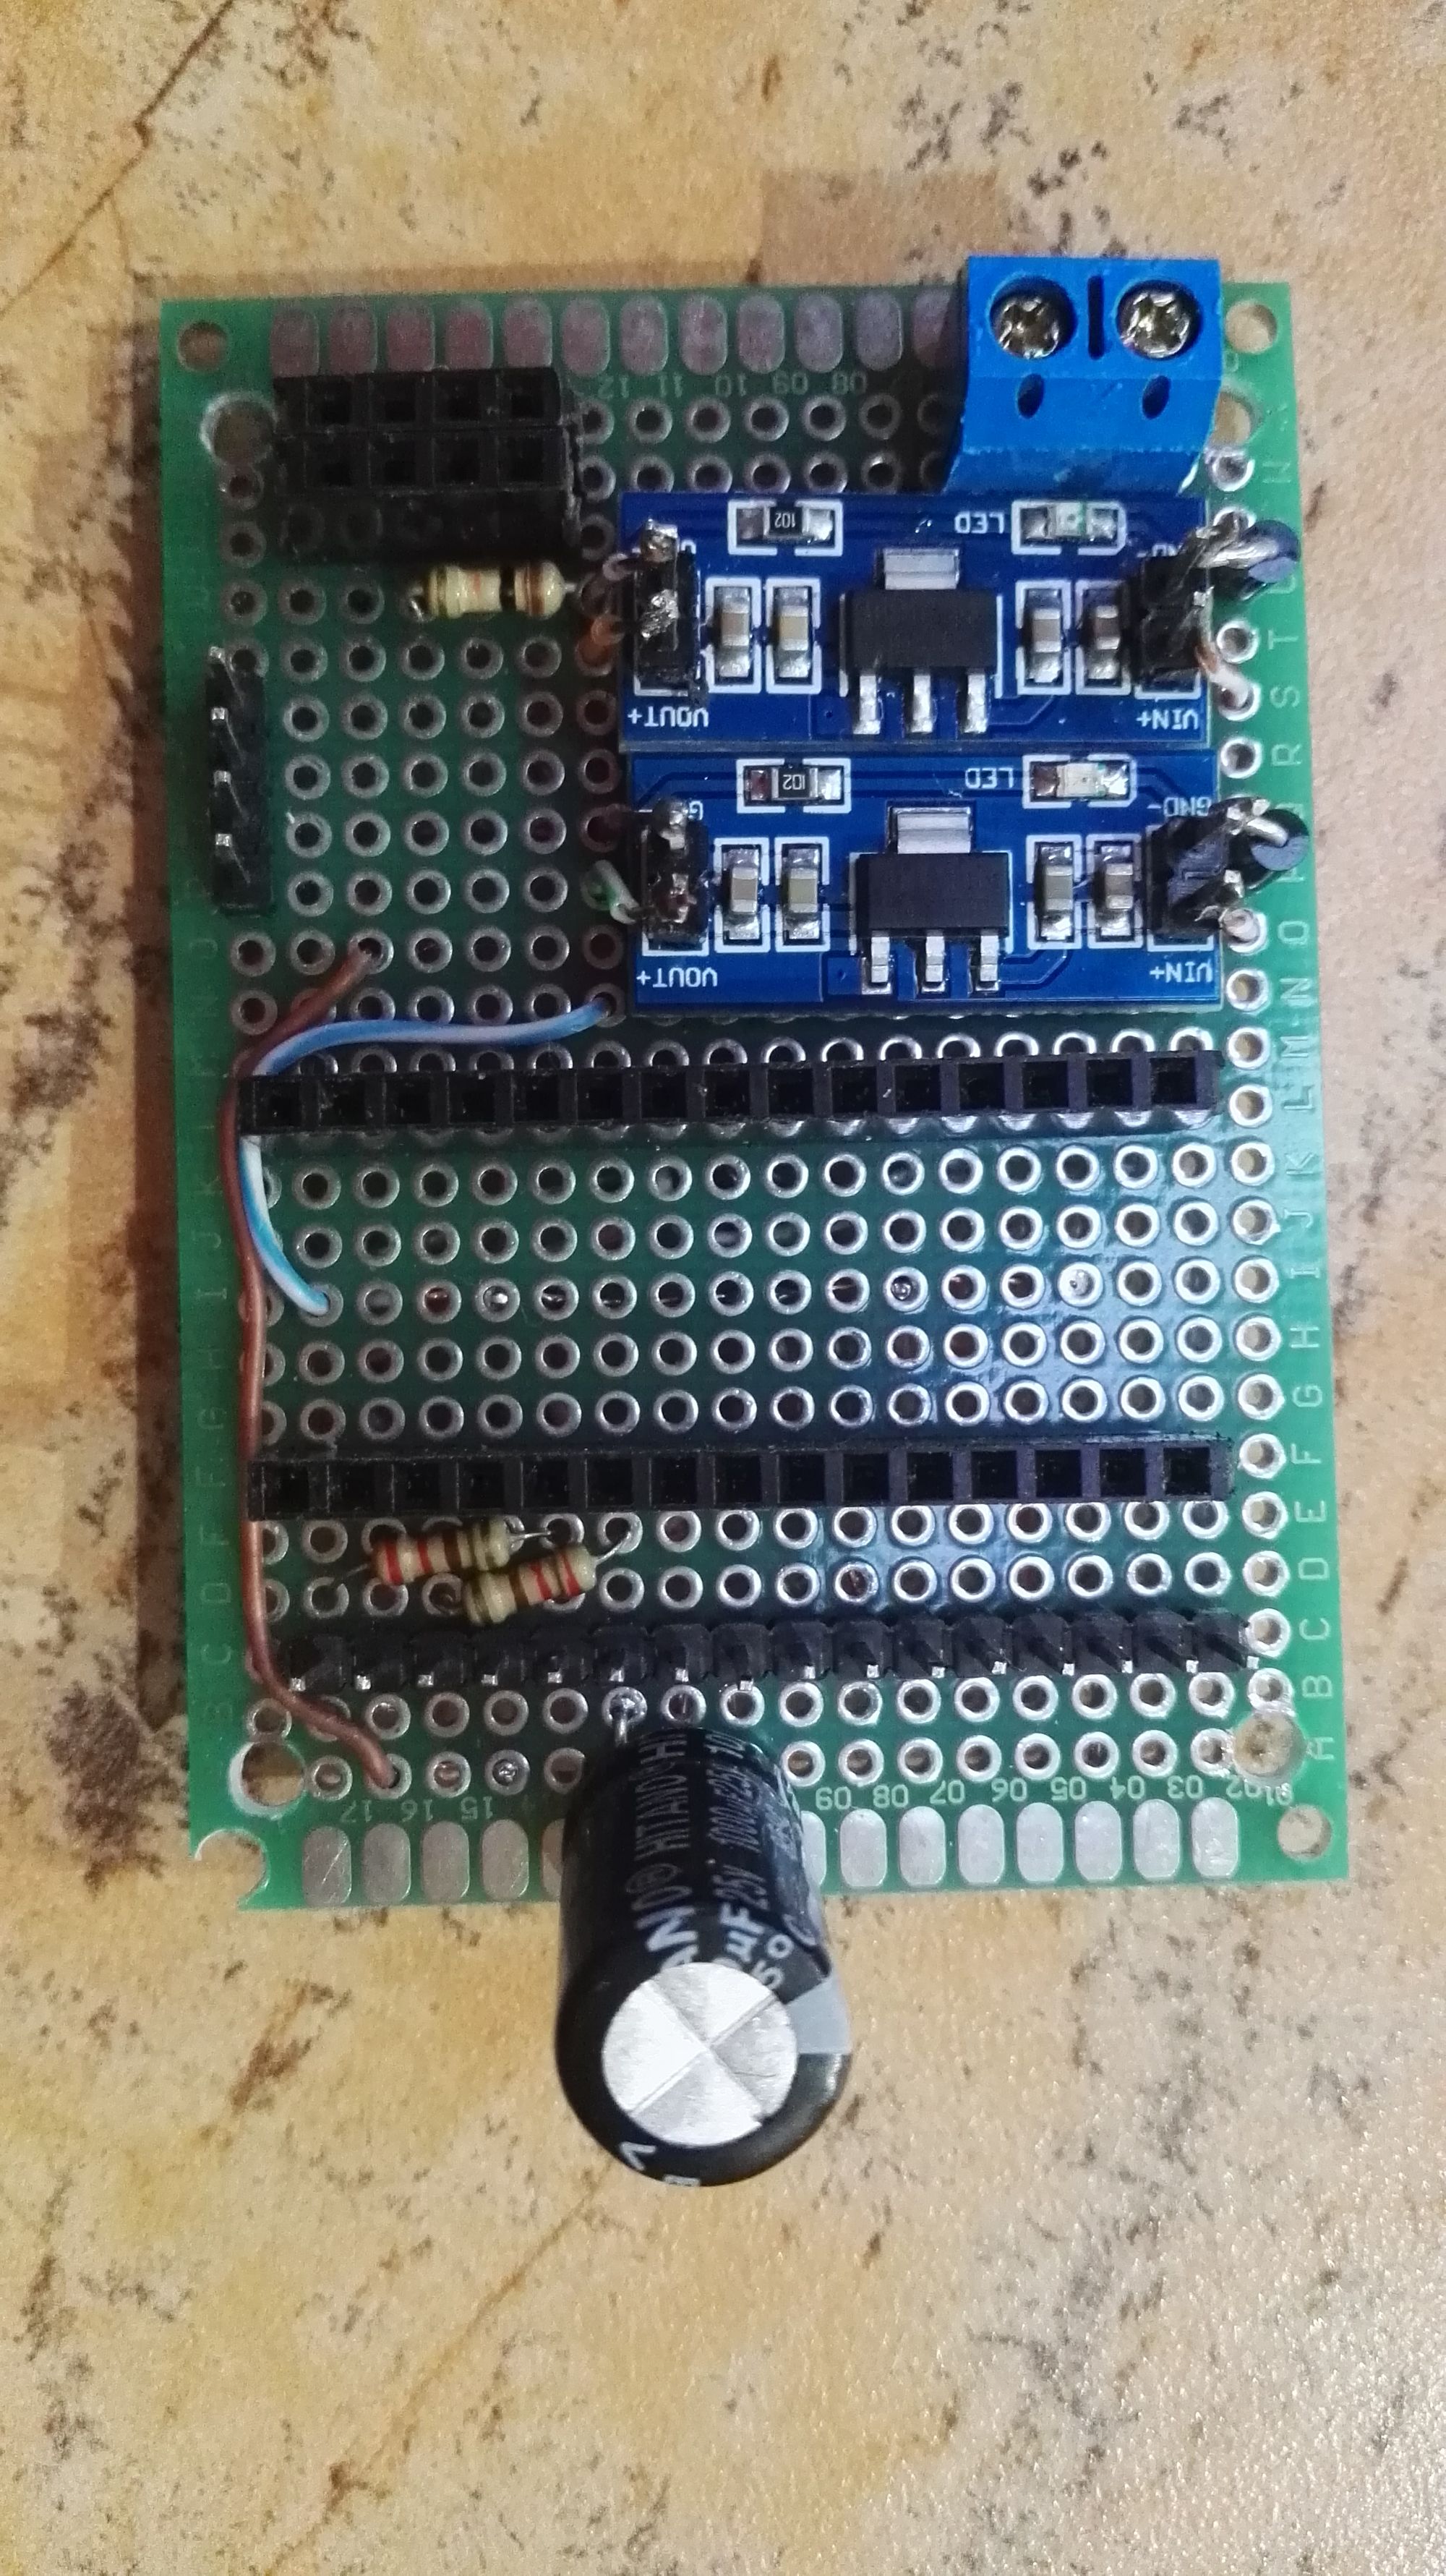
So this was my first arduino + ESP8266 project. Also my first attempt and making my own PCB and learning to solder. This project must have been the one to get the most attention from guests. If people come over or hear about it, it seems to intrigue people more that automated lights... mmm.
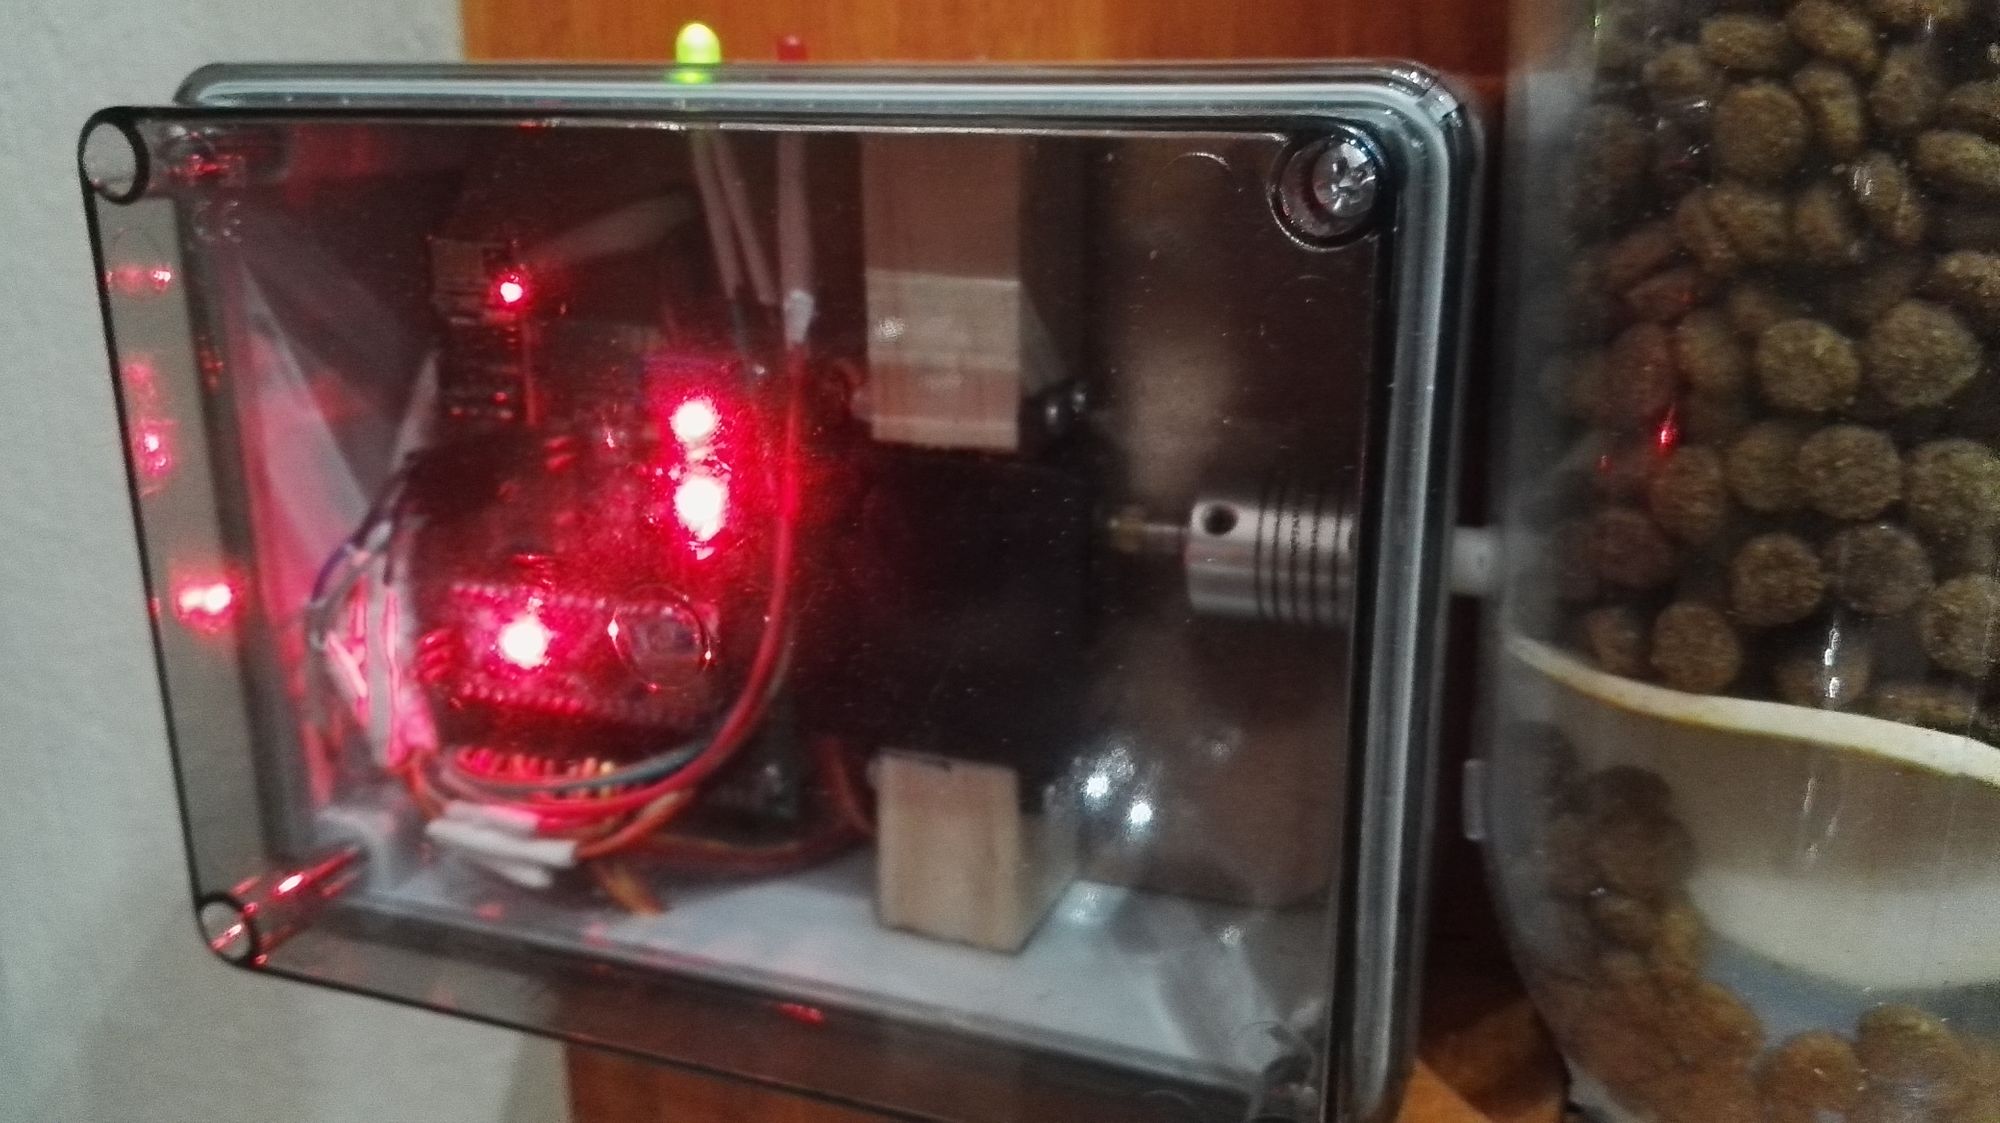
For this project I used a continuous rotation server or so it was advertised. When I got it, the servo was not continuous. No problem though, servo motors can be modified to work as continuous rotation motors. Open up the servo case, take off the top most gear, and look underneath, break the little tab off carefully shave it off with a utility knife, if it is a metal gear, file it down. Next remove the rest of the gears, and this will reveal a potentiometer (pot), it can rotate 180 degrees, try find the center point as close as possible. Then superglue it in place. Once the glue has dried, reassemble the motor and close it up. You now have a continuous rotation servo.
Here is some code that you can test with, to verify if it is continuous:
//Test continuous servo conversion
#include Servo myservo;
void setup() {
myservo.attach(9);
}
void loop() {
myservo.write(180); //clockwise rotation
delay(2000); //rotation duration in ms
myservo.detach(); //detach servo to prevent “creeping” effect
delay(500); //short pause
myservo.attach(9); //reattach servo to pin 9
myservo.write(0); //counterclockwise rotation
delay(2000); //rotation duration in ms
myservo.detach(); //detach servo to prevent “creeping” effect
delay(500); //short pause myservo.attach(9); //reattach servo to pin 9 before looping
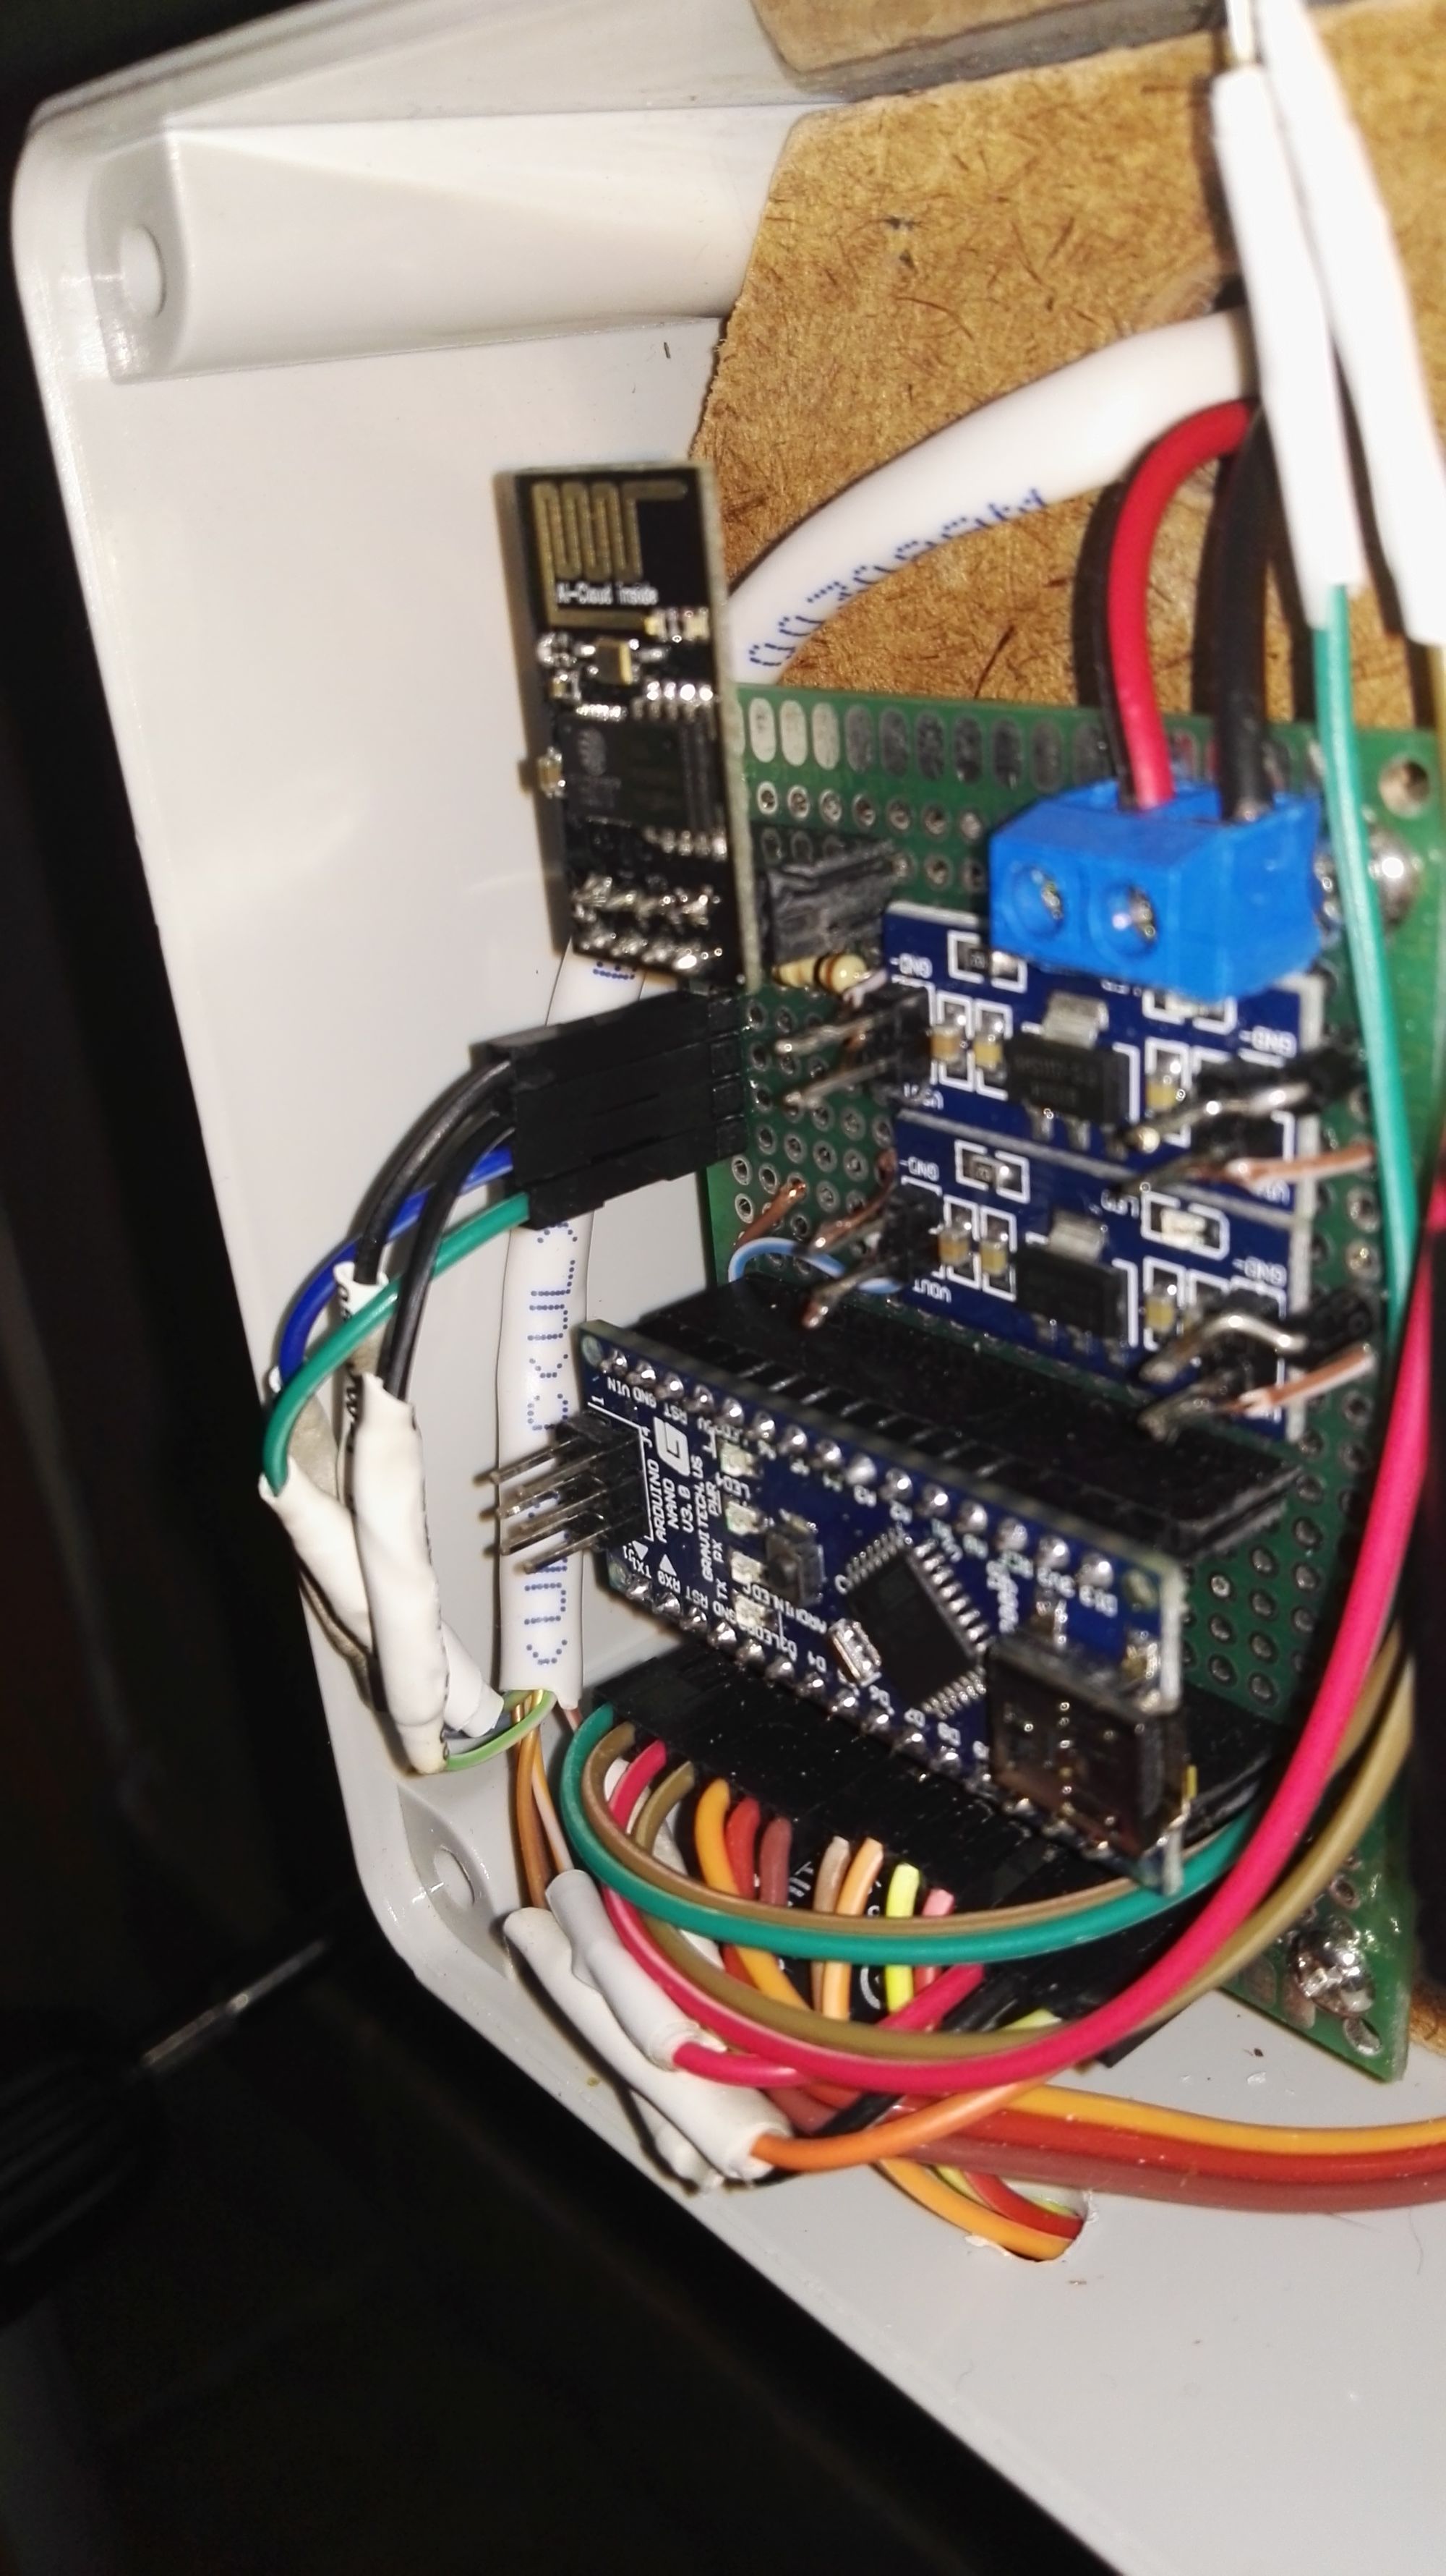
}I used and Arduino Nano micro controller as well as an ESP8266-01 to enable wifi comms for my project. Using MQTT, this project originally connected to my custom java server and android app, before I was using OpenHAB - dont work hard works smart :)
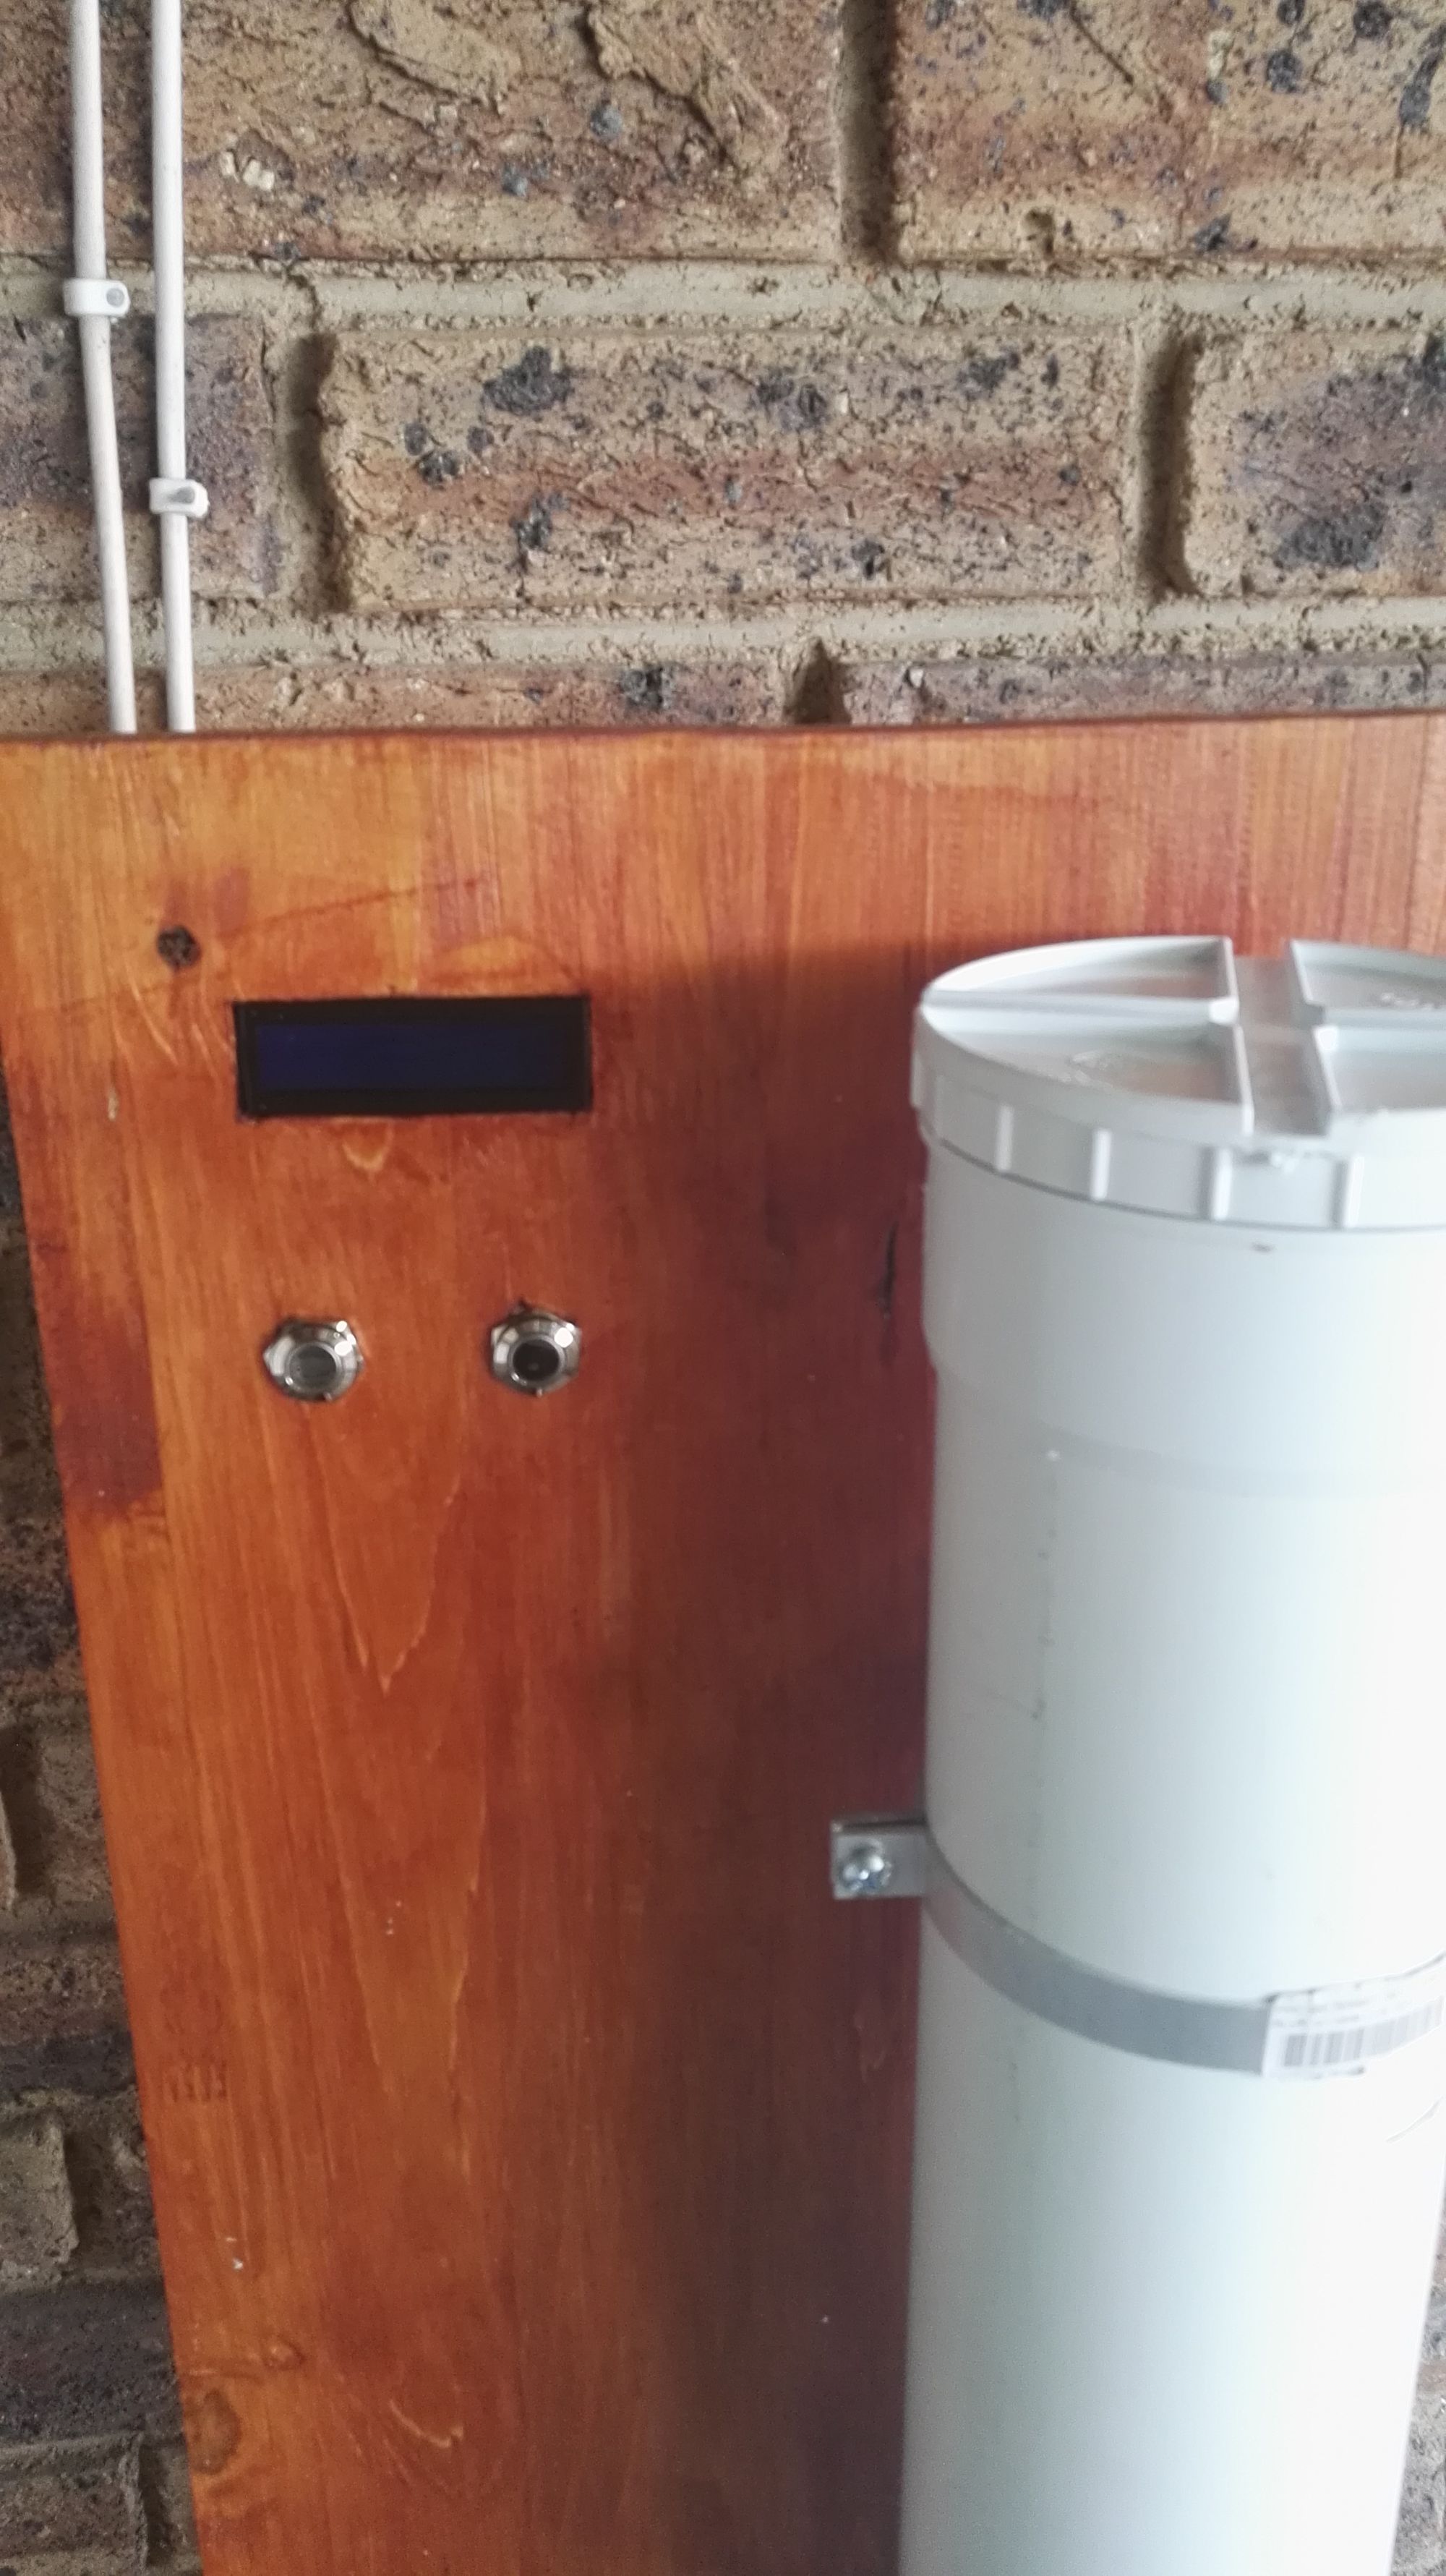
This was a good project to increase my skills with incorporating buttons, LCD's, LED's, Sensors , soldering and well woodworking. :)
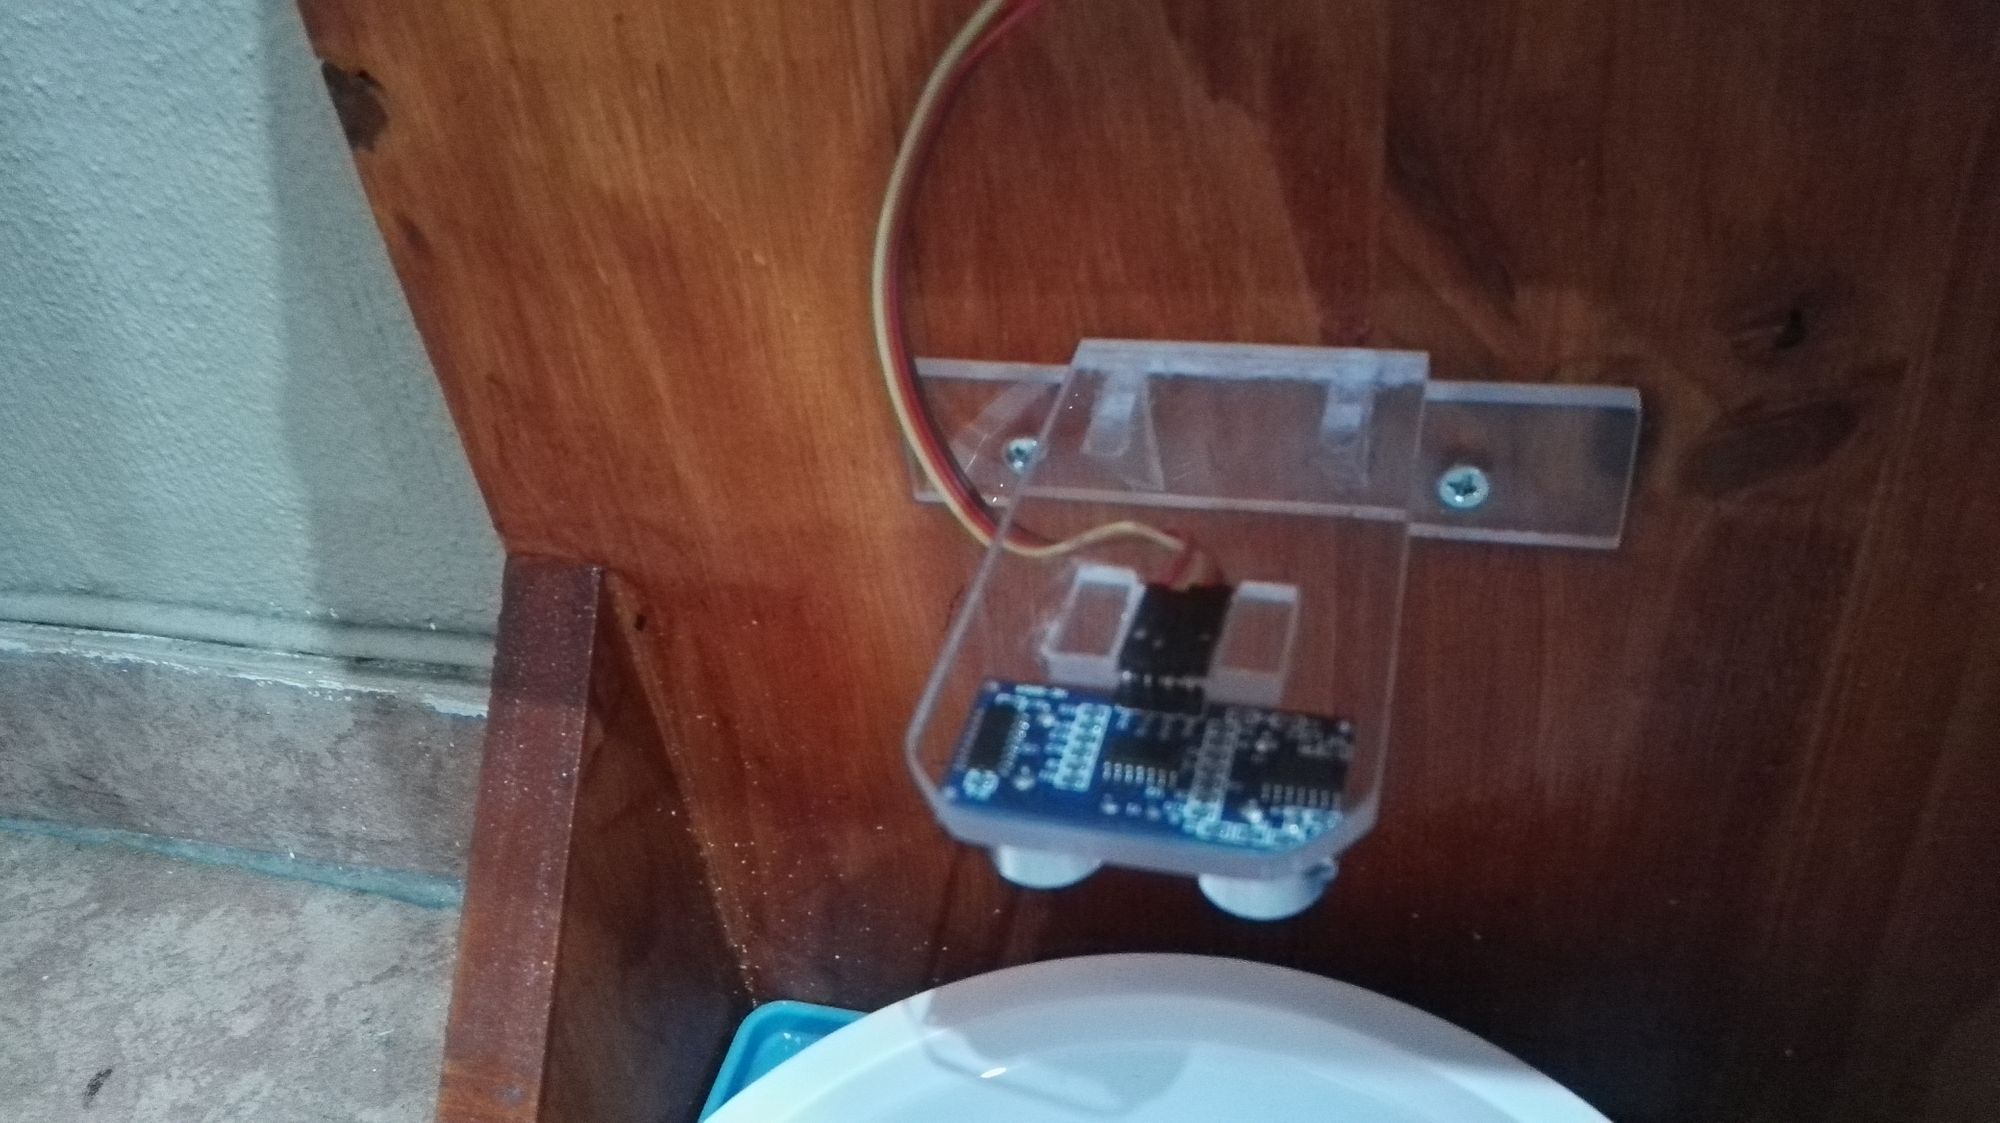
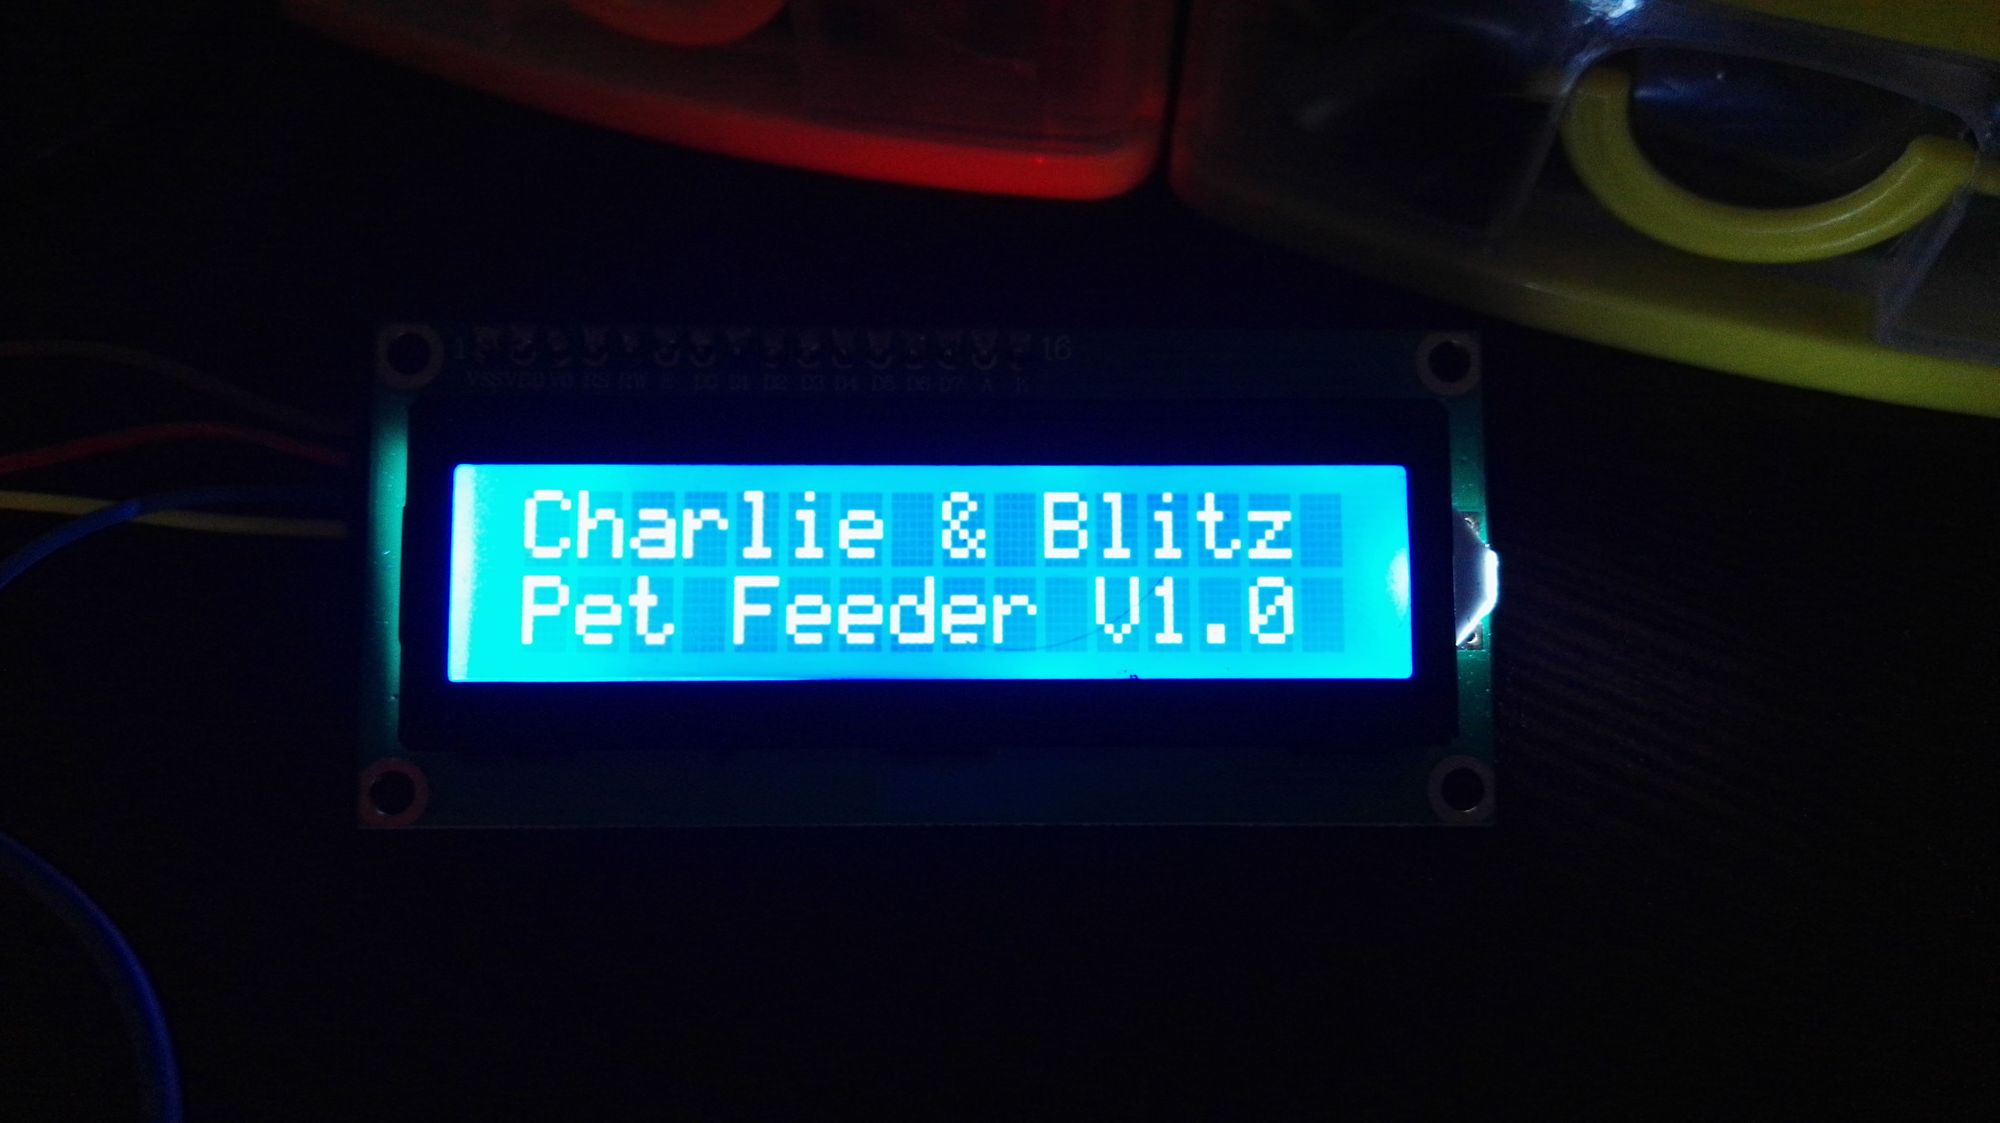
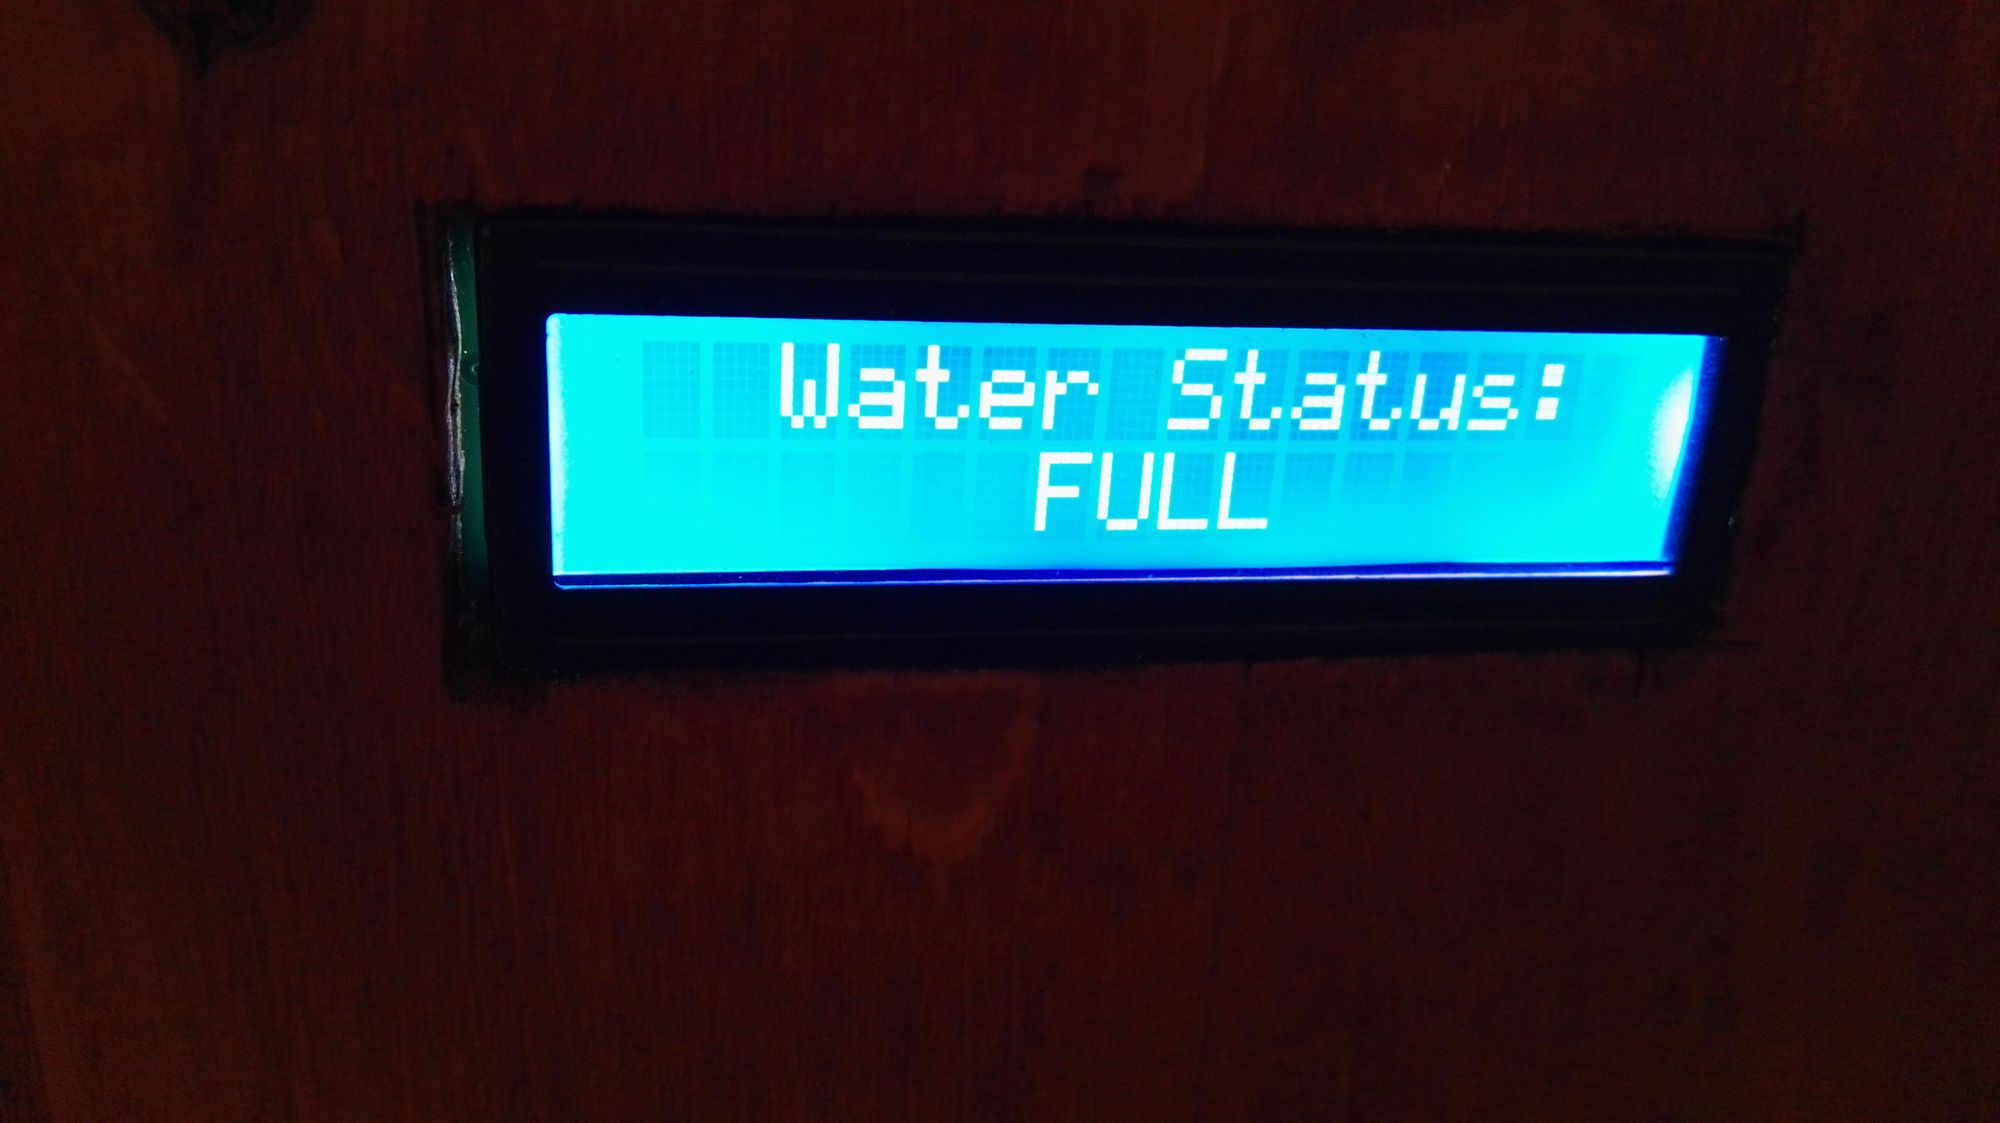
In my Arduino code I have created a scrollable menu to configure settings, check version numbers, feed the sausage dogs, view water status, last feedings etc, just to name a few. There is an additional button added to the project to feed, to avoid needing to go through a menu just to feed the dogs. As for the water, I opted to use an HC-SR04 Ultrasonic Sensor to measure the water level and send me alerts to my phone when the water is running low. I used this as the probe type sensor would eventually erode and I did not want wires hanging in their water bowl. Since sound echos off water this would be just fine.
To measure the water level, I need to know a few parameters. Like distance from the sensor to the bottom of the bowl, and to the water surface of a full water bowl. This can be configured in the menu options taking readings and storing the valued in EEPROM - persisted storage on a micro controller.
Since HC-SR04 transmits the sound waves at 40KHz. Those sound waves hit the water and come back to the receiver of HC-SR04 giving you the total time taken by the sound waves from transmitter to reach the water and back to the receiver.
As we know from science class that distance = speed * time. We now know that to calculate the distance from HC-SR04 to the water surface, we need to find two entities; speed and time.
Lets do the Mathy stuff.
We will break down the calculations to measure the distance in centimeters.
When we have total time taken for the sonar echo, we just need to divide it by 2, since this is the total time taken by the sound waves from transmitter to the water and back to the HC-SR04’s receiver.
Also, we know that the speed of sound in dry air at 20 °C is 343 meters/second.
The HC-SR04 gives us the total time 't' in microseconds. So for my needs I want to calculate the distance in centimeters - the following conversion needs to be done.
- Convert speed of sound to centimeters/second.
So to convert, since the received value is in microseconds.
To convert from meters/second to centimeters/second, we need to multiply the quantity by 10². Therefore, we get 34310² meters/second.
To convert seconds to microseconds, we will multiply the quantity with 10^-6.
Therefore, we get 34310²10^-6 centimeters/microseconds.
34310²10^-6 centimeters/microseconds = 34310^-4 centimeters/microseconds.
= 0.0343 centimeters/microseconds.
If we multiply received 't' with 1/2 (dividing the total time taken by 2) with 0.0343 centimeters/microseconds, we will get the distance in centimeters.
In code this looks like the following:
int distanceToSurface = (echoDuration * 0.034 / 2);To dispense the correct amount of food, I used a simple method to just turn the motor for x amount of time in seconds, but if this was a stepper motor I could have controlled the amount of steps or revolutions to turn.
I did not cover anything here regarding the ESP8266, but basically that has firmware to read and write over serial comms to the arduino, either to tell the arduino to feed or for the arduino to tell the ESP8266 to alert that water is low or feeding is in progress.
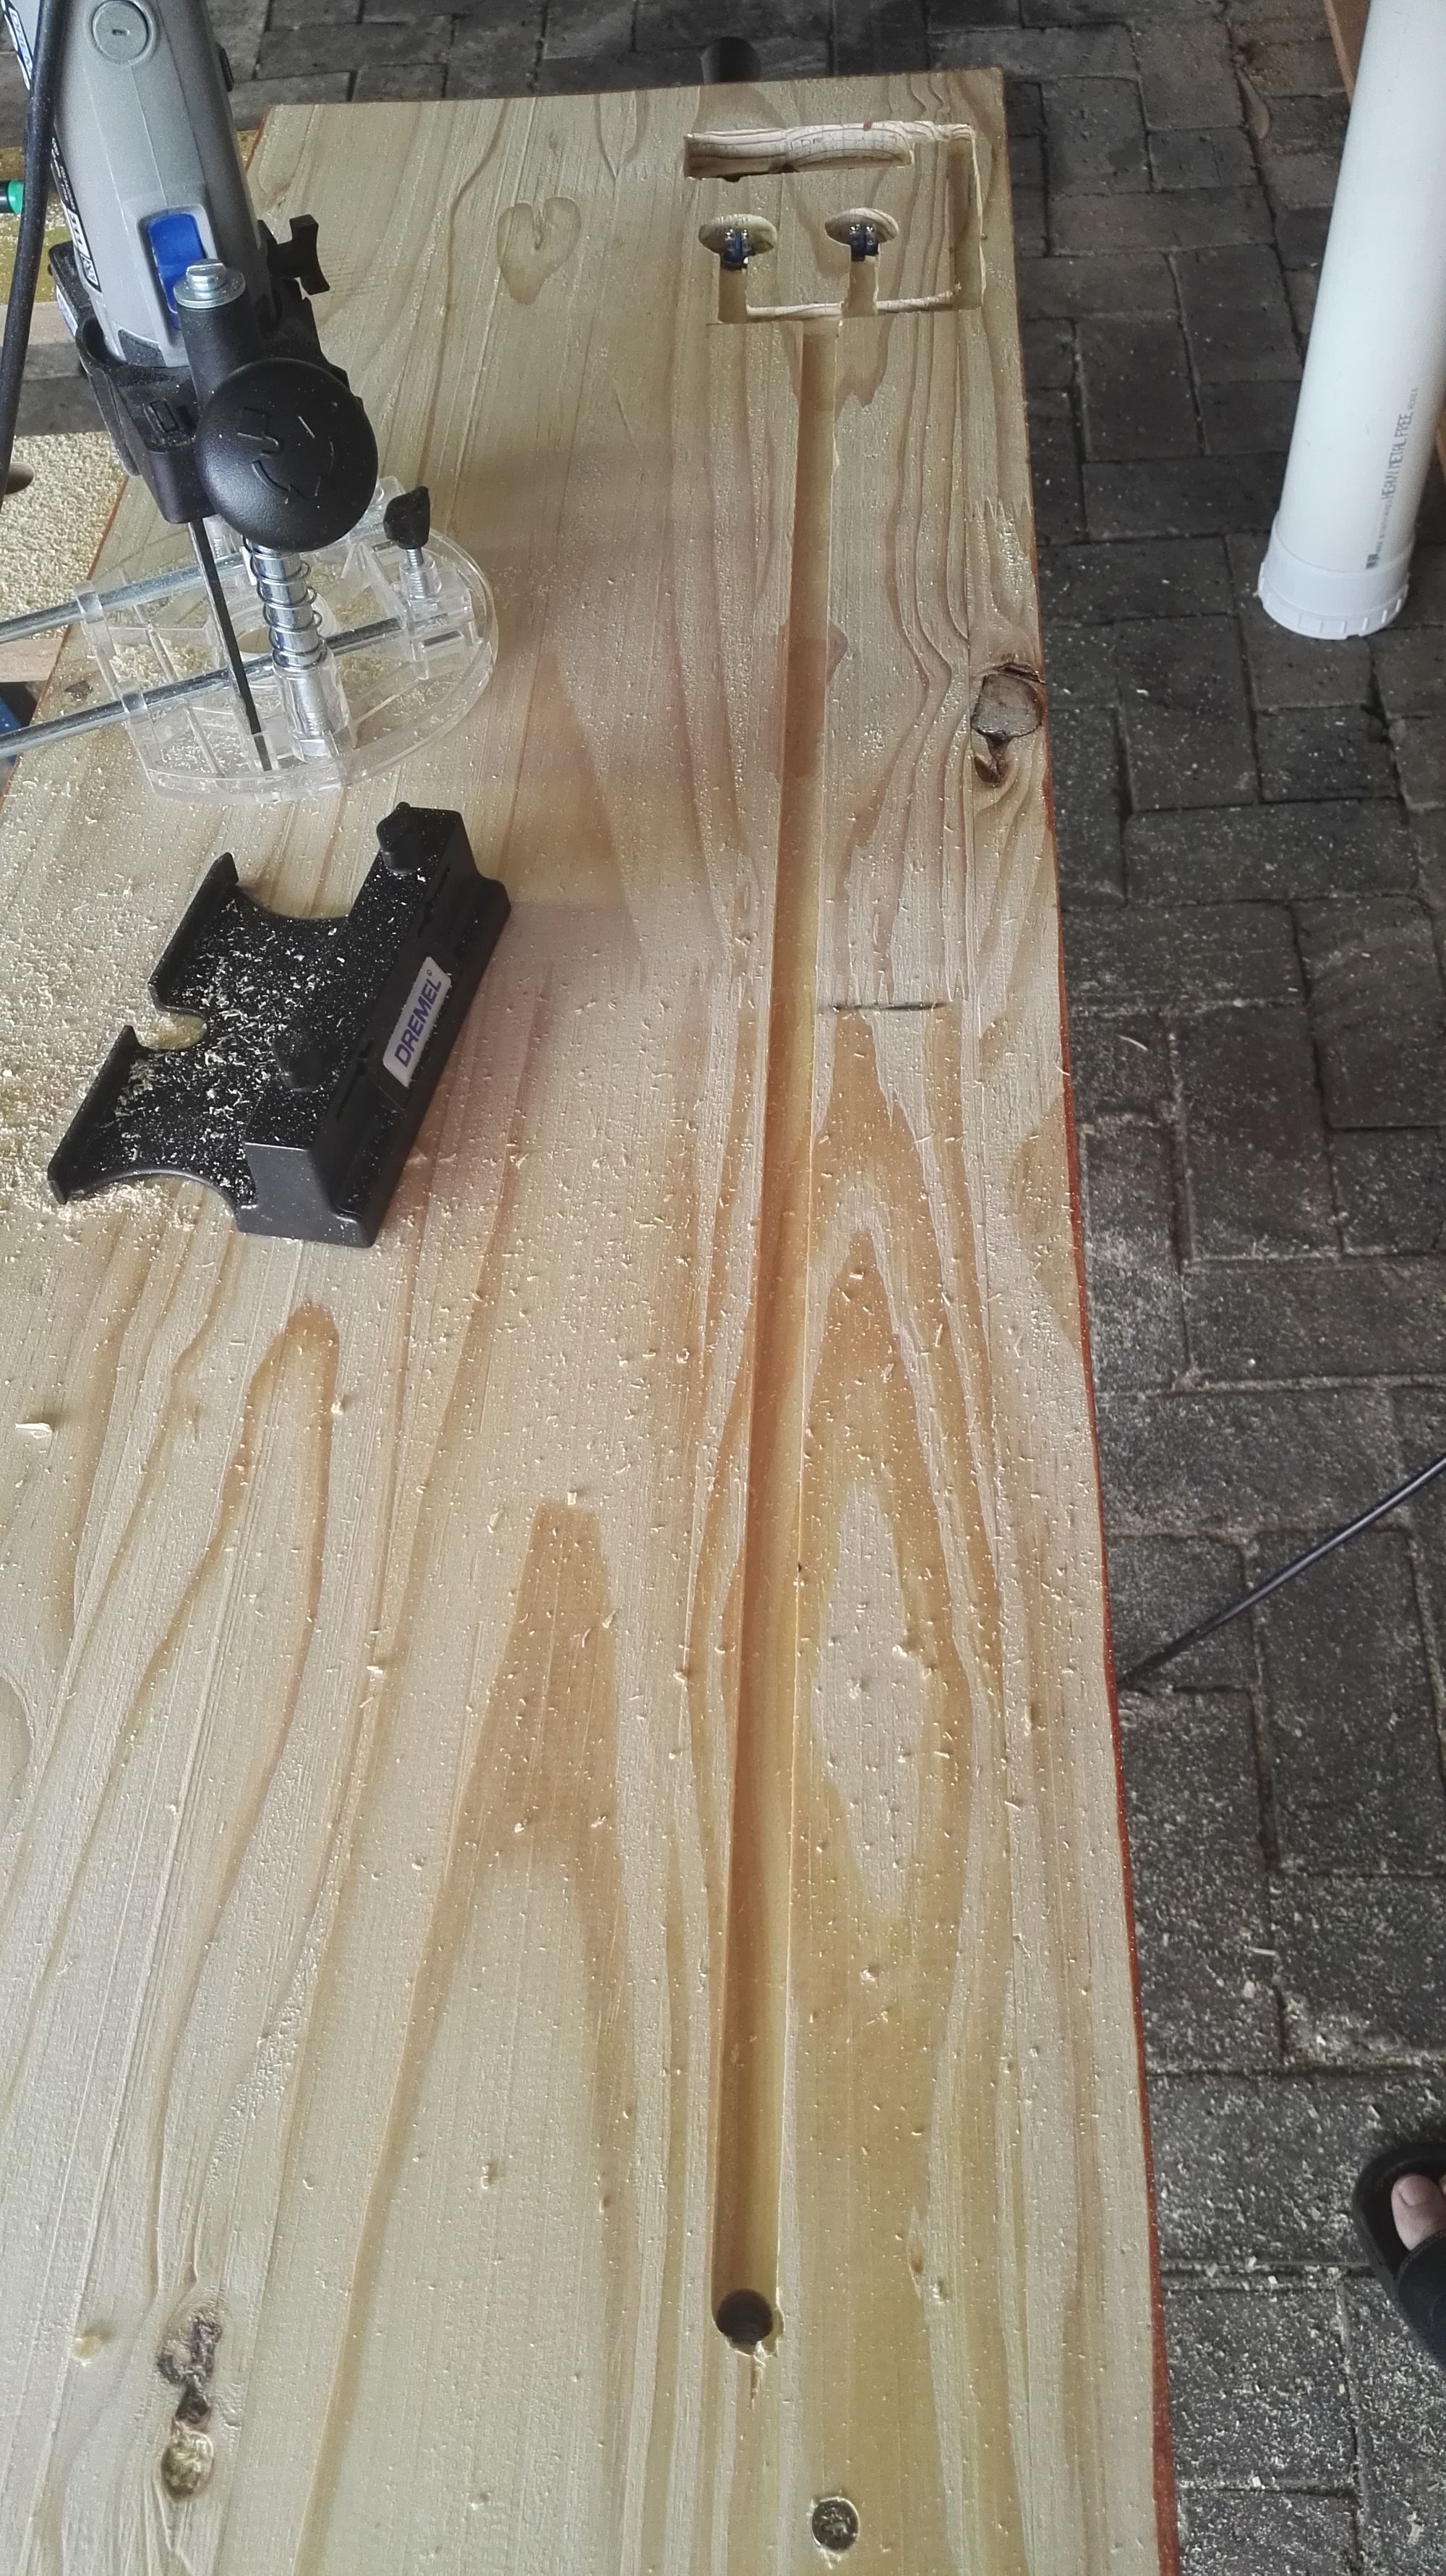
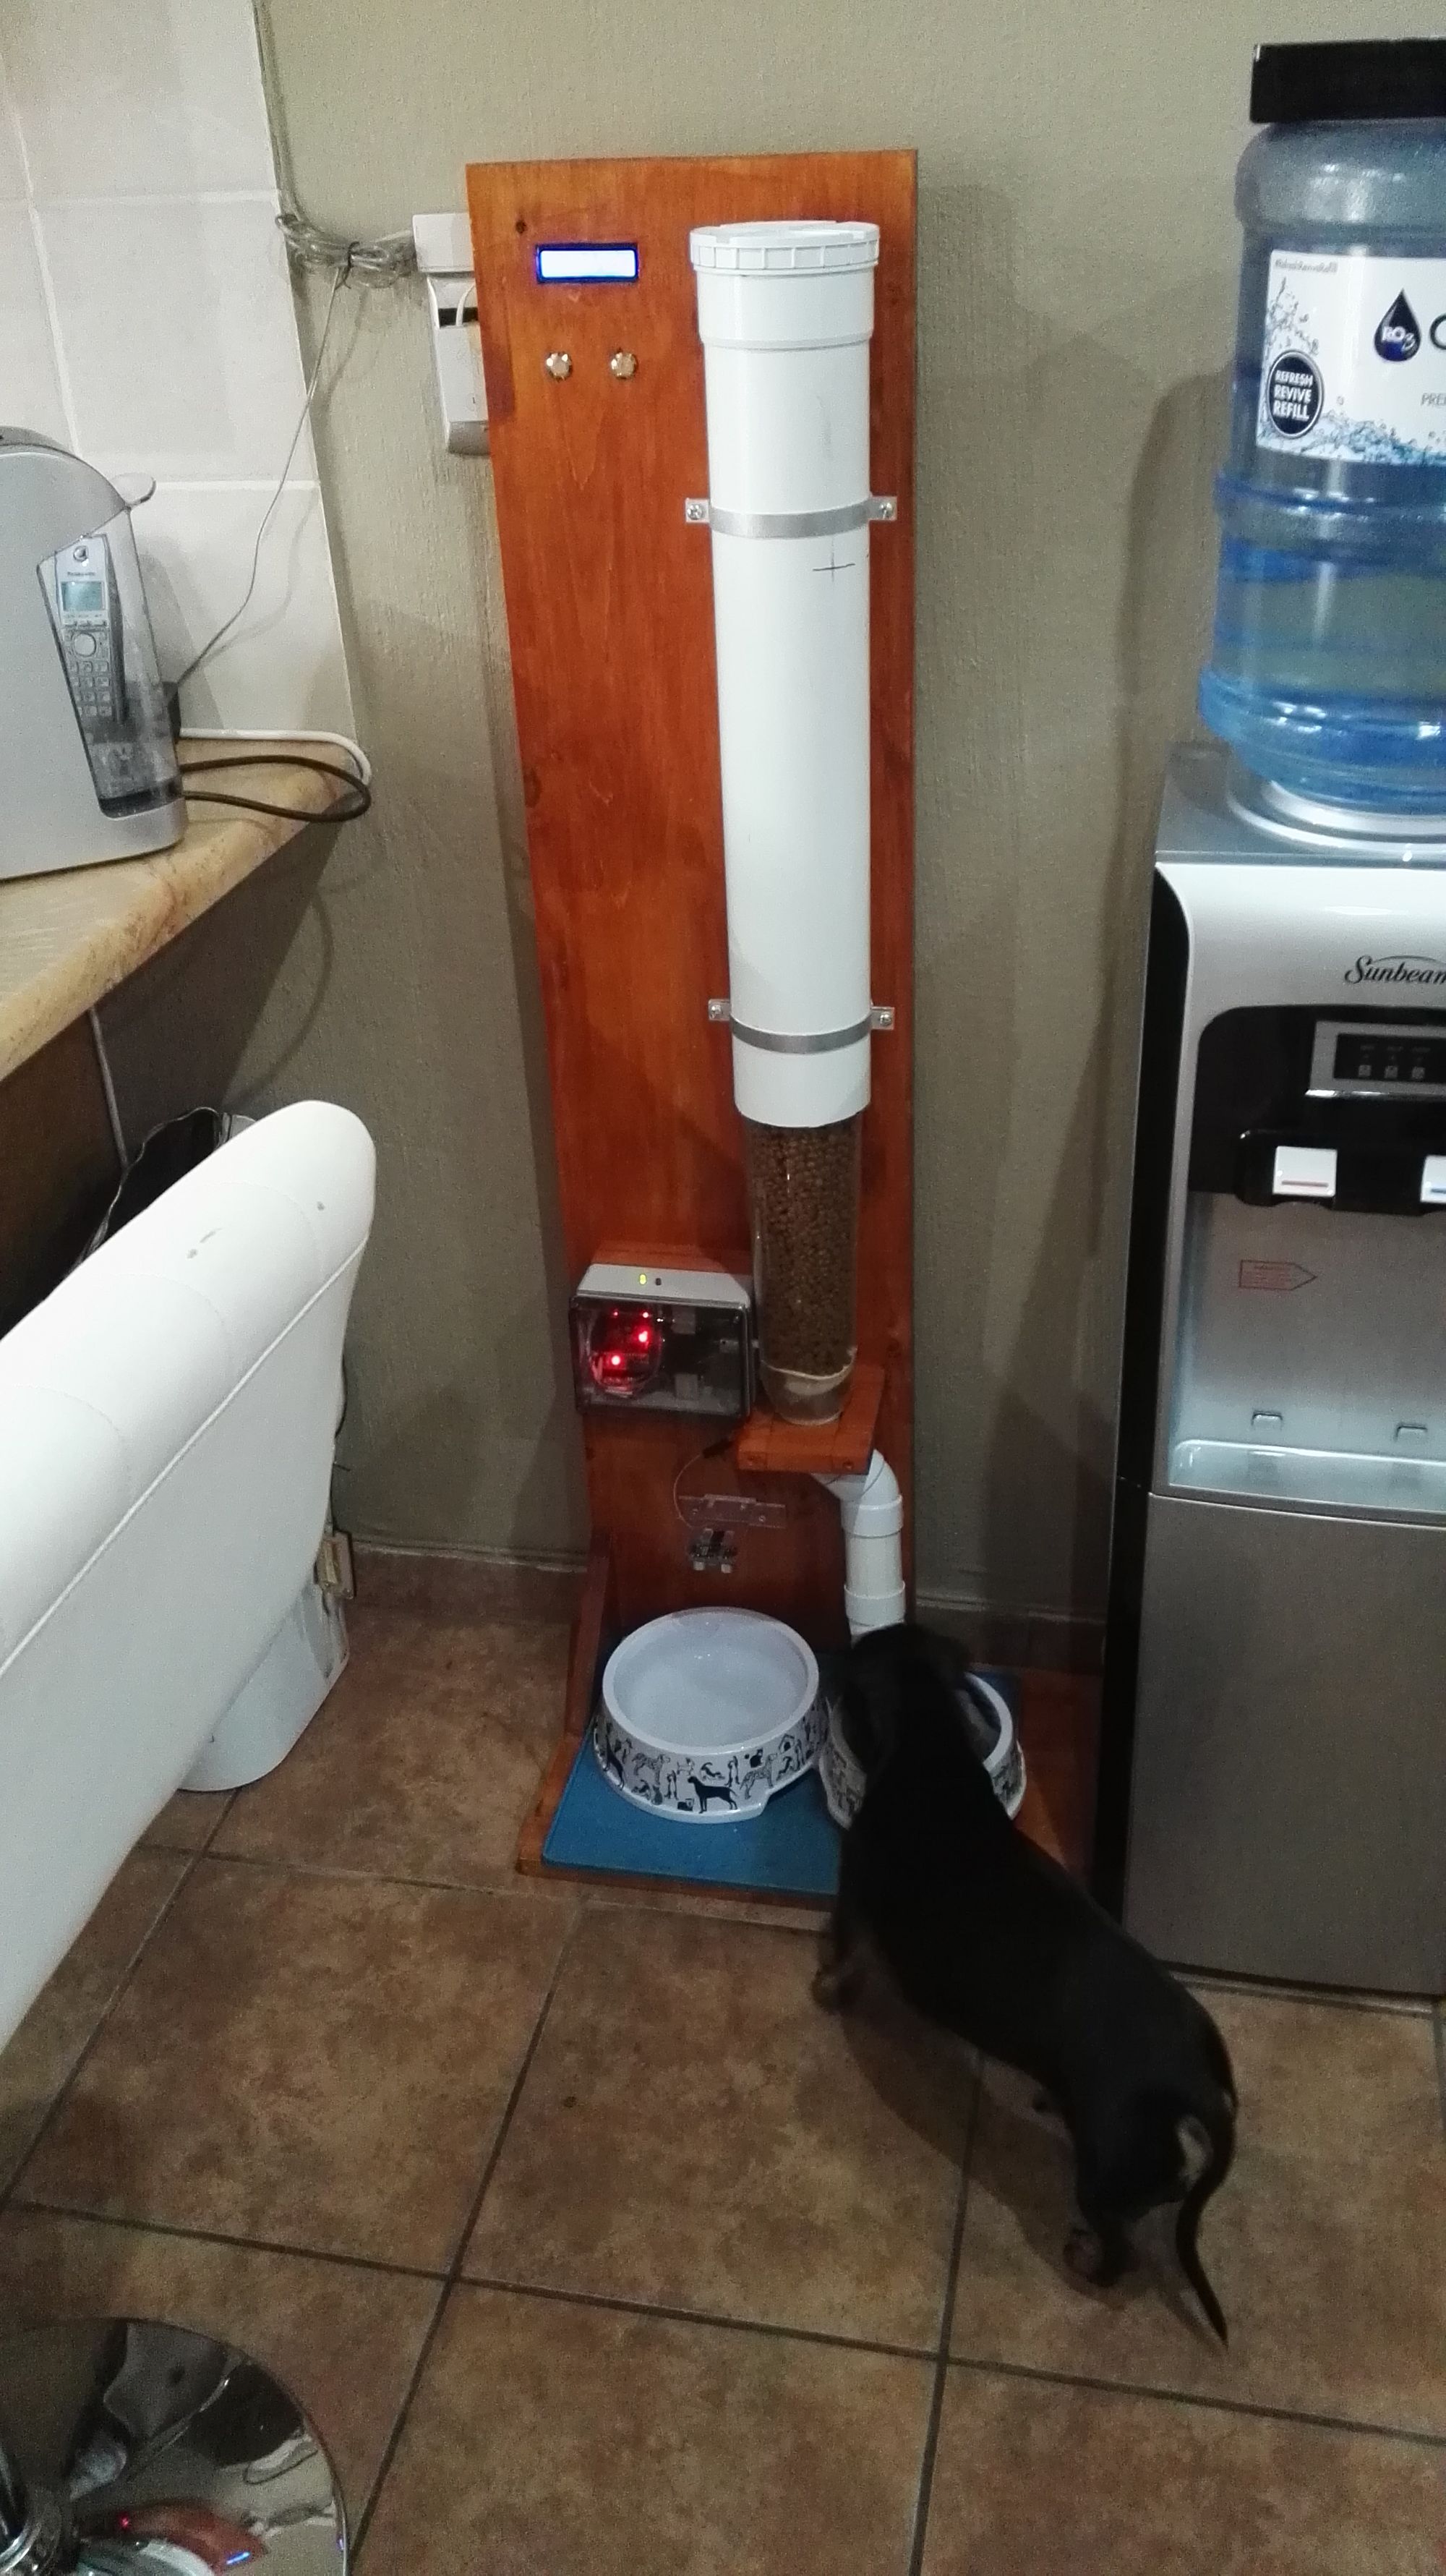
That is pretty much it. Below are some pics of the build, and final product. I used a cereal dispenser and sewage pipe and pine wood for the construction components. The future build idea would be to determine how much food is left in the holding container, to alert when to buy more food. Push notifications instead of emails for water levels and feeding times and we will see what else come up during the new build.