Dumb Blinds to Smart Blinds

Here is a useful one, to simplify the mundane repetitive tasks in everyday life. Since opening and closing the kitchen blind is such strenuous work - The engineering (lazy) side in me decided to create a solution to mitigate possible self injury :) during this activity.
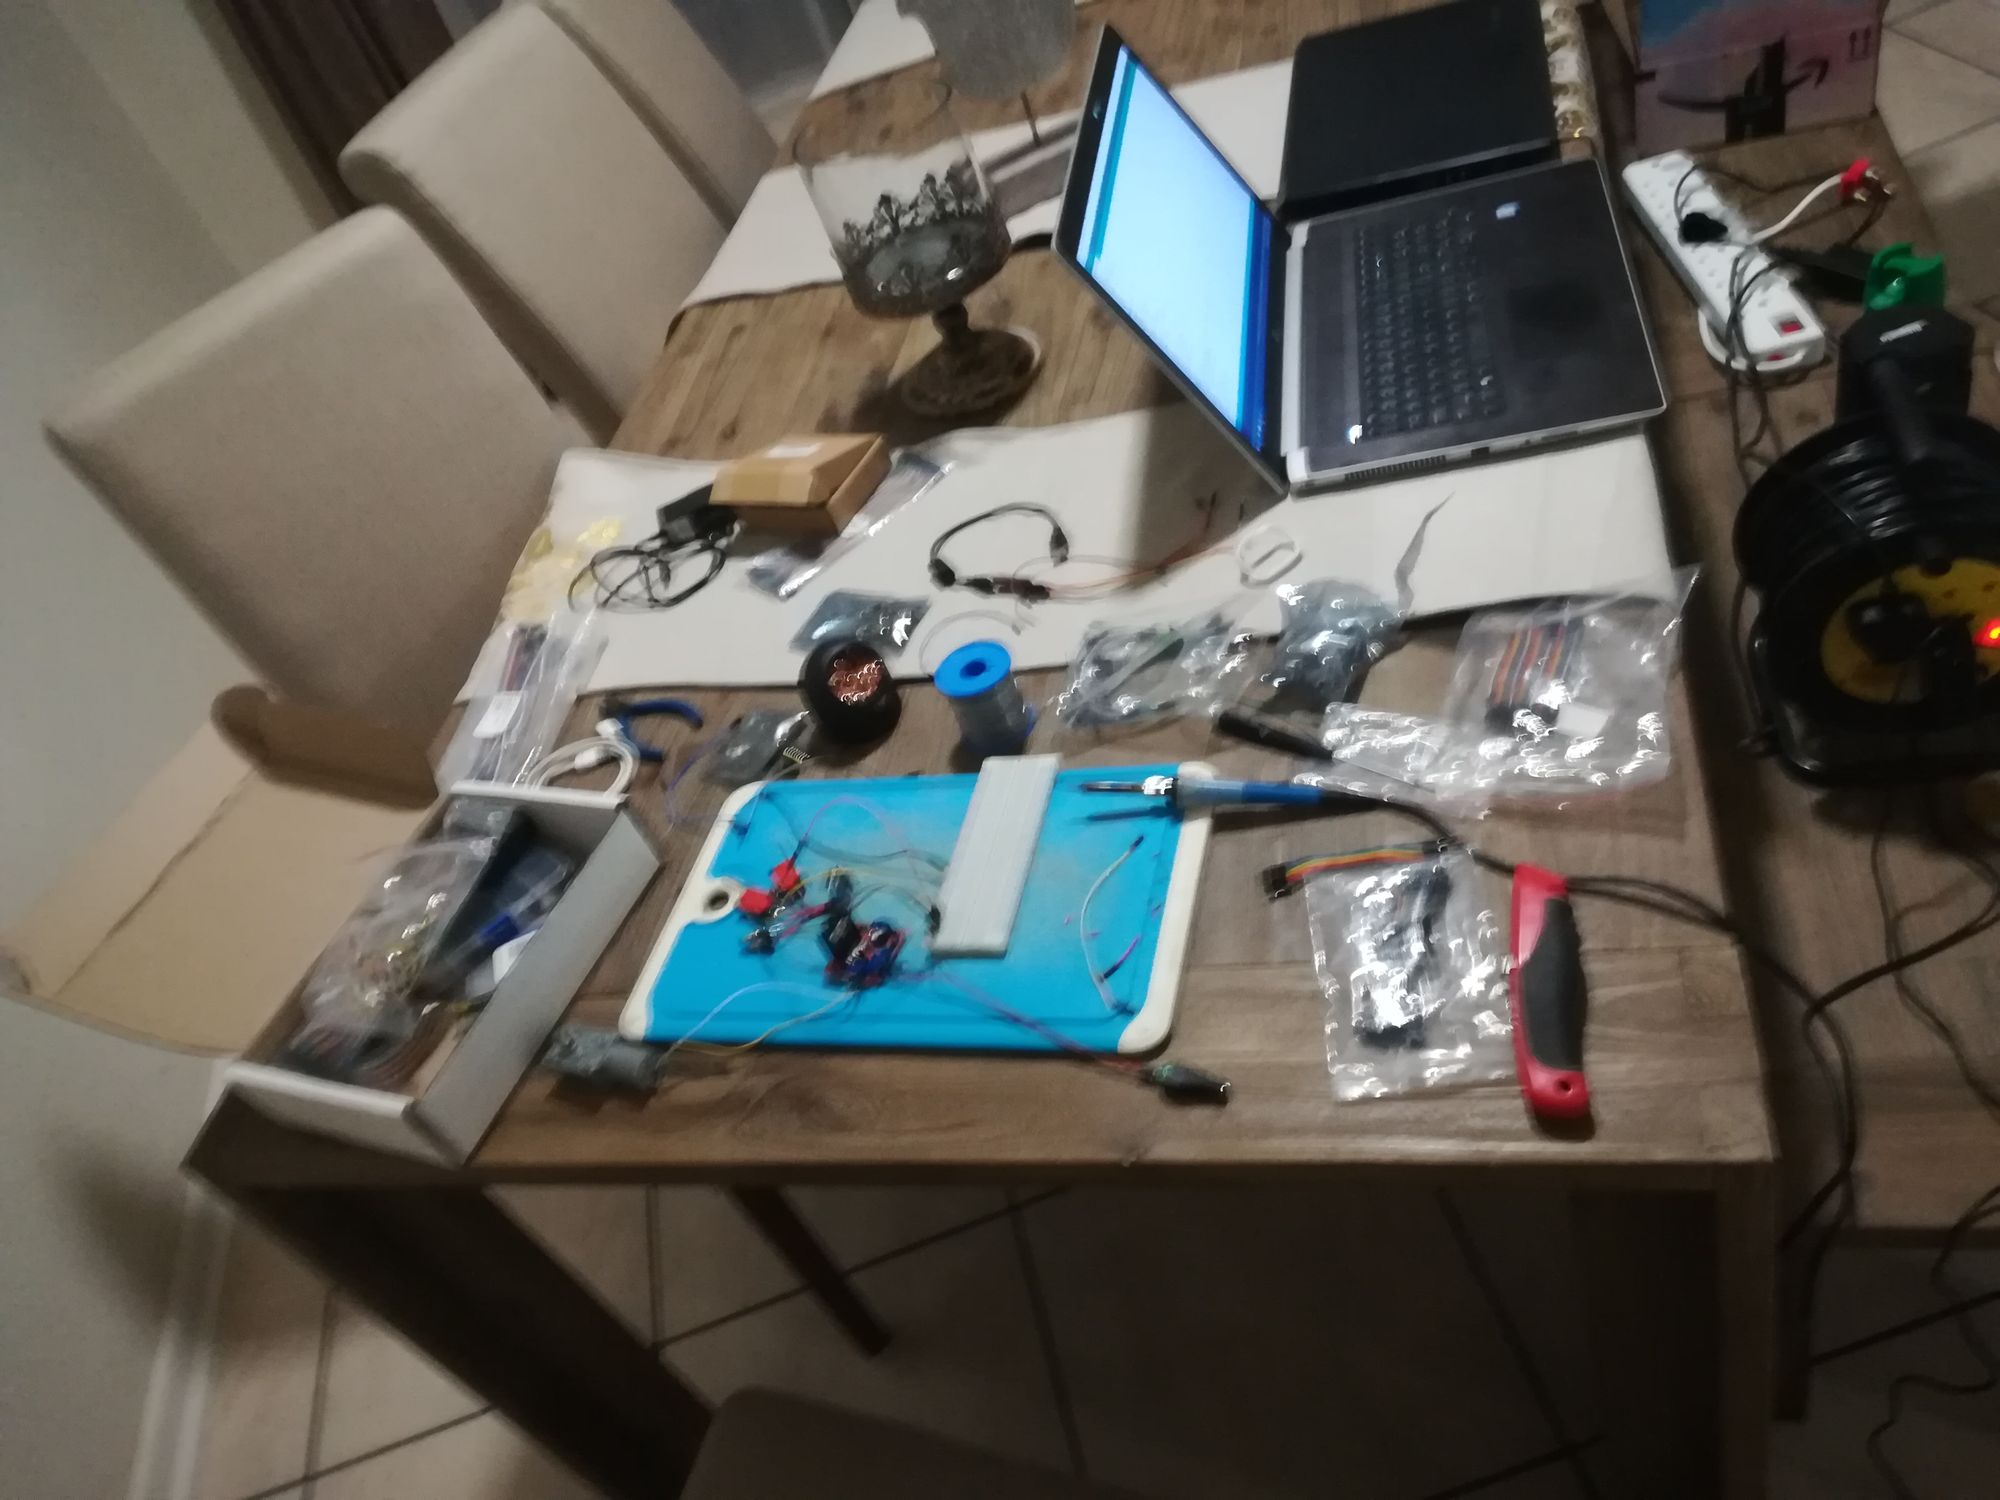
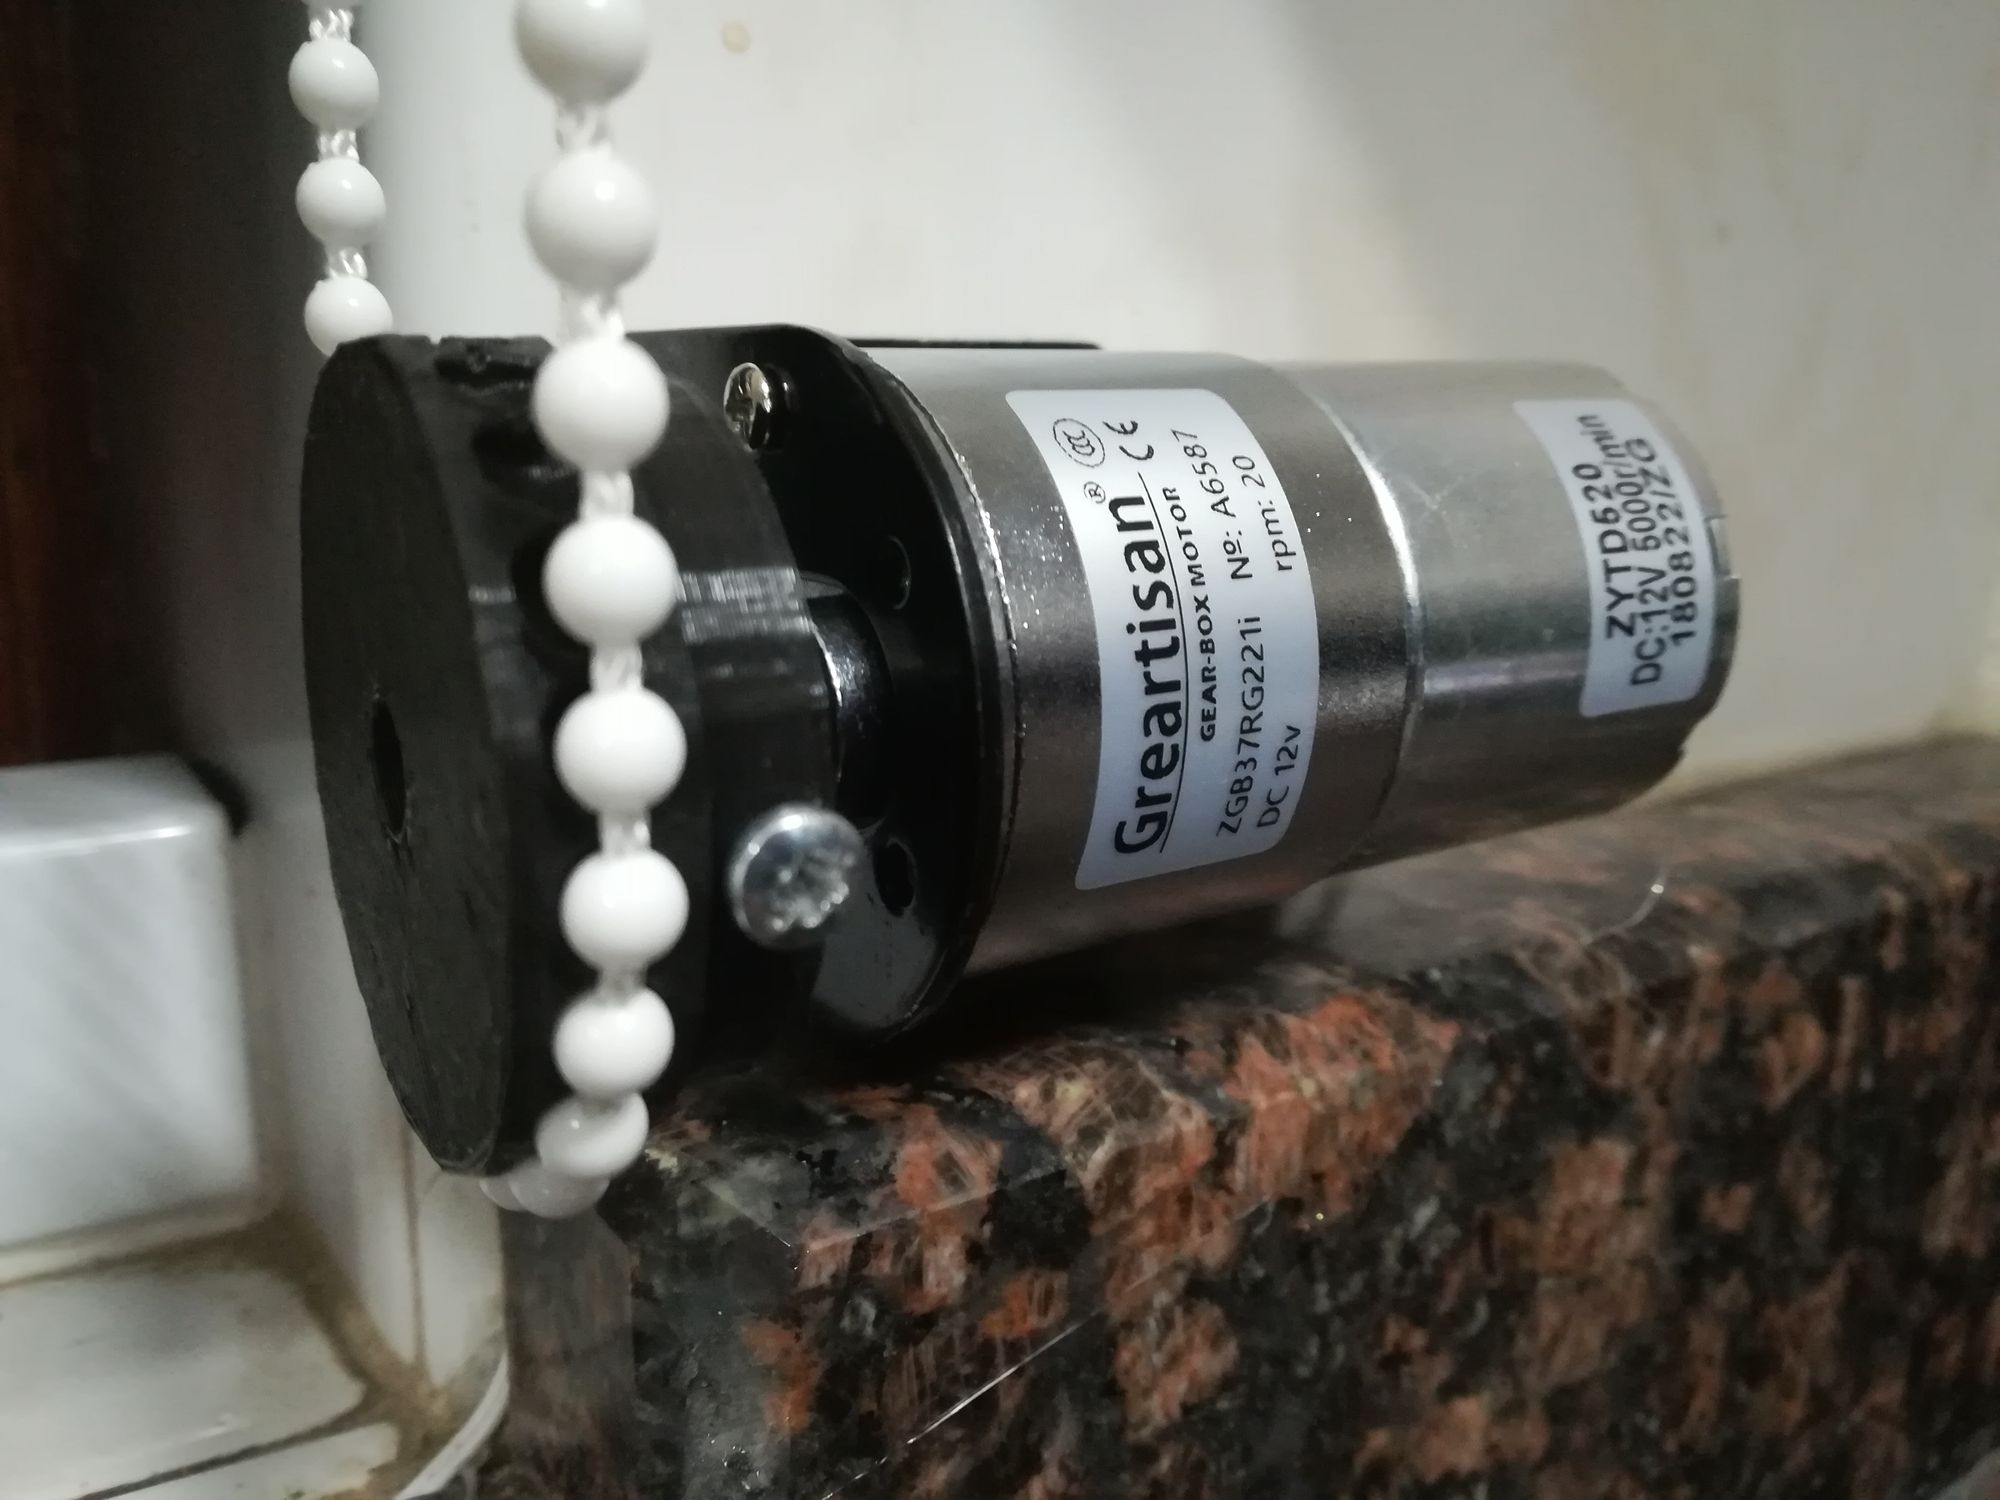
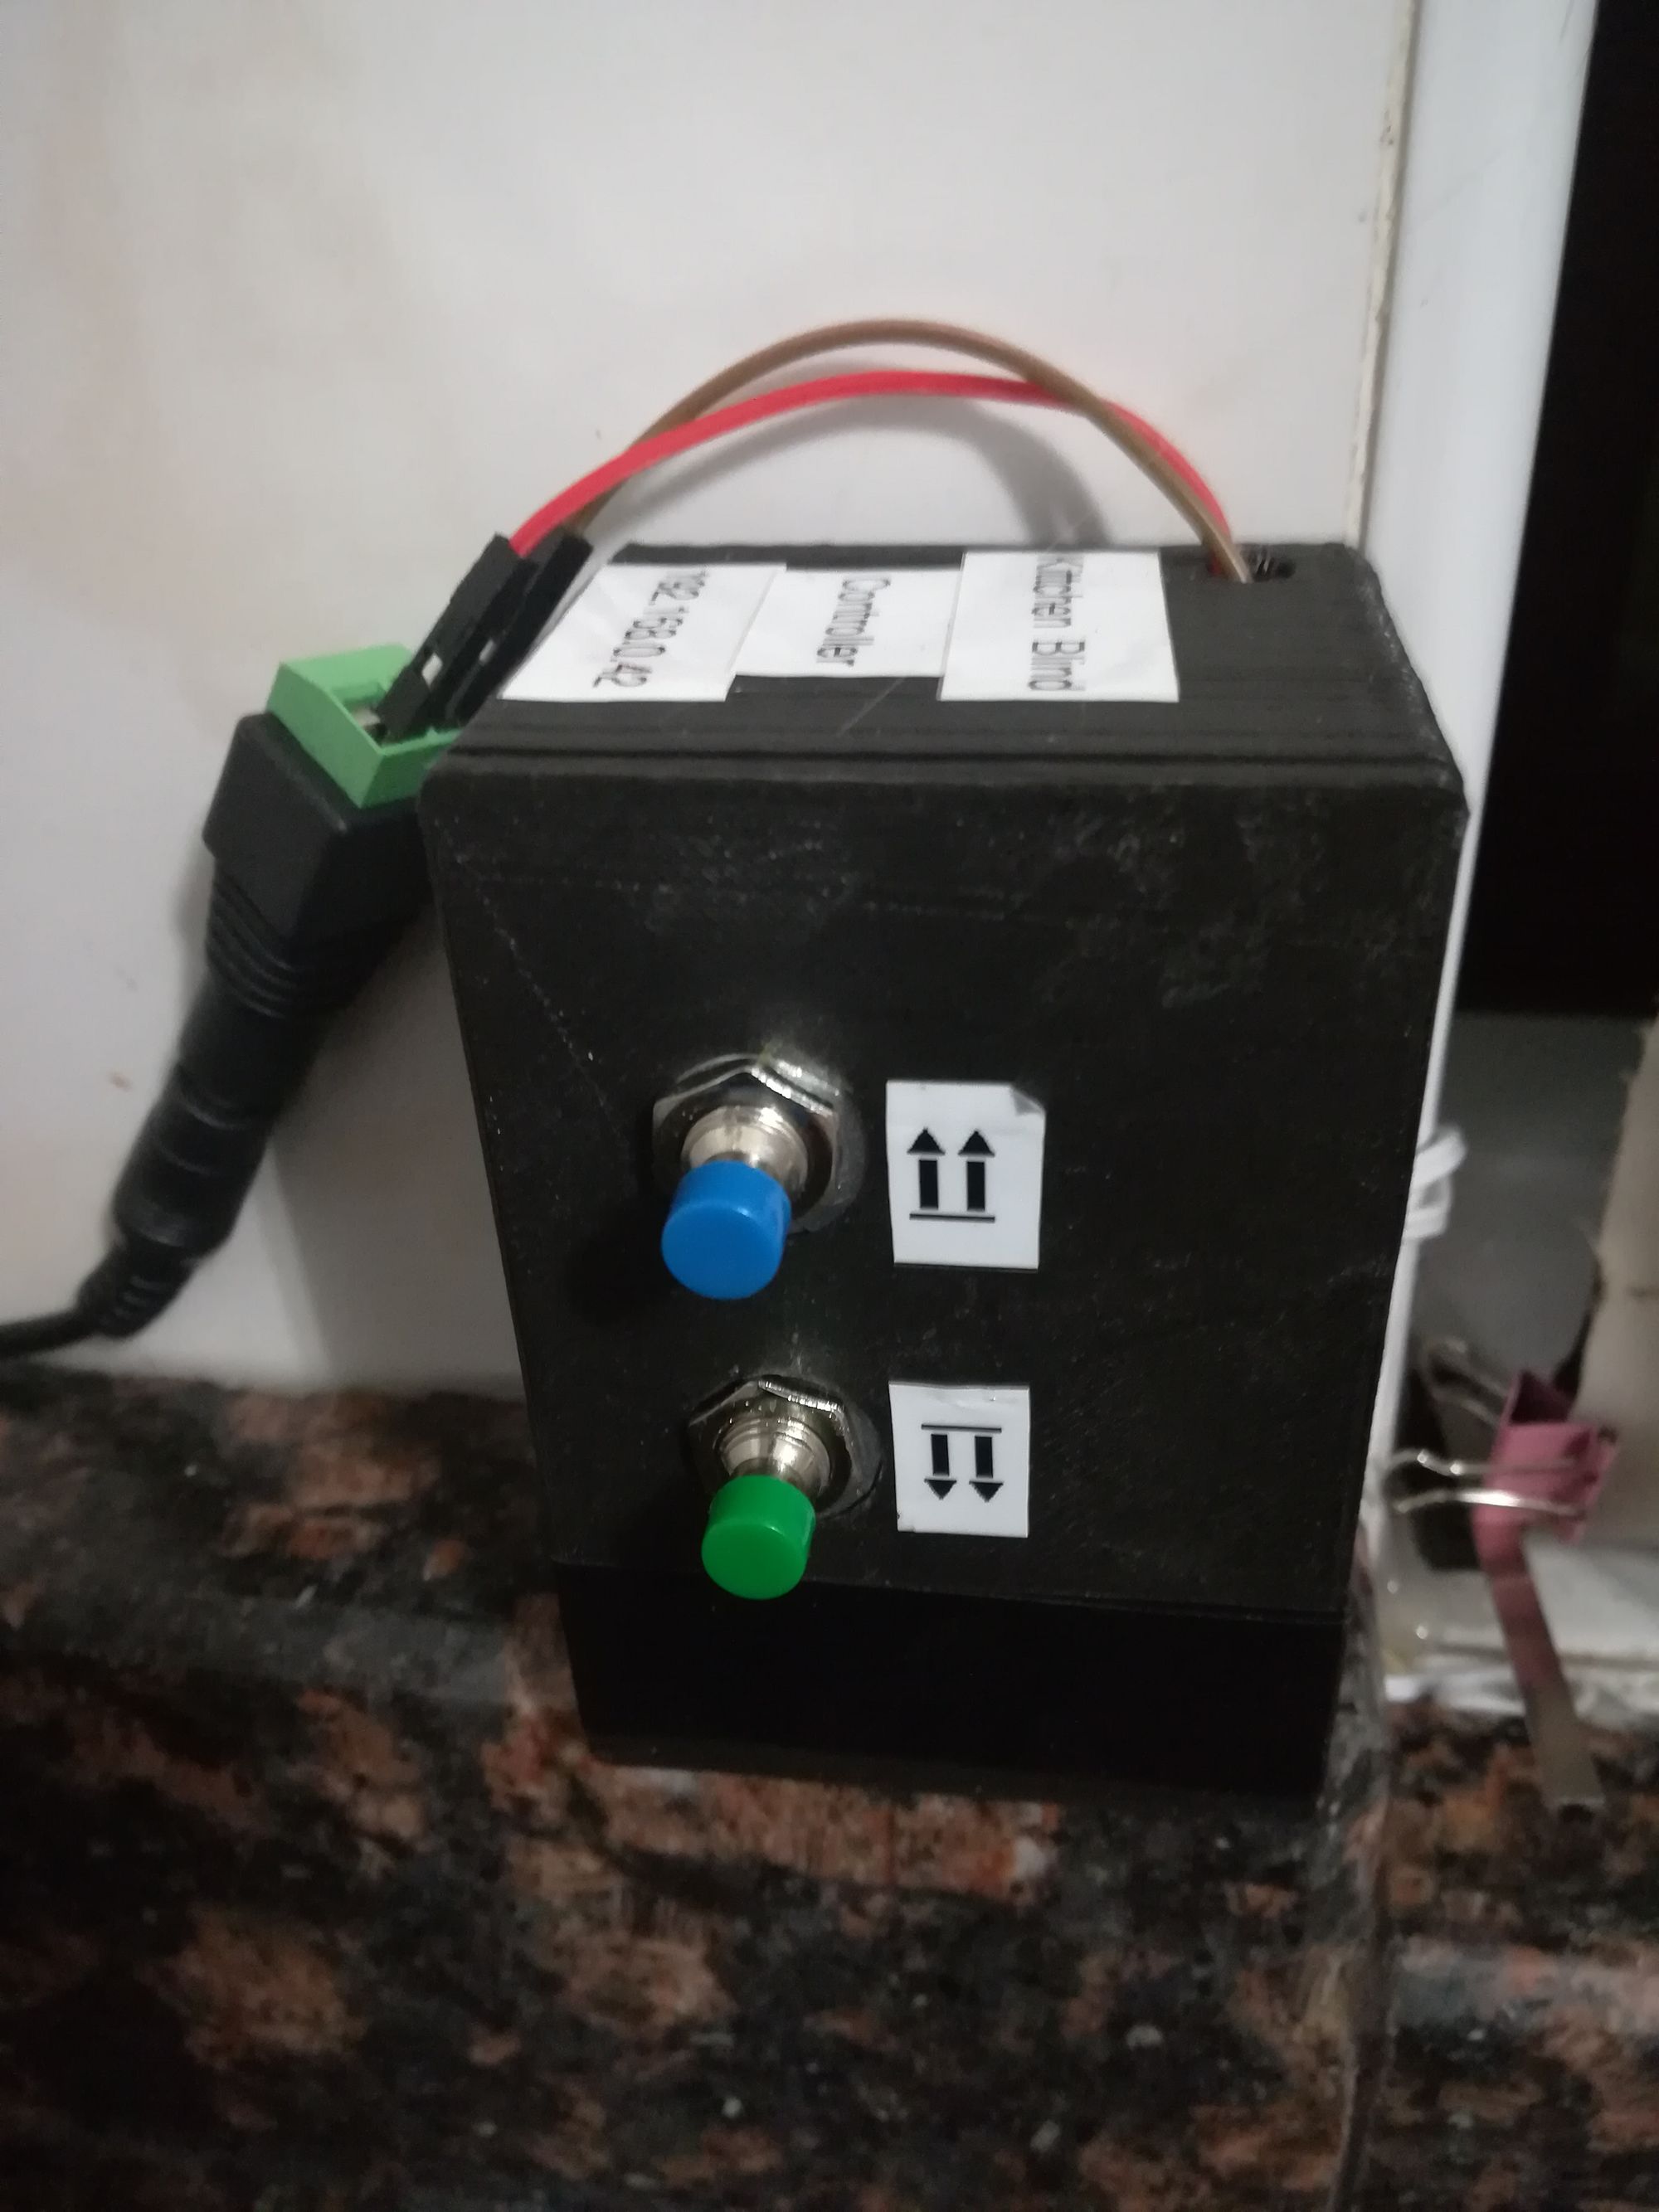
Here is how I went about preserving my health. This project uses a Wemos D1 Mini micro controller, a 12v 20RPM DC motor, 2 buttons a H-Bridge driver board and a 3D printer. Oh and I nearly forgot, also two limit switches
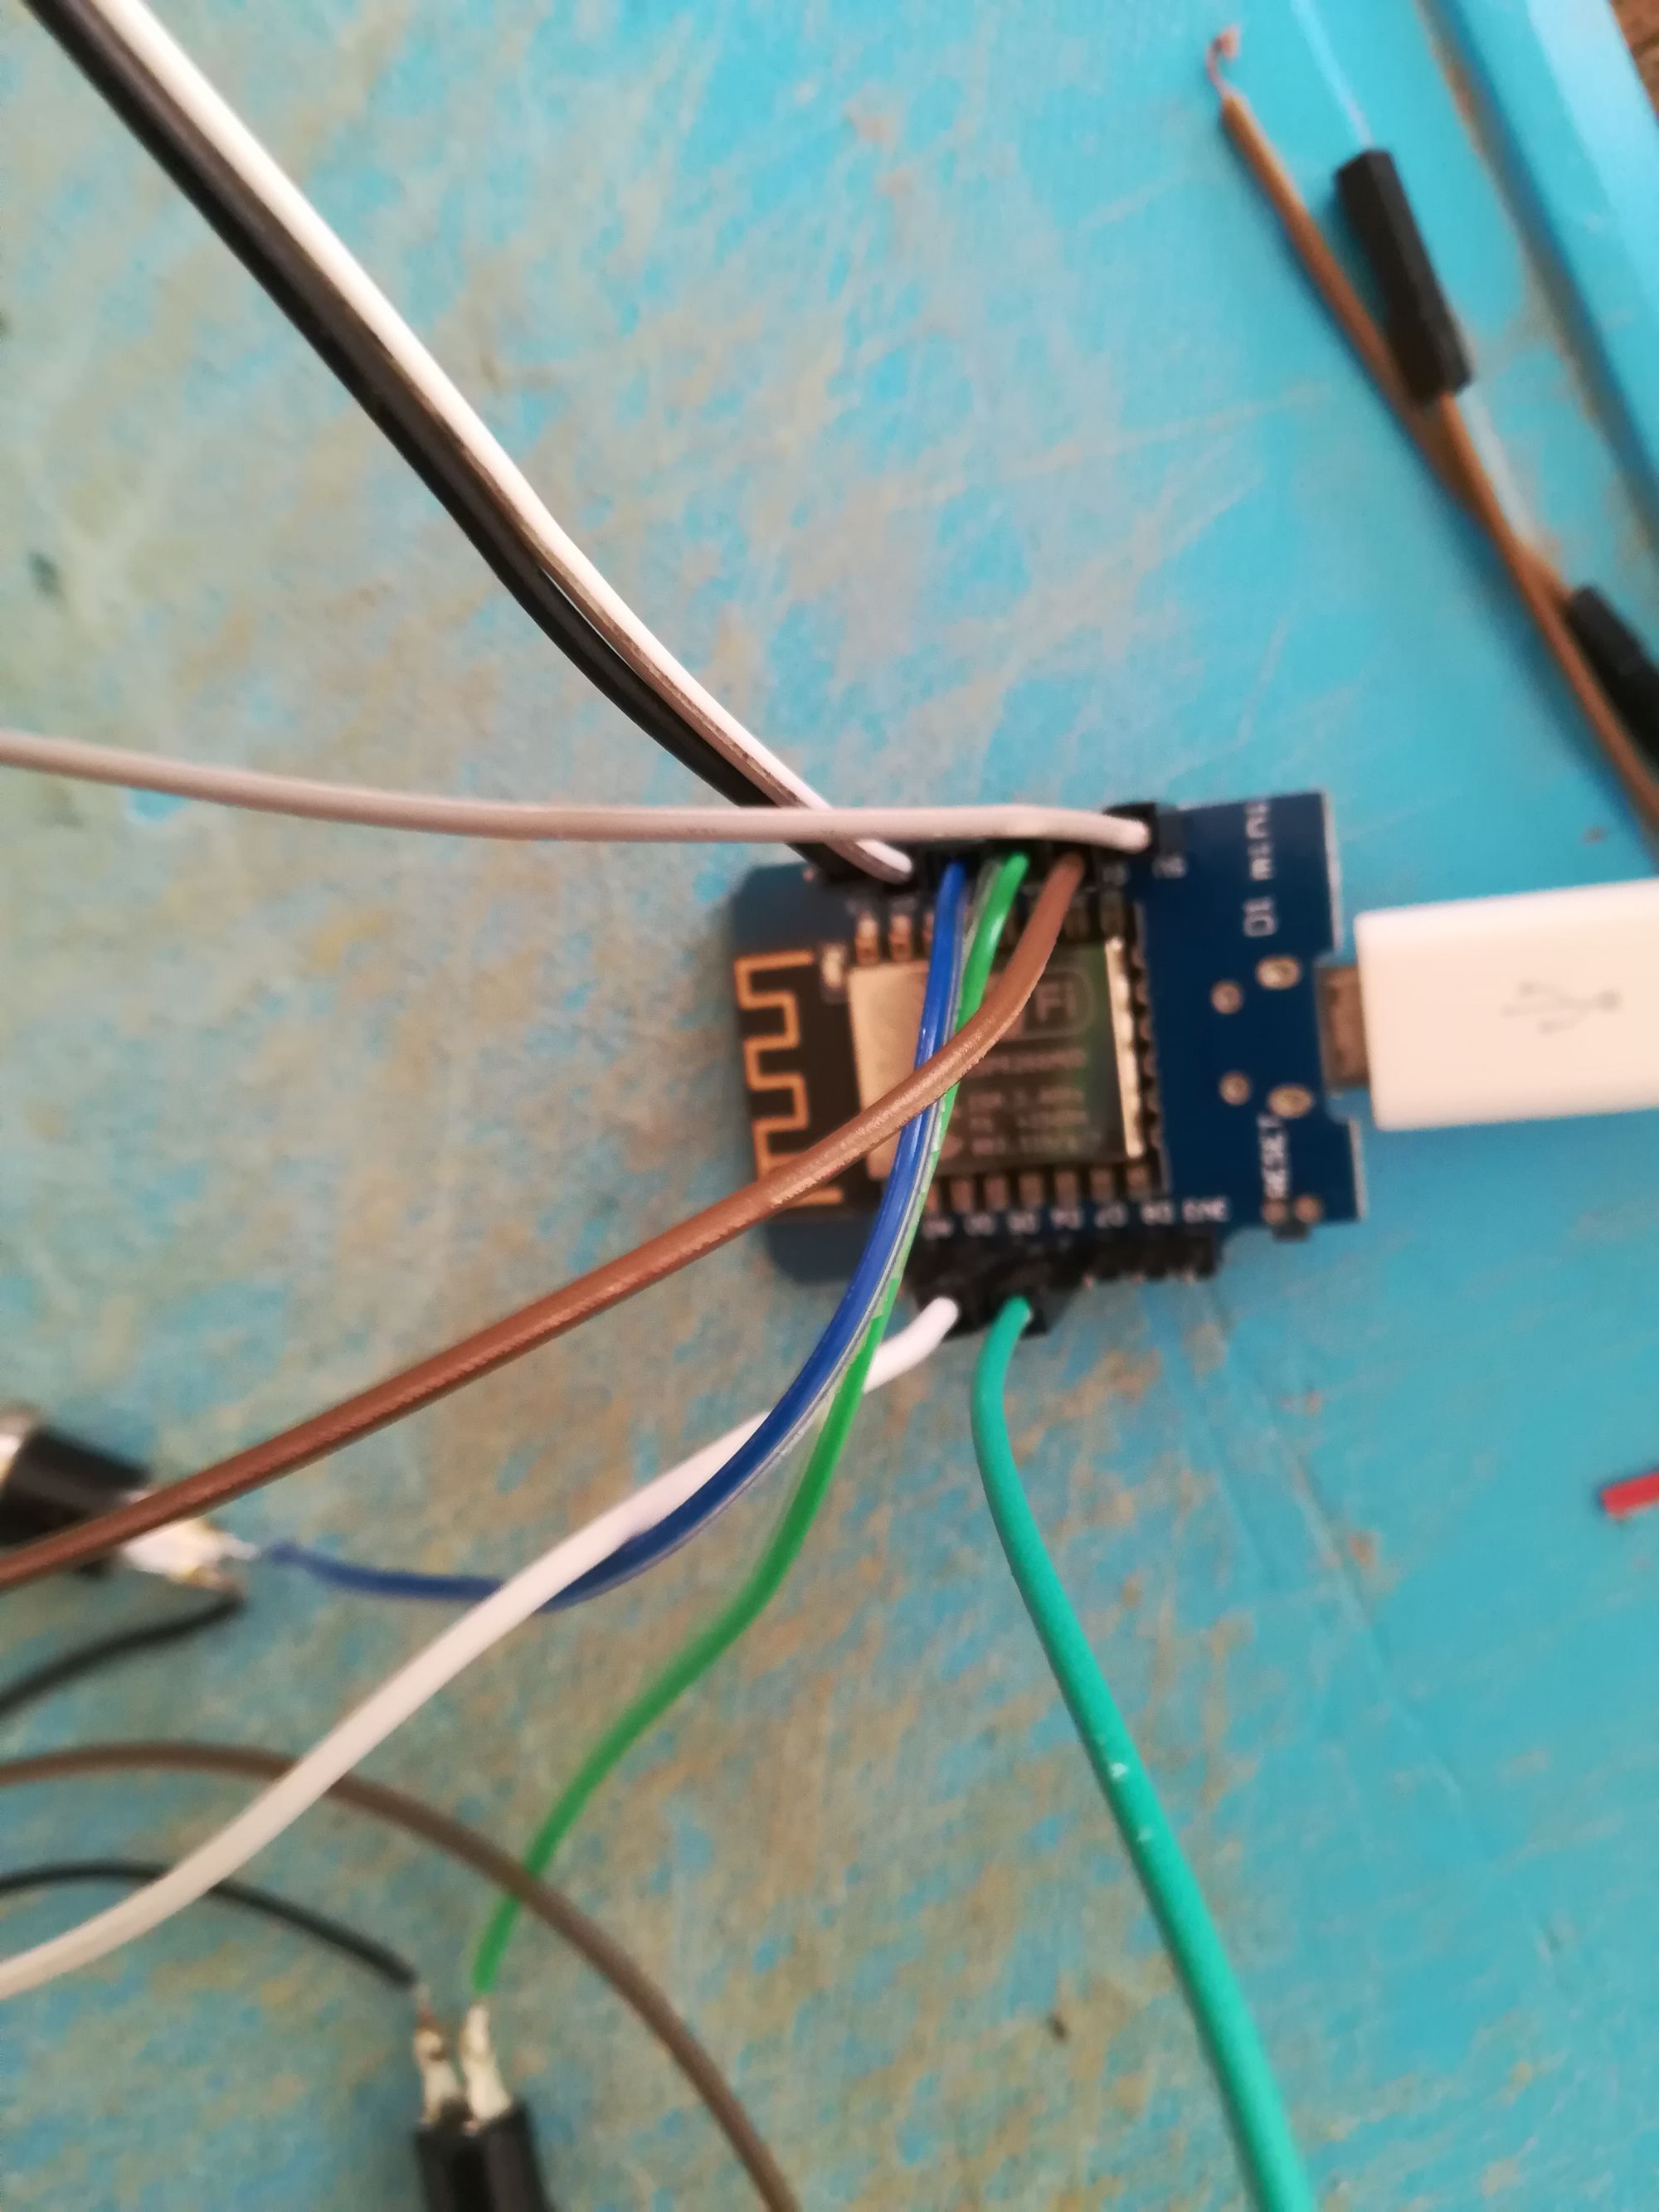
Starting with the electronics, I soldered together my Wemos board with header pins, connected 2 buttons, for up and down control of the blinds + 2 limit switches to tell the motor when to stop turning. Add in the H-Bridge driver board. This H-Brige allows me to reverse the polarity of the DC motor without having to physically flip wires around on the motor connectors.
Then the fun bit starts, writing the firmware for the controller. The firmware needs to allow for the connected buttons to move the motor in the correct direction as well as read the limit switches so as to know when to stop the blind, at the top or bottom. With this, using MQTT, a callback function is used, allowing me to control the up and down from anywhere in the world, and provide a status of the window to display in the mobile app. For automating this, the blind should open automatically when I arrive home from work, and close when the sun sets using an Astro binding API.
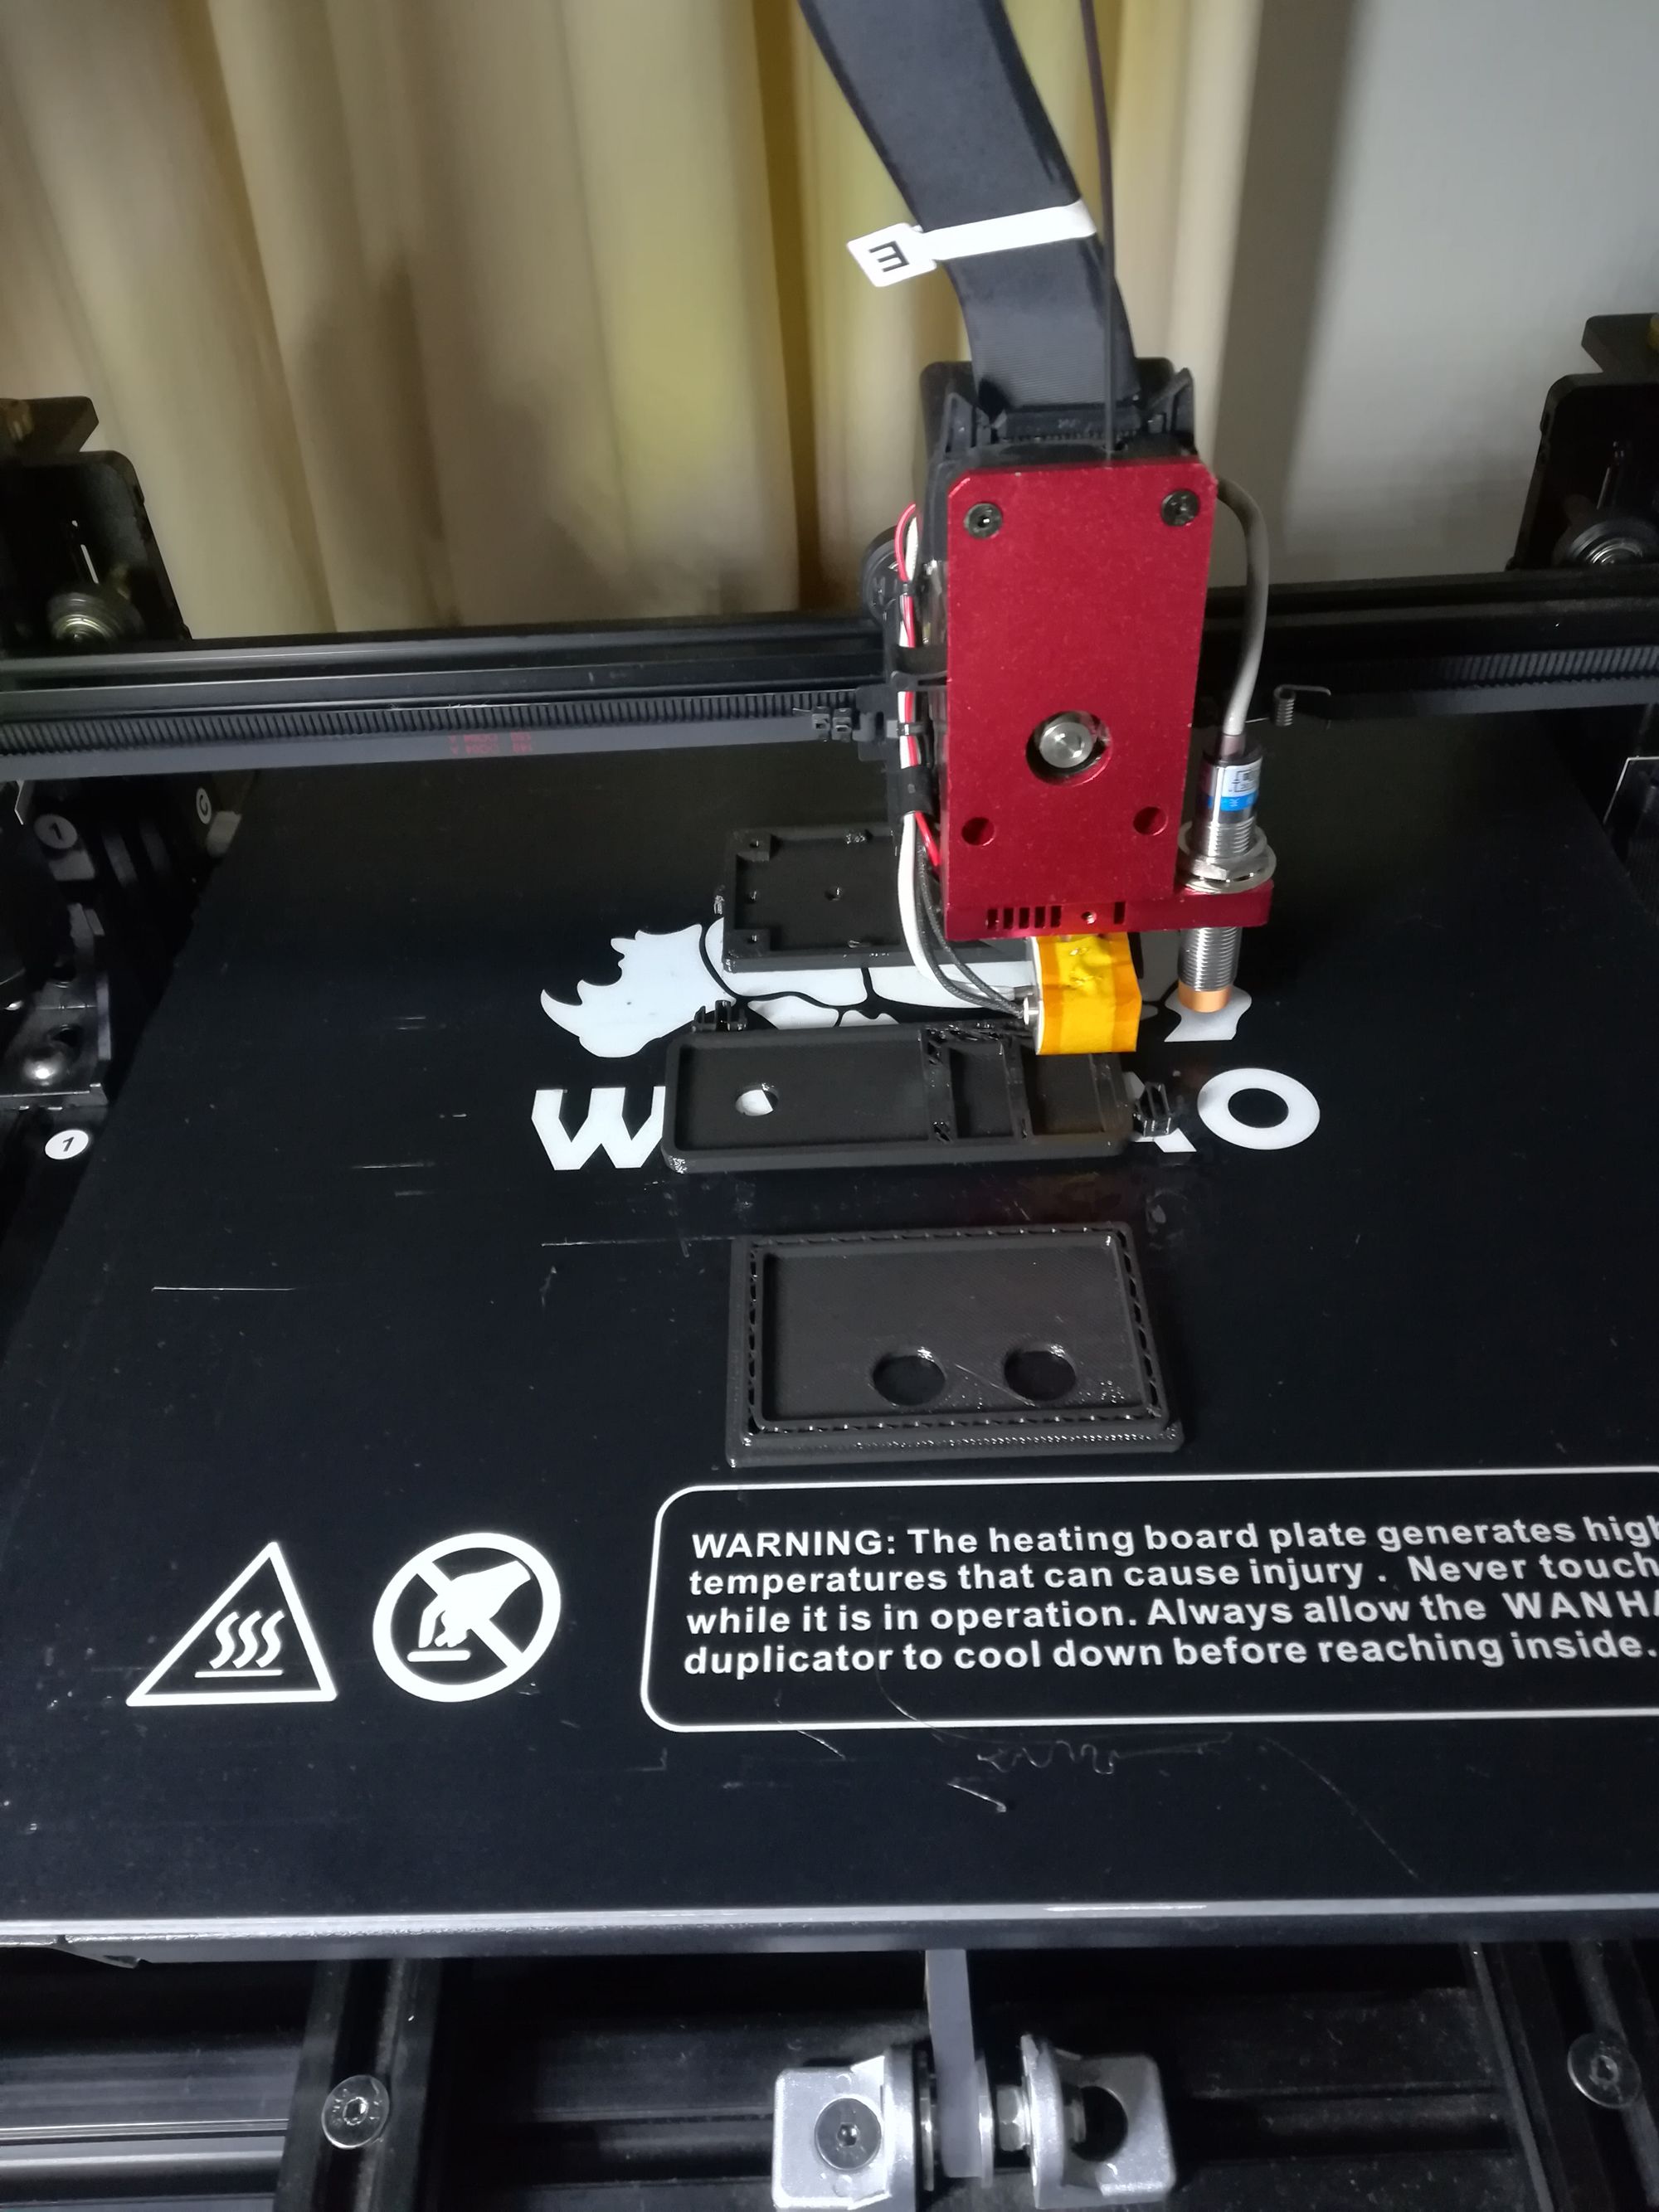
Some more hardware required - a parametric beaded chain pulley wheel. Since all bead chains are different, I would need to create one with the correct ball count/size and spacing. Tricky, but finding SCAD files online and modifying them was the easiest way. Export the SCAD file as STL and then Slice that file to a gcode format for the 3D printer to use.
This took about 35min to print, but also took about 10 prints to get dimensions perfect.
This is what I ended up with.

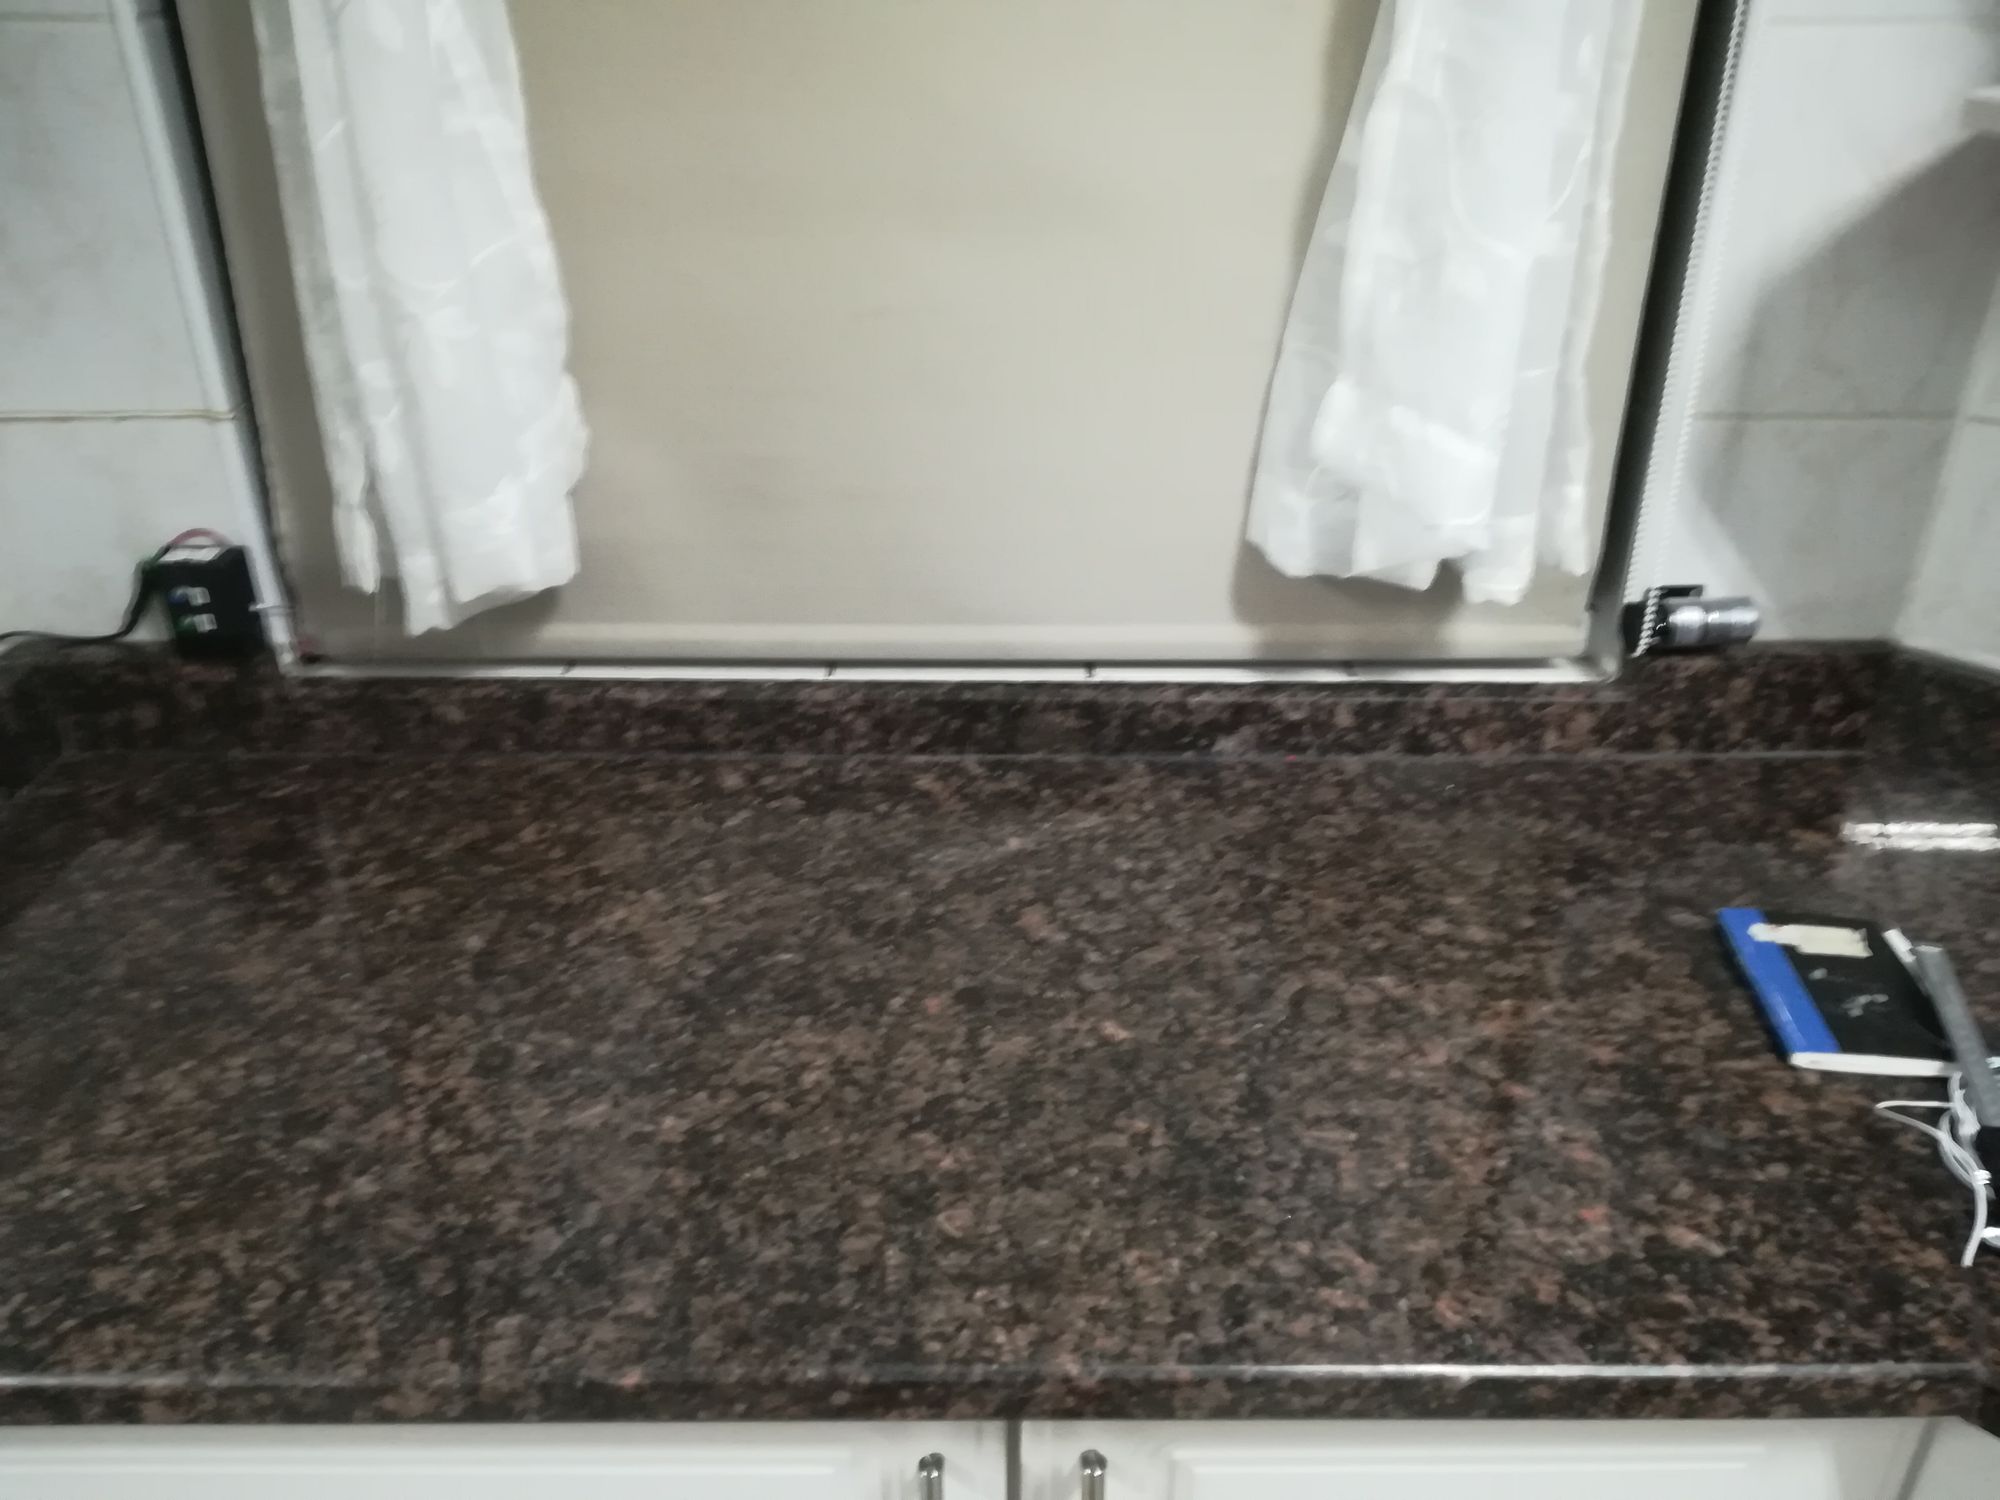
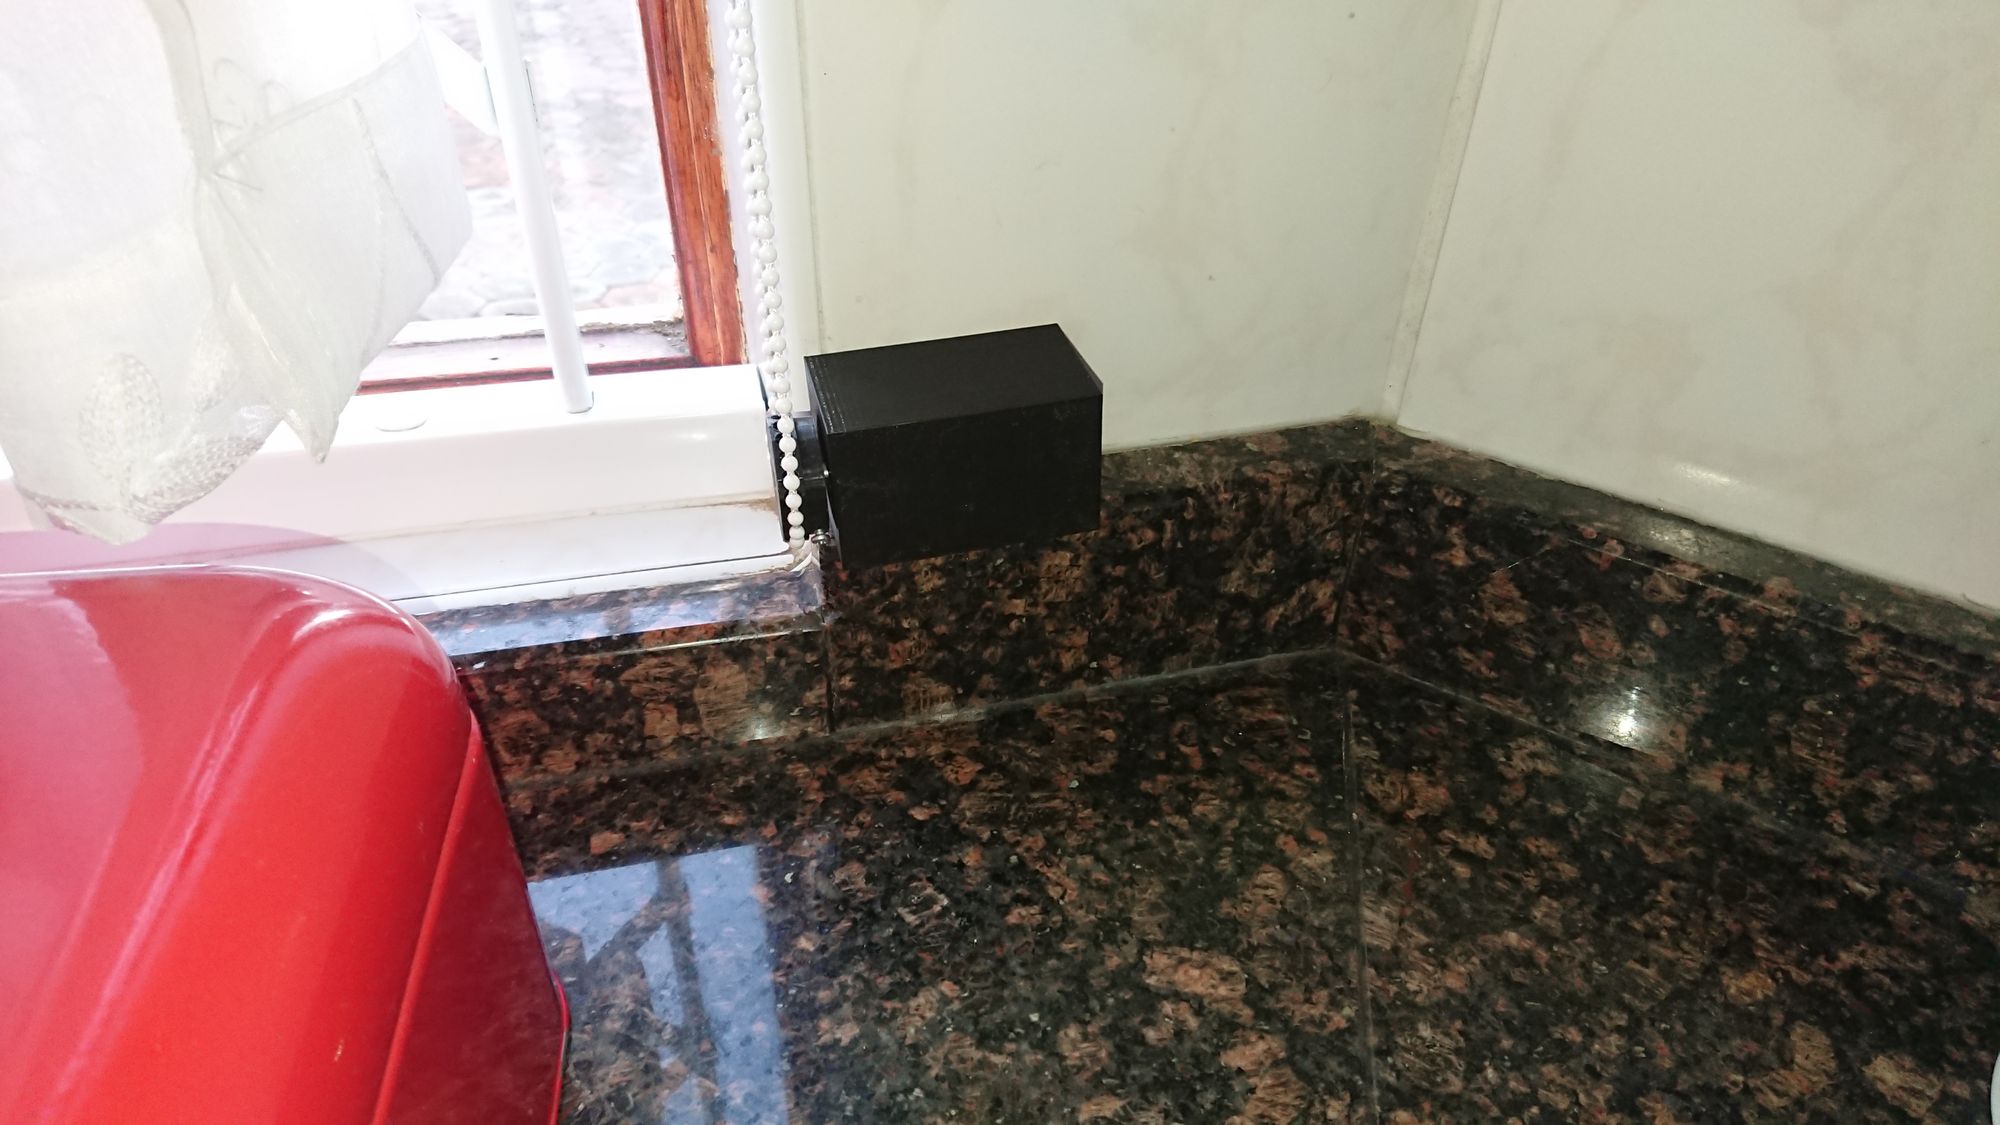
I have since upgraded the blinds or changed the setup with the blinds a little. Reprinted the box, replaced the D1 mini and replaced with two new buttons. Something may have been damaged on the d1 mini when I was trying to use alternate power source and add a battery backup to the blinds. All is working well again. I also reprinted the ball pully as the last one cracked, about 3 years of use for a PLA print is not back I guess. I also moved the controller to the right side of the window so its more accessible, assuming you want to use the buttons, which we never do anyway since the blinds are still working on GPS based sunrise and sunset times.
Here are some new pics, another key difference is I replaced the limit switches with reed switches, which is much better than limit switches, they always make contact. The problem with the limit switch is if something on the counter was in the way of the blind it might push the blind backwards missing the limit switch. I do have timers built into the code to not run the motor longer that what it normally takes to open or close, so the motor will stop should one of the limits be missed or not picked up.
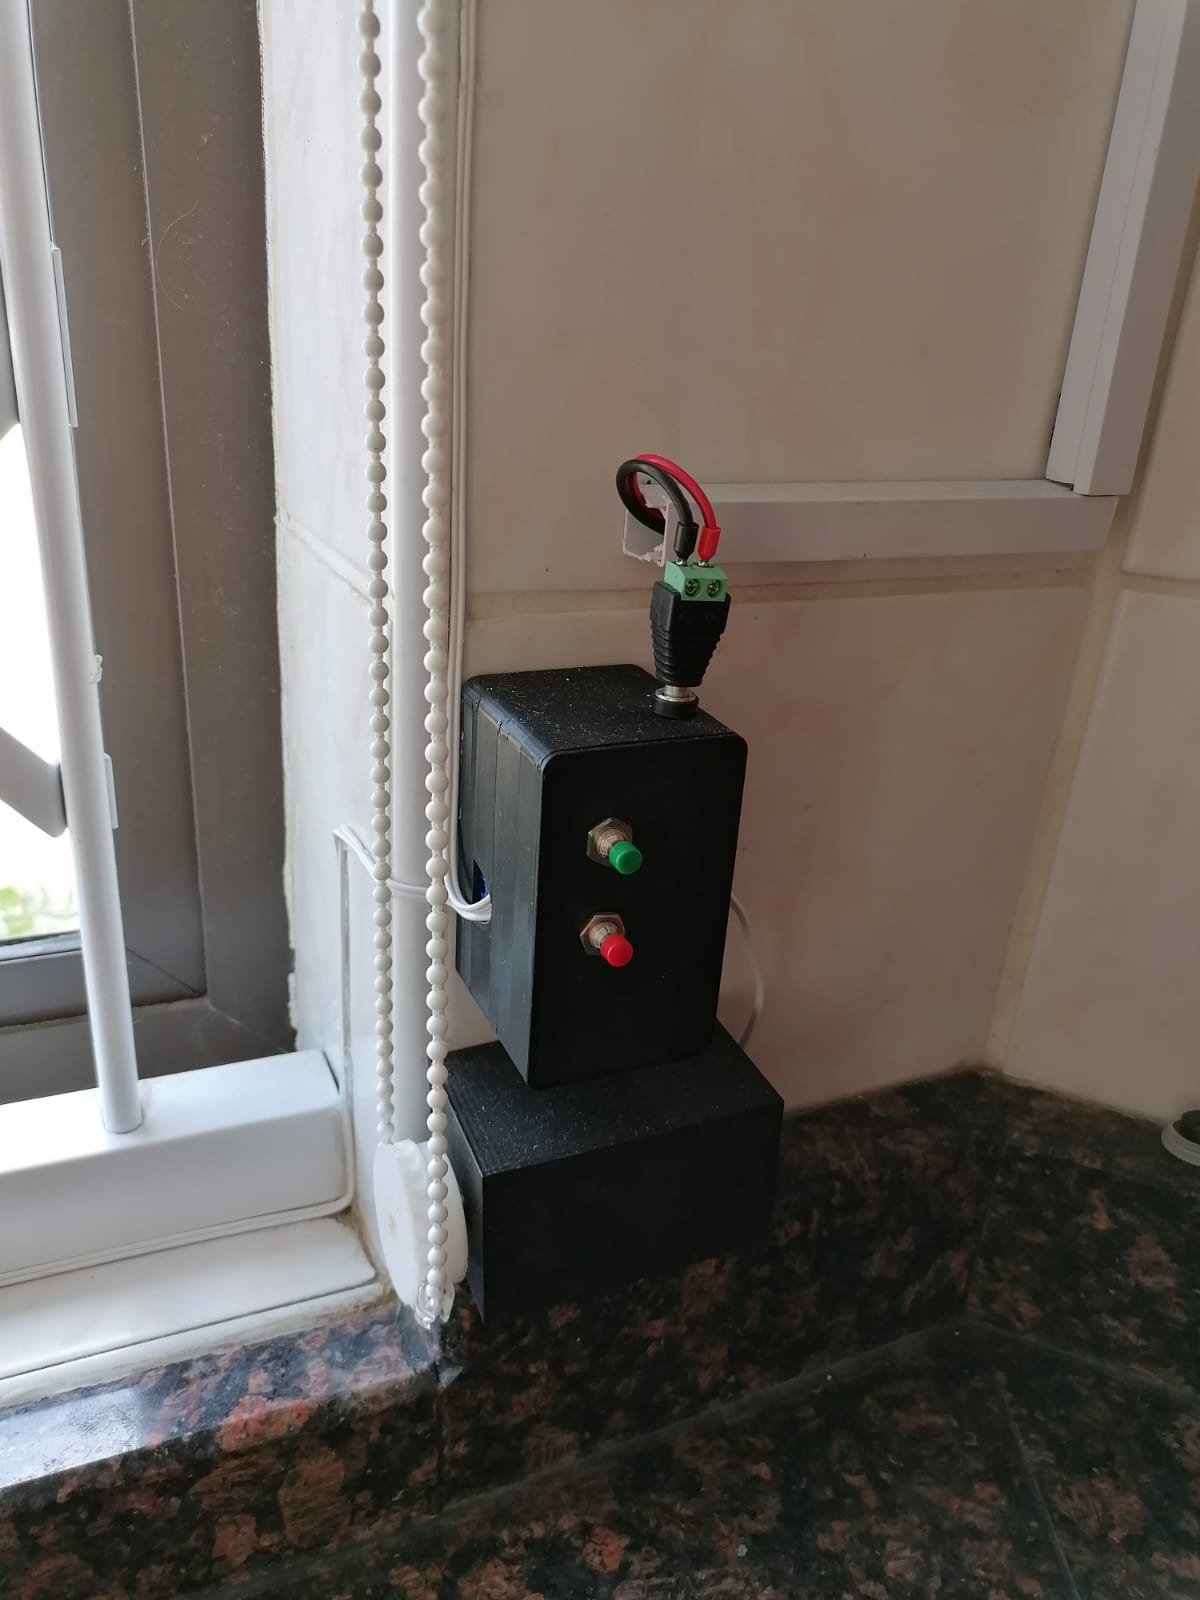
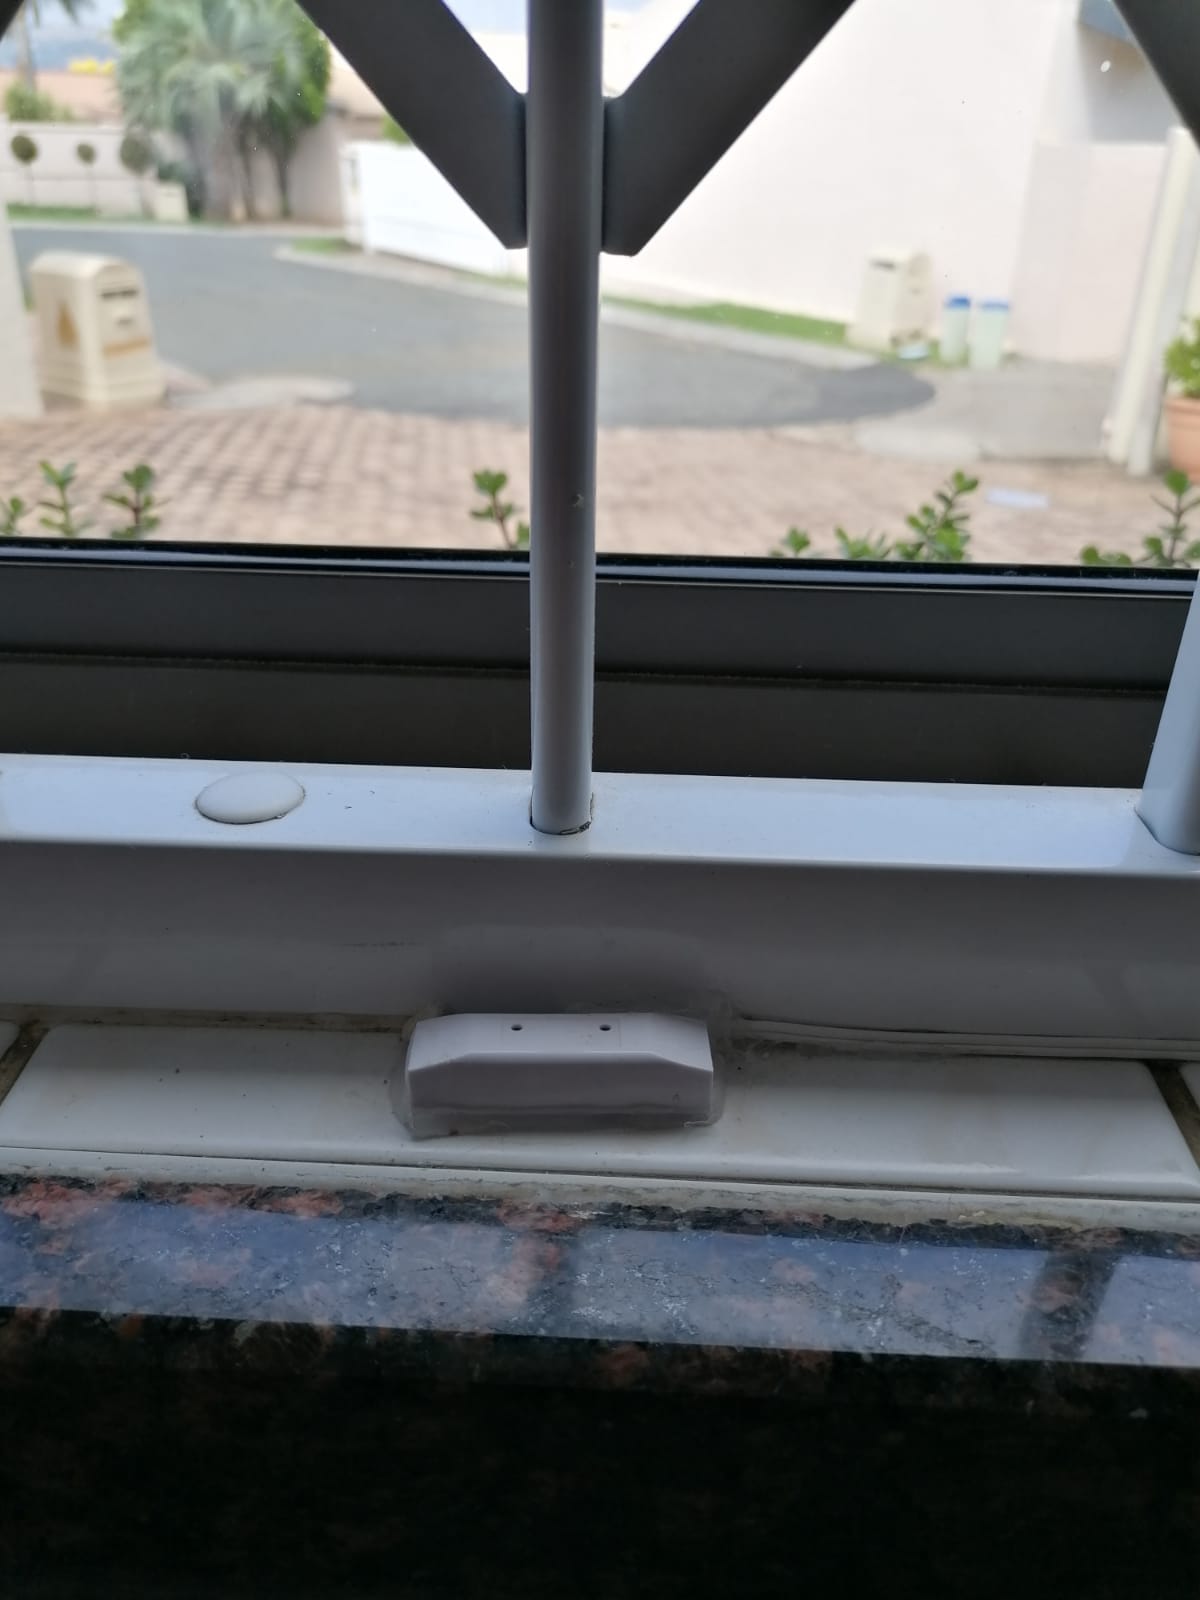
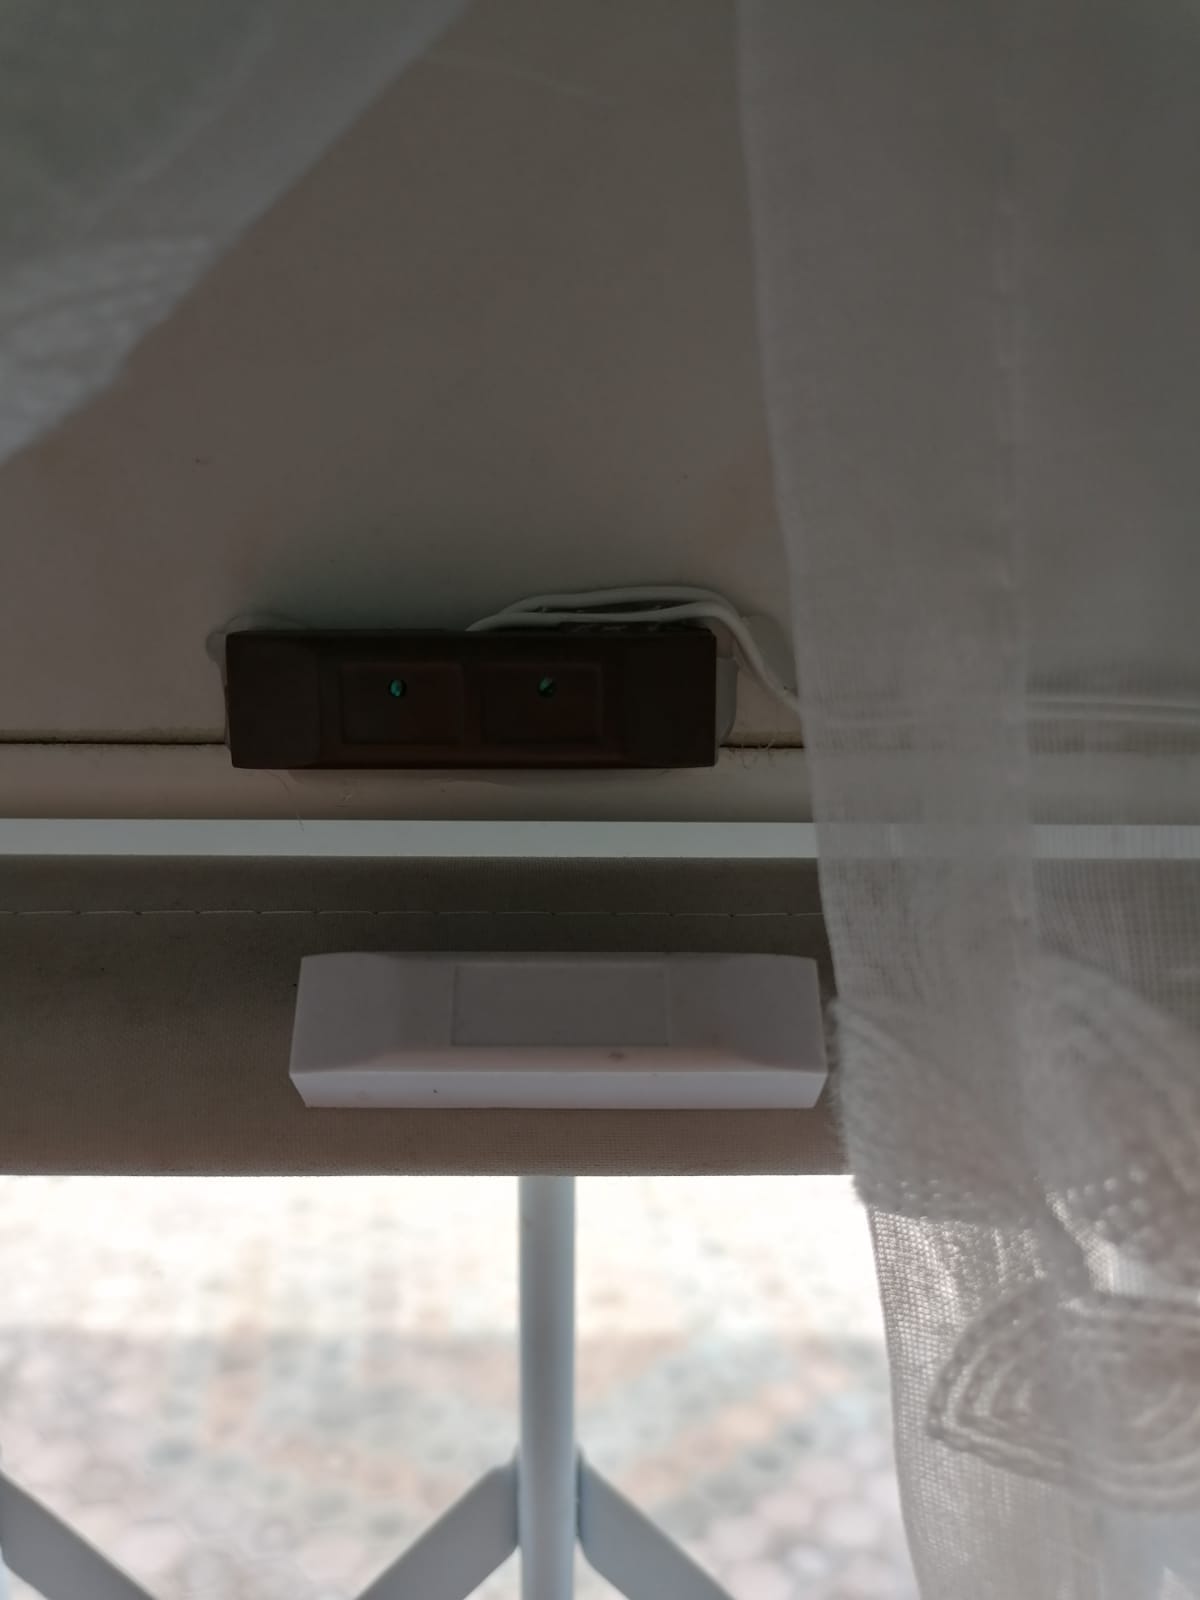
Reed Switches and new larger box.